
When a security camera displays a black screen, first find out what is still visible. A recorder menu with one black channel points toward that camera path. A completely blank monitor points toward the recorder output or display. A black view on one app, while another viewer works, points toward the client or stream.
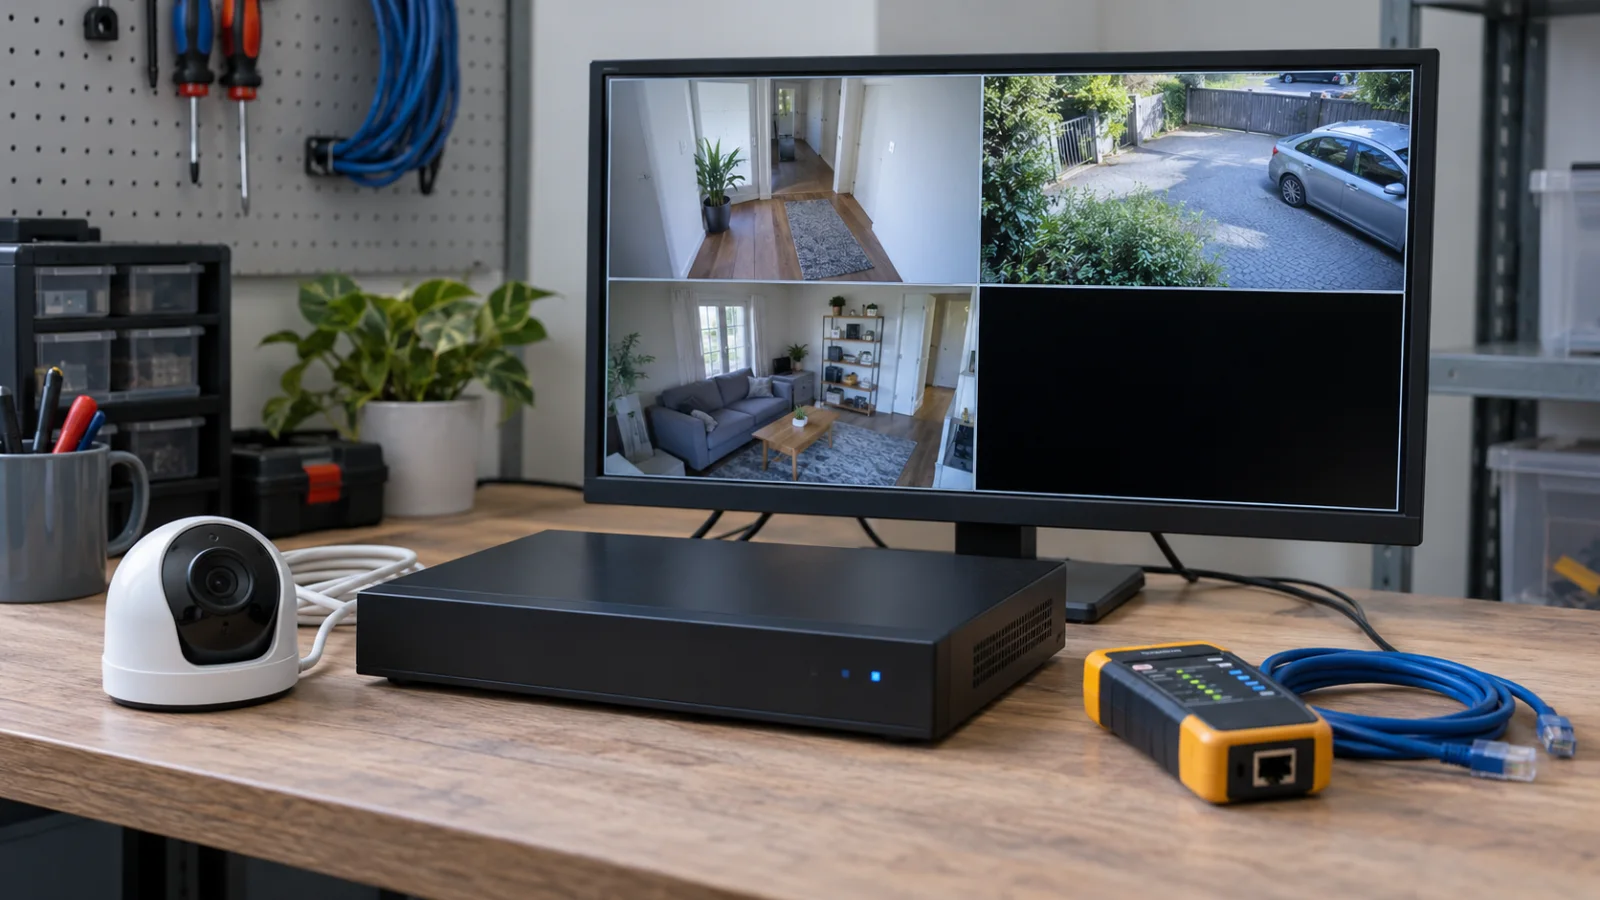
Can you still see the recorder menu or camera grid?
Open the recorder menu with the mouse. If the menu, channel borders, clock, or other interface remains visible, the monitor is receiving the recorder output. If the entire display is blank and no menu appears, troubleshoot the monitor and recorder output before touching individual cameras.

Swann’s DVR video-loss guide makes this distinction explicitly. If right-clicking opens the recorder menu, Swann treats the problem as camera video loss. If no menu or channel divisions appear, the guide sends the user to the recorder’s display-output checks instead. Swann’s separate blank-screen guide checks monitor input, HDMI or VGA connections, recorder power, and output resolution.
Use the screen state to choose the first test:
| What remains visible? | Check first |
|---|---|
| No logo, menu, mouse pointer, or channel grid | Monitor input, display cable, recorder power, and supported output resolution |
| Recorder menu and grid, but one black channel | That camera’s power, link, cable, port, stream, and compatibility |
| Every camera channel is black, but the menu works | Shared power, recorder load, stream support, or a common network path |
| Local recorder view works, but one app is black | App, browser, client decoder, permissions, or remote network path |
| Live view is black, but new recordings play normally | Live-view stream, display mode, or client path |
Photograph the current screen before restarting anything. Record whether the recorder logo appeared during boot, whether the mouse moves, which channels are affected, and whether audio or recording indicators continue. These details keep a monitor-output fault from being mistaken for several failed cameras.
Does the video work in another viewer or stream?
Open the same camera on a second authorized phone, desktop client, web browser, or local recorder. If one viewer shows normal video, the camera is producing a usable stream and the failed viewer should be checked before the camera is replaced.
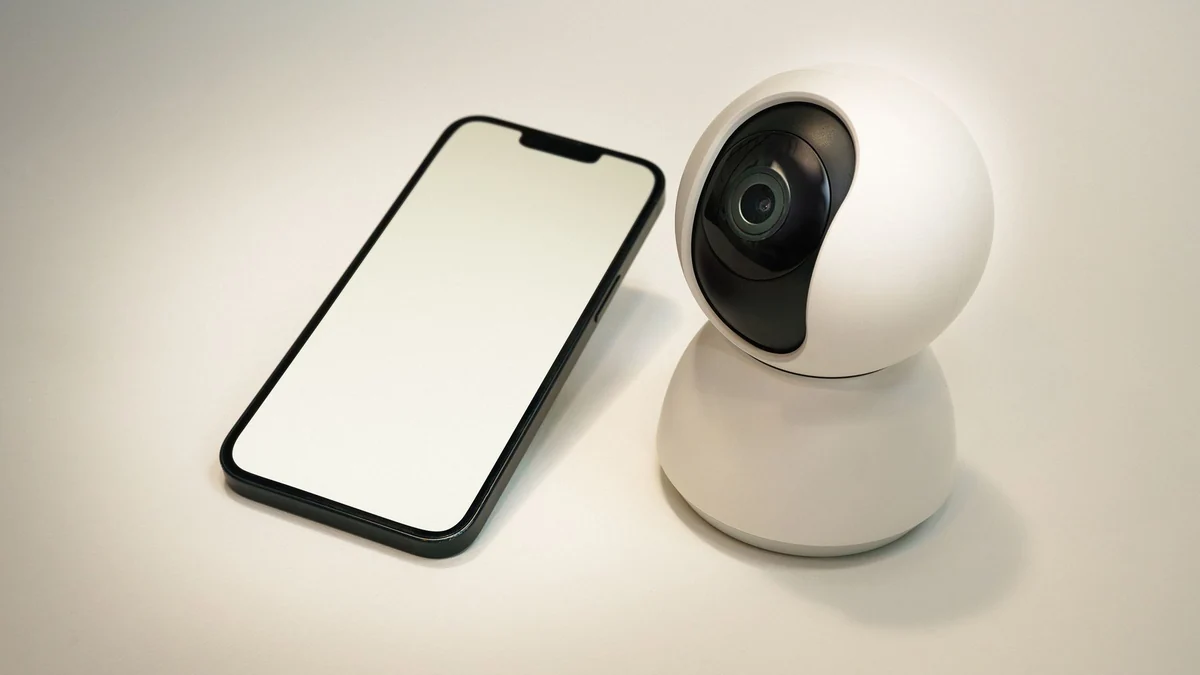
Axis Camera Station’s troubleshooting guide recommends turning off hardware decoding when a known camera has no video in live view. It also checks graphics drivers, blocked connections, and a lower-resolution stream. These controls are Axis-specific, but the comparison is broadly useful: change one viewer or one stream profile while leaving the camera in place.
Reolink’s browser guide asks users to test the same camera on the same computer with the Reolink client, try the lower Fluent stream, check network stability, and test the RTSP stream in VLC. Follow the equivalent supported path for the installed brand. Do not enable ports or third-party streaming unless the system manual and security policy allow it.
Record the result of each comparison:
1. Local recorder monitor versus remote app.
2. Mobile app versus desktop or web client.
3. Main stream versus the supported lower-resolution stream.
4. Live view versus a newly saved recording.
5. One user account versus another account with verified camera permission.
A black or colored view limited to one client belongs in the viewer branch. The security camera green-screen checks cover hardware versus software decoding in more detail. A camera that is offline in every viewer belongs in the WiFi camera offline checks instead.
Does the camera have the correct power and network link?
Confirm the power method for the exact model. An Ethernet socket does not prove that a camera accepts PoE, and a power light does not prove that the video link is active. Check the manual before moving adapters, injectors, splitters, or cables.
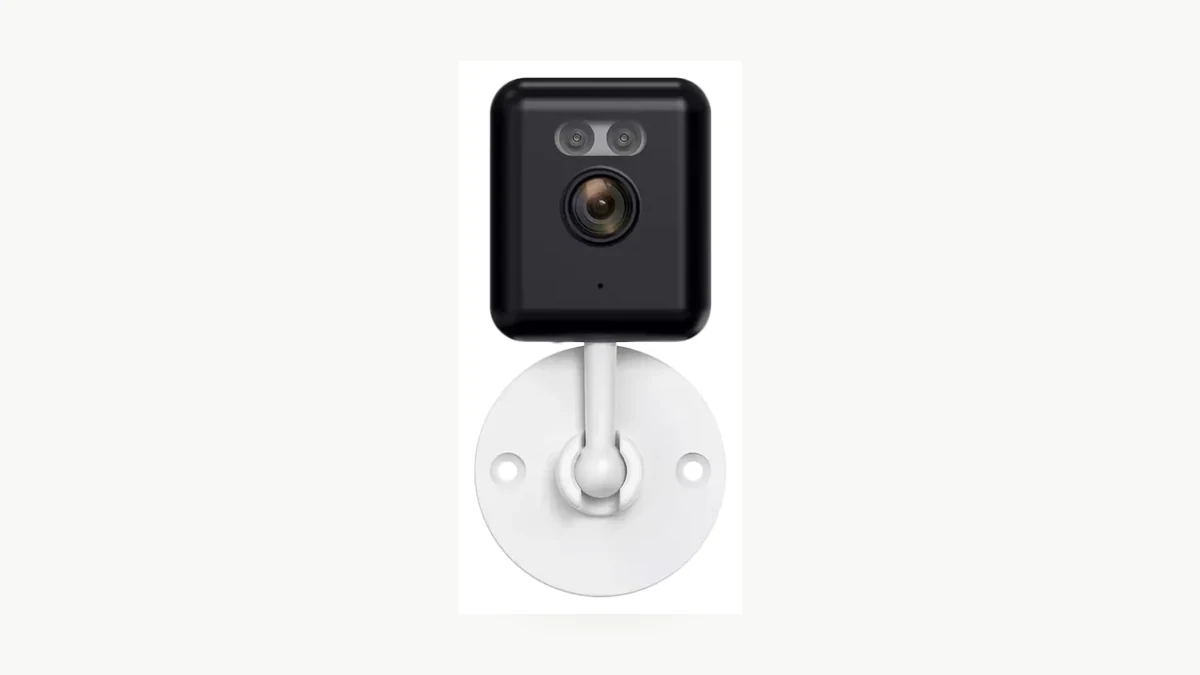
Defender’s video-loss guide names loose connections and lost power as common causes for its Defender HD systems. Its checks follow the path from camera to DVR, power splitter, power adapter, and wall outlet. Those connectors belong to the covered Defender equipment; use the connection path shown in the manual for another camera.
Swann’s DVR guide notes that several cameras failing on the same shared adapter can point toward that adapter or splitter. For IP cameras, check the PoE switch or injector port, link indicator, negotiated connection, and the camera’s presence in the recorder or network tool. For WiFi cameras, confirm the device remains online and that the power supply stays stable while live view starts.
Avoid swapping adapters by plug shape alone. Voltage, polarity, connector, current capacity, and PoE standard must match the equipment documentation. A convenient adapter from another device can damage the camera or create an intermittent fault that disappears during a short bench test.
Write down what changes when the camera powers up: status LEDs, IR click or glow where applicable, switch-port link, app status, recorder bitrate, and the time until the screen turns black. The wired indoor camera power-and-data guide explains why power, data, PoE, and WiFi should be verified as separate paths.
Can a known-good channel isolate the camera, cable, or recorder?
Use one controlled swap with compatible equipment. If the black screen follows the camera and its cable to a working channel, the camera path remains suspect. If the fault stays on the original channel with a known-good camera, inspect that recorder port or channel configuration.
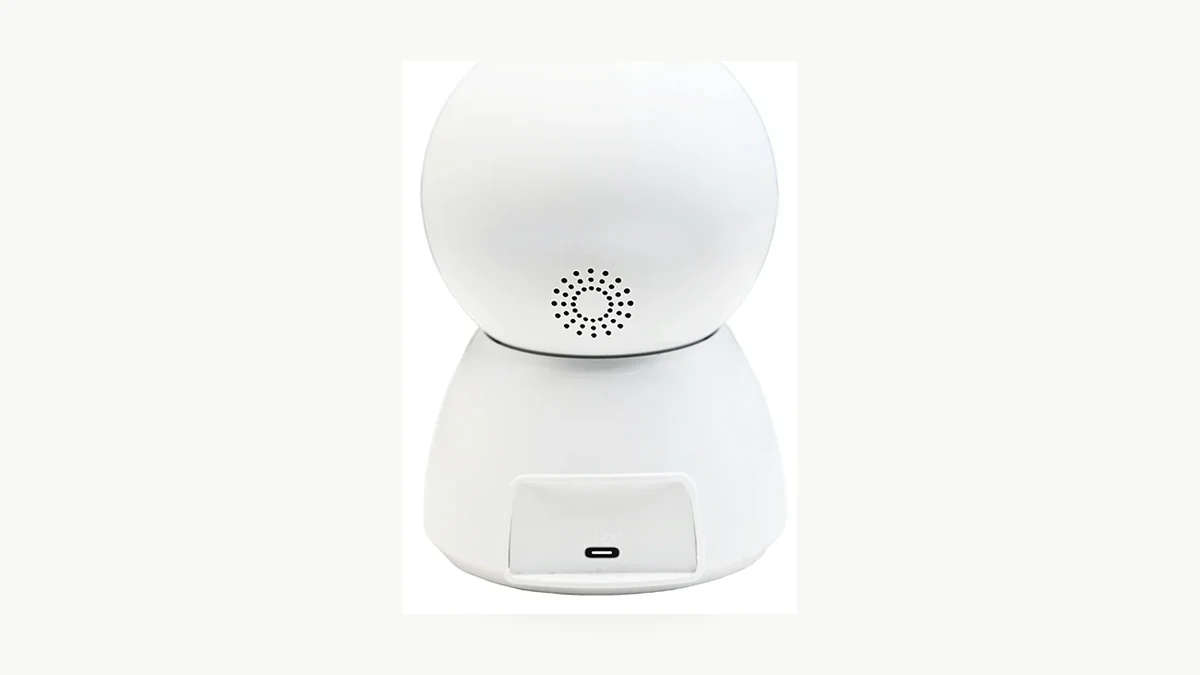
Defender recommends moving the BNC connection to a known working DVR channel and, for its covered system, bypassing the shared power splitter with the correct direct adapter. Do not copy that analog procedure onto an IP or PoE system. The principle is to replace one known compatible link at a time, not to mix camera types or power standards.
Reolink’s NVR black-screen guide separates a single black camera tile from an entirely black NVR display. For a single camera, it checks whether CPU usage or real-time bitrate is zero, then checks camera/NVR compatibility and firmware. Reolink also notes that some of its NVRs do not support 12MP cameras and suggests a temporary 6MP or 8MP stream test for the named systems.
Treat a lower resolution as a diagnostic result. If the camera works only after the stream is reduced, record the working codec, resolution, frame rate, bitrate, NVR model, and hardware version. The permanent choice is either a supported stream profile or a recorder with the required decoding capacity.
Before moving a camera in a live installation, label the original port and take a configuration backup if the recorder supports one. Restore the original arrangement after the test unless the new configuration has been approved and documented.
Could a privacy or display mode be hiding the video?
Check privacy, covert, lens-cover, and display settings before declaring the camera dead. Some systems can hide live video while recording continues, so a black tile does not always mean that the camera stopped capturing footage.
Defender documents a Covert mode that turns off the camera display while the system continues recording. In the covered Defender DVR, red recording or motion icons can remain visible. Other systems may call the function privacy mode, channel hide, display mask, or live-view permission. Check the exact manual and account role rather than searching for the same menu name on every brand.
Inspect the physical view as well. Remove a shipping film or closed privacy shutter only by the documented method. Confirm that the lens is not covered and that the test scene has enough light for the selected day or night mode. If the image becomes purple or pink during day/night switching, use the separate IR-cut filter checks instead of treating it as a black-screen fault.
Open a new recording from the affected time. A playable recording with normal video narrows the problem to live display, permission, or stream delivery. A new recording that is also black moves the fault upstream toward the camera image path or incoming stream. If the timeline is empty rather than black, follow the SD-card recording checks before formatting storage.
How do you prove the black-screen fault is fixed?
Verify the repaired path in live view and in a new recording. Repeat the test after a normal restart, because a temporary reconnect can clear a black screen without correcting the original power, decoder, or compatibility problem.
Keep a short acceptance record:
1. Record the camera, recorder, monitor, app or client, firmware, codec, resolution, frame rate, and power method.
2. Watch the primary live view and one independent authorized viewer for five minutes.
3. Move through the scene so the stream carries changing detail.
4. Save a new recording and play it from beginning to end.
5. Export the recording and open it on a second authorized device.
6. Restart the camera and recorder normally, then repeat live view and playback.
7. Repeat under the original failure condition, such as night mode, remote access, multi-camera view, or high-resolution streaming.
Use the successful clip and before-and-after screenshots as the service record. Note the one change that restored video. If the repair depends on a lower stream, different monitor, software decoding, or a specific recorder channel, keep that condition in the handover instead of reporting an unconditional fix.
For new samples, run the same acceptance test before installation or volume approval. The recording-status checks explain why a live picture, recording icon, stored file, and exported clip prove different parts of the system.
Frequently Asked Questions
Why is a security camera black even though the app says online?
A security camera black screen with an online status means the control connection may be active while the video stream still fails. Compare a second authorized viewer, the supported lower stream and a new recording. If another viewer works, check the first app, decoder, permissions and network path before replacing hardware.
Can weak WiFi cause a security camera black screen?
A security camera black screen can occur when a remote live stream cannot load over an unstable network, while local recording remains normal. Test the local recorder or SD-card clip, then compare the main and supported lower stream. A black view on every local and remote path needs a different branch.
Why does only one NVR channel show a black screen?
A security camera black screen on one NVR channel can come from that camera, power path, cable, port, stream or compatibility. Move only known-compatible equipment during the test. Reolink also documents model-specific 12MP compatibility limits and a temporary 6MP or 8MP comparison for affected Reolink NVRs.
Can a hidden or covert display mode still record video?
A security camera black screen can be intentional when a recorder hides live display but continues recording. Defender documents this behavior for its Covert mode. Check the exact system’s privacy, channel-hide and account-permission settings, then open a new recording before deciding that the camera or recorder has failed.
When should a security camera with a black screen be replaced?
A security camera with a black screen should be considered for repair or replacement after compatible power, link, cable, port, viewers, stream settings and supported firmware have been checked. Provide the supplier with the model, hardware version, firmware, affected file and controlled-swap results so the replacement decision is evidence-based.
Keep the black-screen diagnosis tied to the first point where video disappears. If replacement is necessary, compare QZT security cameras and confirm power method, codec, recorder compatibility, supported resolution, client software, storage, and night-mode behavior before ordering.

 English
  Italiano
  Deutsch
  Français
  Español
  Polski