
If your security camera says “No SD card,” check the card’s seating and the exact model’s storage requirements before formatting. Power the camera down by the documented method, reseat the card, then compare a compatible spare. A readable card with no clips needs a different check. Save any footage you need before initialization, repair tools or write tests.
Work through the six checks below in order. Each gives you a result to record, so you can separate a card problem from a camera, recording or playback problem without repeatedly erasing the same card.
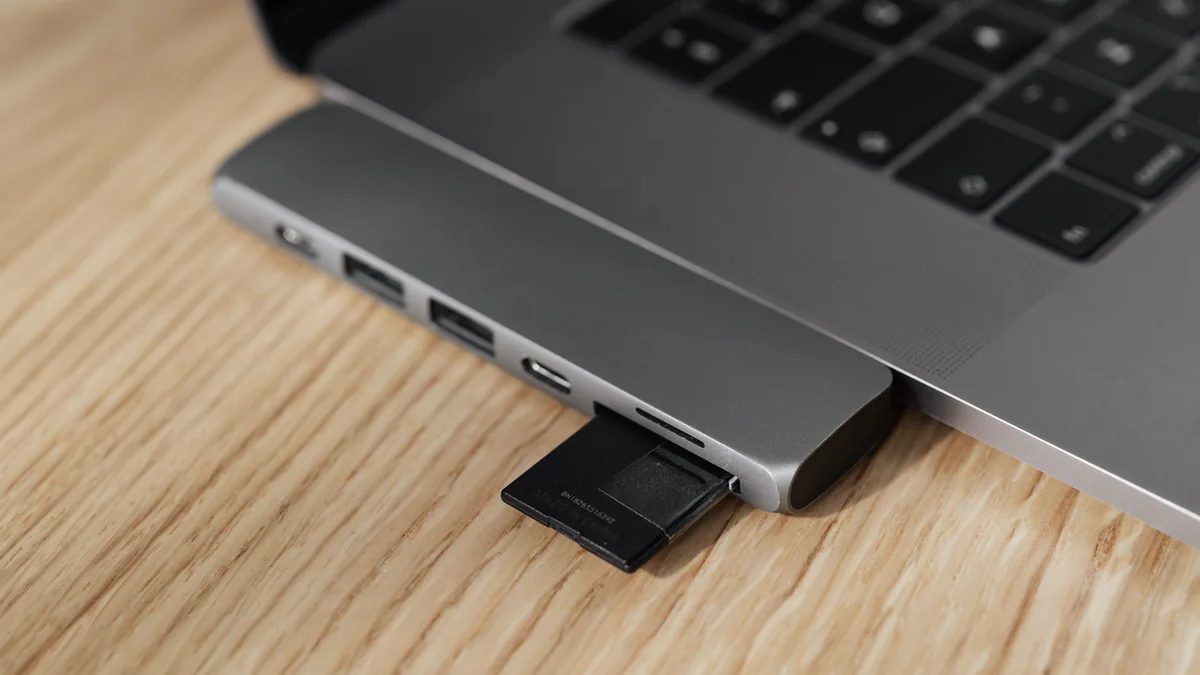
Is the camera failing to detect, write to, or play the SD card?
Open the camera’s local-storage page and copy the exact message. “No card,” 0 GB and an empty timeline do not tell you the same thing. Start with the storage status rather than the missing video.
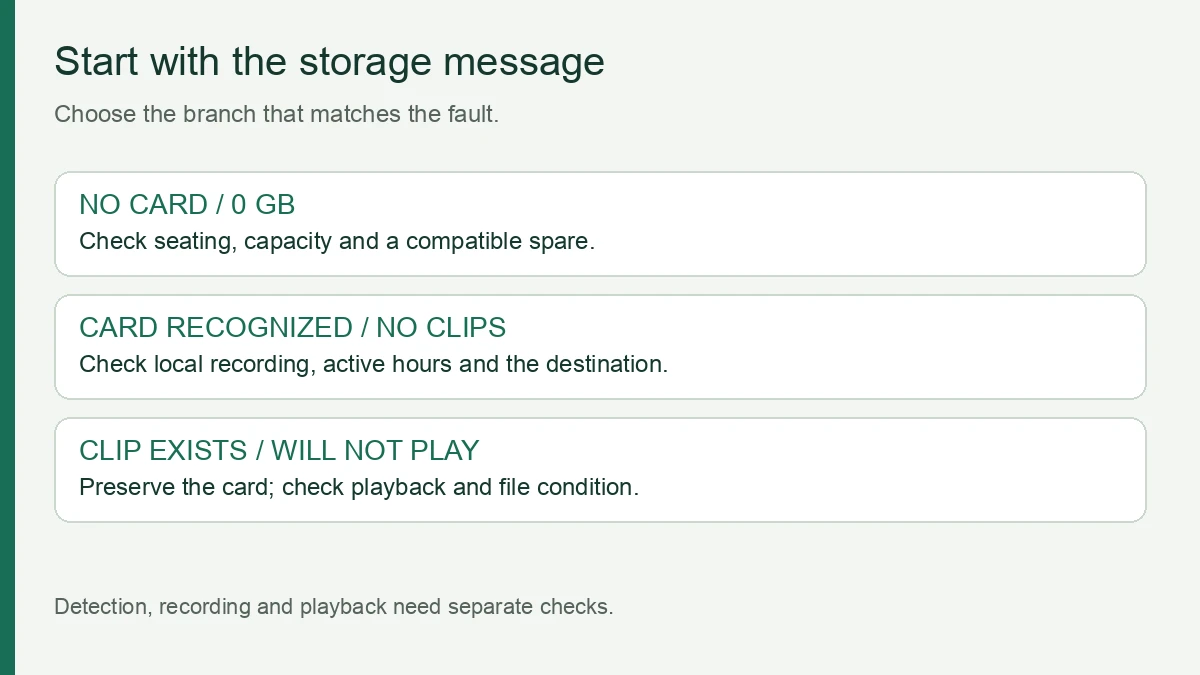
| What you see | Check first | Result to look for |
|---|---|---|
| No card, not detected or 0 GB | Card seating, supported capacity and a compatible spare | The camera reports usable card capacity |
| Card capacity appears, but no new clips | Local recording, the active schedule and the storage destination | A new test clip appears at the correct time |
| A clip appears but will not open | The supported playback method and file condition | The clip plays and exports successfully |
The manufacturer’s SD-card detection guide identifies “not detected” and 0 GB as recognition symptoms. If the camera reports usable capacity, go to the recording checks below before deciding that the slot has failed.
For a detection fault, turn the camera off as the manual directs, remove the card and check the illustrated insertion direction. Reinsert gently; a spring-loaded slot should latch as its manual describes. Stop if the card needs force or the slot looks damaged. Restore power, allow the normal startup to finish and check storage again. Do not insert tools or liquid into the slot.
What should you save before formatting the microSD card?
Preserve needed recordings before any operation that changes the card. Formatting prepares storage for reuse and erases its contents; a capacity test also writes to the card. Neither is a first step when the missing footage matters.
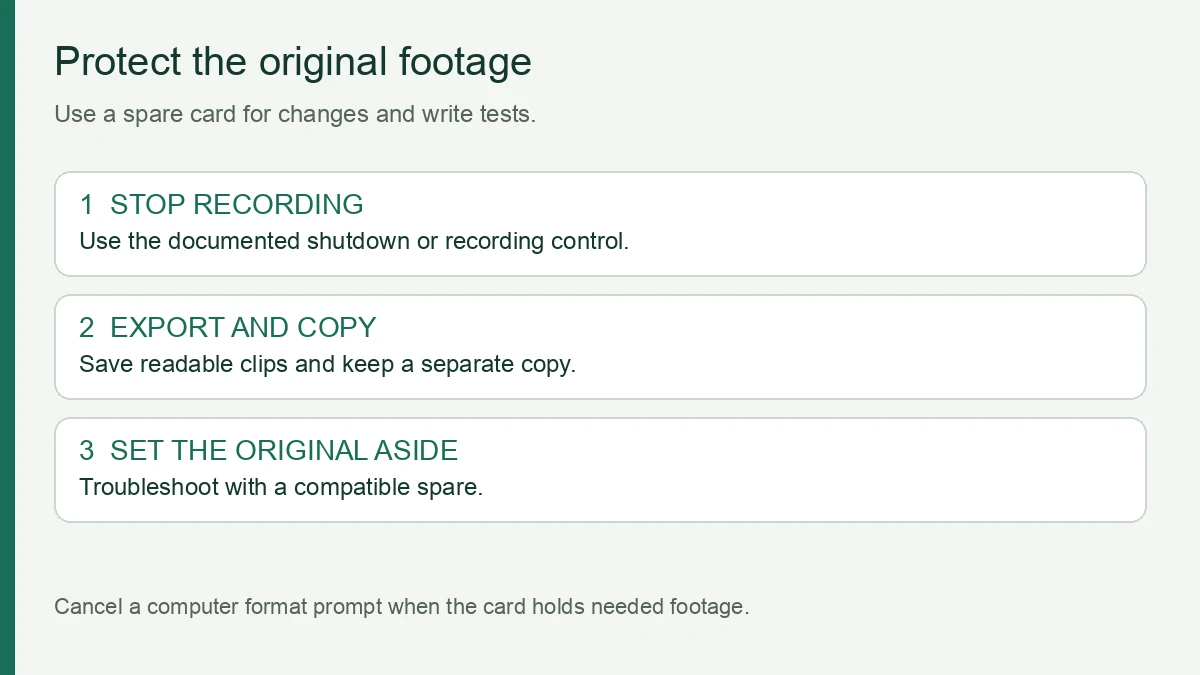
- Stop recording or shut down by the camera’s documented method.
- Export playable clips through the camera or app.
- If the manual permits computer access and the card is readable, copy its files and folders to a separate drive.
- Keep the original card aside and troubleshoot with a compatible spare.
If the computer asks to format the card, cancel. The message does not prove the recordings are gone. The reader may be incompatible, the file system may be unreadable or the camera may use a protected recording format. If the card holds the only copy of footage you need, seek recovery advice before formatting or running repair software.
Record the camera model, hardware revision, firmware version, card brand, capacity and exact error. Add a screenshot of the storage page. These details make a support request useful even when the original card cannot be read. EZVIZ’s missing-card instructions also require backing up important files before initialization.
Does the microSD card match the exact camera model?
Physical fit does not establish compatibility. Check the camera’s maximum capacity, required file system and recording speed class. The card’s SDHC or SDXC marking describes a standard; the camera’s manual decides what that model can use.
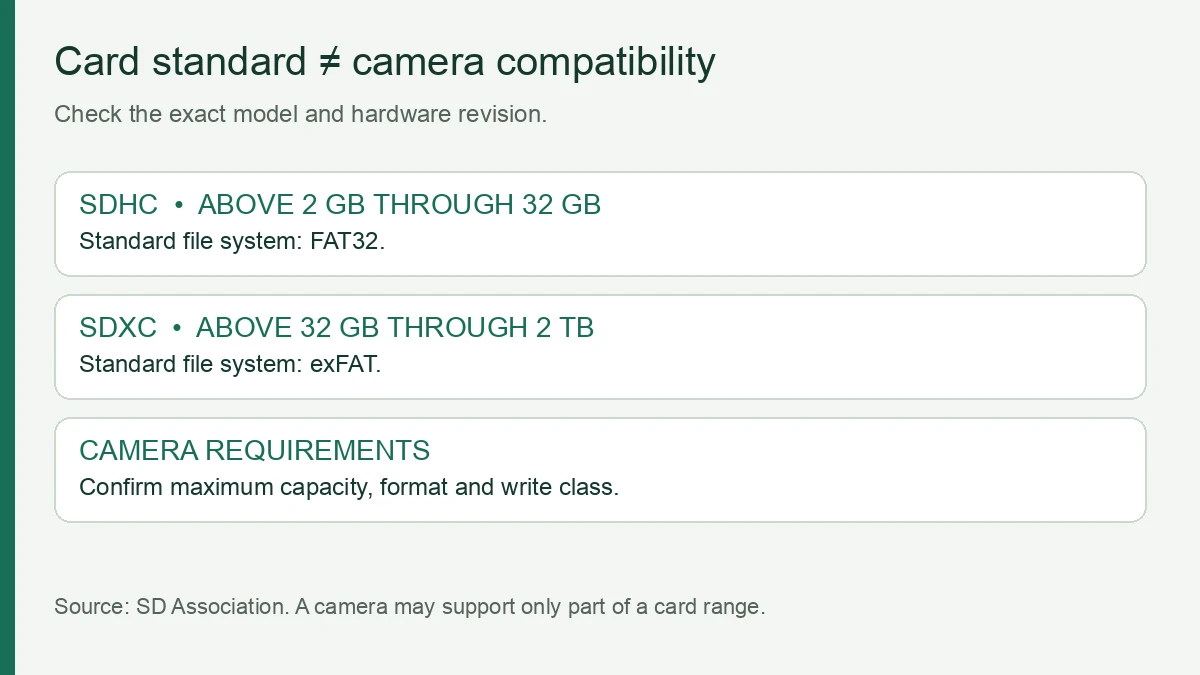
The SD Association’s capacity standard defines SDHC as more than 2 GB through 32 GB with FAT32, and SDXC as more than 32 GB through 2 TB with exFAT. Those ranges describe card standards, not a promise that a camera supports every capacity in the range.
| Buyer check | What to confirm |
|---|---|
| Capacity | The supported maximum for the exact camera and hardware revision |
| File system | The format named in the manual or created by its initialization function |
| Write class | The class required for the selected recording mode |
| Recording workload | A compatible card designed for repeated video writing |
For example, the QZT C12 indoor fixed WiFi camera page lists a maximum SD-card capacity of 256 GB. That figure applies to the listed C12 configuration; it is not the limit for every QZT camera, and the page does not establish a universal file-system rule.
Use the camera’s documented initialization method after preserving files. If initialization is unavailable because the card is not detected, try a verified compatible spare. Use a computer format only when the exact support instructions specify the file system. Changing the format does not increase the camera’s supported capacity.
How do you check card health without guessing?
Compare the suspect card with a compatible spare under the same camera settings. A spare should be genuine, meet the model requirements and have a verified working baseline. A card that opens on a laptop has passed a recognition check, not a full recording test.
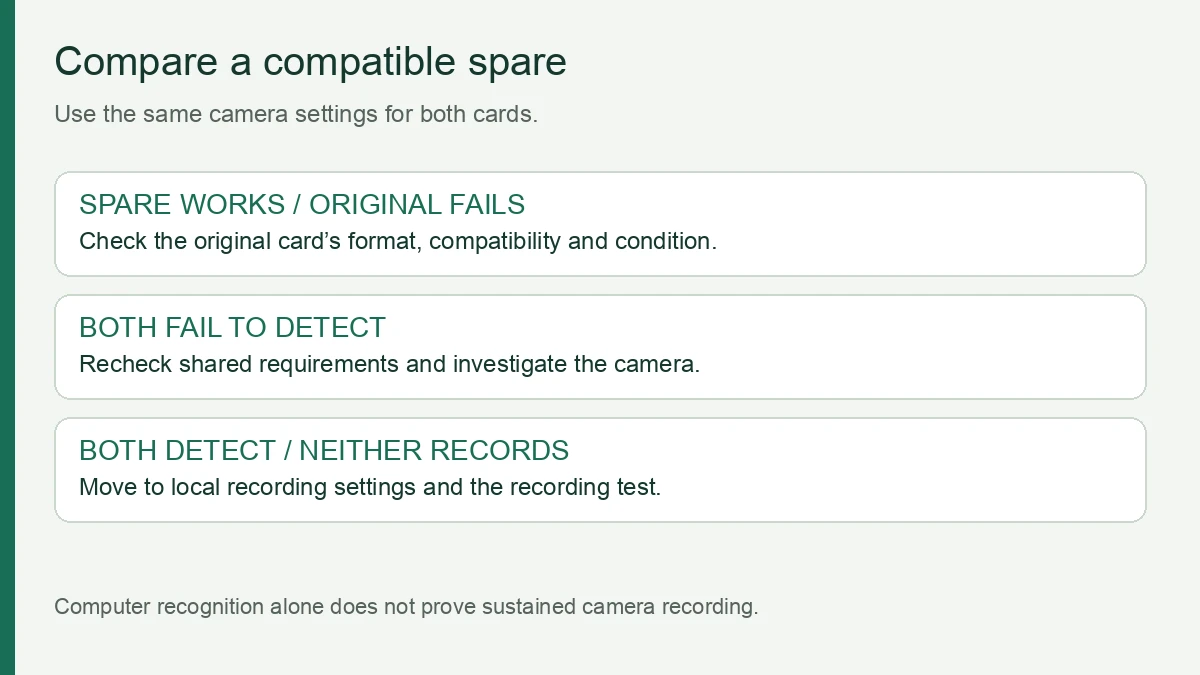
After preserving footage, check the suspect card in a suitable reader. If the reader cannot recognize the card, compare another reader or a known-good card before blaming the camera. For an empty or expendable card, a capacity and read/write verification test can reveal a false-capacity or failing card. Such tests write data; keep the original footage card out of the test.
TP-Link’s detection troubleshooting procedure recommends a compatible high-endurance spare, another camera or reader, and capacity testing where needed. These checks give you separate observations rather than relying on repeated formatting.
| Comparison result | What it suggests | Next action |
|---|---|---|
| Spare works; original fails | Original-card compatibility, format or condition needs attention | Verify requirements; replace an unreliable card |
| Neither card is detected | A shared compatibility issue or a camera-side fault remains | Recheck the model, seating, supported firmware and slot |
| Both cards are detected; neither records | Detection is working; recording still needs investigation | Check destination, mode and schedule |
For repeated video recording, select an endurance-rated card that also meets the camera requirements. An endurance label does not establish compatibility or a fixed service life. If a compatible spare still fails, send support the comparison results and firmware version. Use only the update package and method approved for the exact model.
Are local recording, the schedule, and detection all enabled?
Once the card is recognized, check whether the camera is configured to write video locally. An online live view or a motion notification does not demonstrate that a clip was saved to the microSD card.
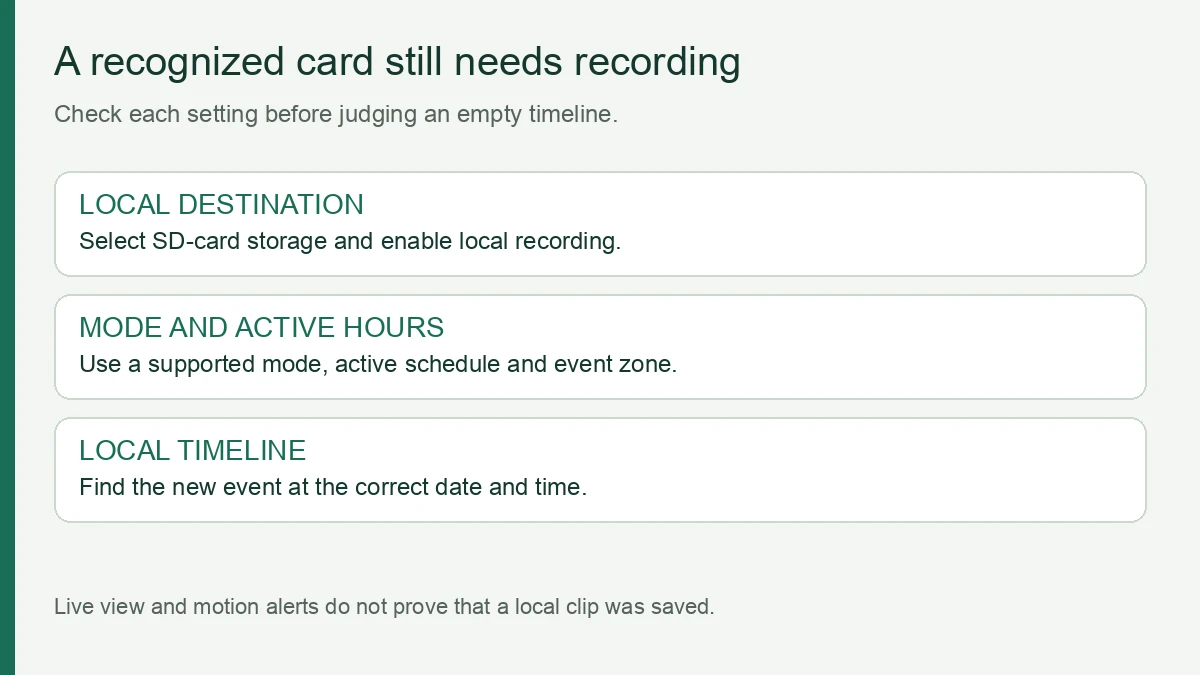
Select the camera’s SD-card or local-storage destination. Enable its recording function, then choose a supported event or continuous mode. For event recording, check the detection zone, sensitivity and active hours. For scheduled recording, verify the current day and time fall inside an enabled period.
Search the local timeline for a new test event using the correct camera, date and time zone. Cloud recordings and SD-card recordings may appear in separate views. If clips exist at the wrong time, follow the camera date and time guide before repeating the card checks.
If the storage page still reports “No card,” return to compatibility and the spare-card comparison. Changing a motion zone does not establish card recognition. Keep the storage message and recording result as separate observations, then run the acceptance check below.
How do you prove that SD-card recording works again?
Finish with a new local recording that you can play and export. A successful format message proves only that the format operation finished. For a distributor’s sample check, keep the camera model, card details and test result together.
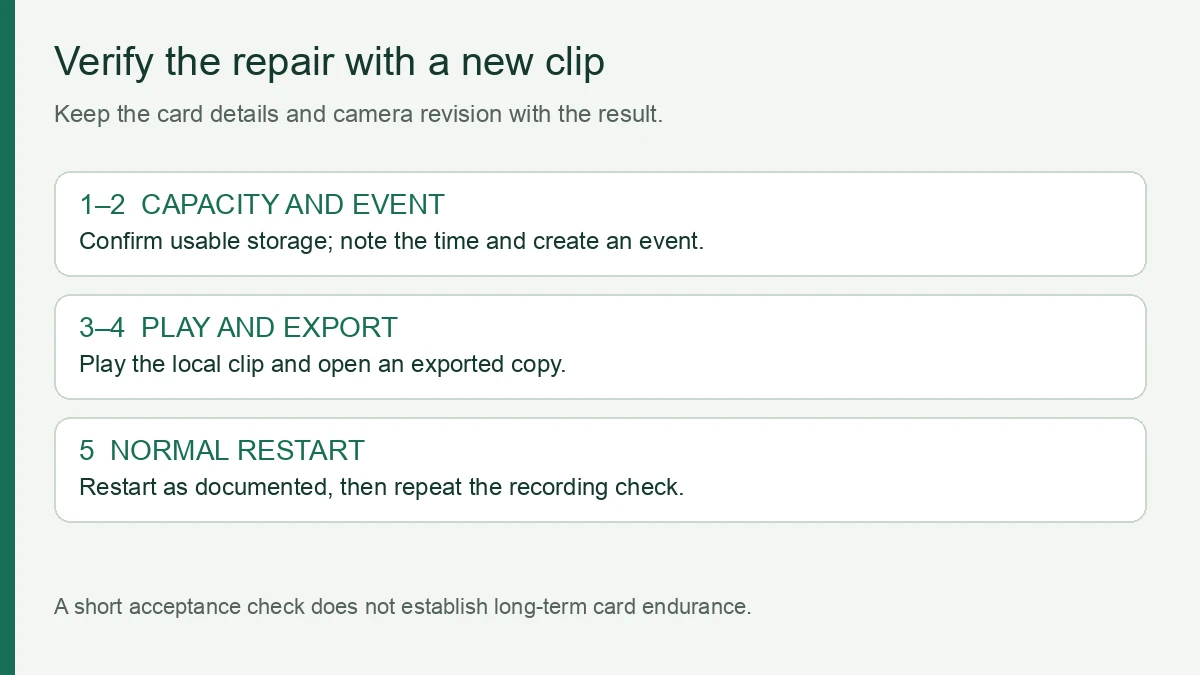
- Confirm that storage reports usable capacity and no card error.
- Note the time, then create one event inside the active recording area.
- Allow the documented write period to finish and open the local timeline at that time.
- Play the clip from beginning to end. Export by the supported method and open the exported file.
- Restart normally by the documented method, then repeat the recording check.
If detection returns but recording fails, keep the recognition result and troubleshoot recording separately. If the exported clip fails, preserve the card and investigate playback or file condition. A short check confirms the functions you exercised; it does not establish long-term endurance or performance in every recording mode.
For a batch order, include the approved card model and capacity, camera hardware revision, firmware and required recording mode in the sample acceptance record. After recording works, use the 1080p storage planning guide to estimate retention from the actual recording settings.
Frequently Asked Questions
Why does my camera say no SD card detected?
A security camera may report no SD card when the card is poorly seated, incompatible, damaged or unreadable to the camera. Check the exact model requirements, power down as documented and reseat the card. Compare a compatible spare before formatting. A storage reading of 0 GB can also indicate a recognition fault.
Should I format every camera microSD card as FAT32?
A security camera does not have a universal FAT32 requirement. SDHC cards above 2 GB through 32 GB use FAT32 under the SD standard; SDXC cards above 32 GB use exFAT. Follow the exact camera’s manual and initialization method. Save required footage before formatting, and confirm that the camera supports the capacity.
Why does the microSD card work on a computer but not in the camera?
A security camera can reject a microSD card that a computer reads because the camera requires a different capacity, file system or card specification. Computer recognition also does not verify sustained recording. Compare a compatible spare in the same camera, then verify a new local clip before approving the original card for reuse.
What should I do if the microSD card will not click into the camera?
A security camera with a spring-loaded microSD slot should retain the card as its manual describes. Power down, check the illustrated orientation and insert gently. Stop if the card needs force, will not latch or the slot looks damaged. Ask support to confirm the slot mechanism before another attempt; do not probe the contacts.
Does a successful format mean the camera is fixed?
A security camera that successfully formats a microSD card still needs a recording check. Confirm usable capacity, create a new event, play the local clip and verify an exported copy. Repeat after a normal restart. These results confirm detection and recording for the tested setup; they do not establish the card’s remaining lifespan.
Get the card requirements for your camera
For a QZT unit that still reports no card, send the model, hardware revision, firmware, card details and spare-card result through the support contact on the relevant QZT camera page.

 English
  Italiano
  Deutsch
  Français
  Español
  Polski