
When a security camera image is upside down, first compare the physical mounting position with the image shown in the camera app, recorder and a saved clip. A 180-degree rotation setting often corrects a ceiling-mounted camera, but mirroring, 90-degree corridor views and unsupported mounting positions need different fixes.
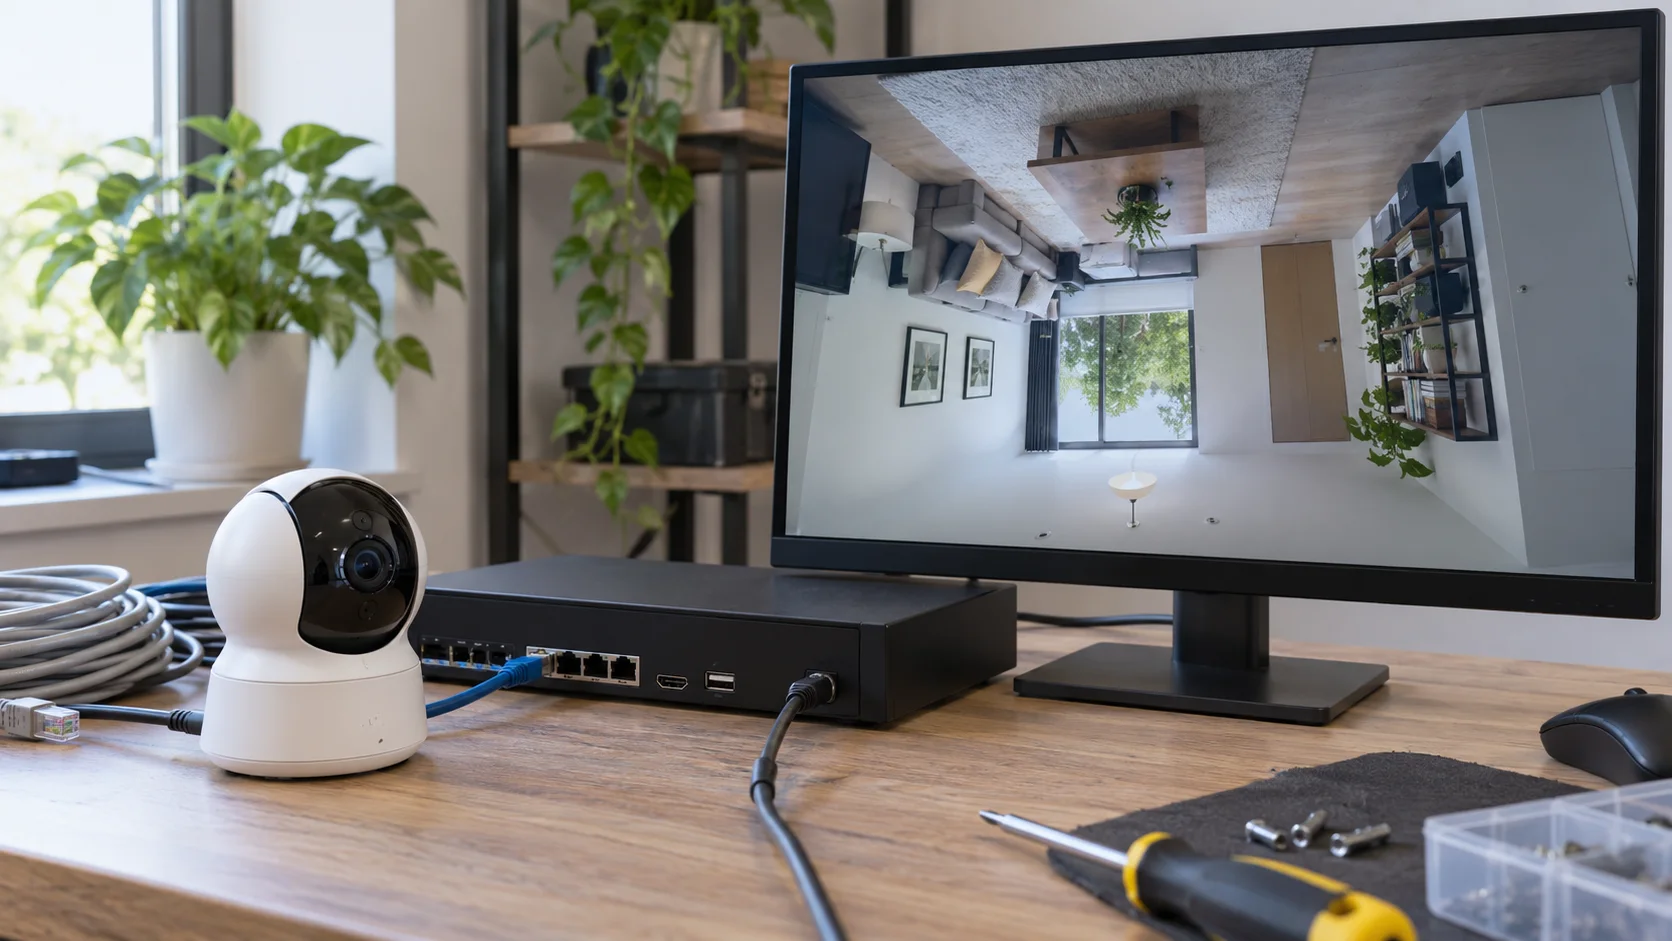
Did the camera move, or did the rotation setting change?
Use fixed objects to identify what changed. A doorway, clock, shelf label or exit sign makes the top, bottom, left and right of the scene clear. Check the physical camera and mount before changing software.
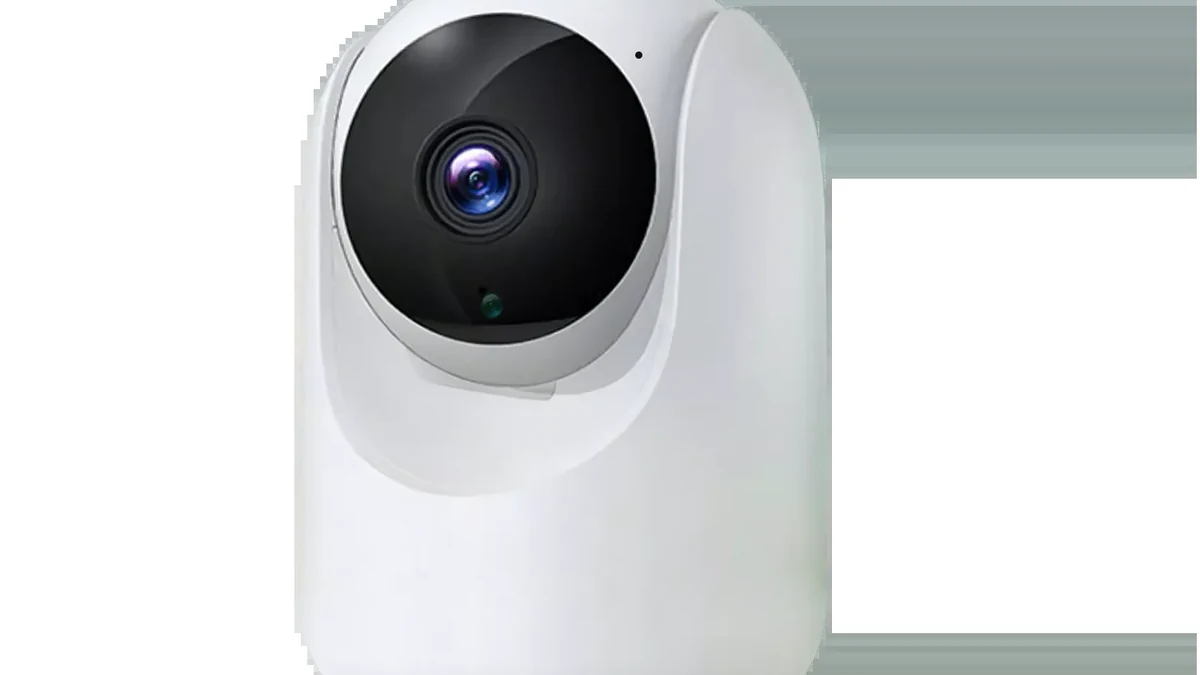
Google’s Nest camera instructions separate two fixes. Some installations can be corrected by twisting the camera in its stand or mount. Supported Nest models can instead rotate the video 180 degrees in the app. Google also states that the software setting is not available for its doorbells or Nest Cam IQ Outdoor, so the exact model matters.
Take a screenshot before changing anything. Then inspect the camera body, bracket and cable exit. If the bracket slipped or a pan-tilt camera moved in its mounting ring, correct the physical position only when the installation instructions allow it. Do not loosen an outdoor seal, strain a cable or rotate a housing past its mechanical stop to make the picture look upright.
If the camera has not moved, open the display or image settings for that exact channel. Look for a control named Rotate, Rotation, Flip, Invert Image, Image Orientation or Installation Position. Record the original value so it can be restored if the change affects another viewer.
The spy-camera installation guide covers placement and field-of-view checks that should be completed before a bracket is fixed permanently.
Do you need rotation, mirroring, or a 90-degree view?
Rotation and mirroring solve different orientation problems. Use a scene with an object on only one side, then match the symptom to the smallest correction.
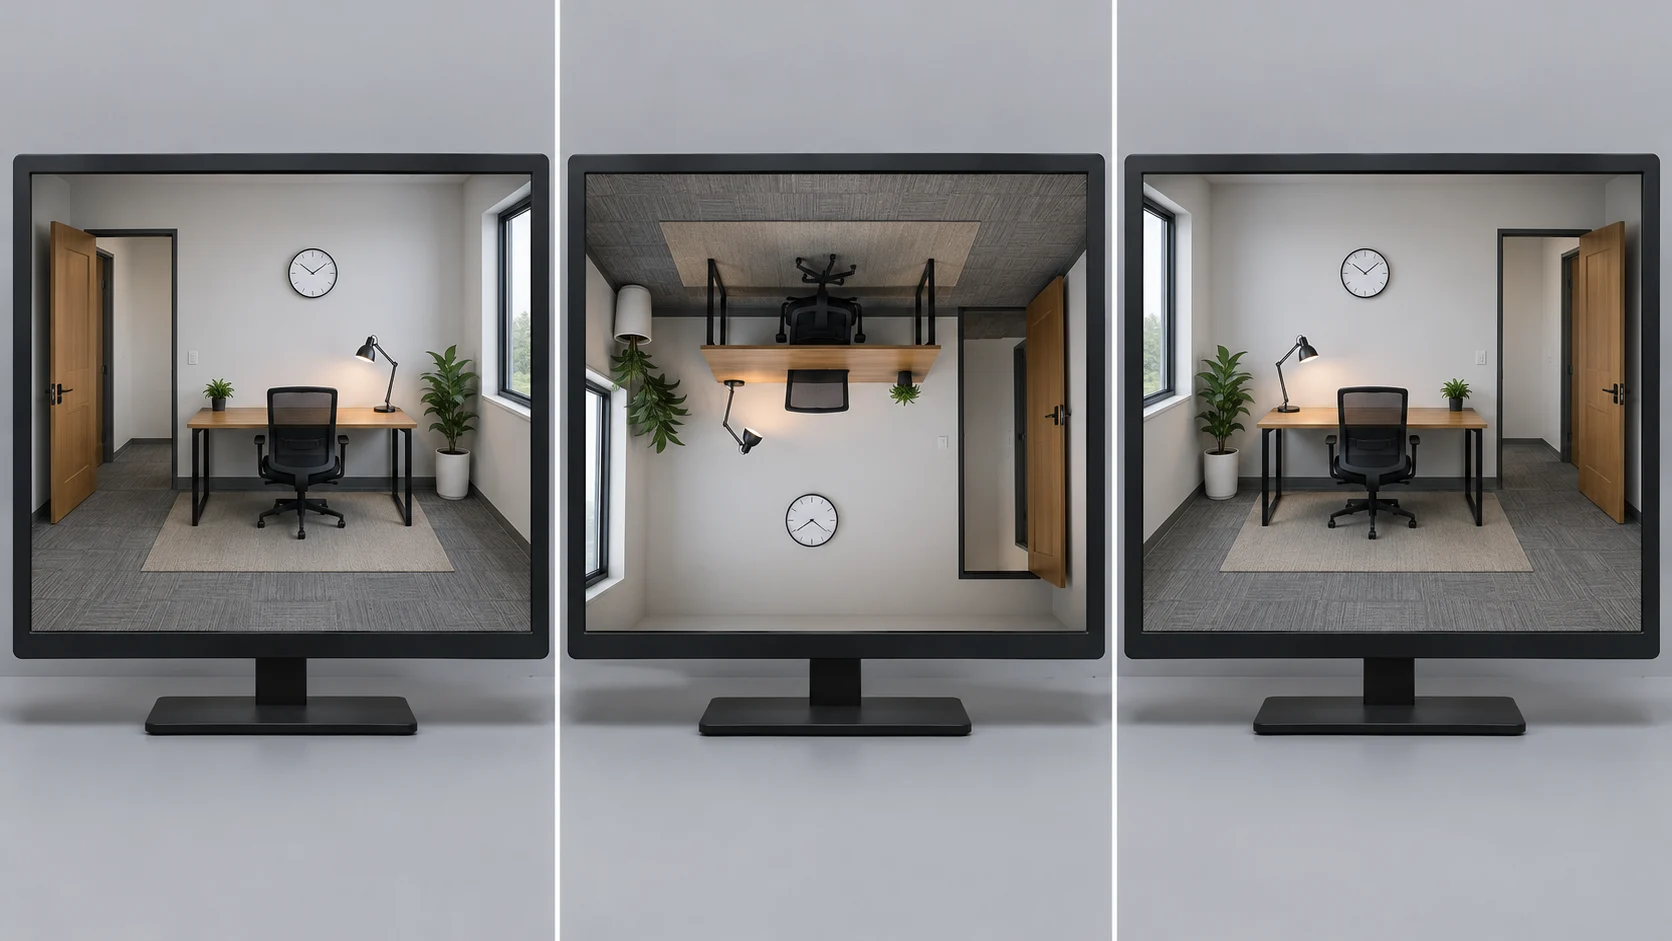
– Ceiling and floor have exchanged places: test a 180-degree rotation or image inversion. Horizontal mirroring will not put the ceiling back at the top.
– Left and right are exchanged, but the scene is upright: test horizontal mirroring. A 180-degree rotation also changes the top and bottom.
– The scene is sideways: use a supported 90- or 270-degree orientation. A camera that offers only 180-degree rotation cannot create a proper portrait view.
– The scene is upright but the horizon is tilted: adjust the physical mount or a supported roll control. A full 180-degree rotation will turn the scene upside down.
TP-Link’s Tapo and Kasa support page describes an Invert Image or Video Rotation setting that turns the covered image 180 degrees. Reolink’s flip guide distinguishes vertical flip from horizontal mirroring and states that the covered cameras support 180-degree changes, not 90-degree rotation.
Some camera models provide more angles. The AXIS P5654-E manual offers 0, 90, 180 and 270 degrees under Video, Installation and Rotate. Follow the terms used by the installed model rather than copying a menu path from another brand.
Which device owns the orientation setting?
An orientation change can be stored in the camera, recorder, video-management system or viewing app. Test each layer separately instead of changing several menus at once.

Start with the camera’s approved app or web interface. Then compare the local NVR monitor, desktop client and mobile app. Reolink documents separate paths for its app, client, web browser and NVR interfaces. The labels vary, and the available controls depend on the model and software.
Use this sequence:
1. Open the same channel in the camera’s own interface, if the model provides one.
2. Compare the local recorder monitor with one authorized mobile or desktop client.
3. Change one orientation setting and refresh every viewer.
4. Note which views changed and which stayed the same.
5. Return the test setting to its original value before trying the next layer.
If every viewer changes together, the correction is probably being applied at the camera or shared recorder level. If one app changes while the exported recording and other viewers do not, the correction is probably limited to that client. Treat that result as a working diagnosis and confirm it with a new recording before closing the job.
For Tuya-based equipment, PC support is also model-dependent. The Tuya camera PC-viewing checks explain why an app, web viewer, ONVIF client and NVR should not be treated as interchangeable.
Does the camera support that mounting direction?
An upright picture does not prove that the physical installation is safe. Check the manual for the camera’s allowed mounting direction, weather seals, sensor position and mechanical travel.
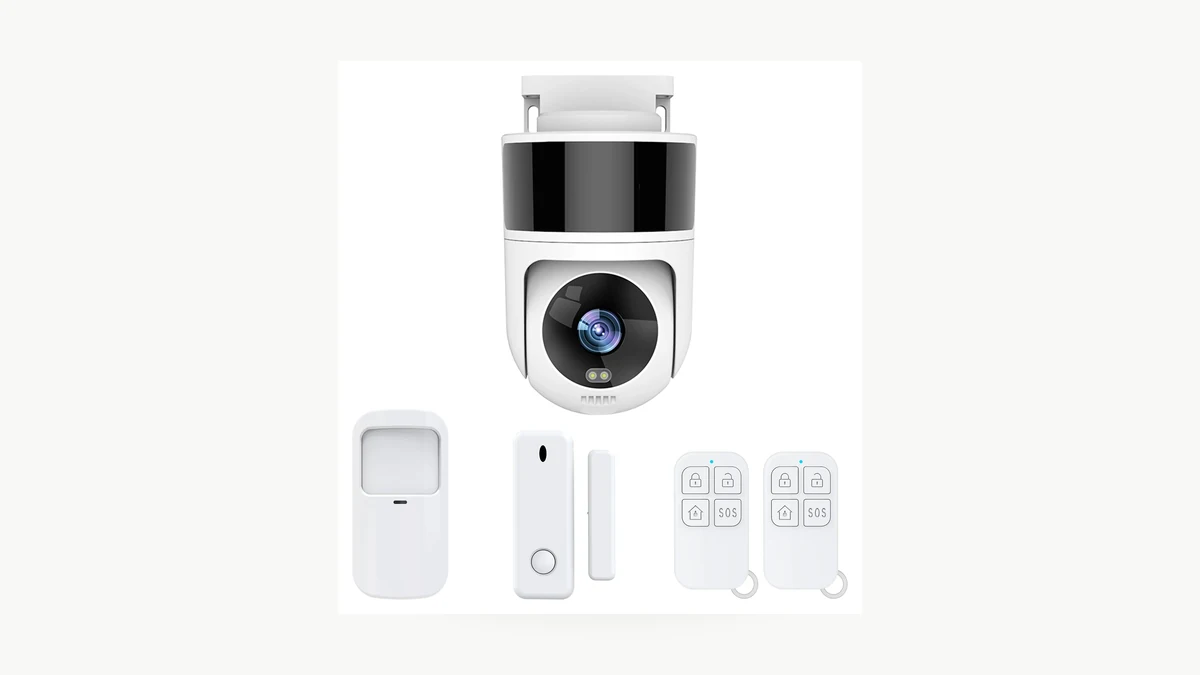
TP-Link tells users to keep the covered battery cameras upright because upside-down mounting can impair PIR performance and increase the risk of water entering the charging port. Its FAQ says that Invert Image is therefore not supported for those battery cameras.
Reolink’s upside-down mounting guide lists model exceptions and warns that some outdoor models should not be inverted because openings may admit water or the tilt range may be reduced. The current support list is brand- and model-specific, so check the hardware version instead of assuming that every camera in a series behaves alike.
Before remounting an outdoor camera, verify:
– the approved wall, ceiling or pendant orientation;
– the direction of cable glands, charging ports, speaker openings and microSD covers;
– whether the PIR sensor has a specified upright position;
– the full pan and tilt range after installation;
– drainage, drip loops and gasket compression;
– whether the firmware offers the required image rotation.
If software can make the picture upright only by putting the housing in a forbidden position, remount the camera or choose a compatible bracket. Do not trade weather resistance or detection coverage for a correct-looking live view.
Are live view and saved recordings oriented the same way?
Open a new recording after changing the orientation. A live view can look correct while a recorder, exported clip or second client still uses another setting.
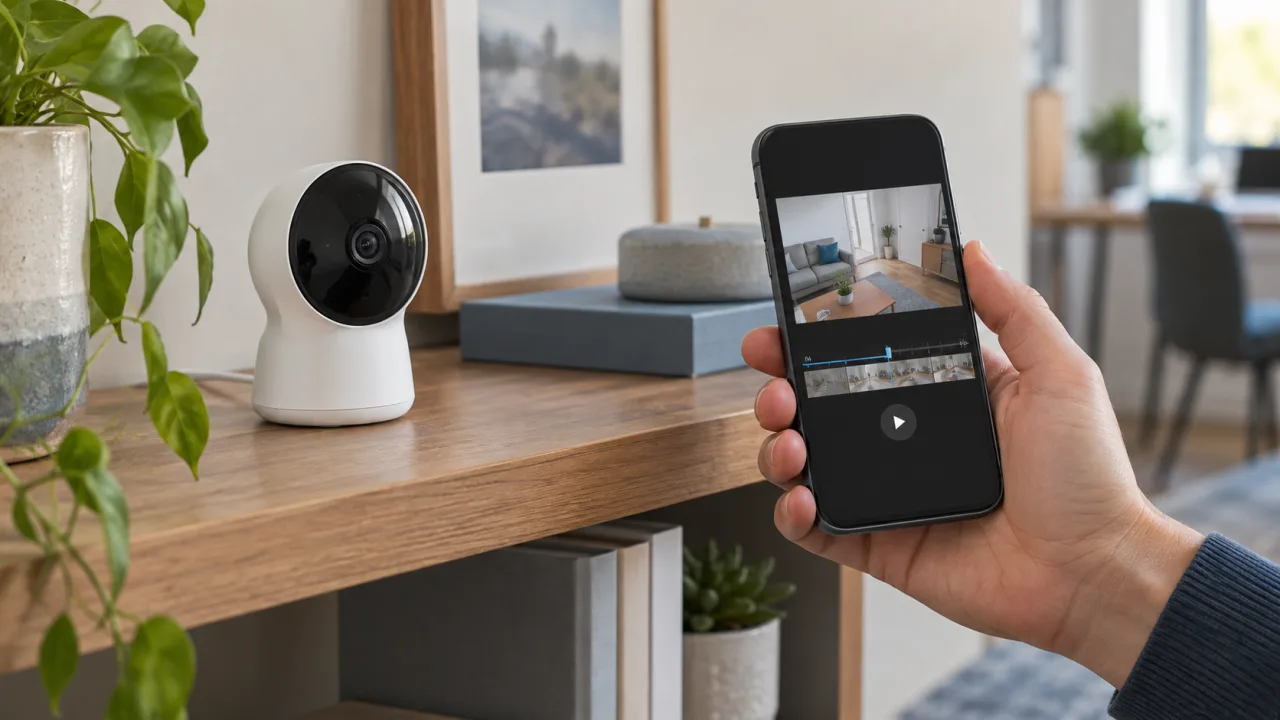
Create a short test with an obvious directional reference. Walk from the marked left side of the scene to the right, then point briefly toward the ceiling and floor. Review the same time on the camera app, local recorder and exported file.
Record the result in four places:
– Live view in the camera app: note whether the picture is upright, whether left and right are correct, and which camera or app value is active.
– Live view on the NVR monitor: repeat the same checks and record the channel setting.
– New recording playback: confirm the orientation and note which recording path was tested.
– Exported clip on a second device: verify the clip in an independent player and record the result.
If the new recording and exported clip are upright everywhere, the saved video path is corrected. If only one live viewer is upright, keep tracing the client and recorder settings. Do not use an old clip as proof because a rotation change may apply only to video captured after the setting was saved.
The security-camera recording checks separate live view, playback, stored files and exported clips so each part of the path is verified independently.
Will the fix survive a restart and normal movement?
Save the setting, restart the equipment normally and repeat the orientation test. A temporary viewer change is not a complete repair if the image returns upside down after the camera or recorder reboots.
Use this acceptance sequence:
1. Photograph the physical mount and record the camera, hardware version, firmware and viewer versions.
2. Save the orientation setting and close the app or client completely.
3. Reopen live view on the camera app and local recorder.
4. Restart the camera and recorder by their normal documented method.
5. For a pan-tilt model, move through its normal range and return to the home or preset position.
6. Record a new clip, play it locally and export it to a second authorized device.
7. Confirm that timestamps, privacy masks and detection zones still line up with the corrected scene.
Stop if the image becomes upright but the camera loses part of its field of view, hits a mechanical limit or points a privacy mask at the wrong area. Correct the installation and configuration together, then keep the final screenshots and exported clip with the service record.
Frequently Asked Questions
Can an upside-down security camera image be fixed without remounting?
An upside-down security camera image can often be corrected with a supported 180-degree rotation or invert setting. Google Nest, TP-Link and Reolink document software controls for covered models. Check the exact hardware and app version first because some doorbells, battery cameras and other named models do not offer the same option.
Is flipping a security camera image the same as mirroring it?
Flipping a security camera image is not always the same as mirroring it. Reolink separates a vertical 180-degree flip from horizontal mirroring. A vertical flip can correct an upside-down scene, while horizontal mirroring exchanges left and right. Use a doorway or printed label to identify the required operation.
Why is a security camera upright in the app but upside down on the NVR?
A security camera can appear upright in one app and upside down on the NVR when orientation is stored at different viewing layers. Compare the camera interface, NVR channel, desktop client and a new exported clip. Change one setting at a time so the owner of the correction is clear.
Can an outdoor security camera be mounted upside down?
An outdoor security camera can be mounted upside down only when the manufacturer approves that position for the exact model. TP-Link warns against inverting covered battery cameras, and Reolink lists model-specific waterproofing and tilt limits. Check port direction, seals, drainage, PIR orientation and software rotation before installation.
Should I factory-reset a security camera with an upside-down image?
A factory reset should not be the first fix for a security camera with an upside-down image. Check physical orientation, rotation, mirroring and the responsible viewer first. If support requires a reset, back up settings and record network, recording, privacy-zone and notification values because the reset may erase them.
Keep the final mounting position and orientation setting with the camera record. When replacement is necessary, compare QZT security cameras by mounting method, weather protection, rotation support, client compatibility, recording path and pan-tilt range before ordering.
 English
  Italiano
  Deutsch
  Français
  Español
  Polski