Critico: Disattiva i dati mobili prima del pairing.
If your Tuya-based security camera will not connect to your home network, drops the WiFi signal repeatedly, or you are in Germany, Austria, or another EU jurisdiction where network-connected surveillance devices face GDPR scrutiny — you are not dealing with a hardware fault. You are dealing with a configuration problem that has a precise, reproducible solution.
This guide covers the complete setup procedure for Tuya C10 smart security modules, from router configuration and first WiFi pairing, through to enabling the hardware-level local recording mode that keeps all footage physically off the cloud — satisfying the strictest GDPR requirements without any firmware modification.
What Is the Tuya C10 Module and Why It Only Works on 2.4 GHz
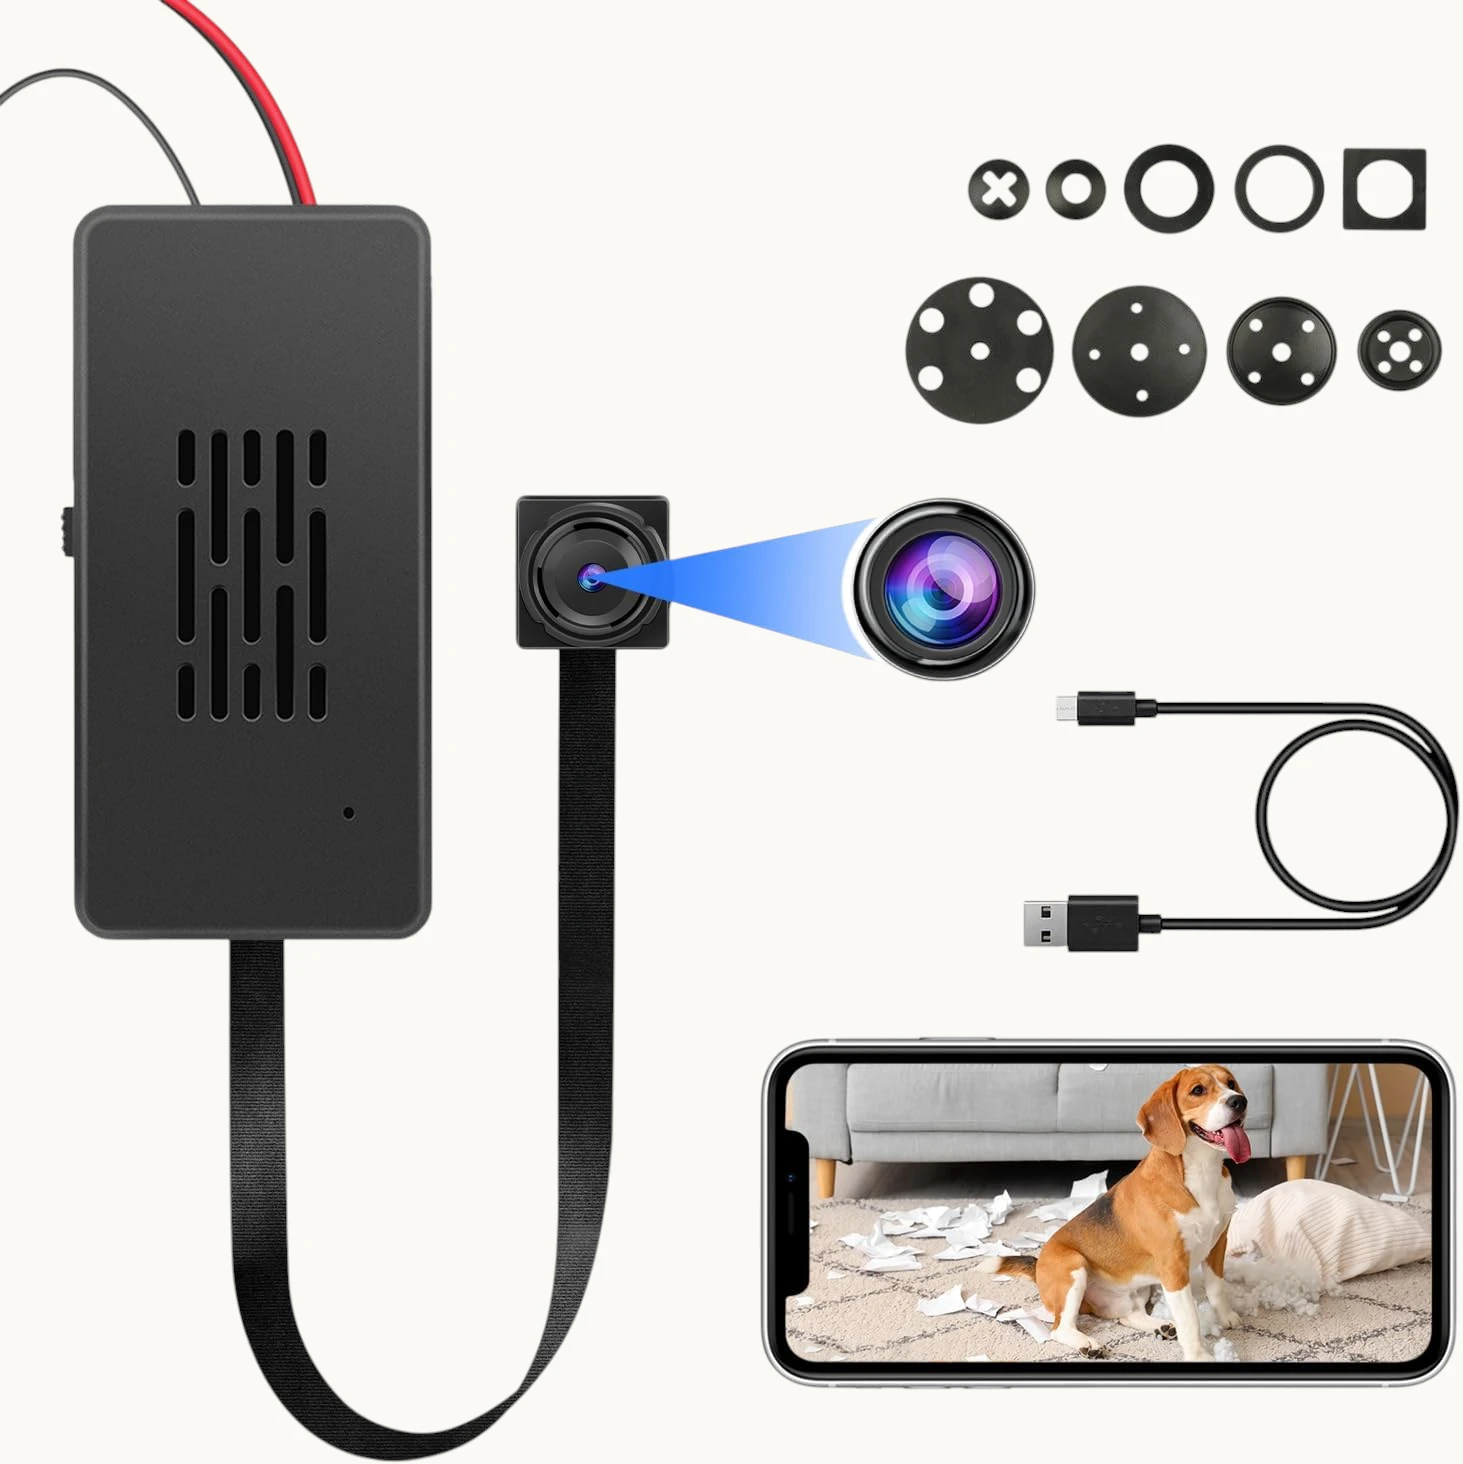
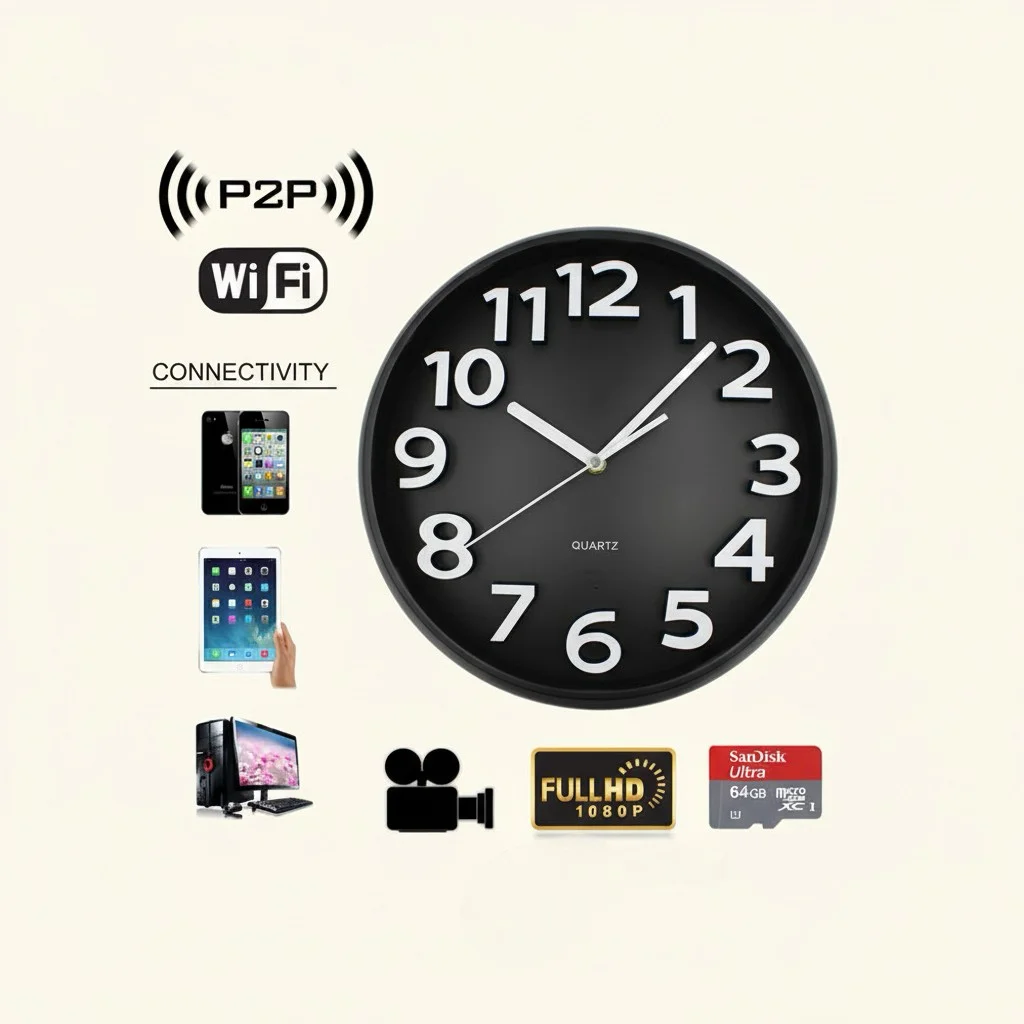
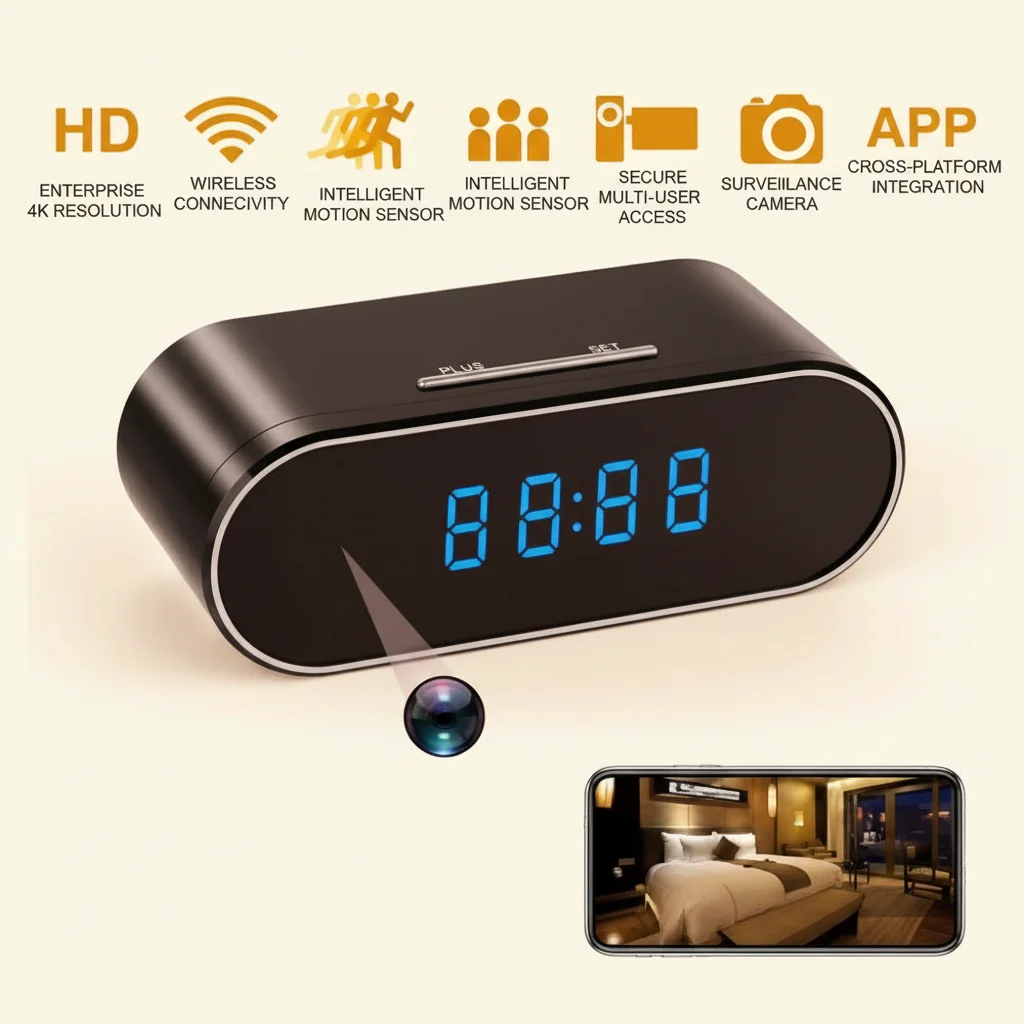
The Tuya C10 is a compact dual-column WiFi module based on the RTL8710BN chipset — a low-power, ARM Cortex-M4F MCU with an integrated 802.11 b/g/n radio. It is embedded in QZT clock cameras, socket cameras, air-freshener cameras, and power bank cameras to provide P2P remote viewing, push notification delivery, and cloud storage through the Tuya Smart or Smart Life application.
The technical constraint that causes the majority of first-time connection failures is this: il front-end RF del modulo C10 è adattato in impedenza esclusivamente per la banda ISM a 2,4 GHz. The PCB antenna trace is tuned for 2.4 GHz center frequency with a bandwidth of approximately 100 MHz. At 5 GHz, the impedance match degrades severely — VSWR rises from ~1.5:1 to above 3:1, reducing effective radiated power by 6–10 dB. In practical terms, a 5 GHz association attempt typically succeeds within the same room as the router, fails at 5 meters through a plasterboard wall, and is effectively impossible through a concrete wall.
This is a hardware design decision made at the module level, not a firmware limitation that can be updated. The C10 module will never be able to connect to 5 GHz networks regardless of firmware version.
The implication for your router configuration: Your router must expose a separate, dedicated 2.4 GHz SSID. This is not optional.
Perché la funzione “Smart Connect” del Router Interrompe l'Accoppiamento

Most modern routers from ASUS, TP-Link, Netgear, and FritzBox ship with Smart Connect (a volte commercializzato come “Band Steering” o “One SSID”) abilitato per impostazione predefinita. Smart Connect unisce le radio a 2,4 GHz e 5 GHz sotto un unico nome di rete — il router decide quale dispositivo si connette a quale frequenza in base alla forza del segnale e alla capacità in tempo reale.
For smartphones and laptops this works seamlessly. For Tuya C10 modules it causes a silent, hard failure: the module broadcasts a probe request on 2.4 GHz, the router responds with a 5 GHz association redirect, the C10 chipset — unable to process 5 GHz frames — does not complete the handshake, and after three failed attempts the module reverts to factory EZ mode and waits.
The router configuration change below is the single most important step in the entire setup process. Without it, every subsequent step fails regardless of how carefully you follow them.
To fix it:
1. Aprire il pannello di amministrazione del router (tipicamente 192.168.0.1 o 192.168.1.1).
2. Log in with the credentials printed on the router label or set by your ISP.
3. Navigate to Senza fili → Wireless Settings or WiFi Settings.
4. Locate Smart Connect, Band Steering, or One SSID.
5. Disable it.
6. You will now see two separate configuration sections: 2.4 GHz E 5 GHz.
7. Assegnare alla rete 2,4 GHz un nome chiaro e distinto come `Network_2G` o `MyHome_24` — non utilizzare spazi o caratteri speciali; il parser SSID del modulo C10 non gestisce spazi nei nomi di rete.
8. Assign your 5 GHz network any name you prefer.
9. Save settings and wait 30 seconds for the router to apply the changes.
Confermare che il telefono sia connesso alla rete 2,4 GHz prima di procedere — controllare la schermata dei dettagli WiFi; alcuni telefoni Android mostrano il badge “5G” o “2.4G” direttamente nel campo SSID.
Preparing Your Phone: The Tuya App Connection Checklist
Before powering on the camera, prepare your phone to avoid a failed pairing at the app step.
Download and install the correct app. Search for Tuya Smart (blue icon with a house) or Smart Life (icona arancione) nell'Apple App Store o nel Google Play Store. Entrambe le app condividono lo stesso backend; entrambe funzionano con i moduli QZT C10. Non utilizzare app di terze parti “generiche per la casa intelligente” — spesso utilizzano versioni obsolete del protocollo Tuya incompatibili con il firmware attuale.
Critical: Turn off mobile data before pairing. Il protocollo di accoppiamento modalità EZ di Tuya utilizza una trasmissione UDP locale sulla porta 8883. Se i dati mobili del telefono sono attivi, il relay cloud Tuya intercetta la stretta di mano di accoppiamento e la trasmissione locale del modulo viene ignorata. Su iOS: tirare giù il Centro di Controllo e disabilitare Dati Cellulare. Su Android: tirare giù la tendina delle notifiche e toccare l'icona Dati Mobili per disabilitarli, oppure andare su Impostazioni → Rete e Internet → Rete Mobile e disattivarla.
Keep your location on. Tuya devices use Bluetooth LE advertising during the pairing phase to broadcast their device ID to the app. Android 8+ requires location permission to scan for Bluetooth LE — this is a Tuya SDK requirement, not a data-collection mechanism. Grant the permission.
Resetting and Entering EZ Pairing Mode Correctly
The C10 module has two pairing modes: EZ Mode (easy WiFi config via broadcast) and AP Mode (access point fallback). Most users need only EZ mode. Here is how to enter it reliably:
Step 1: Ensure the device is powered off. If it was previously powered on, unplug it and wait 10 seconds.
Step 2: Inserire una scheda microSD formattata FAT32 (32 GB o 64 GB, schema di partizione MBR) nello slot SD del dispositivo. Questo passaggio è richiesto anche se si pianifica di utilizzare la registrazione cloud — il firmware C10 verifica la presenza della scheda SD durante l'avvio per determinare la modalità di registrazione predefinita.
Step 3: Power on the device. Wait 20 seconds for the module to fully initialize. On clock cameras, the LED shows a solid color; on socket cameras, the LED begins blinking.
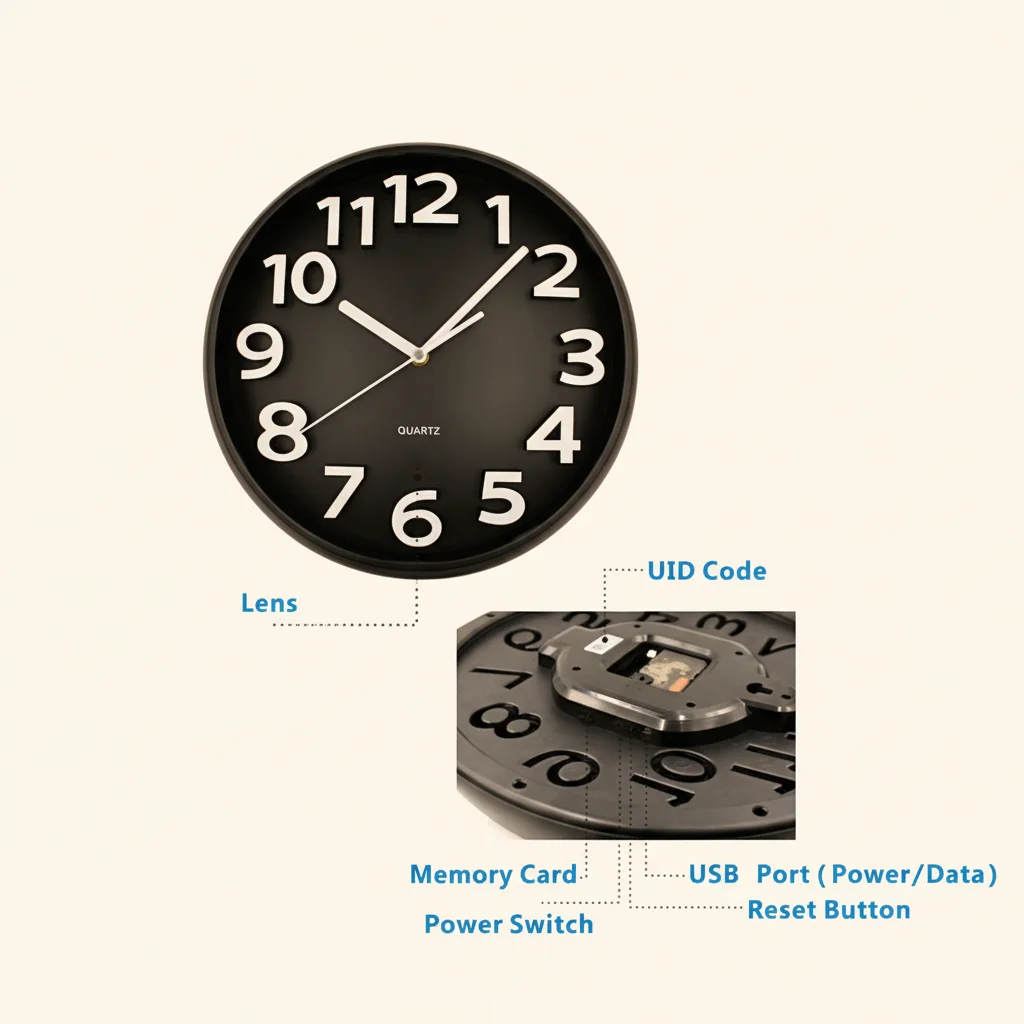
Step 4: Locate the reset button. On wall clock cameras it is typically in the battery compartment or on the rear panel beside the USB port. On socket cameras it is in a pinhole beside the USB charging port. On air-freshener cameras it is on the underside of the unit.
Step 5: Using the provided reset pin or a straightened paperclip, press and hold the reset button for 6–7 seconds — not a quick tap. The LED must change state: on most models, the LED changes from slow blink (0.5 Hz) to fast blink (2 Hz), indicating the module has cleared its stored SSID and is now broadcasting in EZ mode.
Step 6: Verify the LED pattern: 2 flashes per second is the correct state. If the LED is still slow-blinking or solid, the reset did not register — power cycle and repeat.
Step 7: Proceed to the app immediately. The EZ broadcast window is 3 minutes. If you do not complete pairing within this window, the module exits EZ mode and reverts to its last stored configuration.
Completing the App Pairing: Adding the Device
With the router configured, the SD card inserted, and the module in fast-blink EZ mode, open the Tuya Smart or Smart Life app.
In the app:
1. Tap the + icon (top right) to add a device.
2. Select Camera or Security Camera from the category list — or tap Add Manually e cercare “C10” o il modello specifico della telecamera (es. “Telecamera Orologio”, “Telecamera Presa”).
3. Nella schermata “Seleziona WiFi”, confermare di essere connessi al 2.4 GHz network you configured earlier. Enter the WiFi password and tap Next.
4. L'app visualizzerà una schermata di istruzioni: “Assicurarsi che il dispositivo sia in modalità lampeggio rapido.” Confermare che il LED lampeggi rapidamente (2 Hz) e toccare Confirm.
5. The app sends the SSID and password to the module via the local UDP broadcast. The module receives this broadcast, disconnects from its EZ beacon, connects to your router, and then sends an MQTT register packet to the Tuya cloud. The app detects this registration within 20–30 seconds and marks the device as online.
What if pairing times out after 60 seconds?
This typically means the module did not receive the WiFi credentials. Possible causes and fixes:
– Wrong frequency: Your phone is still on the 5 GHz network. Switch to 2.4 GHz in WiFi settings before retrying.
– SSID with spaces: Rename the 2.4 GHz SSID in your router to remove spaces (e.g., `Network_2G` instead of `Network 2G`) and try again.
– Weak signal: Move the camera closer to the router during initial setup, then relocate it afterward.
– nomi diversi Se il router ha il filtraggio degli indirizzi MAC WiFi, disabilitarlo o aggiungere l'indirizzo MAC del modulo C10 (stampato su un'etichetta all'interno del dispositivo, o visibile nell'app Tuya dopo un accoppiamento riuscito) alla lista dei consentiti.
If all of the above are correct and pairing still fails, switch to AP Mode (toccare “Modalità AP” in fondo alla schermata di accoppiamento): l'app crea un hotspot WiFi locale dal telefono, il modulo si connette direttamente ad esso e le credenziali vengono trasferite tramite quel collegamento diretto. La modalità AP è più lenta ma più affidabile in ambienti con forte interferenza a 2,4 GHz.
Enabling GDPR-Compliant Offline Recording: Physical Cloud Disconnection
For customers in Germany, Austria, Switzerland, France, and other EU jurisdictions — or any user who simply wants zero cloud exposure — the C10 module supports a hardware-enforced local-only mode that makes cloud connection physically impossible. This is not a settings toggle in the app; it is a physical configuration that the firmware reads at boot time to determine the operating mode.
How it works:
Il firmware C10 verifica la presenza di una scheda SD formattata FAT32 durante la sequenza di avvio. Se è presente una scheda SD e nessuna credenziale WiFi è mai stata memorizzata nella memoria non volatile del modulo, il firmware salta completamente la registrazione cloud MQTT, attiva il sottosistema DVR integrato e inizia la registrazione locale in loop alla risoluzione e frequenza fotogrammi configurate. La radio WiFi rimane attiva ma è utilizzata solo per la connessione diretta P2P opzionale (nessun relay cloud).
This is a one-time configuration. Once set, the device operates in local-only mode indefinitely — it will not reconnect to the cloud even if you add it to the Tuya app later.
To activate offline local recording mode:
1. Power off the device completely. Unplug the power cable.
2. Insert a FAT32-formatted Inserire la scheda microSD (32 GB o 64 GB, partizione MBR) nello slot SD. La capacità massima è di 64 GB; il driver FATfs del C10 non supporta exFAT e NTFS.
3. Do not connect the device to WiFi. Do not add it to the Tuya app. Do not power it on while connected to a router.
4. Power on the device. Wait 3 minutes. The LED will transition from slow blink (booting) to a pattern specific to local recording mode — on most clock cameras this is a steady dim LED rather than the bright flash of cloud-connected mode.
5. Recording begins automatically. The device records continuously in loop-overwrite mode: when the SD card is full, the oldest footage is automatically deleted and replaced with new footage.
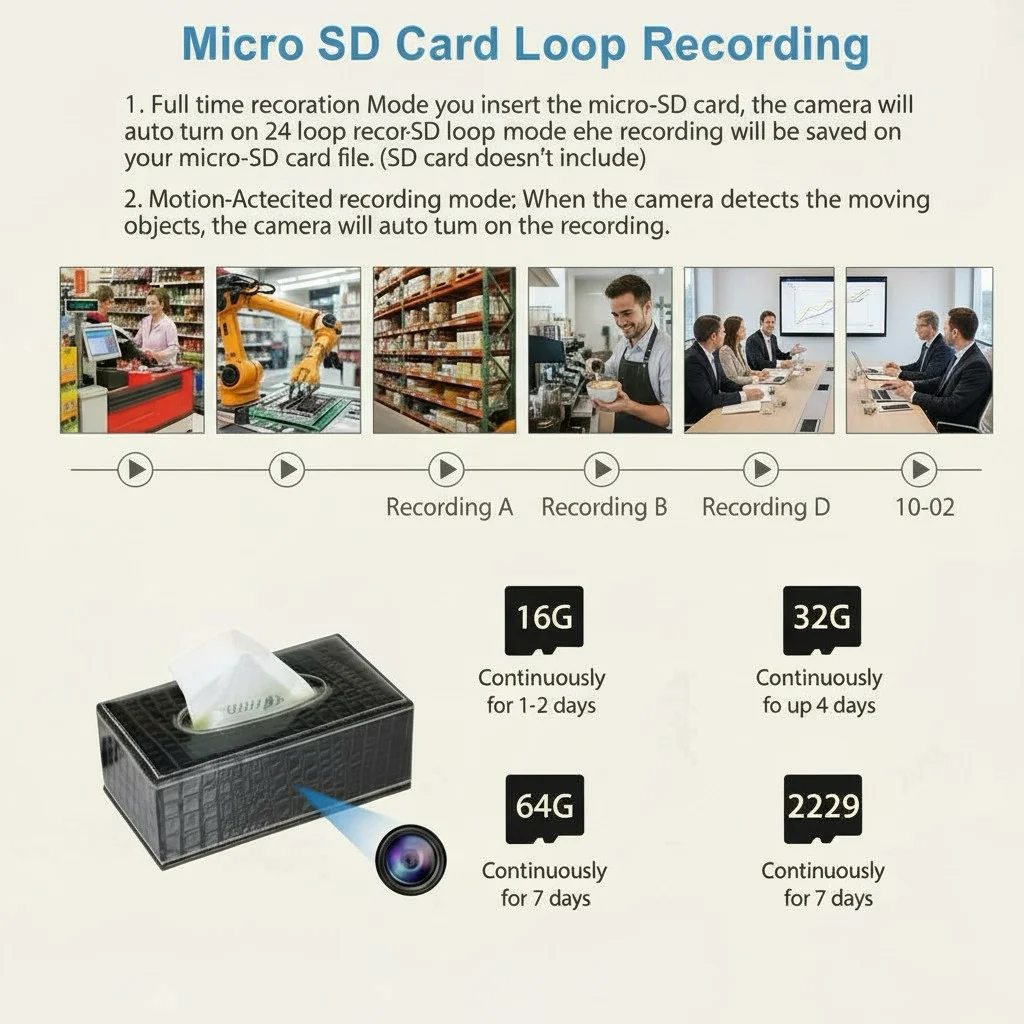
SD card capacity and loop recording:
| SD Card Size | 1080P @ 15 fps (estimated hours) | 720P @ 15 fps (estimated hours) |
|---|---|---|
| 32 GB | ~40 hours | ~60 hours |
| 64 GB | ~80 hours | ~120 hours |
Note on the 3-minute delay: During the first boot with an SD card present and no stored WiFi credentials, the module performs a network scan to confirm there is no matching Tuya cloud account configured. This scan takes approximately 3 minutes. After confirmation, the local recording mode is locked in.
Why 2.4 GHz Optimization Matters for Range and Stability

Once your device is online and configured, the 2.4 GHz frequency choice that seemed like a constraint becomes an advantage. The 2.4 GHz band penetrates walls, floors, and furniture significantly better than 5 GHz, which is why it remains the standard for WiFi-based security cameras across the entire industry.
At a typical indoor location with plasterboard walls, a 2.4 GHz signal maintains usable signal strength (-65 dBm) at approximately 25–30 meters from the router. The 5 GHz signal typically degrades below usable threshold (-75 dBm) at 12–15 meters through the same wall structure.
For wall clock cameras and socket cameras — which are typically mounted in rooms far from the router — the 2.4 GHz optimization is not a limitation. It is the reason the device will maintain a stable connection through multiple walls where a 5 GHz competitor would require a WiFi extender.
To maximize WiFi stability after setup:
– Tenere il dispositivo lontano da forni a microonde e telefoni cordless a 2,4 GHz, che operano sulle stesse frequenze e causano interferenze intermittenti.
– Se il dispositivo si trova a più di 20 metri dal router o dietro due o più pareti di cemento, considerare un nodo mesh WiFi o un bridge Ethernet-WiFi cablato piuttosto che affidarsi solo alla radio.
– Controlla l'indicatore di qualità della connessione nell'app Tuya (disponibile nella schermata delle impostazioni del dispositivo sotto “Info dispositivo” o “Stato rete”). Una forza del segnale inferiore a -80 dBm indica una connessione marginale che potrebbe interrompersi durante periodi di traffico elevato.
How to Return a Locally Configured Device to Cloud Mode
If you initially set the device to offline local recording mode and later want to connect it to the Tuya cloud — for example, to enable remote viewing when away from home — you can reset the local-only lock and re-pair it:
1. In the Tuya Smart or Smart Life app, press and hold the reset button for 10 seconds to clear all stored configuration (including the local-only lock).
2. Power cycle the device.
3. Insert the SD card and power on.
4. Open the Tuya app, add the device following the standard EZ pairing procedure.
5. The cloud connection is restored.
This works because the local-only mode is not a firmware lock — it is simply the absence of stored WiFi credentials. Clearing the stored credentials removes the lock.
Domande frequenti
D: L'app dice “Il dispositivo è offline” dopo l'accoppiamento. Cosa controllare per primo?
R: Nell'app Tuya, andare alla schermata delle impostazioni del dispositivo e controllare il valore “Stato Rete” o “Potenza Segnale”. Se mostra -85 dBm o inferiore, il segnale WiFi è troppo debole — avvicinare la telecamera al router o aggiungere un ripetitore WiFi. Se il segnale è buono (-70 dBm o migliore) e il dispositivo è ancora offline, verificare che il router non stia bloccando le connessioni di nuovi dispositivi (alcuni router hanno una funzione “blocco nuovi dispositivi” che deve essere disabilitata).
Q: Can I use a 5 GHz router if I change the network name on 2.4 GHz?
A: Yes, as long as your router exposes a separate 2.4 GHz SSID. The router itself can be a dual-band or tri-band unit — what matters is that your 2.4 GHz and 5 GHz networks have different names. come configurare wifi e registrazione offline sulle telecamere tuya.
Q: Does the local recording mode affect motion detection alerts?
A: In local-only mode, motion detection still works — the device will save a clip triggered by motion to the SD card. However, push notifications to your phone require a cloud connection. If you need both local recording and remote alerts, use the standard cloud-connected configuration with the SD card inserted for local backup; the SD card provides redundancy but does not prevent cloud connectivity.
Q: How do I view footage recorded in local-only mode without the cloud?
A: There are two options: connect the device to a PC via USB (the SD card appears as a removable drive) and browse the AVIs directly; or enable the P2P direct connection option in the Tuya app while the device is connected to your local network — P2P mode streams the live view and playback directly from the device to your phone without routing through the Tuya cloud. Both options satisfy GDPR local-storage requirements.
Q: Can multiple users access the same camera in local-only mode?
A: P2P direct connection supports up to 3 simultaneous viewers. Cloud-connected mode supports up to 5 simultaneous users with an active Tuya cloud account. For multi-user scenarios, cloud-connected mode with individual Tuya account invites is the supported configuration.
Conclusione
The majority of Tuya C10 connection failures trace back to two root causes: a router running Smart Connect, and a phone with mobile data enabled during pairing. Both are straightforward to fix. Disable Smart Connect and expose a dedicated 2.4 GHz SSID, confirm your phone is on that 2.4 GHz network with mobile data off, reset the device to fast-blink EZ mode, and complete pairing in the Tuya app.
For GDPR-compliant deployment, the procedure is even simpler: insert a FAT32 SD card before first power-on, and do not configure WiFi. The device automatically enters local-only recording mode within 3 minutes, keeping all footage on-premises with no cloud exposure whatsoever.
For users who start in local mode and later want cloud access, a 10-second reset clears the local-only lock and restores standard cloud pairing — the configuration is fully reversible.