
Set a digital voice recorder’s date and time through the clock menu, the model’s supplied time-setting utility, or the exact settings file specified in the manual. Save the change, disconnect USB if required, and make a new recording. Connecting a voice recorder to a computer does not, by itself, prove that the clock has synchronised.
If recordings keep showing an old date, first identify where that date appears. The recorder’s clock, a recording filename, and the computer’s file dates are separate things to check. Keep the existing recordings while you work through the following steps.
Which timestamp needs correcting?
Check a newly saved recording before changing the clock. An old filename cannot tell you whether a clock adjustment has worked, and a computer’s Date created field is not a reliable substitute for the recording start time.
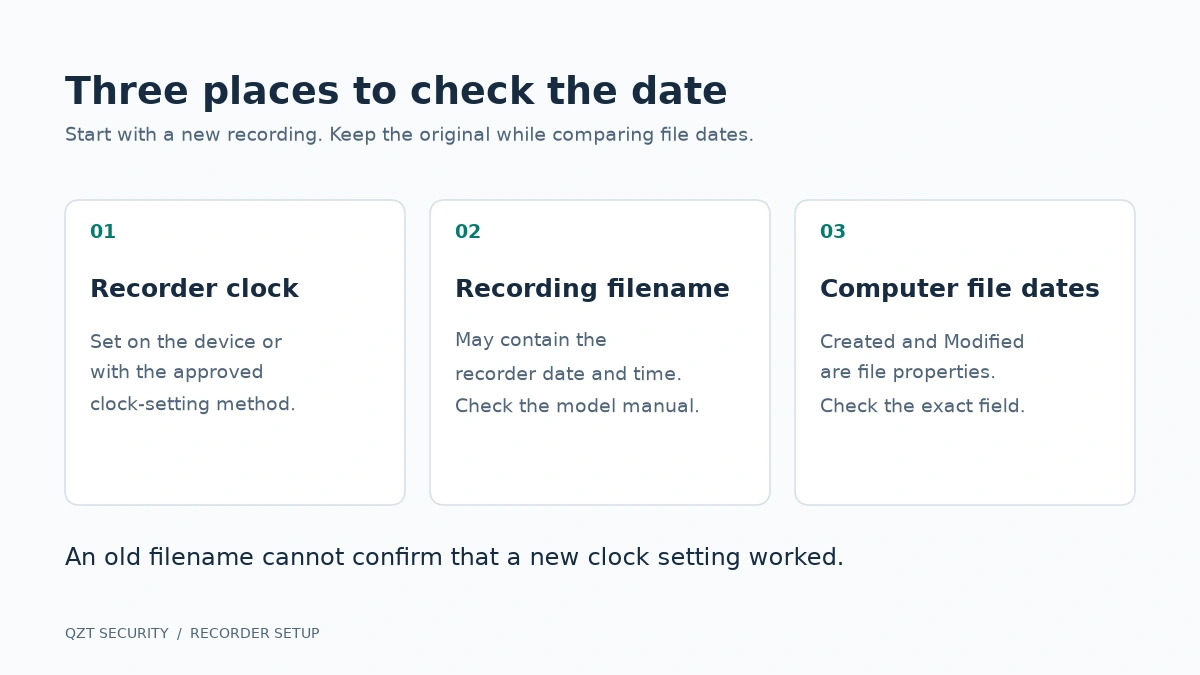
| Where the date appears | What to check | Next action |
|---|---|---|
| Recorder screen or recorded-date display | Does the device show the current local date and time? | Correct the clock through the model’s documented settings. |
| Recording filename | Does the model use a date-based name, or just a sequence number? | Make a fresh recording and compare the new name with the manual. |
| Computer’s Created or Modified column | Which file property are you reading, and is the file still on the recorder or a copy? | Compare the original and copied file without overwriting either. |
Microsoft’s file-time documentation distinguishes creation, access, and write times. File systems also handle time differently: FAT records times in local time, while NTFS records times in UTC. A difference between computer displays therefore needs checking before you conclude that the recorder’s clock is wrong.
Also check how the date is written. A value such as 05/06 is ambiguous without the year and date order. A twelve-hour time without an AM or PM label can be misread. For a comparison test, write the full date and a 24-hour reference time in your notes.
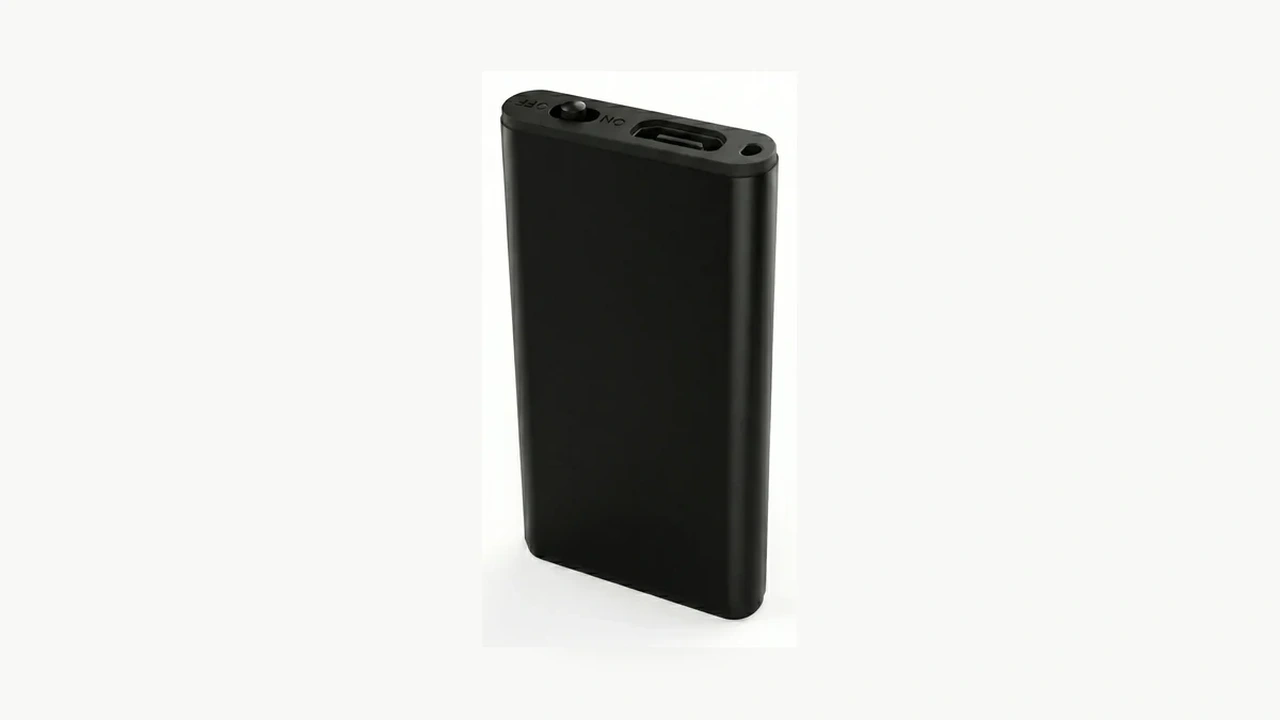
The ZD46 mini voice recorder lists date and time information in recording filenames. That is a useful field to inspect on a new sample file; the product page does not establish the exact clock-setting procedure for every firmware version.
How do you set the clock on your model?
Use the instructions for the exact recorder and firmware supplied. A recorder with a screen may have a clock menu; a screenless recorder may need a computer utility or configuration file. The USB connector alone does not identify which method applies.
Recorders with a clock menu
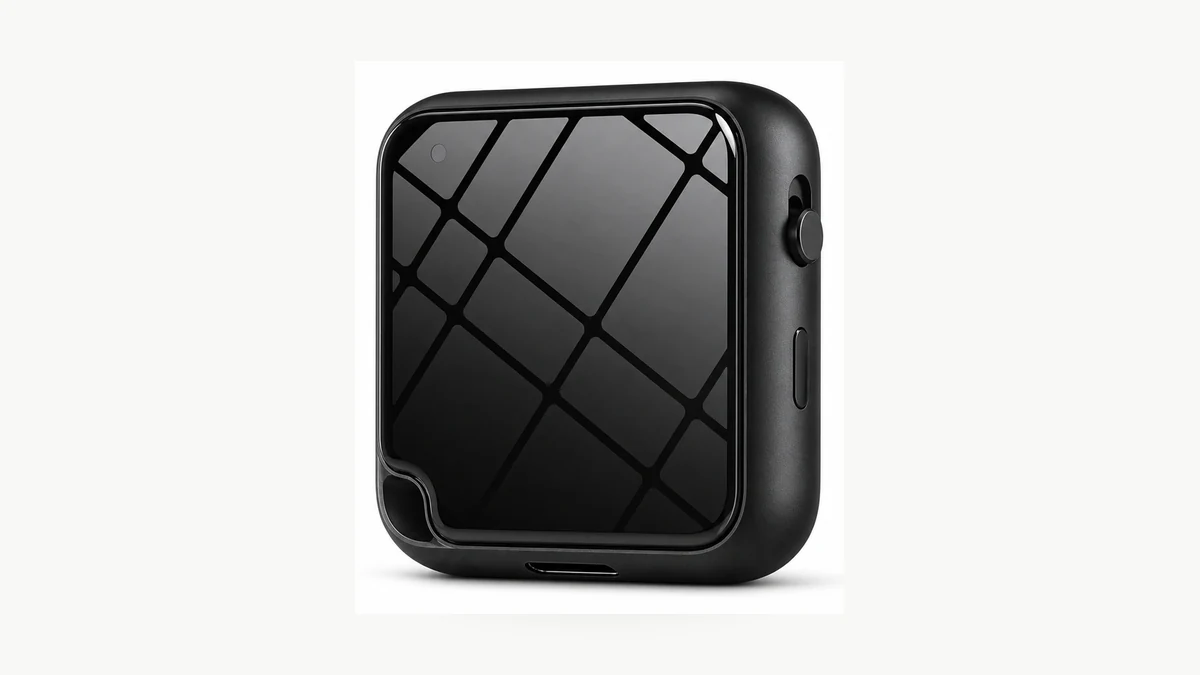
Stop and save any active recording. Open the date-and-time setting described in the manual, enter the current values, and confirm the change before leaving the menu.
For example, TCTEC’s digital recorder instructions describe a Settings menu, Date and Time, separate editable fields, and a confirmation button. Those controls belong to that recorder. A different model may use another button sequence or require separate date and time screens.
Screenless recorders and settings files
First check whether the supplied instructions specify a utility or a plain-text file. If a utility is required, check its supported operating system and the instructions for applying the change. Being able to copy audio on a Mac does not establish that a supplied Windows time-setting application will run there.
Some models use a compact date-and-time value. ATTO DIGITAL’s support instructions, for example, describe the format YYYYMMDDhhmmss with a 24-hour clock for particular screenless recorders. This format has 14 digits: four for the year and two each for the month, day, hour, minute, and second.
An illustrative value, 20261015173000, means 15 October 2026 at 17:30:00. Enter the actual current time when setting a recorder. Do not paste this example into a device as a current setting.
Use that format only when the exact manual requires it. The filename, folder, additional configuration lines, and point at which the recorder reads the file must all match the model’s instructions. A generic time.txt file is not a universal clock-setting method.
For a ZD46 order, request the clock instructions matched to the supplied firmware. The ZD46 has no screen and provides Type-C file access; neither fact confirms a particular settings-file syntax. If the drive does not appear, follow the USB recognition checks before attempting to edit a configuration file.
Why does the date return to an old value?
A clock can need setting again after a power interruption, but the behaviour depends on the recorder. Check when the date changes: immediately after a restart, after replacing batteries, or after a long period in storage.
Sony documents a specific example for the ICD-PX470: after batteries are removed and reinserted or replaced, the date-setting screen can show the time of the last operation. Sony instructs the user to update that value. This establishes the behaviour of that model, rather than a retention specification for all voice recorders.
Keep battery operating time separate from clock retention. The X10 USB voice recorder lists up to 25 hours of continuous recording; the ZD46 lists up to 50 hours. Neither recording-time figure tells you how long the clock will retain the correct date after a complete loss of power.
For stock that has been stored for a while, check the date after charging and before the first customer recording. If a normal restart repeatedly brings back the same old value, retain an example file and ask the supplier to check the setting procedure, firmware, and clock retention. Include the model number and the sequence that reproduces the problem.
How do you verify the fix before a meeting or batch order?
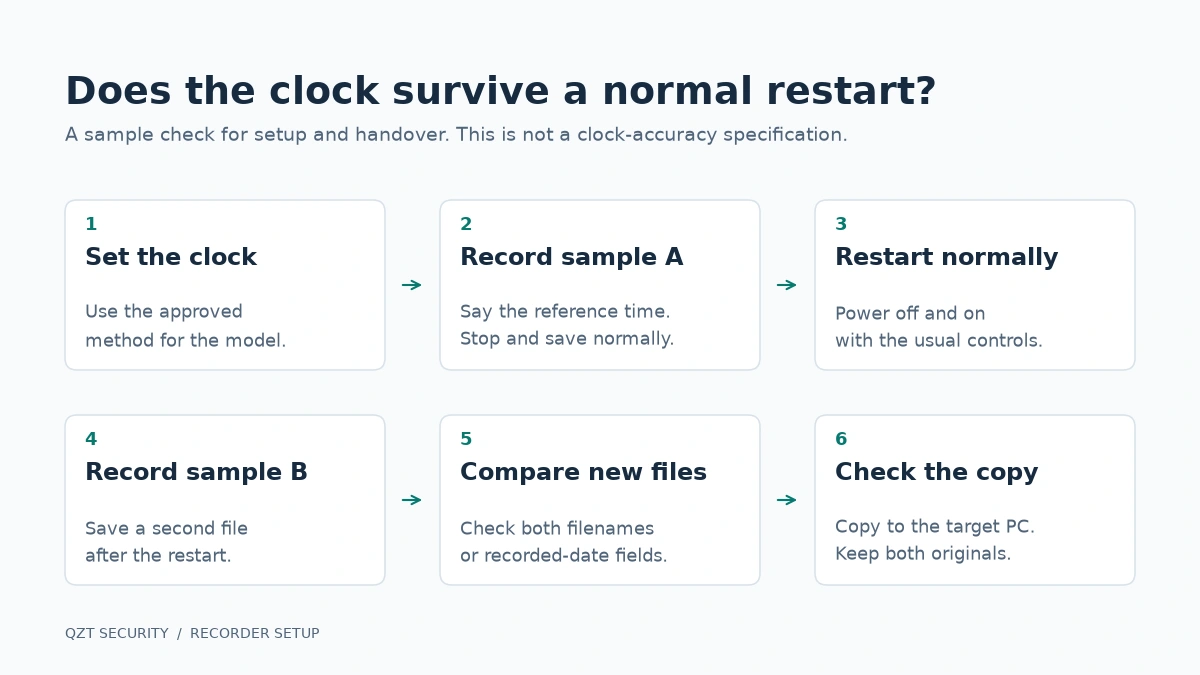
Make two new recordings with a normal power-off between them. Check the date on both files, then check a copy on the computer that will actually be used. This tests whether the setting was applied and whether a restart changes the result.
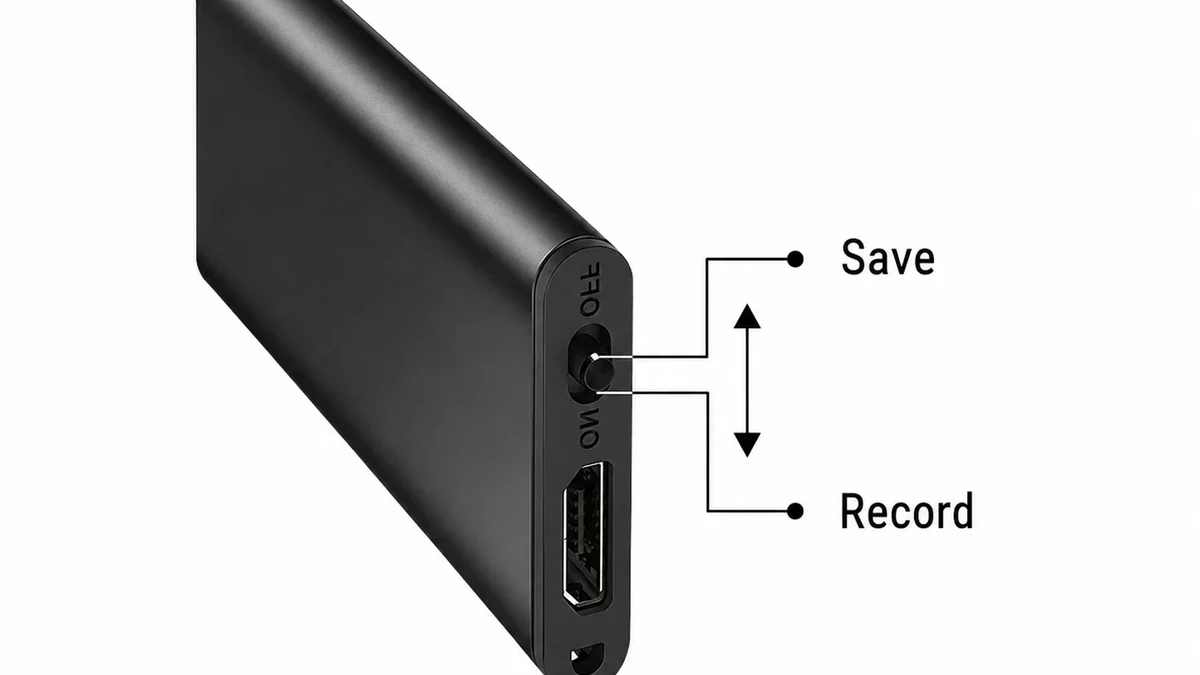
Use this short acceptance check:
1. Set the clock using the approved procedure and note the reference date, time, and time zone.
2. Record about 30 seconds of speech. Say the reference date and time aloud, then stop and save normally. Label this sample A in your notes.
3. Power the recorder off and back on using its normal controls. Make a second short recording and save sample B.
4. Inspect both new filenames or recorded-date fields. Play the files to confirm which sample is which.
5. Copy both files to the intended computer. Note whether a displayed date is a recording field, Date created, or Date modified. Keep the recorder originals until the check is complete.
These are proposed checks, not a measured clock-accuracy specification. A thirty-second sample checks basic operation; a customer who needs reliable dates after weeks of storage needs a separate, agreed retention test.
For a reseller order, keep the model and firmware identification, the clock-setting instructions, and samples A and B with the approved sample record. Test the supplied utility on the required operating system. If the customer uses Windows and macOS, document the supported setting method for each rather than treating file playback as proof of full setup compatibility.
Frequently Asked Questions
Does charging automatically set a voice recorder’s clock?
Charging a digital voice recorder does not prove that the clock has synchronised. Check the model’s instructions for a clock menu, approved utility, or settings-file method. After applying the documented procedure, save a new recording and compare the recorded date or filename with the current local time.
Can I set the date on a voice recorder without a screen?
A screenless digital voice recorder can use a computer utility or settings file when the manufacturer specifies that method. ATTO DIGITAL documents a 14-digit date-and-time format for particular models. The correct filename, location, and application sequence still depend on the exact recorder; the format is not universal.
Will setting the clock correct older recordings?
Setting a digital voice recorder’s clock does not establish when older recordings were made. Verify the correction on a newly saved file. Preserve older originals and keep any explanation of a date error separately; renaming a file or changing a computer timestamp does not recover the original recording time.
Why is the recording filename different from the computer’s file date?
A digital voice recorder filename and a computer file-date column can describe different information. Microsoft distinguishes file creation, access, and write times, with differences between file systems. Check which field you are reading, compare the recorder original with the computer copy, and verify the clock using a new recording.
What should a reseller check before ordering voice recorders in bulk?
A digital voice recorder sample should have an agreed clock-setting method, identified firmware, and a file-transfer check on the intended operating system. Save two test recordings with a normal restart between them. Ask separately about clock retention after battery depletion or storage; advertised recording hours do not establish that specification.
Next step
Send QZT the model number, computer operating system, and an example of the date problem when requesting setup instructions. For a new order, include the required clock-setting method and retention check with your sample requirements when choosing from the voice recorder catalogue.

 English
  Italiano
  Deutsch
  Français
  Español
  Polski