What’s the Best DIY WiFi Camera Module for Covert Builds
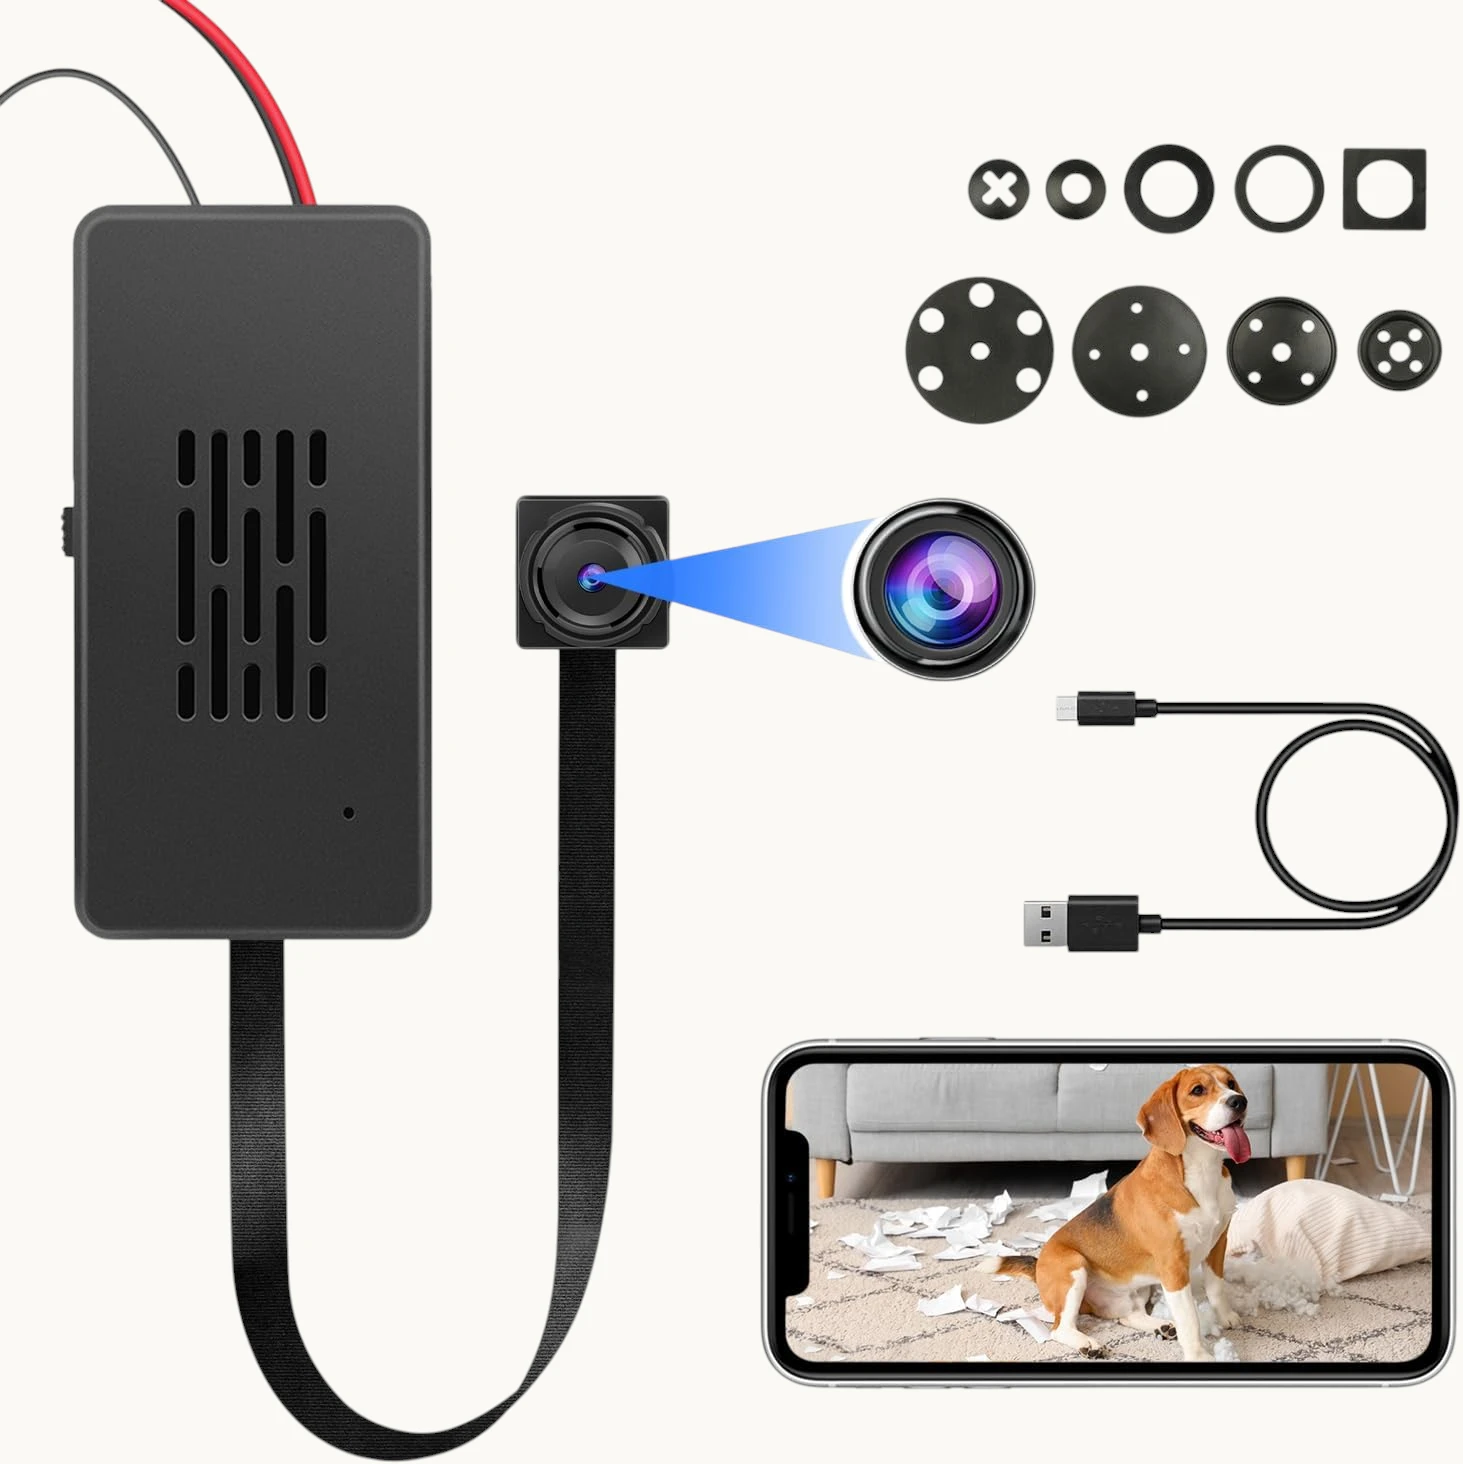
A DIY WiFi camera module brings remote monitoring capability to any custom hidden camera build. Unlike basic recording modules that only store footage locally, a WiFi module streams live video to your smartphone, sends motion detection alerts, and connects to cloud storage—all while fitting into an enclosure as small as a matchbox. Whether you’re building a custom nanny cam, a concealed office security camera, or a highly specialized surveillance device, this guide helps you choose the right WiFi module and set it up correctly.
What Makes a WiFi Module Different from a Basic Recording Module?
A basic DIY camera module records locally to a micro SD card. A WiFi module does everything a basic module does, plus:
– Live streaming: View real-time video on your smartphone from anywhere
– Push notifications: Receive alerts instantly when motion is detected
– Remote playback: Review stored footage through the app without physically accessing the device
– Cloud backup: Automatically upload motion-triggered clips to cloud storage
– Remote configuration: Adjust sensitivity, recording mode, and other settings via the app
These capabilities transform a standalone recording device into a connected security camera system. The cost difference between WiFi and non-WiFi modules is minimal, making WiFi the obvious choice for any build where remote monitoring is desirable.
Key Specifications to Compare
Resolution: 1080p vs. 4K

WiFi modules are available at multiple resolution levels:
1080p Full HD (1920×1080):
– Standard for most surveillance applications
– Low bandwidth requirements (streaming even on slow home WiFi)
– Efficient storage (approx. 1–2GB per hour)
– Good for monitoring room access, face recognition at 5–10 feet
– Battery-friendly: most efficient power consumption
2K (2560×1440):
– Better detail capture, particularly at distance
– Slightly higher bandwidth requirements
– Good balance of quality and resource consumption
4K Ultra HD (3840×2160):
– Maximum detail available in this class
– Requires strong WiFi signal for live streaming
– Larger files (~6–8GB per hour)
– Best for situations requiring reading text, identifying faces at distance, or capturing fine detail
– Higher battery drain
For most covert builds, 1080p is sufficient and practical. Choose 4K only if your specific use case genuinely requires the additional resolution.
WiFi Platform: Tuya vs. Proprietary Apps
The WiFi connectivity platform determines the quality of your remote monitoring experience. The main platforms are:
Tuya Smart / Smart Life:
– Most widely supported platform globally
– Regularly updated, reliable cloud infrastructure
– Supports millions of devices across brands
– Feature-rich app with motion zones, person detection, two-way audio
– Cloud storage subscription available
– Recommended for most users
HDLiveCam:
– P2P connection with solid performance
– Used by many Chinese DIY module manufacturers
– Good interface, reliable streaming
– Less infrastructure than Tuya
Proprietary Apps:
– Quality varies significantly by manufacturer
– Some excellent, some poorly maintained
– Limited to a specific manufacturer’s devices
For reliability and long-term support, Tuya Smart is the recommended platform. The ecosystem has the most users, the most consistent updates, and the most comprehensive feature set.
Night Vision Capability
WiFi modules include night vision in several forms:
940nm IR LEDs: Completely invisible infrared illumination. No visible glow even in total darkness. Range typically 10–20 feet. Ideal for builds where any visible indicator would betray the camera.
850nm IR LEDs: Slightly better night vision performance than 940nm, but produces faint visible red glow from the LEDs. Range up to 25–30 feet.
Hybrid: Some modules use both 940nm LEDs (for complete invisibility) plus a larger aperture sensor (for better low-light sensitivity). Best overall night vision without visible emission.
For covert builds, 940nm is always preferred over 850nm—the slight performance advantage of 850nm isn’t worth the risk of visible illumination.
Module Size
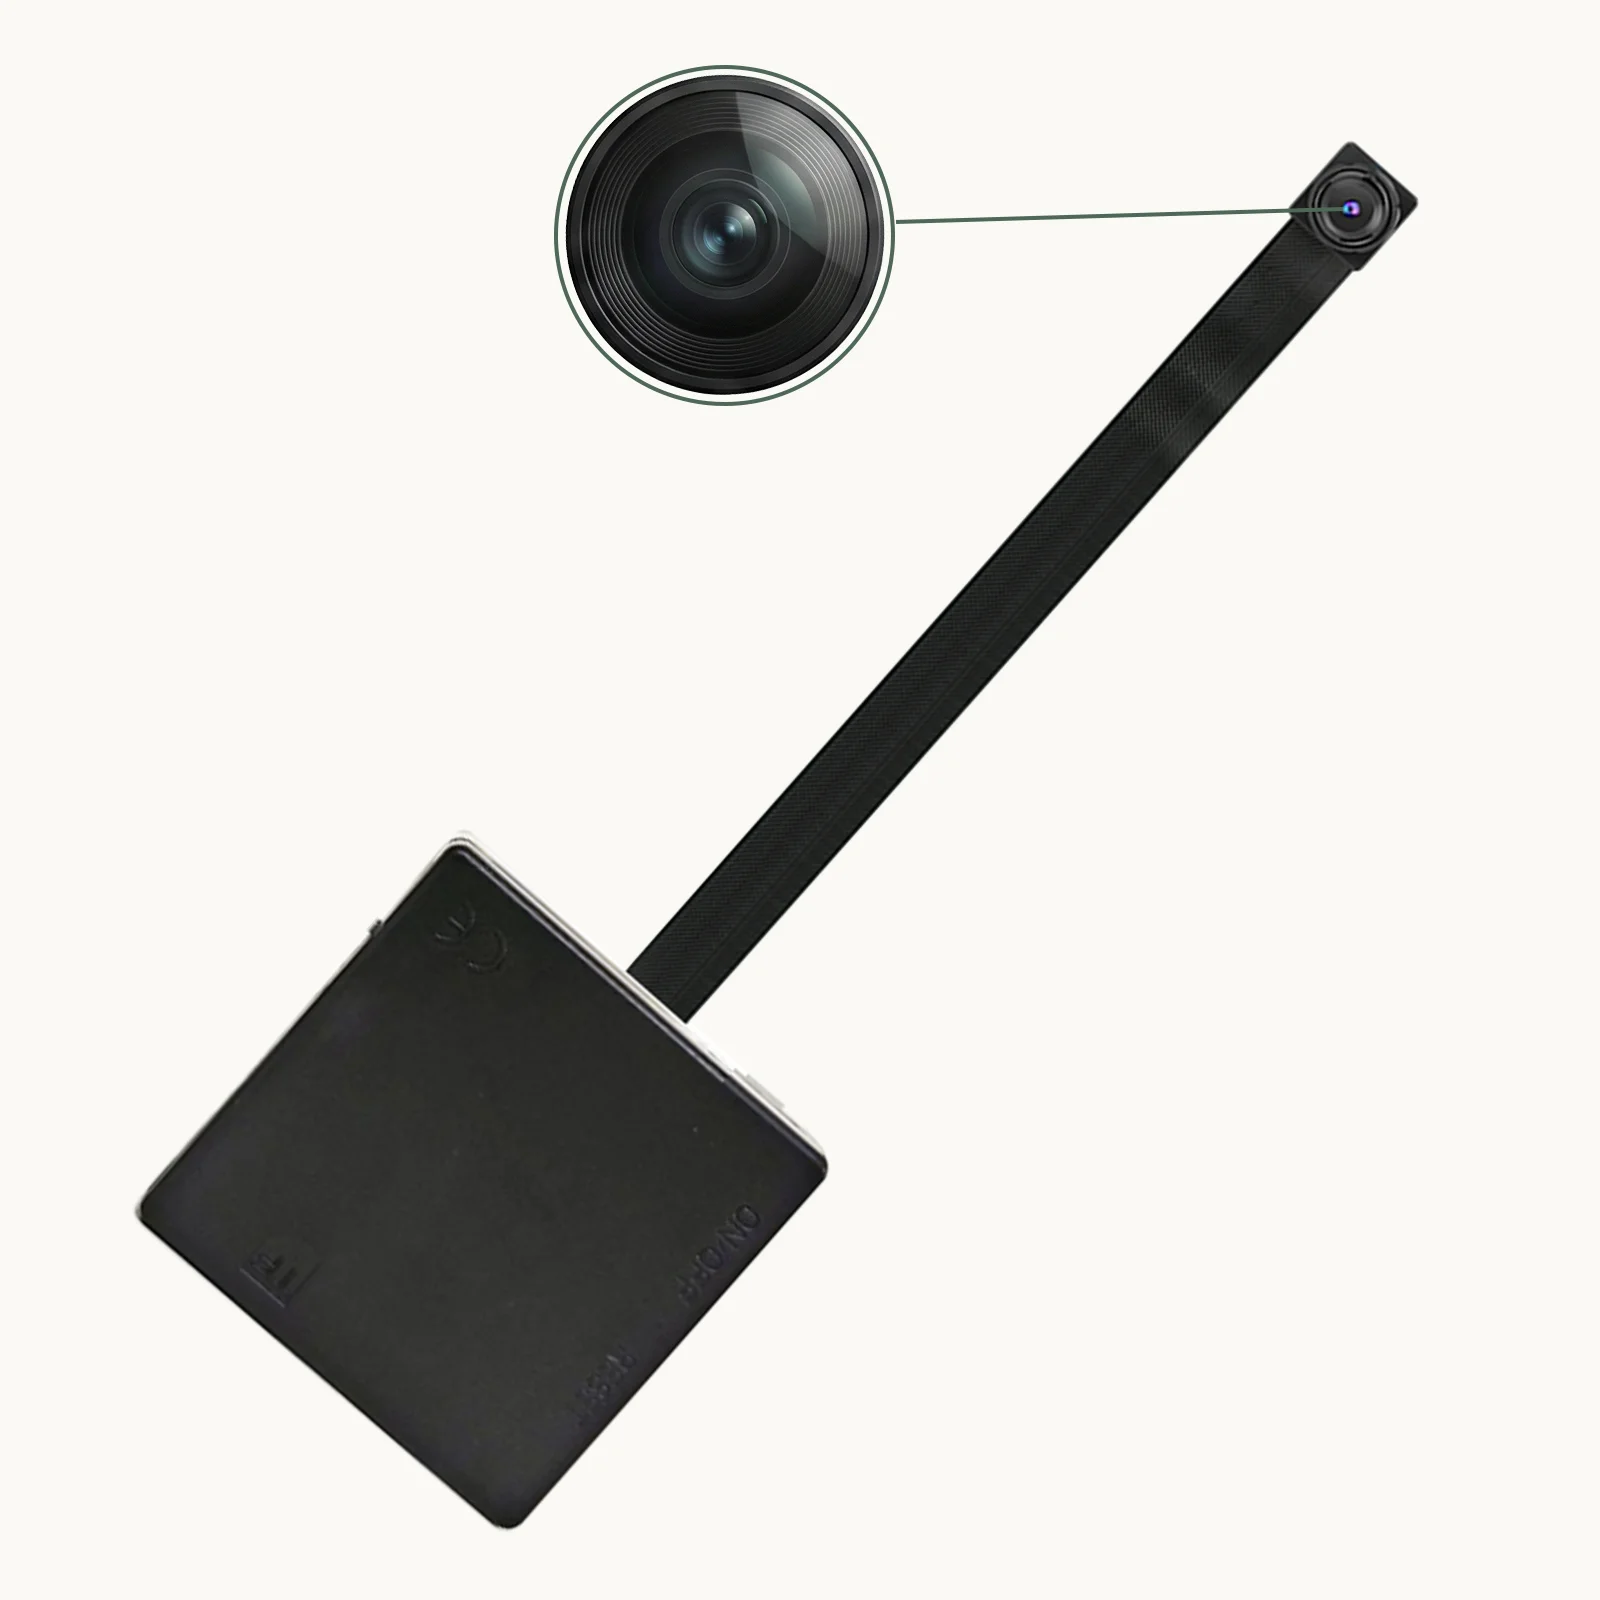
DIY WiFi modules range from very compact to slightly larger due to the WiFi radio and antenna requirements:
– Ultra-compact (20mm × 25mm × 12mm): Fits in extremely small enclosures. Limited battery, antenna may be external wire.
– Standard (35mm × 35mm × 20mm): Good balance of size and features. Integrated antenna.
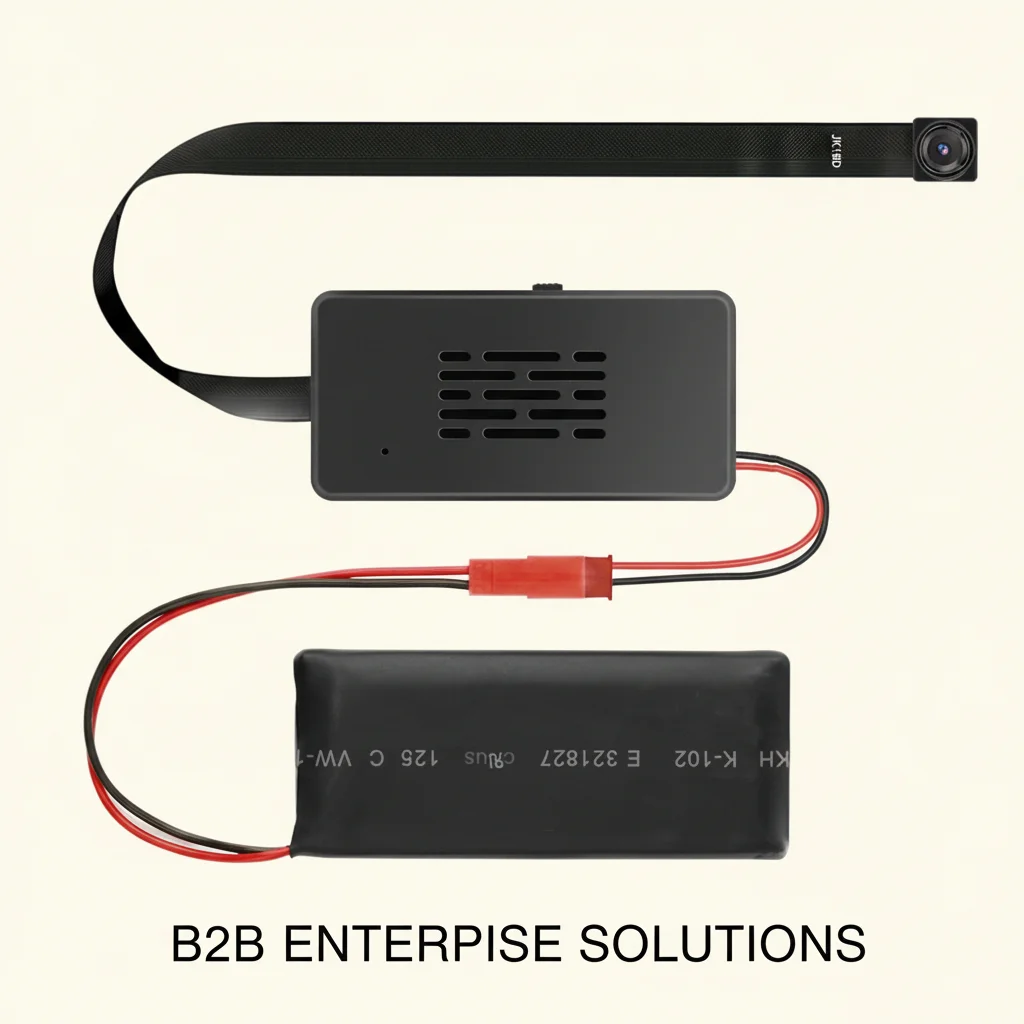
– Extended battery (50mm × 40mm × 25mm): Includes larger battery for 12+ hour standalone operation.
Measure your target enclosure before selecting a module to ensure it fits.
Comparing Top Module Types
| Module Type | Resolution | WiFi Platform | Battery Life | Best For |
|---|---|---|---|---|
| Tuya Smart 1080p | 1080p | Tuya Smart | 8–12 hrs | General home security builds |
| Tuya Smart 4K | 4K | Tuya Smart | 6–8 hrs | High-detail surveillance |
| HDLiveCam 1080p | 1080p | HDLiveCam | 10–14 hrs | Long-duration deployment |
| Standalone 4K | 4K | Proprietary | 6–8 hrs | Maximum resolution priority |
How to Select the Right Module for Your Build
Identify your primary use case:
– Face recognition at distance → Choose 4K
– General room monitoring → 1080p is sufficient
– Long unattended deployment → Prioritize battery life
– Permanent installation near power → Any module; use USB power
Match to your enclosure:
– Measure interior dimensions before ordering
– Account for the WiFi antenna (usually a small wire that needs routing)
– Ensure the lens can align with your chosen aperture location
Check the WiFi platform:
– Download the app and verify it’s actively maintained
– Confirm the app supports the features you need (motion alerts, cloud storage, remote playback)
– Verify the platform works in your country (some cloud services have regional restrictions)
Installation Best Practices
WiFi antenna placement: The WiFi antenna is critical for signal quality. Route the antenna wire to the edge or back of the enclosure, away from metal components that could block the signal. In metal enclosures, route the antenna through a small hole to the exterior.
Lens aperture alignment: After securing the module, verify the lens is precisely centered on your aperture hole. Even 1–2mm misalignment can cause part of the enclosure wall to appear in the footage.
Power cable management: If using USB power, use a thin flat USB cable rather than a standard round cable—flat cables are easier to route through tight spaces and look less conspicuous.
Test before deployment: Complete the WiFi setup before finalizing the enclosure assembly. Verify live streaming works, test motion detection, and confirm night vision activates properly in low light.
Troubleshooting Common Issues
WiFi connection drops: This usually indicates weak signal. Move the camera closer to the router, or add a WiFi extender near the deployment location. Alternatively, ensure the antenna wire is positioned optimally within the enclosure.
Motion detection false alerts: Reduce sensitivity in the app settings. Define specific motion zones that exclude high-movement areas like fans or visible windows. This focuses alerts on relevant activity.
Night vision doesn’t activate: Check the light sensor threshold setting in the app. Some modules require manually setting the threshold for automatic IR activation. Also verify the 940nm/850nm LEDs aren’t obstructed by the enclosure walls.
Video stuttering during streaming: This indicates insufficient WiFi bandwidth. Switch from 4K to 1080p streaming, or check that the camera’s WiFi signal strength is adequate (typically -70dBm or better for smooth 1080p).
Battery drains faster than expected: WiFi connectivity significantly increases power consumption compared to standalone recording. Disable continuous WiFi streaming and use motion-triggered recording only to maximize battery life.
Integration Gallery: Common DIY WiFi Build Applications
Smart Clock Build: Replace the internals of a decorative analog or digital clock with the WiFi module. The clock housing provides excellent concealment and natural placement.
Picture Frame Build: Install behind a printed photo in a standard picture frame. The frame sits naturally on a desk or wall. Ideal for office monitoring.
Bookend Build: Hollow out a ceramic or resin bookend to house the module. The lens emerges through a small hole that looks like a manufacturer’s mark.
Vent Cover Build: Install behind a standard HVAC vent cover. The parallel slats in the vent cover provide natural cover for the lens. Excellent for ceiling or wall installation.
Trophy/Award Build: Academic or sports trophies with hollow bases make excellent module enclosures. The base provides space for the module, battery, and SD card.
Frequently Asked Questions
Q: Can I use a 4K module in a standard WiFi network at home?
A: Yes, but 4K live streaming requires a good WiFi signal (at least -65dBm signal strength, or about 2 bars on most devices). If your home WiFi is weak where the camera will be deployed, use 1080p or 2K streaming quality and save 4K recordings locally to the SD card.
Q: How long does it take to set up the WiFi connection?
A: Initial WiFi setup typically takes 5–10 minutes. The process involves downloading the app, creating an account, enabling pairing mode on the module, and entering your WiFi credentials in the app.
Q: Do I need a cloud subscription to use the camera?
A: No. All modules work with local SD card recording without any subscription. Cloud storage for automatic off-device backup typically requires a monthly subscription (usually $3–$10/month). Basic live streaming and motion alerts are typically free.
Q: Can I use the module without connecting it to home WiFi?
A: Most WiFi modules also work as direct access points (AP mode)—your phone connects directly to the camera’s WiFi hotspot for viewing. This doesn’t require a home router but limits viewing range to WiFi distance (typically 50–100 feet) and doesn’t enable remote cloud access.
Q: What happens if my internet goes down?
A: Local SD card recording continues normally regardless of internet connectivity. Live streaming, push notifications, and cloud backup require internet access. When internet is restored, cloud backup typically uploads any missed motion-triggered clips automatically.
Conclusion
A DIY WiFi camera module provides the technical foundation for virtually any custom hidden camera project. Modern modules offer 1080p to 4K resolution, reliable WiFi connectivity through mature platforms like Tuya Smart, effective night vision, and motion detection—all in packages small enough to fit inside everyday objects.
Choose 4K when detail matters most; choose 1080p when battery life and storage efficiency are priorities. Select Tuya Smart as the platform unless you have a specific reason to use another. Size the module to fit your target enclosure, pay attention to WiFi antenna placement, and test thoroughly before deployment. With the right module and careful installation, your custom DIY WiFi camera will provide professional-grade surveillance capabilities in a package that’s completely unique to your specific situation.