
How to Fix Night Vision on a Hidden Spy Camera
La visione notturna è una delle caratteristiche più importanti di qualsiasi telecamera spia o dispositivo di sorveglianza nascosto. Quando la tua telecamera produce filmati sfocati, verdi o completamente scuri di notte, è frustrante — e vanifica lo scopo del monitoraggio 24/7. Questa guida ti accompagna attraverso ogni passo pratico per diagnosticare e risolvere i problemi di visione notturna sulle telecamere spia nascoste, dalla semplice pulizia dell'obiettivo alle impostazioni dei LED IR.
What Causes Poor Night Vision on Spy Cameras
Before diving into fixes, it helps to understand why night vision fails. Most hidden cameras use LED a infrarossi (IR) to illuminate scenes in darkness. The camera sensor picks up this invisible IR light and converts it to a black-and-white image. Problems arise from:
– Dirty or fogged lens — dust, grease, or condensation blocks IR light
– IR LEDs burned out — LEDs have a lifespan; heavy usage can degrade them
– Wrong night vision mode — some cameras require manual switching between day/night
– IR cut filter stuck — the mechanical filter that switches between color and IR modes can jam
– Insufficient IR range — il soggetto è troppo lontano dalla distanza IR efficace della telecamera
– Reflective surfaces nearby — IR light bouncing off walls or glass overexposes the sensor
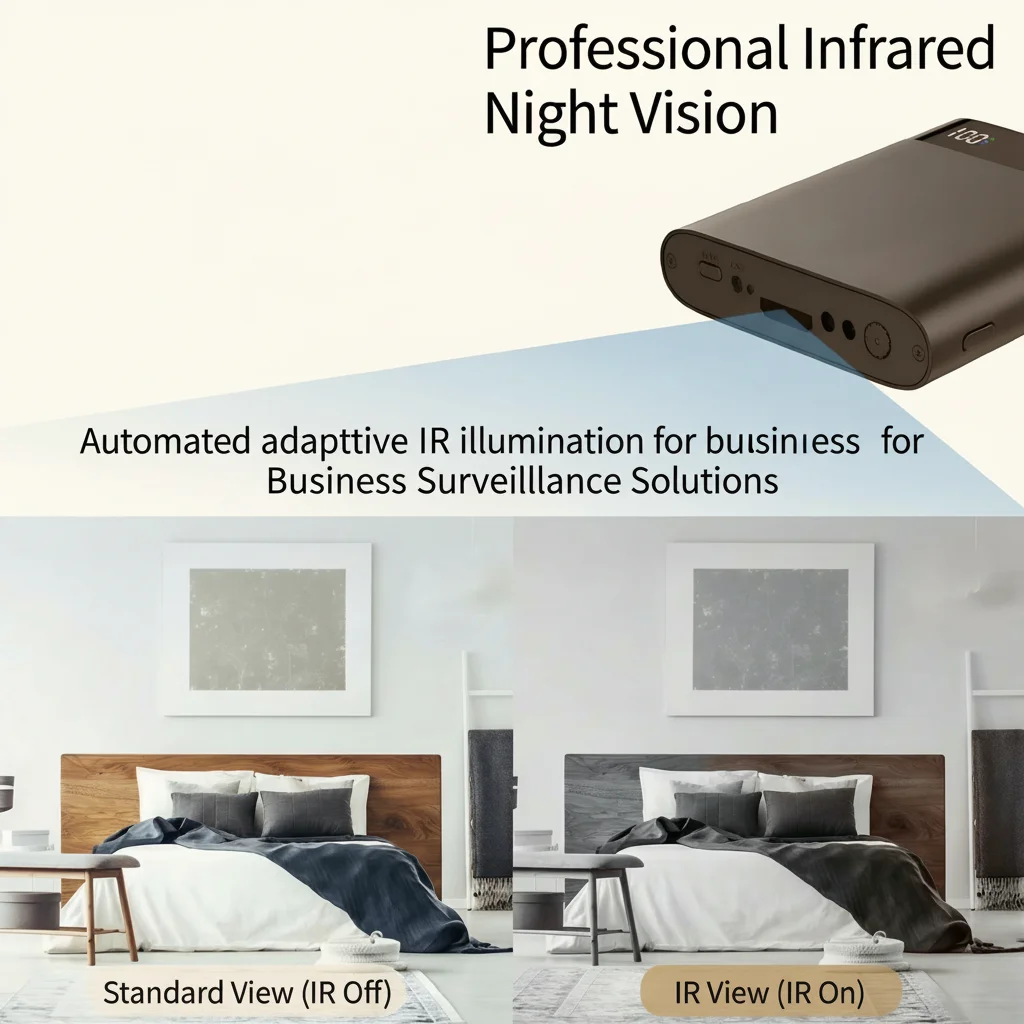
Understanding the root cause saves you from chasing the wrong fix. Start with the simplest checks first.
How to Clean the Camera Lens for Better Night Vision
A dirty lens is the #1 cause of blurry night vision footage. The camera lens and the IR LED window both need to be clean and clear.
What you need:
– Panno in microfibra o salvietta per lenti
– Alcool isopropilico (70% o superiore)
– Cotton fioc per spazi stretti
Steps:
1. Power off the camera before cleaning to avoid accidental recordings
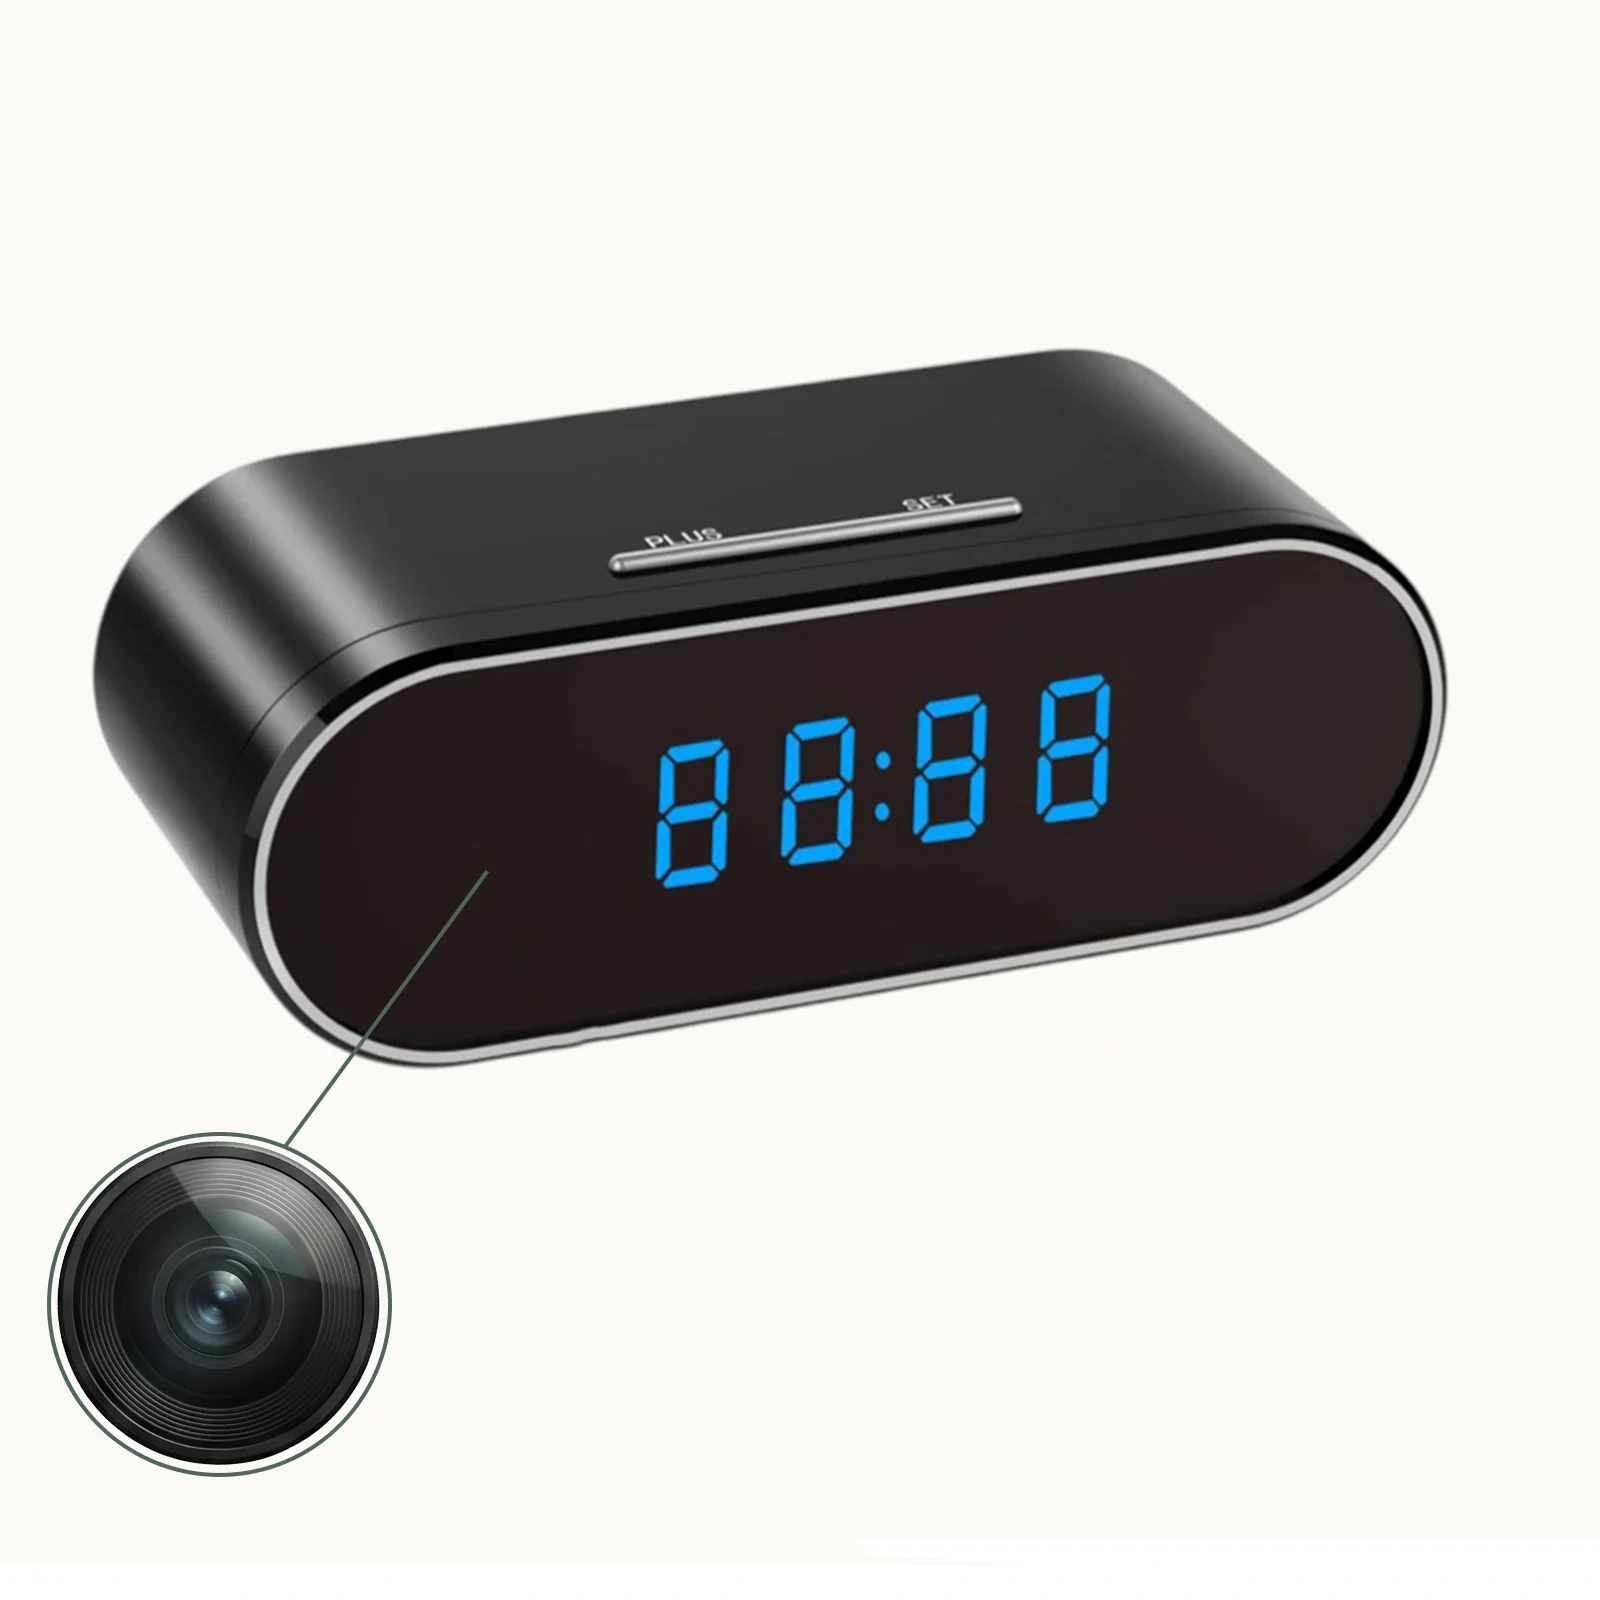
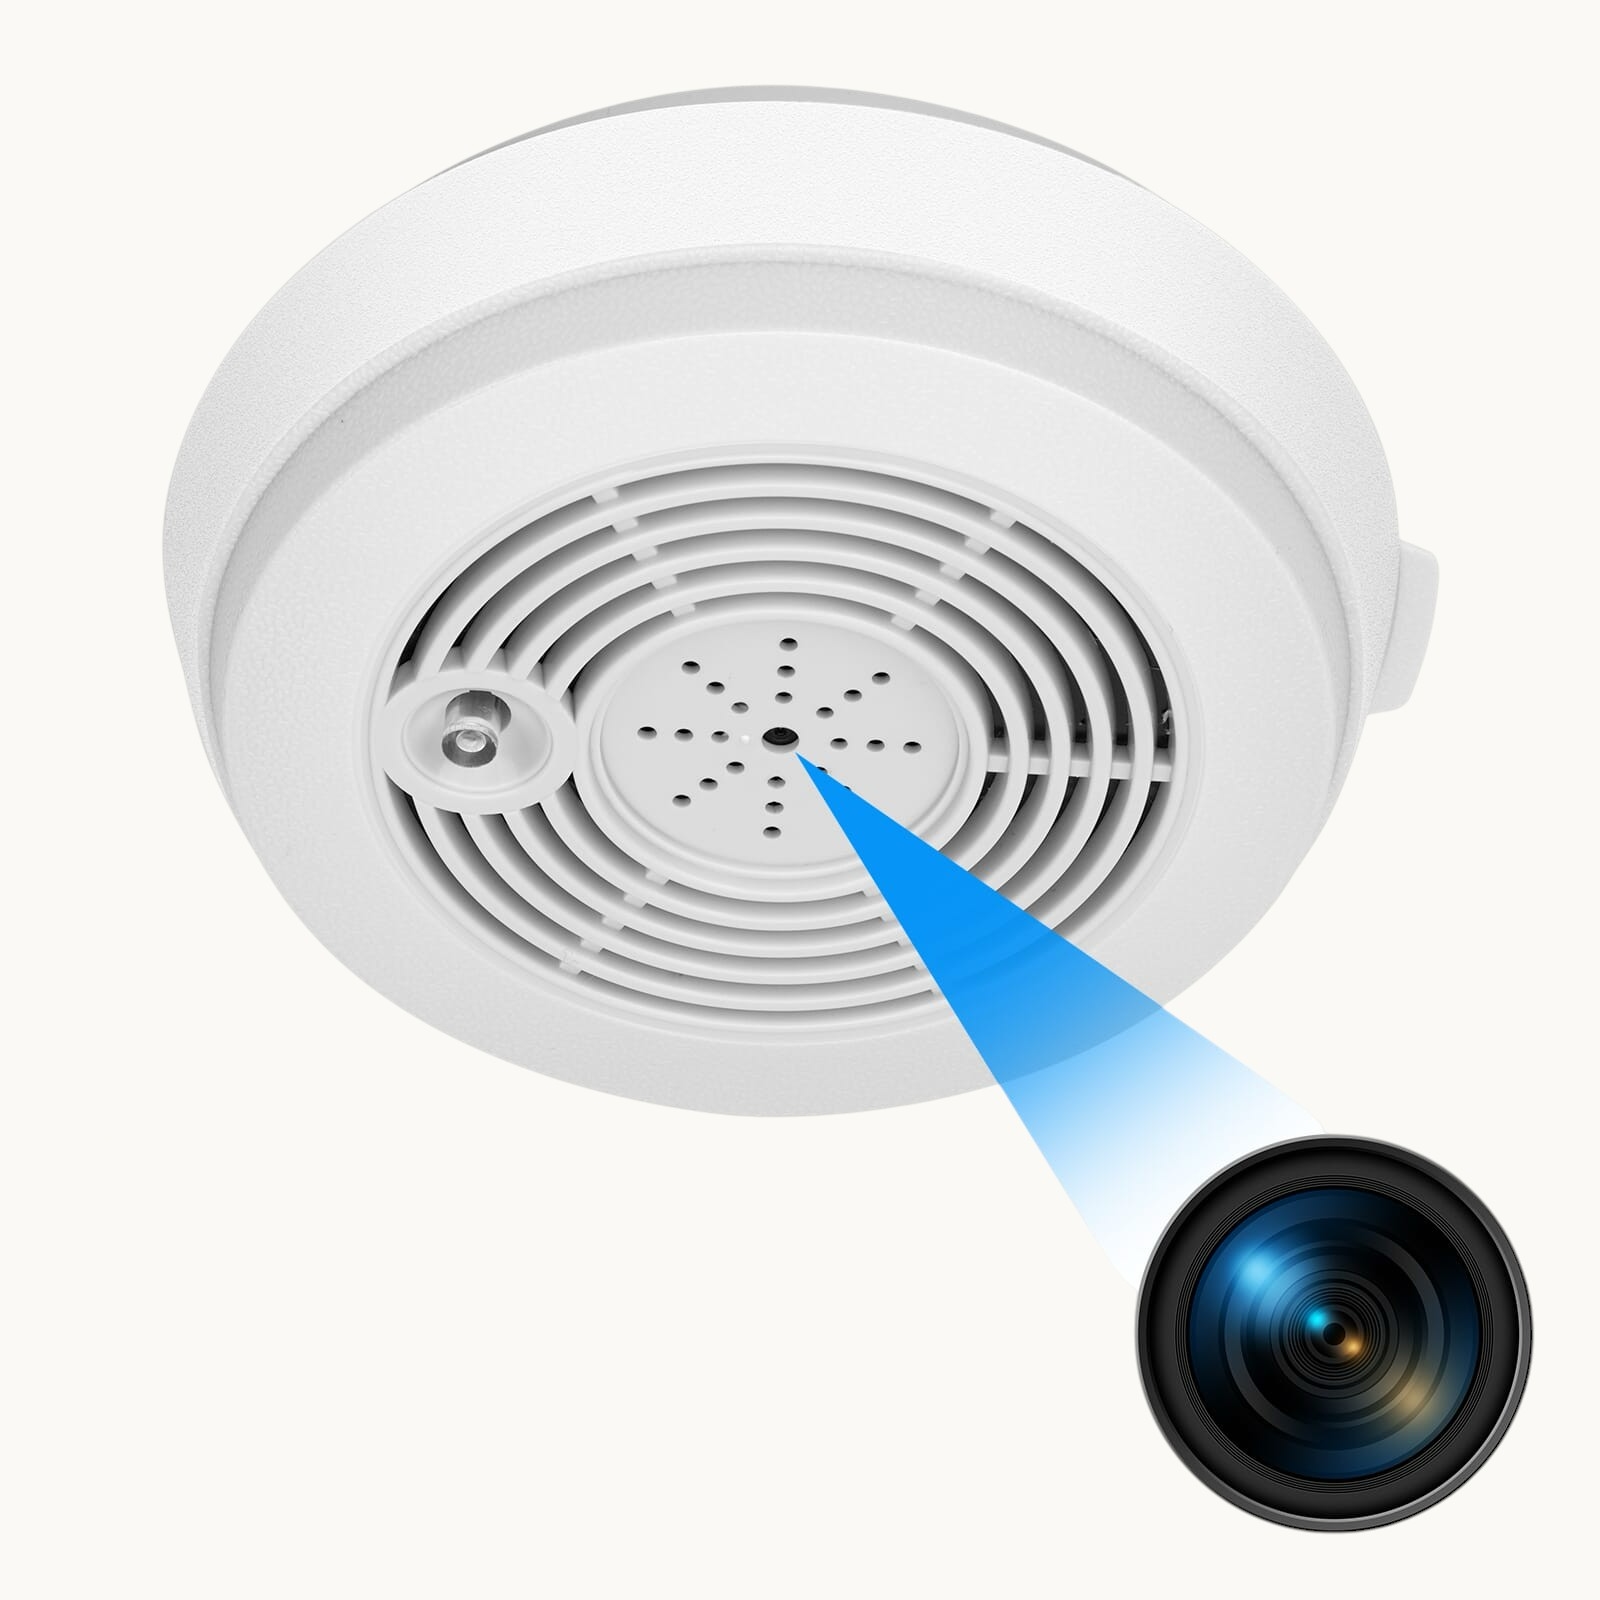
2. Locate the lens — nelle telecamere a orologio è spesso nascosta nel quadrante; nelle telecamere a caricatore è nella testa della spina; nelle telecamere a rilevatore di fumo è nell'alloggiamento del sensore
3. Gently wipe the lens with a dry microfiber cloth in circular motions — this removes dust and light smudges
4. For stubborn grease or fingerprints, lightly dampen the cloth with isopropyl alcohol and wipe again
5. Clean the IR LED window — this is the small dark-tinted panel next to or around the lens. Use a cotton swab with alcohol for precision
6. Check for condensation — if the camera was moved from a cold environment, moisture can fog the interior glass. Leave the device in a warm, dry room for several hours before testing again
After cleaning, test the camera in a dark room to see if the image has improved.
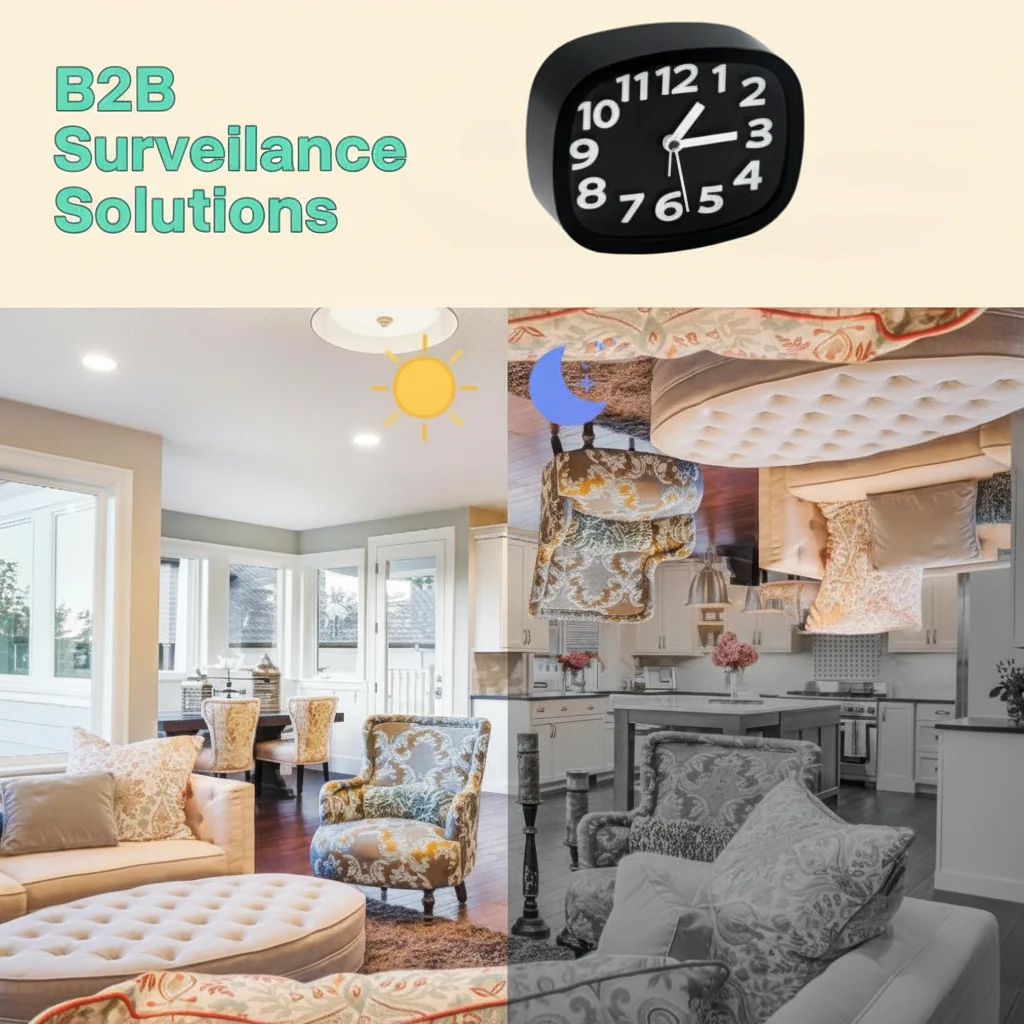
How to Switch Night Vision Mode on Your Spy Camera
Many hidden cameras have two or three night vision modes that must be set correctly. Using the wrong mode produces green-tinted, overexposed, or completely black footage.
Common night vision modes:
| Modalità | What it does | Ideale per |
|---|---|---|
| Auto | . Oltre questo, le immagini diventano granulose. | Most indoor use cases |
| IR Always On | IR LEDs stay on continuously, even in daylight | 24/7 dark environments (closets, drawers) |
| IR Always Off | Night vision disabled; camera records in color only | Brightly lit areas where IR would cause glare |
| Schedule Mode | IR activates only during set hours | Predictable environments (office, home) |
To change the mode:
– Via the App (Tuya/Smart Life/HDLiveCam): Apri le impostazioni del dispositivo → tocca “Visione Notturna” o “Modalità IR” → seleziona Auto
– Tramite il pulsante fisico della telecamera: Some cameras cycle through modes by holding the reset button for 3 seconds while powered on — check your device manual
– Via the SD card config file: Advanced users can edit the `config.ini` file on the SD card to set a specific IR mode
> Tip: Inizia con la modalità Auto. Se il filmato sembra ancora sbagliato, prova “IR Sempre Attivo” per vedere se i LED IR funzionano effettivamente.
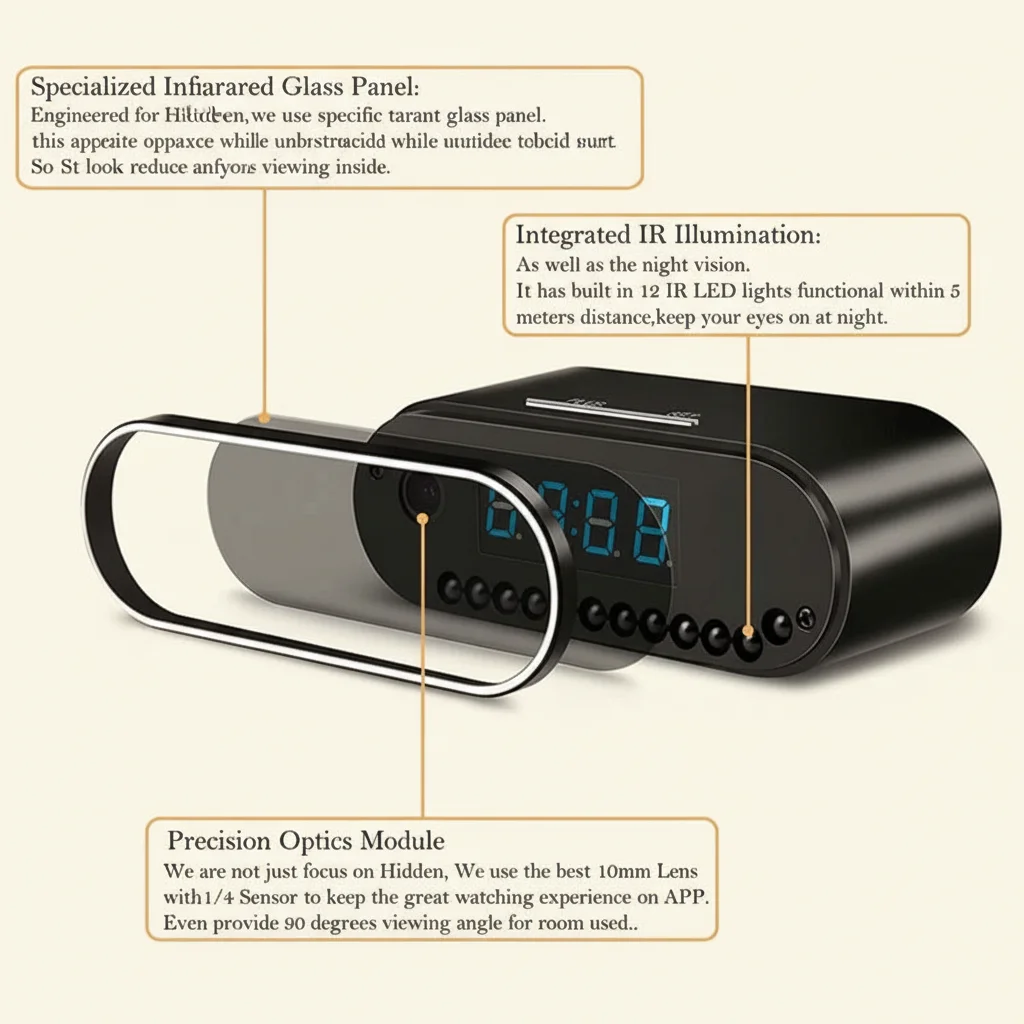
Why Is My Night Vision Footage Green or Too Bright
Green, washed-out, or overexposed night vision footage typically means IR light is reflecting back into the lens rather than illuminating the scene.
Common causes and fixes:
Camera placed too close to a wall or surface
IR light reflects off nearby walls and creates a blinding white/green glow. Move the camera at least 1–2 feet away from the nearest reflective surface, or angle it slightly away.
Camera behind glass or a plastic window
Glass reflects IR light strongly. If your camera is looking through a window, the IR LEDs will create a visible reflection. Either disable IR mode (use ambient light) or remove the glass barrier.
IR LEDs too powerful for the space
In very small rooms, the IR output may be too intense. Switch to a lower IR brightness setting in the app if available, or tape thin layers of semi-transparent material (like printer paper) over some of the IR LEDs to reduce output.
Pareti bianche o soffitti direttamente nel campo visivo della telecamera
Punta la telecamera verso un'area più scura della stanza, o riposizionala in modo che il campo visivo non includa superfici bianche a distanza ravvicinata.
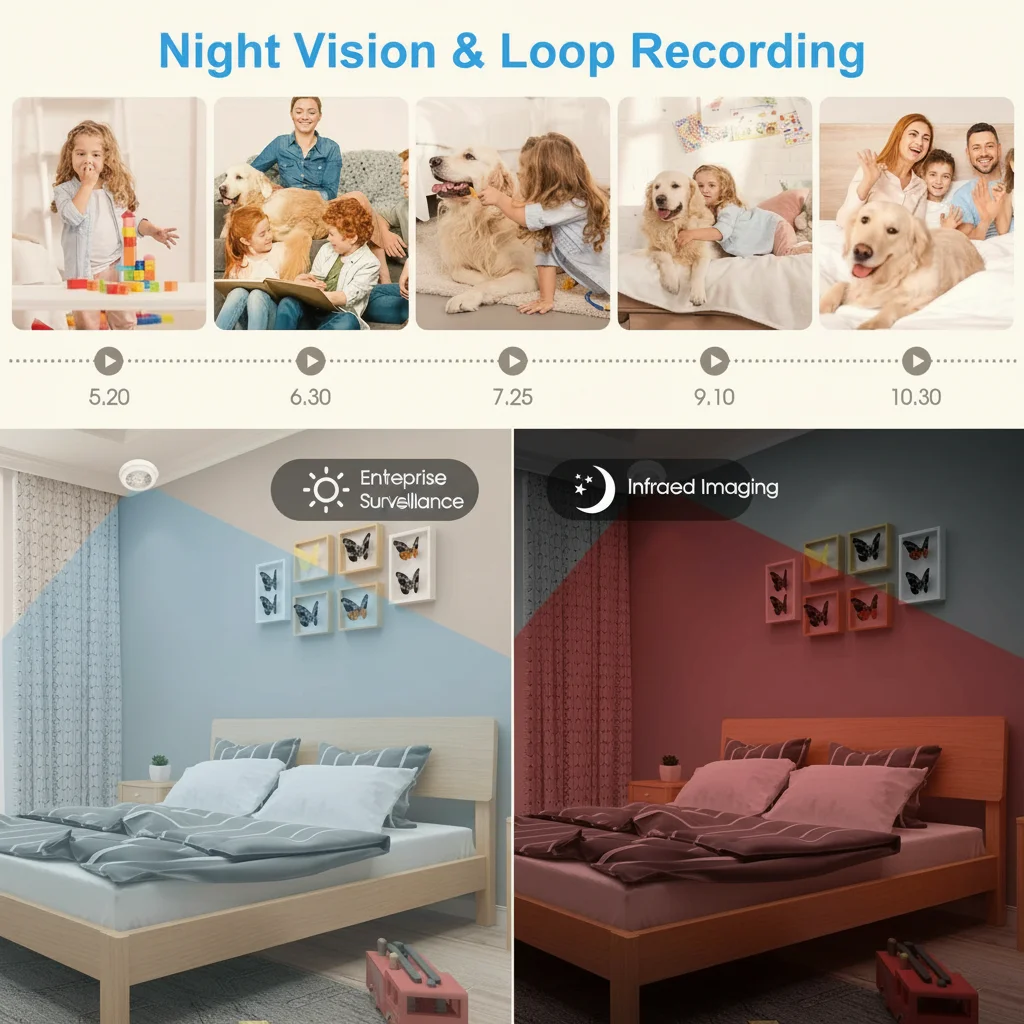
How to Test If IR LEDs Are Working
Se il tuo filmato della visione notturna è completamente nero — nessuna immagine — i LED IR potrebbero essere guasti o disabilitati. Ecco un semplice test:
The smartphone camera test:
1. Take out your smartphone and open the front-facing camera (not the main camera, as some main cameras have IR filters)
2. In una stanza buia, punta l'obiettivo della tua telecamera spia verso lo schermo del telefono a distanza ravvicinata
3. Guarda lo schermo del tuo telefono — se i LED IR funzionano, vedrai un purple or white glow proveniente dall'area LED della telecamera spia
4. No glow = IR LEDs are not emitting light
What to do if IR LEDs are dead:
– Controlla le impostazioni dell'app — l'IR potrebbe essere disabilitato manualmente; riattivalo
– Esegui un ripristino alle impostazioni di fabbrica (vedi il nostro factory reset guide) to restore default IR settings
– Controlla se il dispositivo è in stato di batteria scarica — alcune telecamere disabilitano l'IR per risparmiare energia
– Se i LED sono fisicamente bruciati, il dispositivo necessita di riparazione o sostituzione
How to Improve Night Vision Range and Clarity
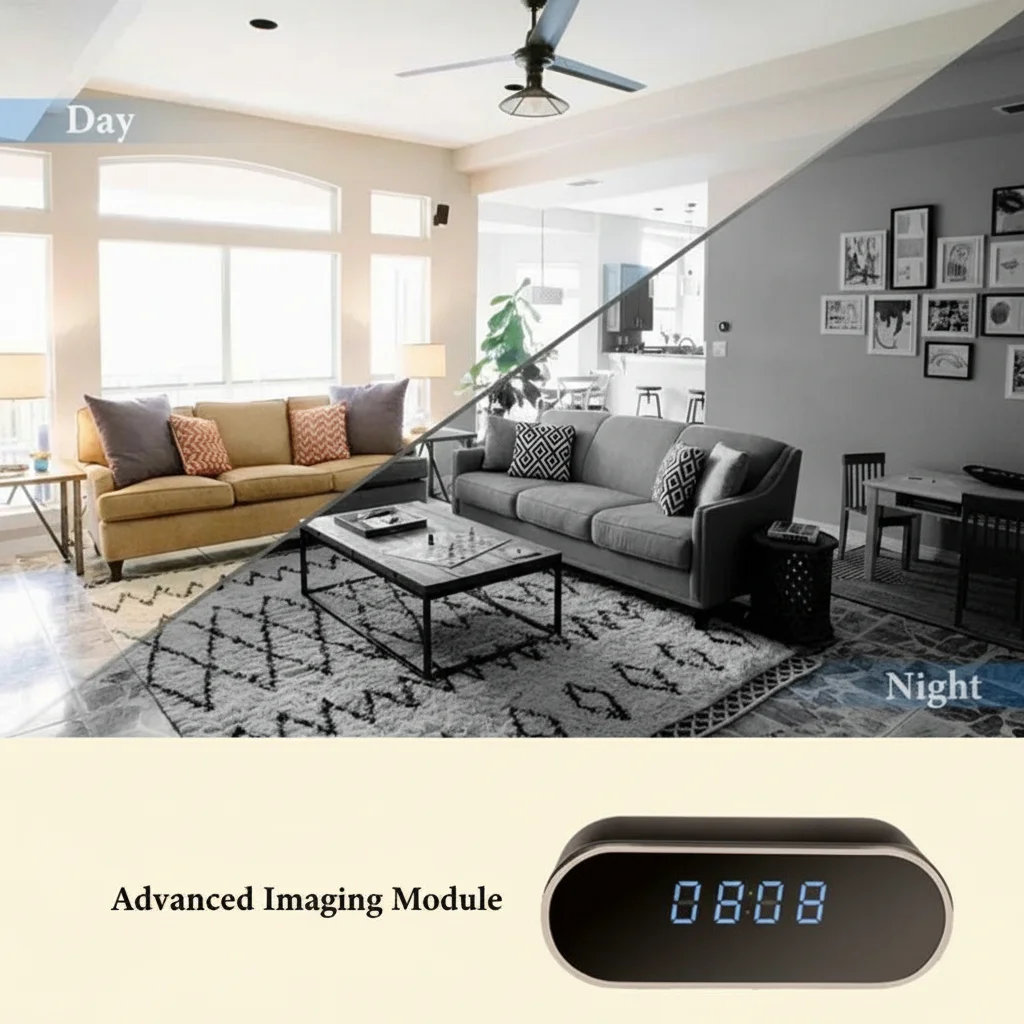
Even working IR cameras can struggle at longer distances. The effective range of most hidden camera IR systems is 3–8 meters (10–26 feet). Beyond that, footage gets grainy.
– Verifica gli aggiornamenti del firmware ogni 3 mesi — i produttori spesso migliorano gli algoritmi di visione notturna negli aggiornamenti. Consulta la nostra guida su
– Reduce ambient light interference — even faint streetlight or LED indicators can confuse the auto-exposure sensor. Cover or relocate competing light sources
– Choose the right camera placement — position the camera at a mid-room height (1.5–2m) pointing slightly downward for maximum scene coverage within IR range
– Use a camera with higher IR LED count — cameras with 6+ IR LEDs have noticeably better range than those with 2–3 LEDs. Our Fotocamere con caricabatterie USB E smoke detector cameras use arrays of 4–8 IR LEDs for extended range
– Check the video resolution settings — recording at 1080p in dark conditions produces better detail than 720p due to larger pixel capture area
– Increase camera sensitivity — nell'app, cerca le impostazioni “Sensibilità Notturna” o “ISO” e aumentale per ambienti più scuri
How to Fix the IR Cut Filter Stuck Issue
Higher-end hidden cameras include a mechanical IR cut filter (ICR) — a small filter that physically moves in front of the sensor. During the day it blocks IR light (to produce natural color). At night it moves out of the way to let IR light through.
When this filter gets stuck in the wrong position:
– Stuck in day mode (filter in): Camera shows a dim, grainy, bluish image at night despite IR LEDs working
– Stuck in night mode (filter out): Camera shows pink/reddish color during daytime footage
Fixes:
1. Tap or gently shake the camera — sometimes the filter is just stuck from dust or static. A light tap on the side of the device can free it
2. Power cycle the device — turn off completely for 30 seconds, then power back on. The filter motor runs a reset cycle on startup
3. Factory reset — restores motor control parameters to default
4. Temperature change — move the camera from a cold to warm environment; thermal expansion can free a stuck filter
5. Contact support — if none of the above works, the ICR motor may need replacement
Tips for Getting the Best Night Vision Footage
Even after fixing technical issues, proper placement and settings make a huge difference in footage quality.
Placement best practices:
– Montare a 1,5–2 metri di altezza per un angolo di copertura IR ottimale
– Evita di puntare direttamente verso finestre, specchi o superfici lucide
– Mantenere il campo visivo libero — qualsiasi oggetto entro 30 cm dall'obiettivo causerà un bagliore da riflesso IR
– Posiziona in modo che il soggetto sia entro 5 metri dalla telecamera per filmati nitidi
Settings best practices:
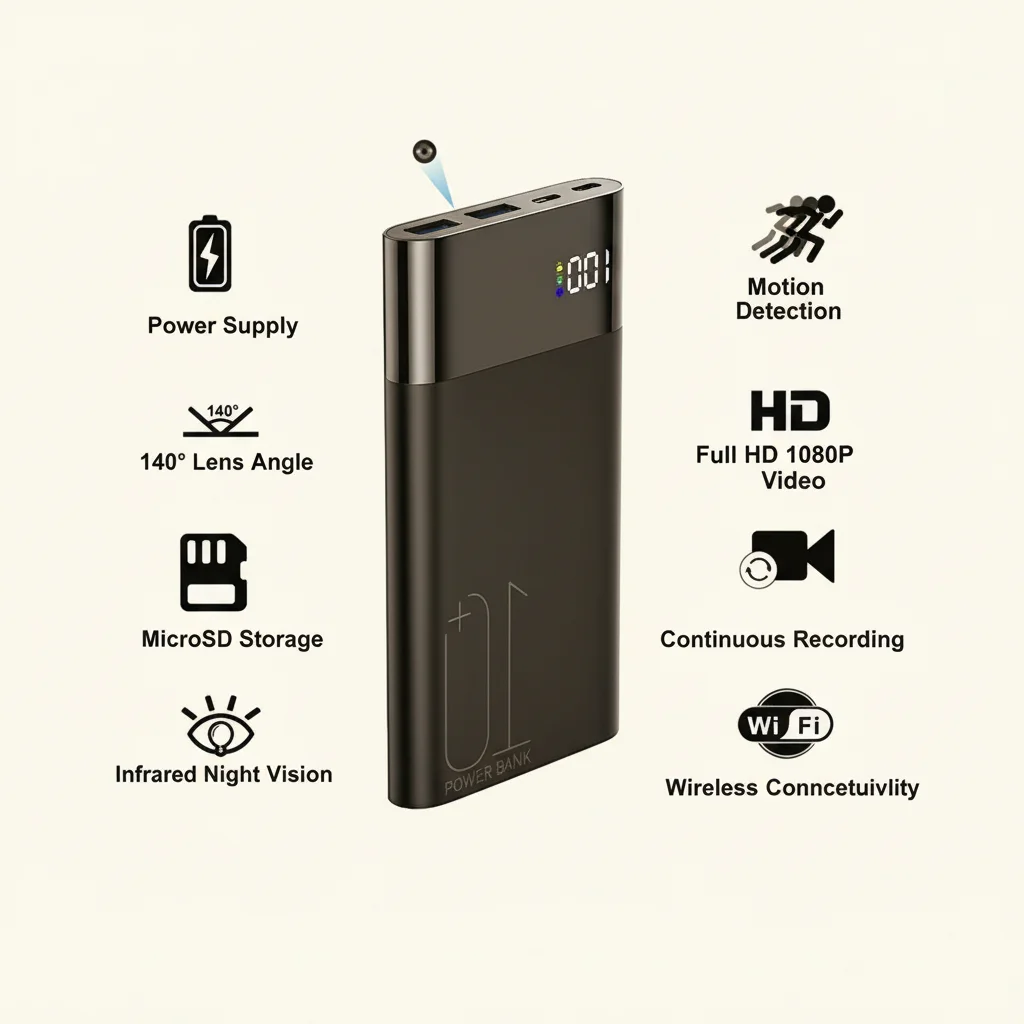
– Impostare la risoluzione di registrazione su 1080p minimum for usable nighttime detail
– Abilita rilevamento del movimento so the camera only records when activity occurs, reducing storage waste from dark empty footage
– Imposta registrazione in loop in modo che la scheda SD non si riempia mai e smetta di registrare inaspettatamente
Maintenance:
– Pulire la lente mensilmente
– Controlla gli aggiornamenti del firmware ogni 3 mesi — i produttori spesso migliorano gli algoritmi di visione notturna negli aggiornamenti
– Sostituire il dispositivo se i LED IR producono meno del 50% della loro luminosità originale dopo 2+ anni di uso quotidiano
Conclusione
I problemi di visione notturna sulle telecamere spia nascoste ricadono quasi sempre in una di queste cinque categorie: lente sporca, impostazioni di modalità errate, riflesso IR, LED guasti o filtro IR cut bloccato. Segui i passaggi di risoluzione dei problemi in questa guida dal più semplice (pulire la lente) al più complesso (filtro IR cut) e risolverai la stragrande maggioranza dei problemi senza dover sostituire il dispositivo.
Se i LED IR della tua telecamera si sono guastati fisicamente o il sensore è danneggiato, potrebbe essere il momento di un aggiornamento. Sfoglia la nostra gamma di telecamere nascoste with premium IR night vision systems built for reliable 24/7 performance.
Domande frequenti
Q: Why does my spy camera show a green image at night?
R: La tinta verde di solito significa che la luce IR si riflette da una superficie vicina nell'obiettivo. Riposiziona la telecamera in modo che non sia troppo vicina alle pareti e assicurati che i LED IR non siano puntati direttamente verso materiali riflettenti.
Q: Can I add external IR illuminators to improve night vision?
A: Yes — standalone IR illuminators plug into a USB port and significantly boost the IR range of any compatible camera. Place them near but separate from the camera to avoid direct reflection.
D: La mia telecamera mostra un'immagine nitida di giorno ma nulla di notte — cosa c'è che non va?
R: Per prima cosa controlla se la modalità IR è abilitata nell'app. Poi esegui il test con la fotocamera dello smartphone per verificare che i LED IR emettano luce. Se non lo fanno, prova un ripristino alle impostazioni di fabbrica o controlla l'alimentazione.
Q: How far can a typical hidden camera see at night?
A: Most entry-level hidden cameras see 3–5 meters clearly in total darkness. Premium models with 8+ IR LEDs can reach 8–12 meters. Distance also depends on the size of the subject and ambient light conditions.
Q: Will the IR light be visible to people in the room?
A: Standard 850nm IR LEDs emit a very faint red glow visible in complete darkness when looked at directly. For completely covert operation, choose cameras with 940nm IR LEDs, which are truly invisible to the naked eye.
 English
  Italiano
  Deutsch
  Français
  Español
  Polski