How to Set Up a Secret Camera: Complete Configuration Guide
Setting up a secret camera goes several steps beyond the physical installation. Once the device is mounted and powered, the real configuration work begins — connecting to a network, creating detection zones, scheduling recording windows, setting storage policies, configuring cloud backup, and verifying the complete chain from trigger to retrievable footage. This guide covers the full post-installation setup workflow for Wi-Fi covert cameras using the Tuya Smart platform (used by the majority of modern covert cameras including QZT Security’s full product range), alongside SD-card-only devices for off-grid deployments.
What “Setting Up” Means in Practice
Many buyers confuse installation (physical mounting and power connection) with setup (software configuration). A camera that is physically installed but not properly configured will miss events, fill its storage in hours, fail to send alerts, or go offline when the router reboots. Proper setup transforms a piece of hardware into a functioning surveillance system.

The six pillars of a correctly configured covert camera are:
1. Network connectivity — stable 2.4 GHz association with <−65 dBm signal strength
2. Recording policy — continuous vs. motion-triggered; local vs. cloud; loop vs. fixed
3. Motion detection — sensitivity, zones, and PIR vs. pixel-diff detection
4. Alert routing — push notification to which devices, at which hours, with which priority
5. Storage management — SD card capacity, loop recording, automatic cloud backup
6. Remote access — secure account credentials, shared access for authorised users
Each pillar is covered in sequence below.
Step 1 — Initial Pairing and Network Configuration
Before any other configuration is possible, the camera must be associated with a Wi-Fi network and a user account. The process differs slightly between camera brands, but the following steps apply to all Tuya-based covert cameras.
Download the app: Install Tuya Smart or Smart Life from the App Store or Google Play. Both apps access the same device ecosystem; Smart Life was originally the consumer-facing version but now has identical functionality. Create an account using an email address you control — the email is used for password recovery, so avoid disposable addresses.
Put the camera in pairing mode: Power on the camera. Hold the reset button (typically a pinhole button accessed with a straightened paperclip) for 5–8 seconds until the status LED blinks rapidly — typically 2 flashes per second in pairing mode vs. 1 slow flash when connected. Some models use an audio cue (beep).
Pair via the app: In the Tuya app, tap the “+” icon → “Add Device” → “Security & Sensor” → “Smart Camera (Wi-Fi)”. Follow the on-screen instructions. When prompted for Wi-Fi credentials, ensure your phone is connected to the 2.4 GHz band (not 5 GHz — Tuya cameras do not support 5 GHz). Enter the Wi-Fi password exactly, including capitalisation. Special characters (!, @, #, $) in Wi-Fi passwords occasionally cause pairing failure; if pairing fails repeatedly, try temporarily changing the router SSID password to an alphanumeric-only string for the setup process.
Confirm connection: The app will show a “Device Added Successfully” screen and the status LED on the camera will transition to a slow 1-flash-per-second pattern (connected). Tap “View Now” to confirm live view is working before proceeding to configuration.
Step 2 — Video Quality and Bitrate Settings
Resolution and bitrate settings directly affect storage consumption and image quality. Setting these correctly before enabling recording prevents the common failure mode of running out of storage in 4–8 hours due to unnecessarily high bitrate settings.
In the Tuya app camera view, tap the settings gear → “Basic Function Settings” → “Video Settings” or equivalent (label varies by firmware version). Standard options:
| Setting | Description | Recommended |
|---|---|---|
| HD (1080p) | 1920×1080, ~6 Mbps bitrate | Default for most use cases |
| SD (720p) | 1280×720, ~3 Mbps bitrate | Use only if SD card is <64 GB |
| 4K (if supported) | 3840×2160, ~15–25 Mbps | Use only if 4K detail is operationally required |
| Bitrate (if adjustable) | Controls file size vs. quality trade-off | Set to “Auto” or “Medium” |
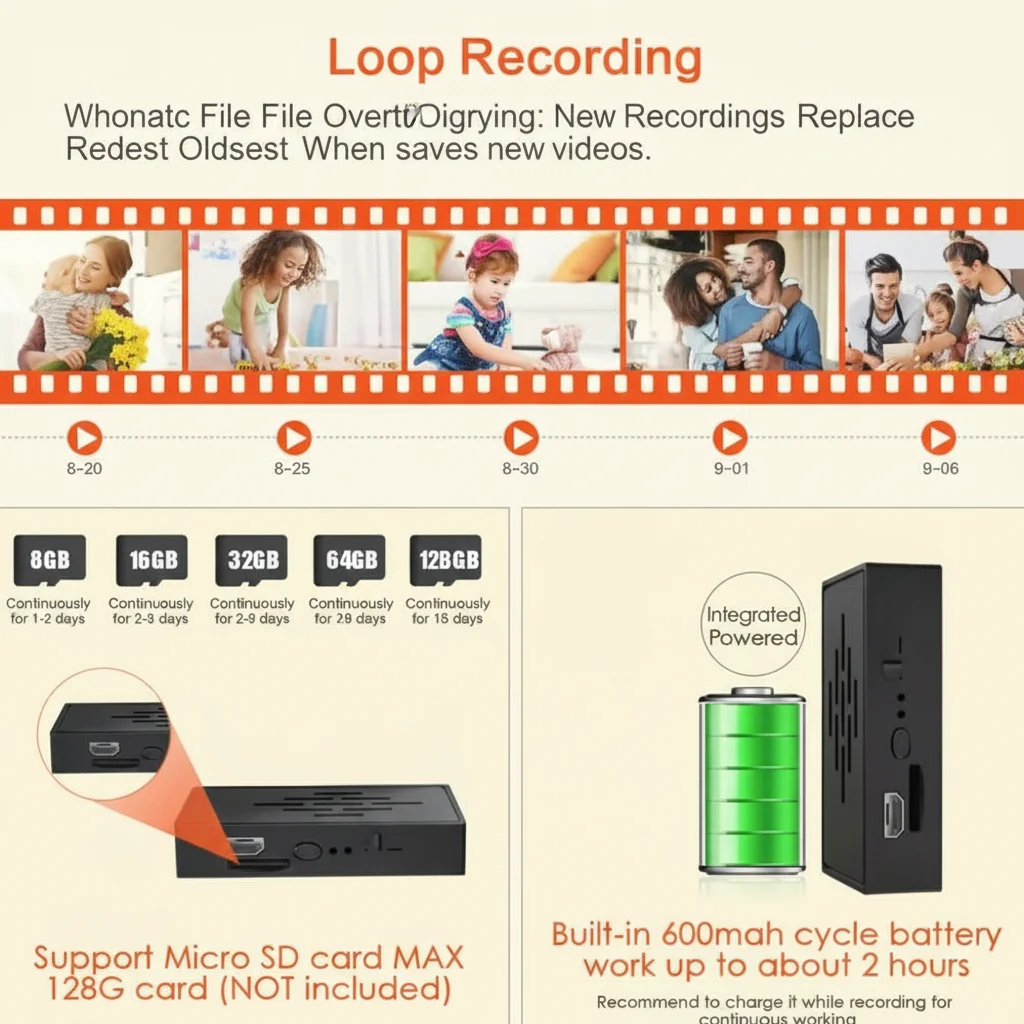
At 1080p HD with ~6 Mbps bitrate, storage consumption is approximately 2.7 GB per hour. A 128 GB SD card holds approximately 47 hours of continuous footage before loop recording begins to overwrite the oldest files.
For the WiFi Tissue Box Hidden Camera 4K, 4K mode is appropriate for close-range deployments (1–3 metres) where facial detail and number/text legibility are critical. For wider area monitoring at 5+ metres, 1080p provides adequate detail with significantly lower storage overhead.
Step 3 — Recording Mode Selection
The recording mode determines when the camera writes video to storage. Getting this decision right is the most consequential configuration choice for ongoing usability.
Continuous recording writes video 24/7, regardless of whether any motion is detected. Advantages: complete record, no missed events. Disadvantage: storage is consumed rapidly and finding a specific incident requires scrubbing through hours of footage. Best for: high-value monitoring locations where completeness of record is legally or operationally critical.
Motion-triggered recording writes video only when motion is detected, typically including a pre-record buffer (10–30 seconds before the trigger) and post-record tail (30–60 seconds after motion ceases). Advantages: dramatically lower storage consumption; alerts correspond directly to recorded clips; easier to locate specific incidents. Disadvantage: a motion zone misconfiguration can result in missed events. Best for: most covert camera deployments.
Scheduled recording combines time-window control with either of the above modes — e.g., continuous recording only during business hours, or motion-triggered alerts only at night. Access via Tuya app → camera settings → “Scheduled Recording” or “Plan Settings”.
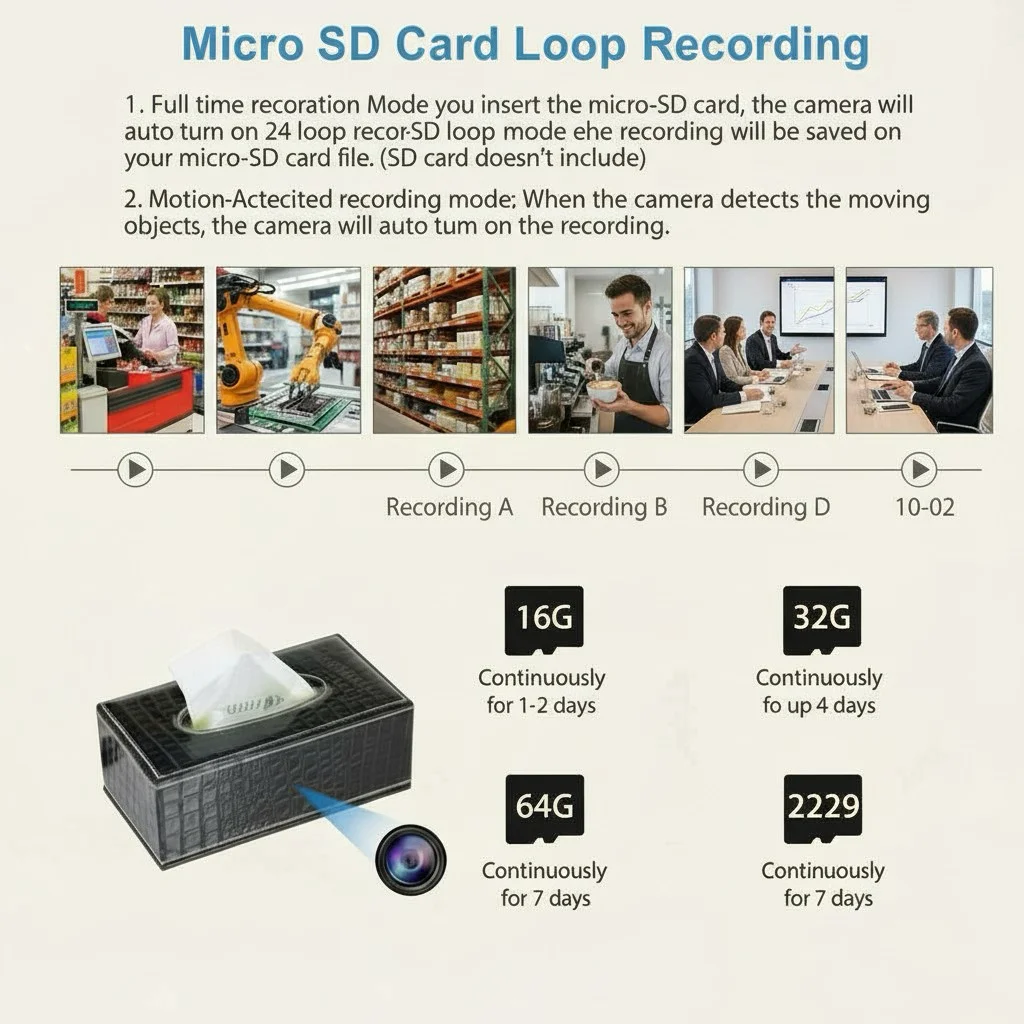
Set loop recording to ON in all configurations. Without loop recording, the camera stops all recording when the SD card fills and sends no notification. With loop recording enabled, the oldest files are overwritten automatically, ensuring the most recent events are always preserved.
Step 4 — Motion Detection Configuration
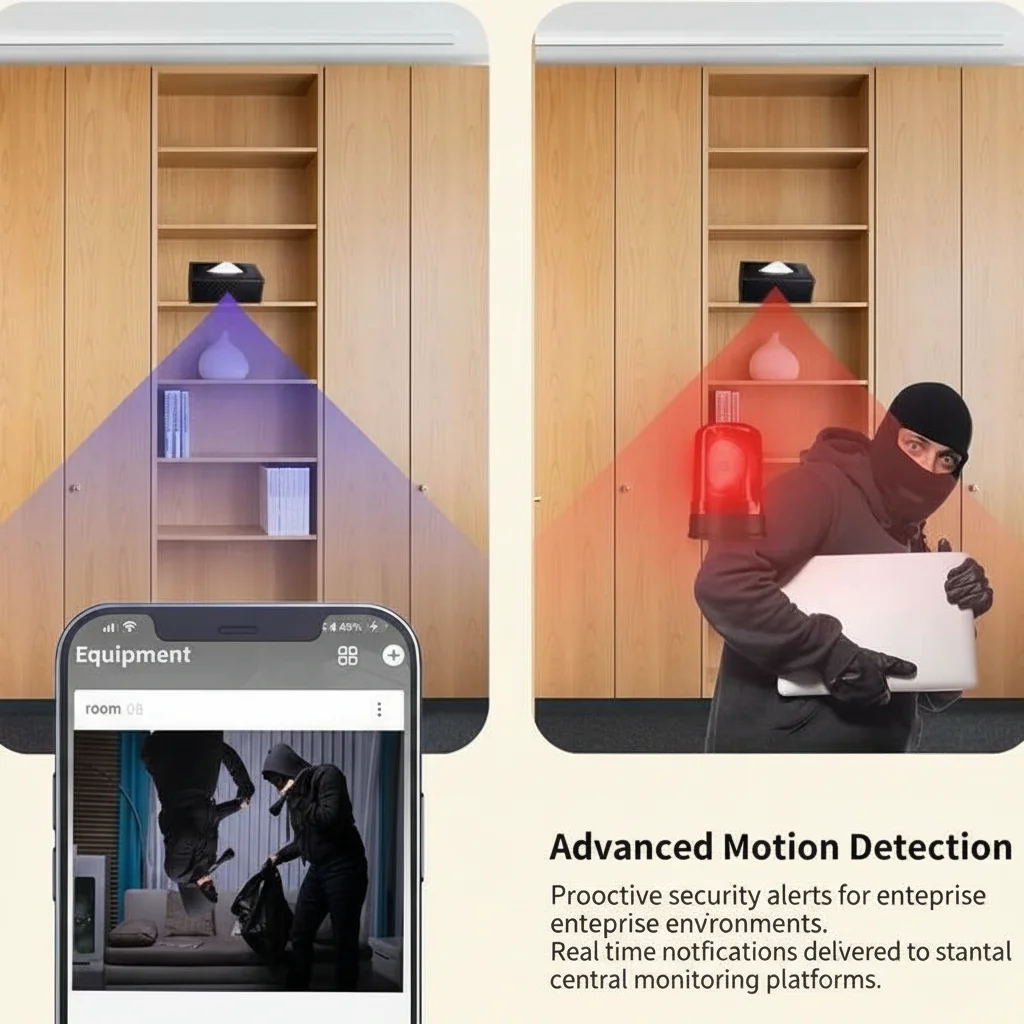
Motion detection is the trigger mechanism for alert-based recording. Misconfigured motion detection is the leading cause of both missed events and alert fatigue.
In the Tuya app, navigate to camera settings → “Motion Detection”. The main controls are:
Sensitivity: Low / Medium / High (or a slider 1–10 on some firmware versions). Start at Medium. High sensitivity detects smaller, slower movements but generates more false positives from lighting changes, pets, and HVAC airflow. Low sensitivity reduces false positives but may miss slow-moving subjects or movement at the edge of the frame.
Detection zone / activity zone: Many Tuya cameras support grid-based zone masking. The live view is divided into a grid (typically 5×4 or 6×4 cells), and individual cells can be enabled or disabled for motion detection. Disable cells that cover:
– Windows with outdoor views (tree movement, passing cars, cloud shadows)
– Mirror reflections (create double-trigger)
– TV screens or monitors (display content triggers pixel-change detection)
– Areas outside your zone of interest
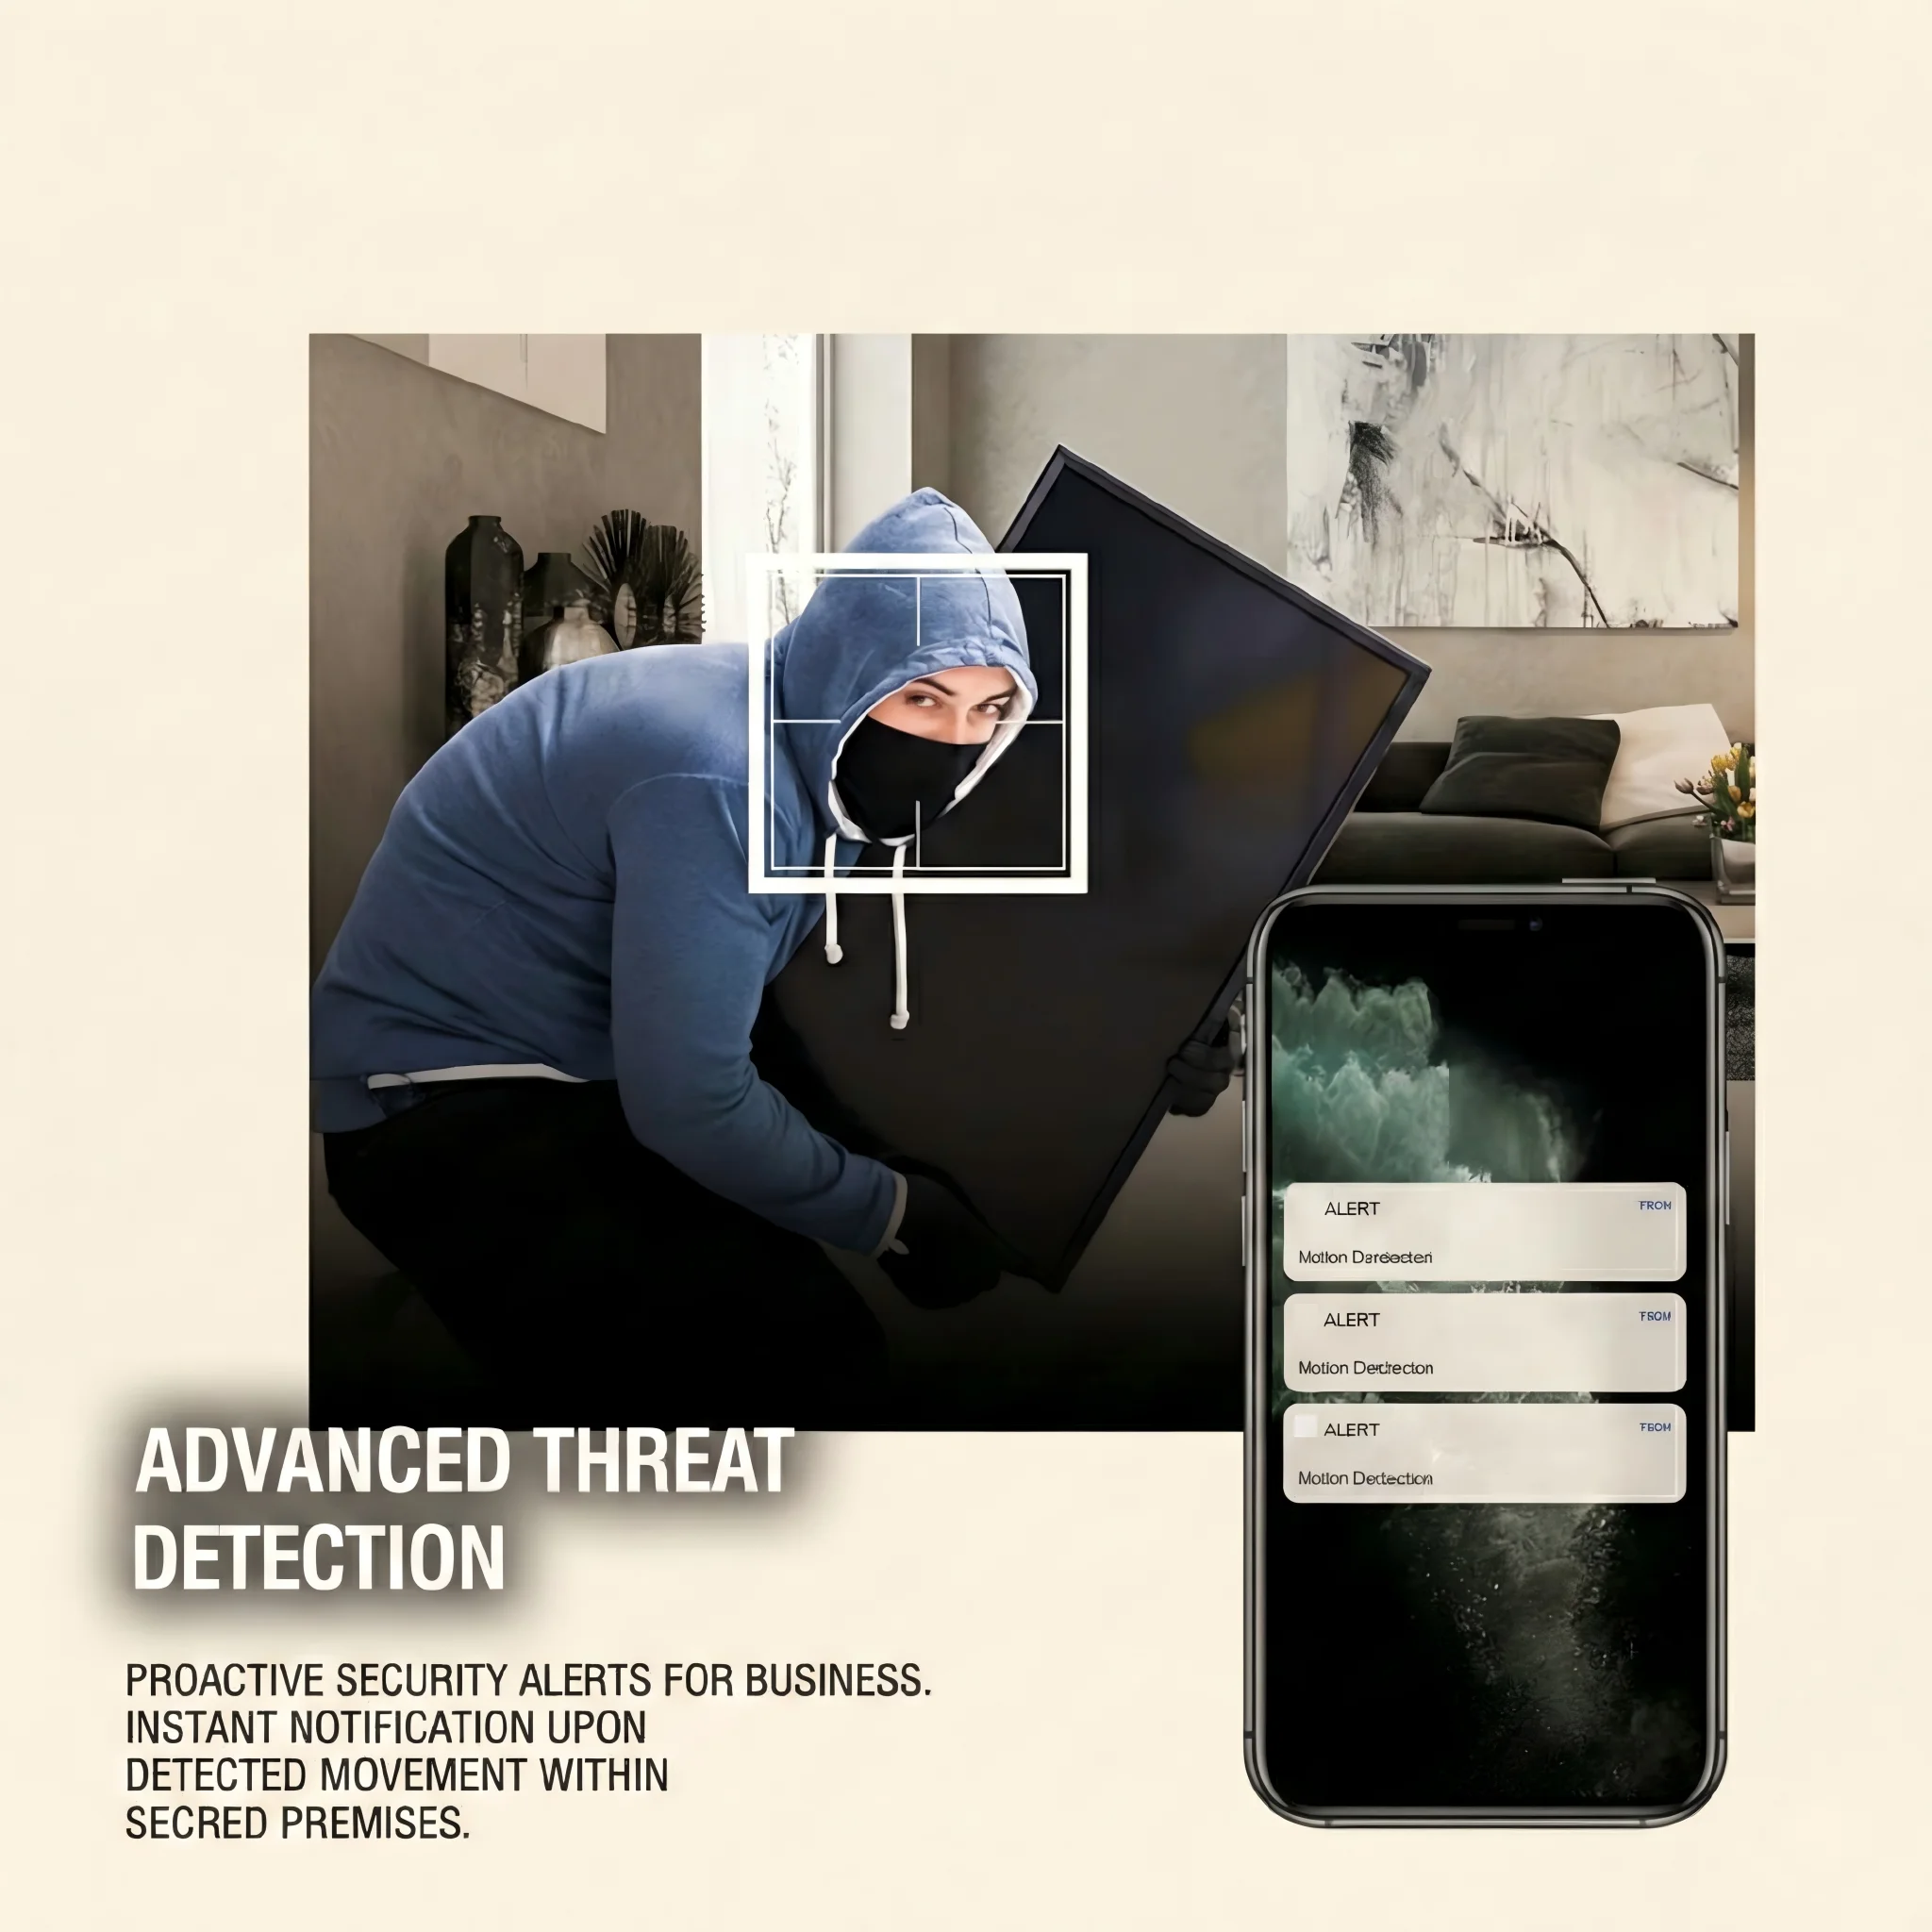
Human detection / AI detection: Higher-end Tuya cameras (including several QZT models) support human silhouette detection using on-device AI processing. This significantly reduces false positives from non-human motion while maintaining sensitivity to actual intrusions. Enable this if available; it replaces basic pixel-change detection.
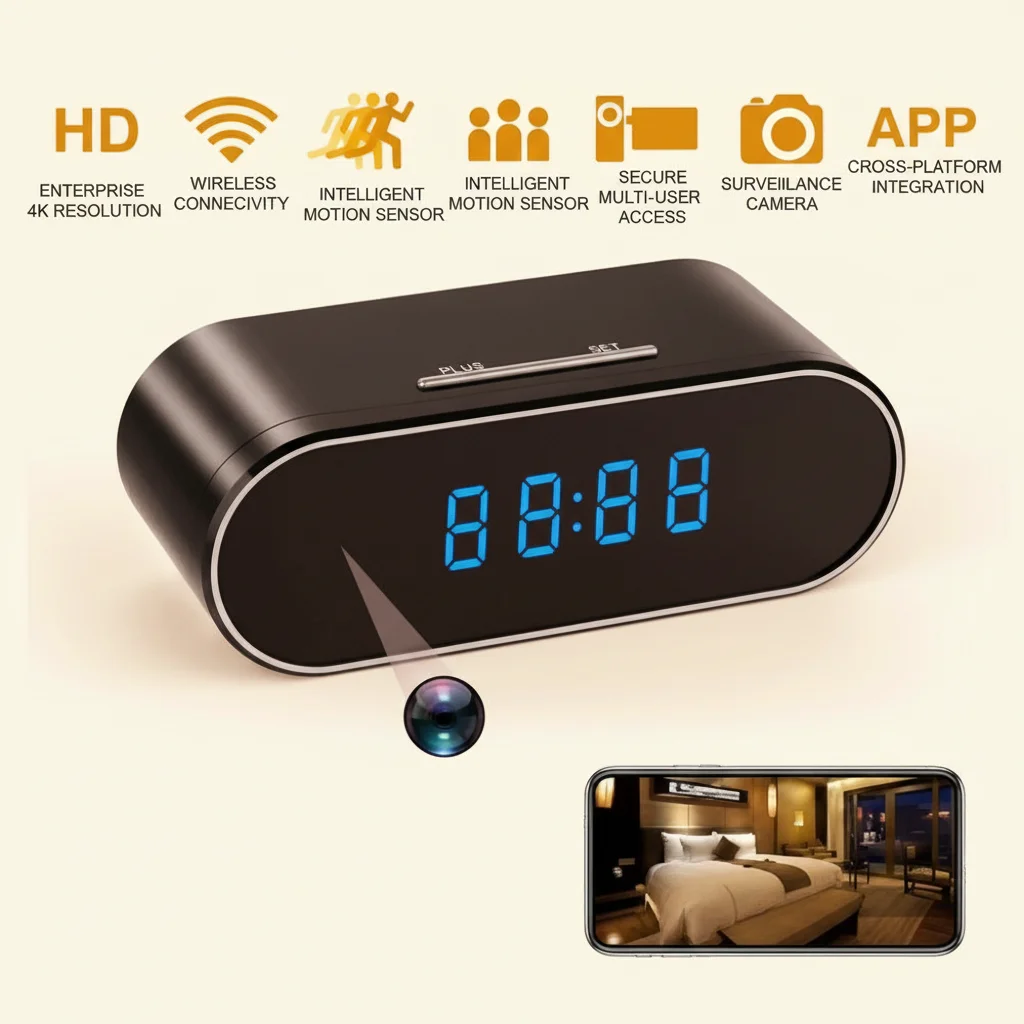
PIR sensitivity (hardware motion sensor): On cameras equipped with a PIR sensor (e.g., Z10 WiFi Wall Clock Camera), PIR sensitivity is a separate setting from the video-based motion detection. PIR responds to thermal signatures (body heat) and is unaffected by lighting changes, making it more reliable than pixel-based detection in variable lighting environments. Set PIR sensitivity to match the expected target distance — higher sensitivity for targets at 4–6 metres, lower for close-range (1–2 metres) to avoid excessive saturation.
Step 5 — Push Notification and Alert Routing
An installed camera that does not send timely alerts provides only retrospective evidence, not real-time awareness. Configuring push notifications correctly makes the difference between reactive and proactive security.
In the Tuya app, navigate to camera settings → “Message Notification” or “Alert Settings”. Configure:
Notification type: Select “Motion Alert” and (if supported) “Human Detection Alert”. Disable “Device Online/Offline” notifications unless you need to monitor device connectivity health, as these generate distracting noise.
Notification schedule: Set the hours during which alerts are active. For a business monitoring system, this might be outside business hours (18:00–08:00 weekdays, all day weekends). Ensure the camera’s time zone is correctly set — in the Tuya app under device settings → “Time Zone” — or scheduled alerts will fire at wrong local times.
Alert frequency limiting: Some Tuya firmware versions support a “minimum alert interval” setting (e.g., no more than one alert per 60 seconds). Enable this in high-activity environments to prevent alert flooding while still capturing the first-trigger notification of an event.
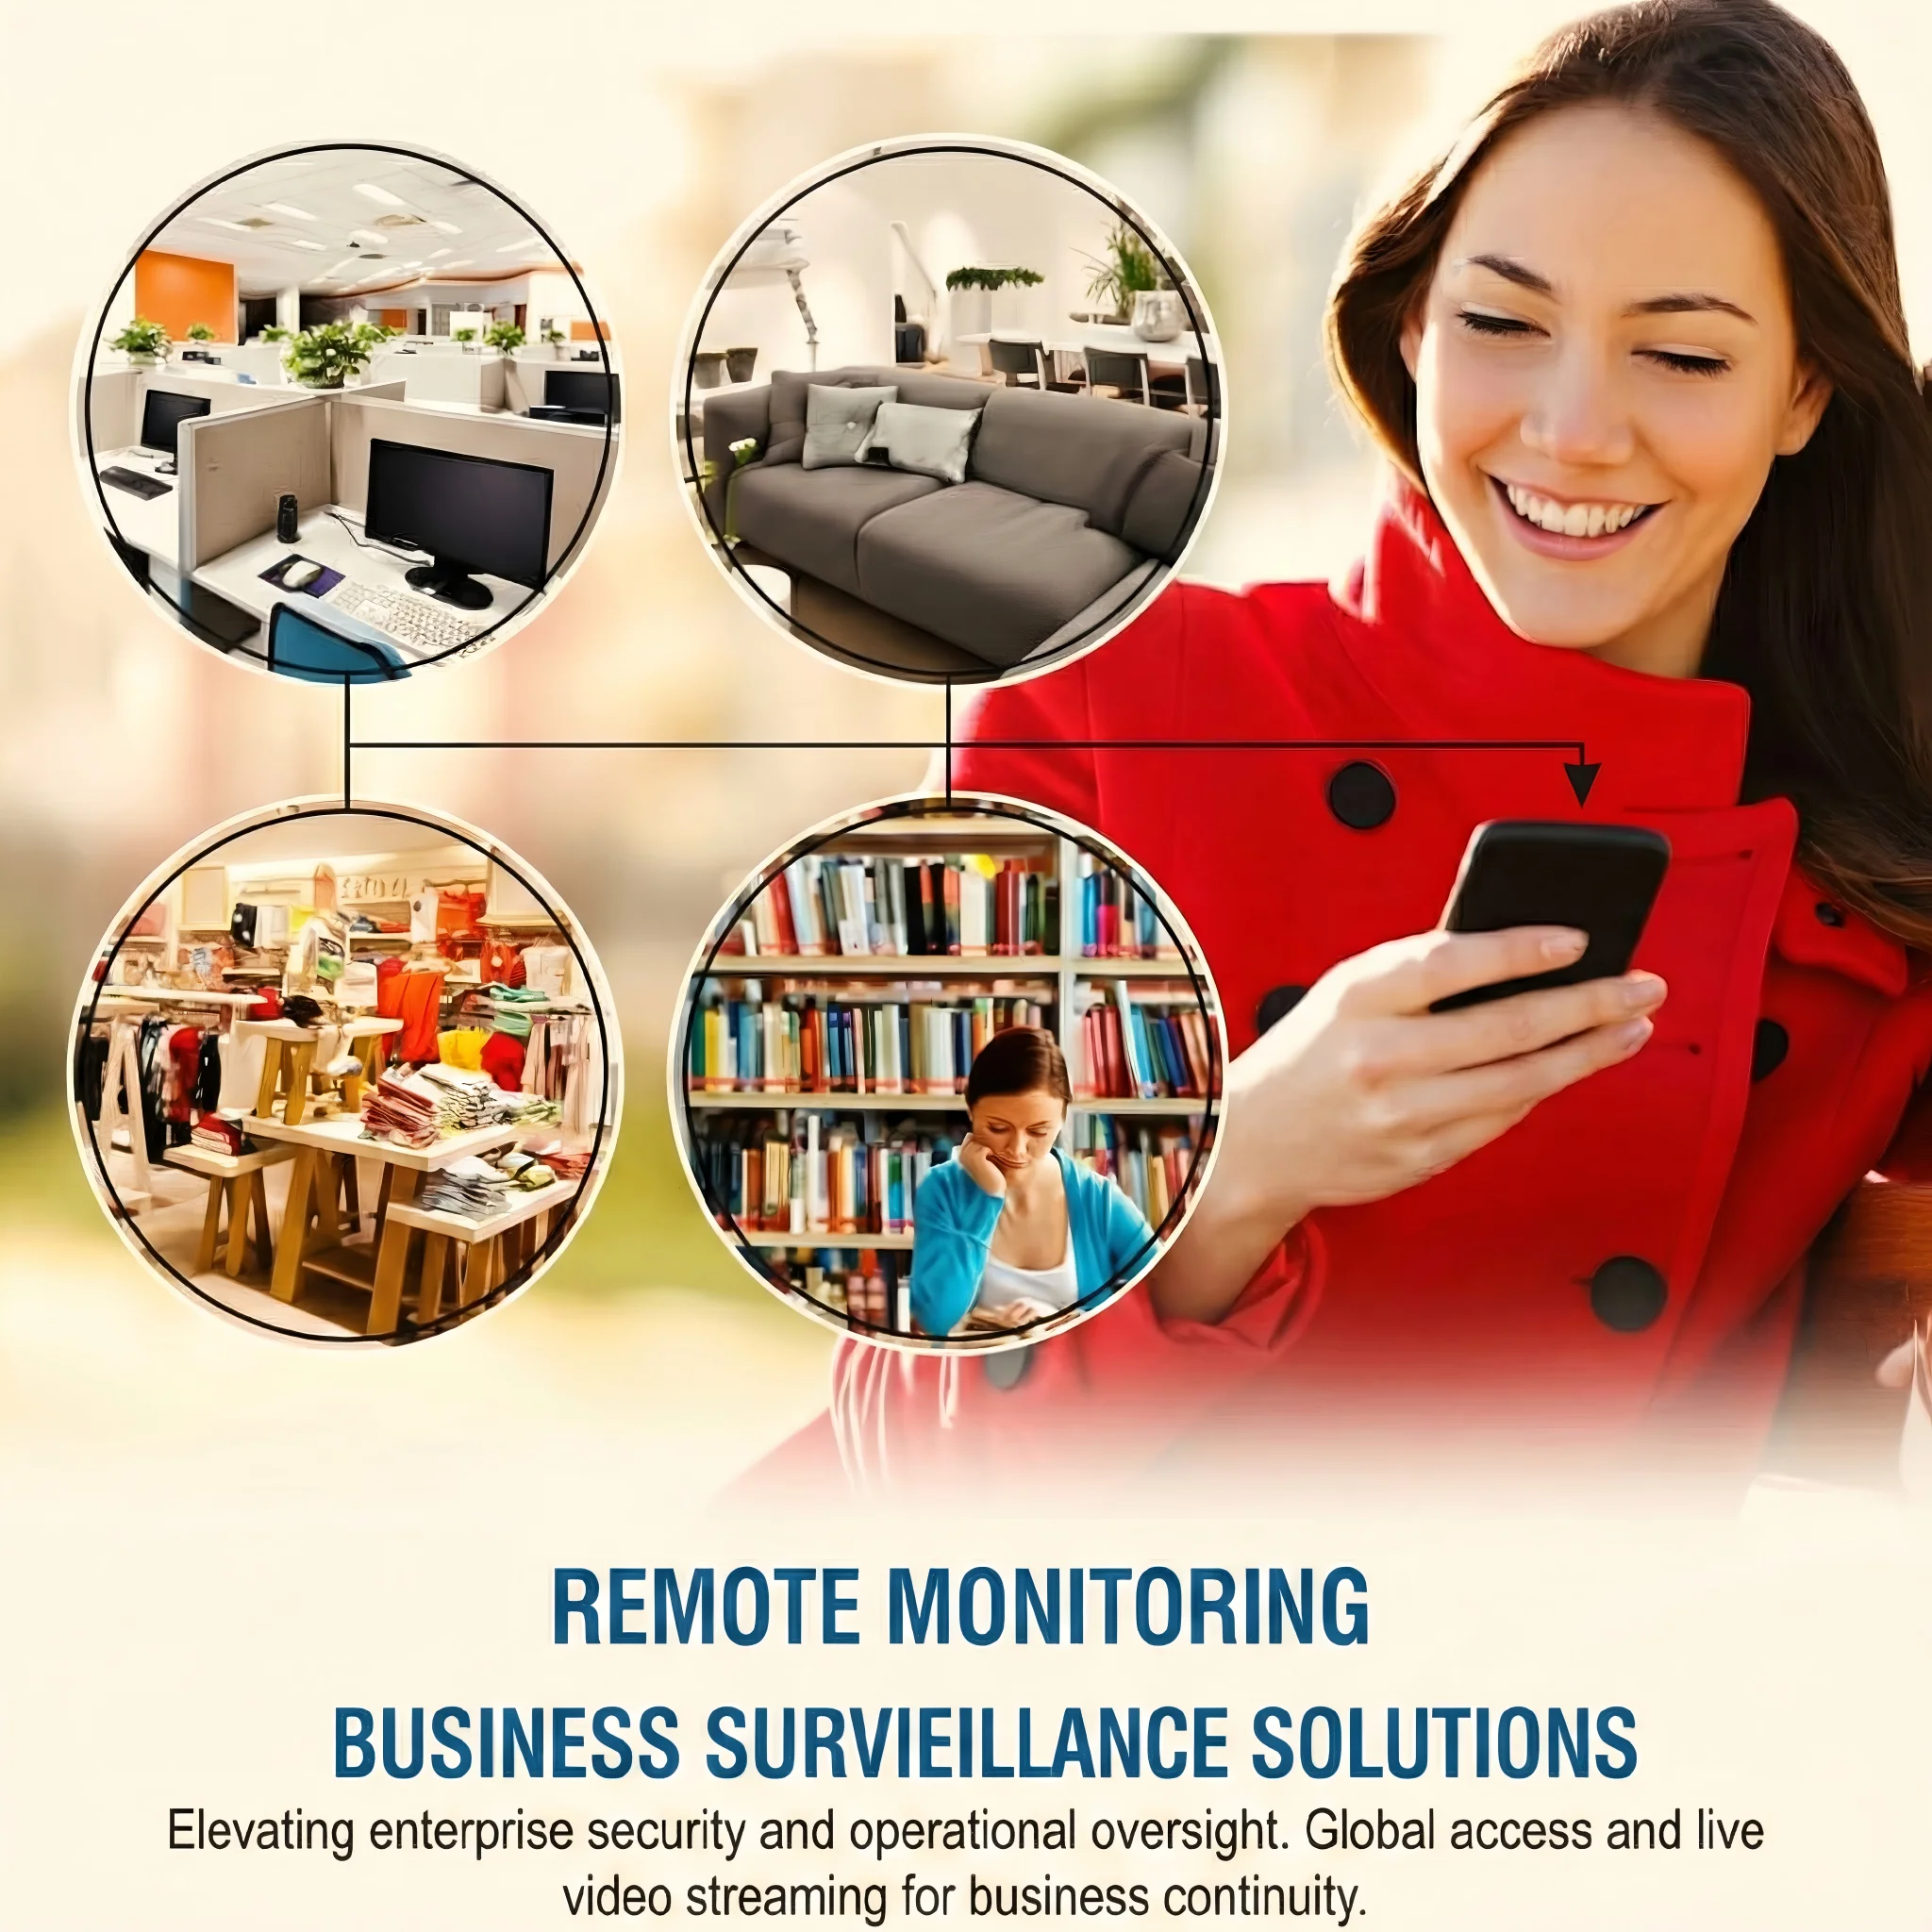
Multiple recipients: The Tuya app supports shared home members — under “Home Management” → “Add Member”, add additional users by their Tuya account email. Each added member can receive notifications for shared devices. This is the correct approach for multi-user monitoring (e.g., both partners in a household, or two security staff members) rather than sharing account credentials.
Step 6 — Cloud Storage Setup
Local SD card storage is primary; cloud storage provides a backup that survives physical tampering with the camera (removing the SD card, destroying the device) and enables remote playback without physical access.
Tuya offers cloud storage via the Tuya Cloud Membership service, accessible in-app under “Cloud Storage” in the camera settings. Storage plans typically range from 7-day rolling storage to 30-day or 90-day plans, billed monthly or annually. For most use cases, 7-day rolling cloud storage of motion-triggered clips is sufficient and cost-effective.
Cloud storage configuration:
1. In the camera’s settings, tap “Cloud Storage Service”.
2. Select a plan. Free tiers (if available) typically offer 24–72 hours of motion clip cloud backup.
3. Enable “Upload to Cloud” for motion-triggered clips. Continuous upload to cloud is available on premium plans but consumes significant bandwidth.
4. Verify cloud playback works by triggering a motion event and confirming the clip appears in the cloud timeline within 60 seconds.
For GDPR compliance in the EU, note that Tuya cloud servers process personal data. Ensure the cloud storage agreement includes GDPR-compliant data processing terms. Tuya Technology has published its GDPR compliance documentation for EU users.
Step 7 — Two-Factor Authentication and Account Security
A covert camera connected to a cloud account is a remote-access device. If the account is compromised, an adversary gains live view access to the monitored space. Account security is not optional.
In the Tuya app, navigate to account settings → “Account and Security” → “Login Password” and enable two-factor authentication (2FA) via SMS or authenticator app. Use a password that is at least 12 characters with mixed case, numbers, and symbols. Do not reuse the password from other accounts.
For business deployments with multiple cameras, create a dedicated email account exclusively for the camera management Tuya account. This reduces the risk of account compromise via phishing attacks targeting the primary email address.
Consider whether to enable the “Privacy Mode” or “Bedtime Mode” feature available on some Tuya devices — this physically disables the camera lens (lens cover motor on some models) or disables recording on a set schedule, providing a hardware-level privacy guarantee when the monitored space is occupied by the authorised user.
Step 8 — Firmware Update
After completing all configuration steps, check for available firmware updates before finalising the setup.

In the Tuya app, navigate to the device settings → “Device Update” or “Check for Updates”. If a firmware update is available, install it before the camera goes into full operation. Firmware updates typically include:
– Motion detection algorithm improvements (reduced false positives)
– Wi-Fi connection stability fixes
– Video codec optimisations (better quality at same bitrate)
– Security patches addressing known vulnerabilities
After a firmware update, the camera will reboot. Verify that all configuration settings (motion zones, recording mode, cloud storage) are preserved post-update. Some major firmware revisions reset settings to defaults; a documented configuration record prevents the need to reconfigure from scratch.
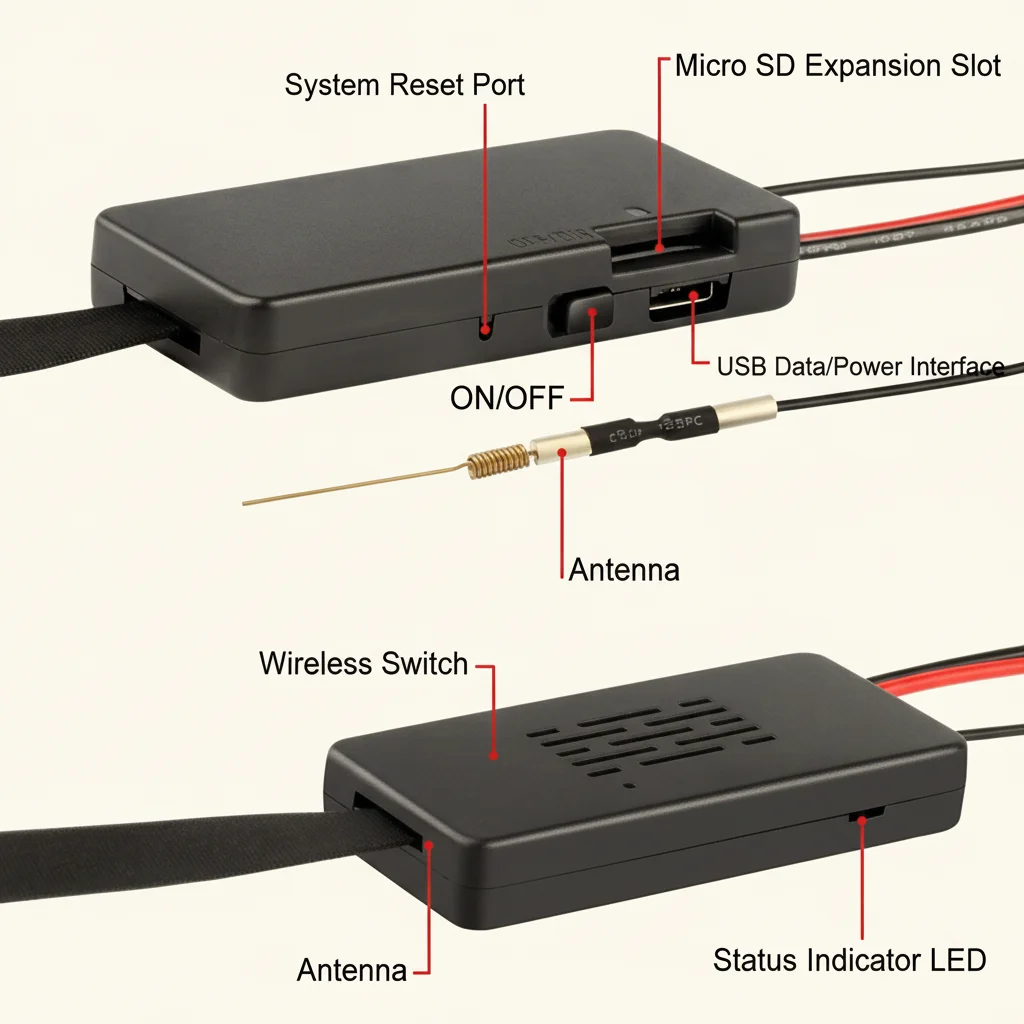
Setting Up SD-Card-Only (Non-Wi-Fi) Secret Cameras
For deployments where Wi-Fi connectivity is not available or where RF emissions must be minimised, non-Wi-Fi cameras record locally only and require a different setup approach.
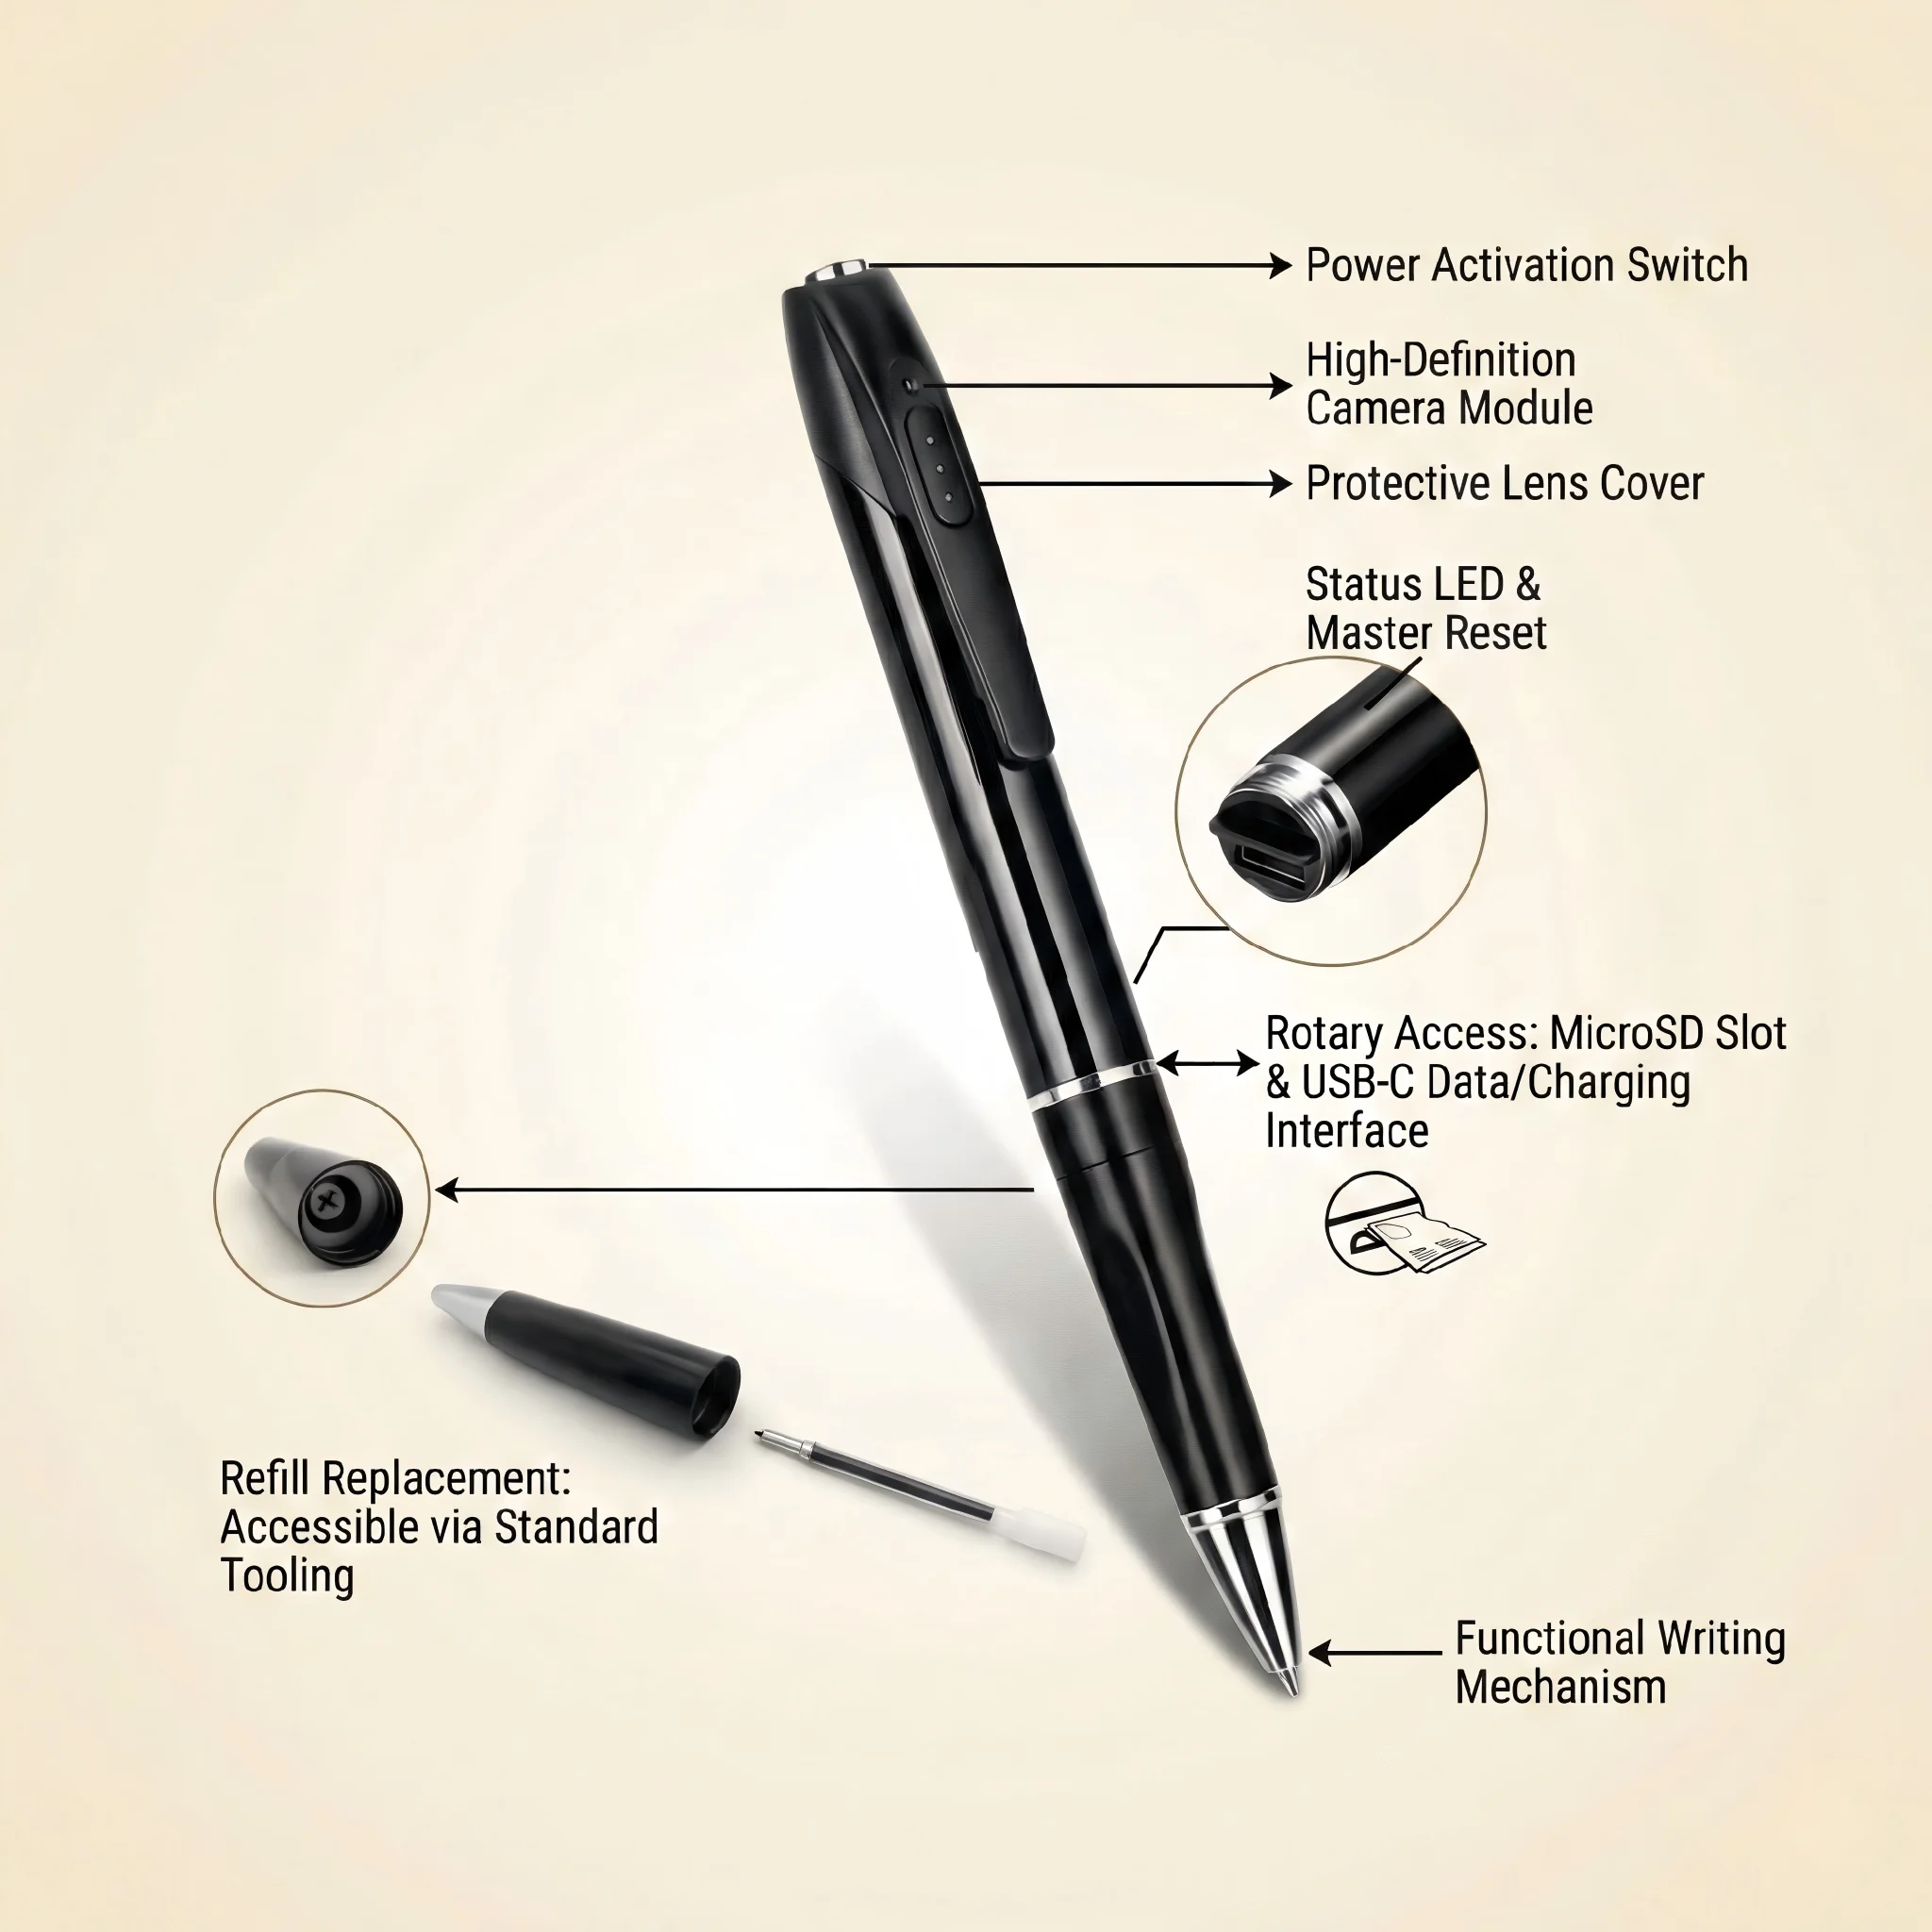
Non-Wi-Fi models — including the Spy Pen Camera, Car Key Hidden Camera, and USB Stick Hidden Camera — use a physical button interface rather than an app. The standard setup process:
1. Format the micro-SD card in the camera using the reset/format button combination (refer to device manual — typically long-press the record button while inserting the card, or use the dedicated format button in the device’s button-based menu).
2. Set the clock to ensure accurate file timestamps. Connect the camera to a PC; some models sync time from the PC clock automatically, others require placing a `time.txt` file in the root of the SD card with the format `2026-04-22 12:00:00`.
3. Select recording mode: Most offer continuous recording, VOR (voice-activated), or motion-triggered modes via button combinations. Refer to the manual for the specific button sequence; typically: single press = start/stop continuous; double press = activate VOR; triple press = motion trigger mode.
4. Test before deployment: Record a 2-minute test clip and review it on a PC to confirm focus, exposure, and audio quality before placing the camera in operation.
Verification Checklist Before Going Live
Before considering setup complete, run through this checklist:
– [ ] Camera shows stable live view in Tuya app
– [ ] SD card installed, formatted in-camera, loop recording ON
– [ ] Video resolution set (HD/4K as required)
– [ ] Recording mode configured (continuous / motion-triggered)
– [ ] Motion zones configured, windows and mirrors masked
– [ ] Alert schedule set (correct time zone)
– [ ] Push notifications tested (trigger manually, confirm receipt)
– [ ] Cloud storage enabled and tested (if required)
– [ ] Firmware updated to latest version
– [ ] Two-factor authentication enabled on Tuya account
– [ ] Additional authorised users added (if multi-user deployment)
– [ ] 30-minute live operation test completed, playback verified
For business deployments, document the completed checklist with timestamps and retain it as part of your GDPR compliance records demonstrating that appropriate technical and organisational measures have been implemented under Article 25 (Data Protection by Design and by Default).
FAQ
How long does the full setup process take?
For a single Wi-Fi camera, 20–40 minutes from unboxing to verified operation. For a non-Wi-Fi camera, 10–15 minutes.
Can I set up multiple cameras simultaneously?
Yes — the Tuya app supports adding multiple devices in sequence. Complete the pairing and basic configuration of the first camera before adding the next to avoid pairing mode conflicts on shared Wi-Fi.
What if my Wi-Fi password contains special characters?
Temporarily change the router password to alphanumeric-only for the pairing process, then change it back and re-enter in the camera’s Wi-Fi settings.
Can I use a 4G/LTE portable hotspot instead of fixed Wi-Fi?
Yes — the camera will pair to any 2.4 GHz Wi-Fi network. A mobile hotspot works for temporary deployments, though data charges apply for cloud storage upload.
How do I share camera access with another person without sharing my password?
In the Tuya app, use “Home Management” → “Add Member” to invite them by their Tuya account email. This grants camera access under their own login credentials.
Conclusion
Setting up a secret camera correctly requires working through network pairing, recording policy, motion detection calibration, alert configuration, storage management, and account security in sequence. Each setting builds on the previous one — a correctly paired camera with a misconfigured SD policy will fill storage within hours; a correctly configured SD policy with an uncalibrated motion zone will generate unusable alert floods. Follow the eight steps above in order, complete the verification checklist, and the result is a reliable, continuously operating covert camera system that captures evidence when it matters and stores it securely until it is needed.