How to Fix Night Vision on a Hidden Spy Camera
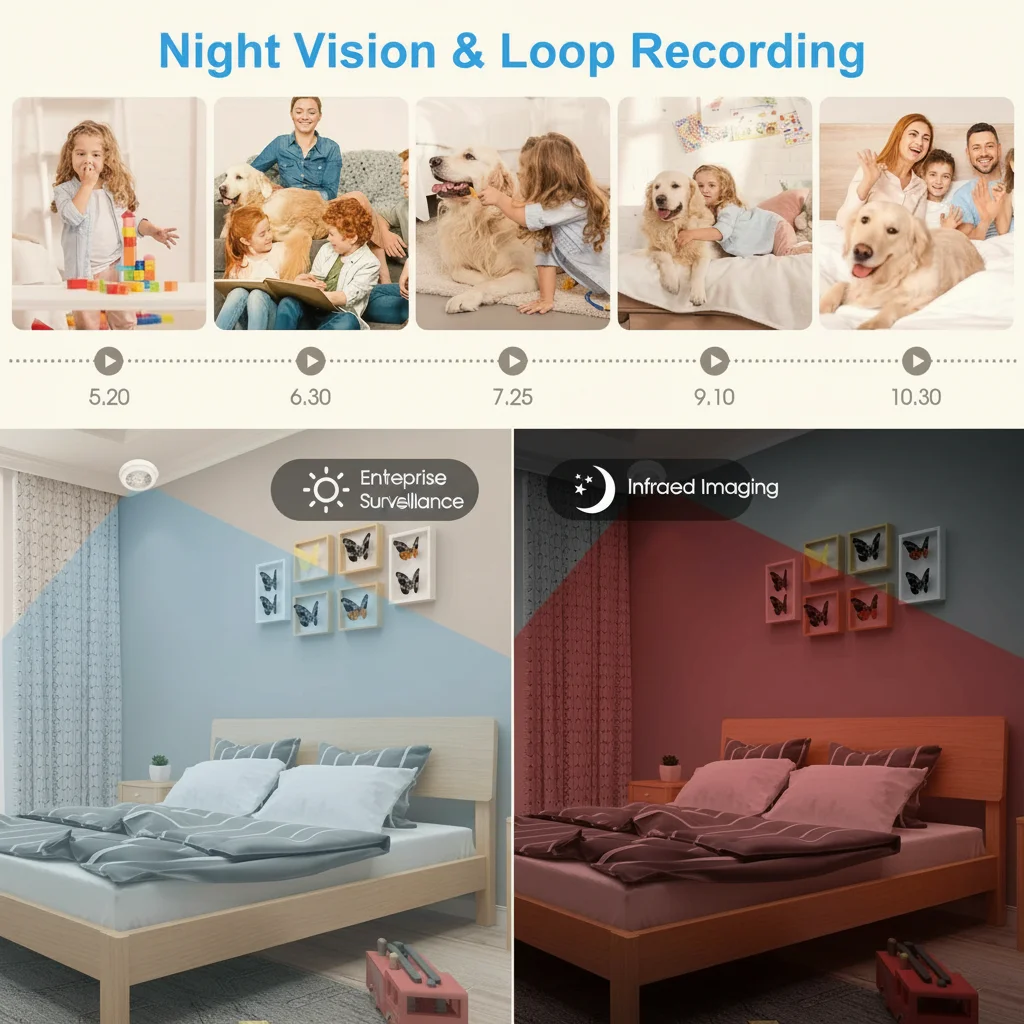
Night vision is one of the most important features of any spy camera or hidden surveillance device. When your camera produces blurry, green, or completely dark footage at night, it’s frustrating — and it defeats the purpose of 24/7 monitoring. This guide walks you through every practical step to diagnose and fix night vision problems on hidden spy cameras, from simple lens cleaning to IR LED settings.
What Causes Poor Night Vision on Spy Cameras
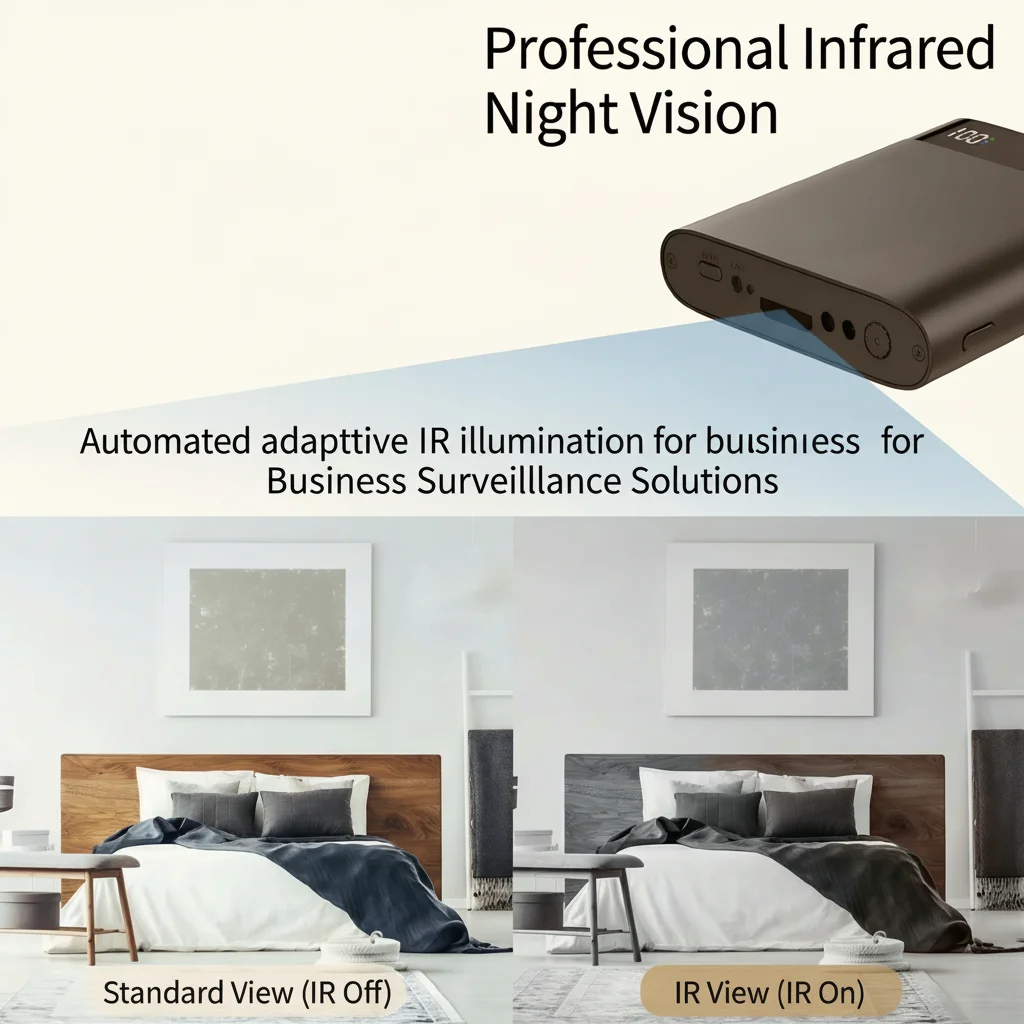
Before diving into fixes, it helps to understand why night vision fails. Most hidden cameras use infrared (IR) LEDs to illuminate scenes in darkness. The camera sensor picks up this invisible IR light and converts it to a black-and-white image. Problems arise from:
– Dirty or fogged lens — dust, grease, or condensation blocks IR light
– IR LEDs burned out — LEDs have a lifespan; heavy usage can degrade them
– Wrong night vision mode — some cameras require manual switching between day/night
– IR cut filter stuck — the mechanical filter that switches between color and IR modes can jam
– Insufficient IR range — the subject is too far from the camera’s effective IR distance
– Reflective surfaces nearby — IR light bouncing off walls or glass overexposes the sensor
Understanding the root cause saves you from chasing the wrong fix. Start with the simplest checks first.
How to Clean the Camera Lens for Better Night Vision
A dirty lens is the #1 cause of blurry night vision footage. The camera lens and the IR LED window both need to be clean and clear.
What you need:
– Microfiber cloth or lens wipe
– Isopropyl alcohol (70% or higher)
– Cotton swabs for tight spaces
Steps:
1. Power off the camera before cleaning to avoid accidental recordings
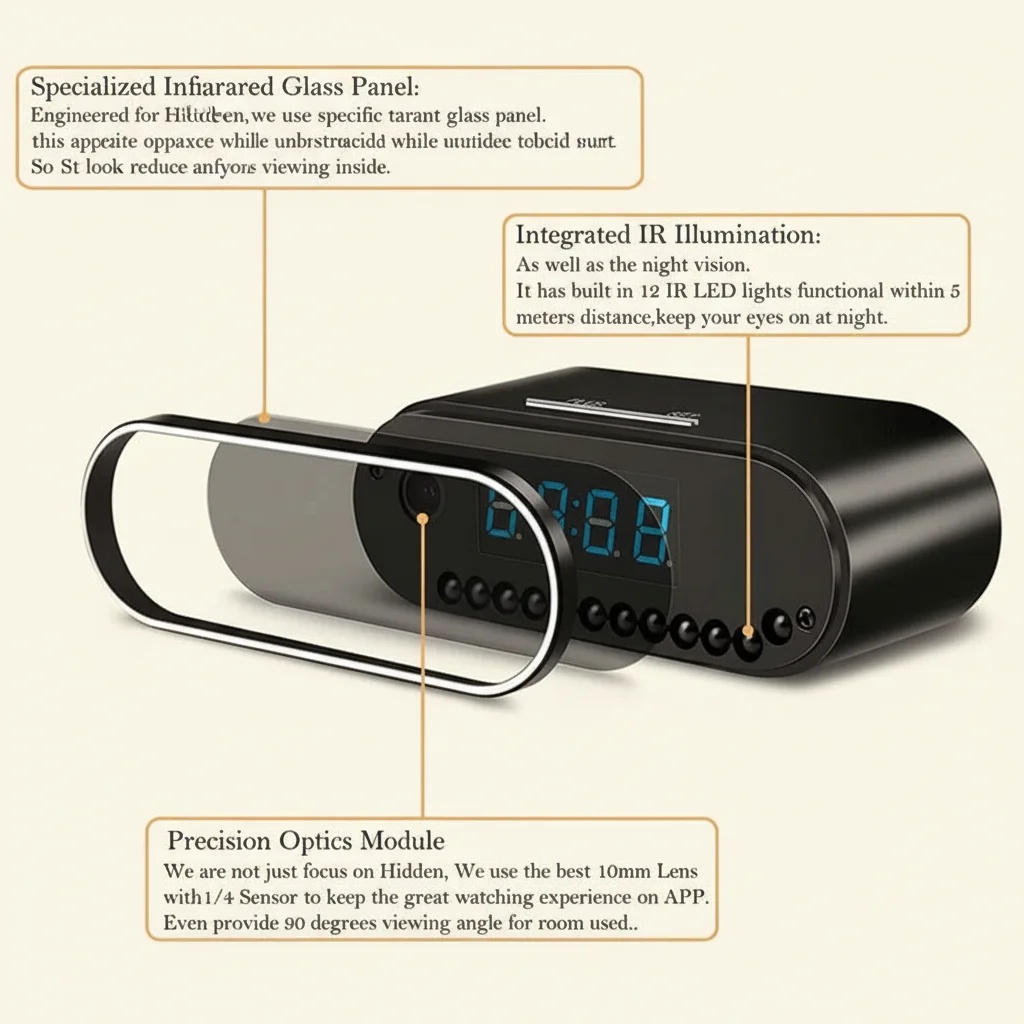
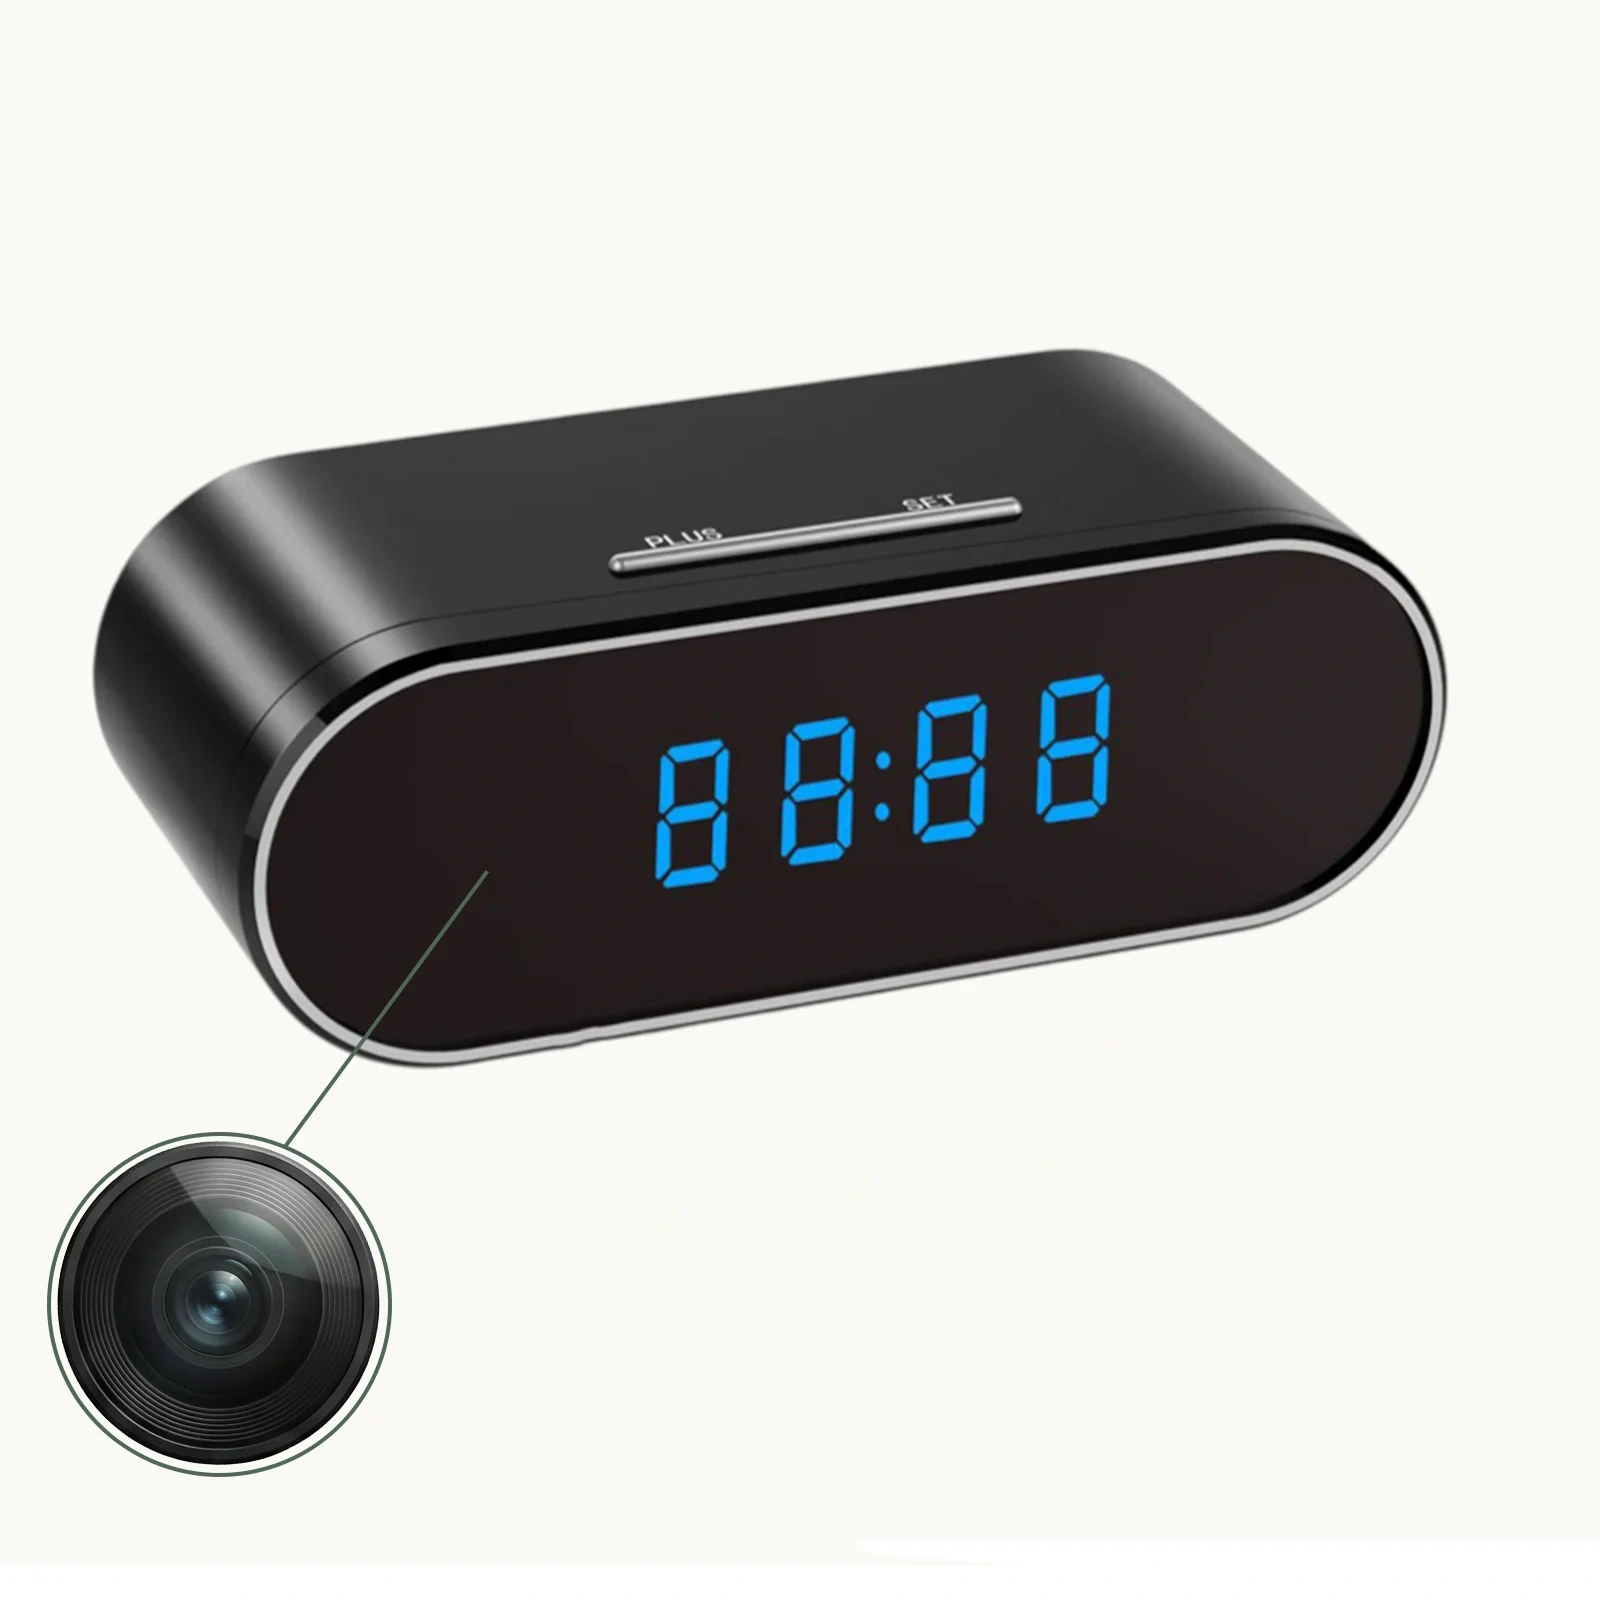
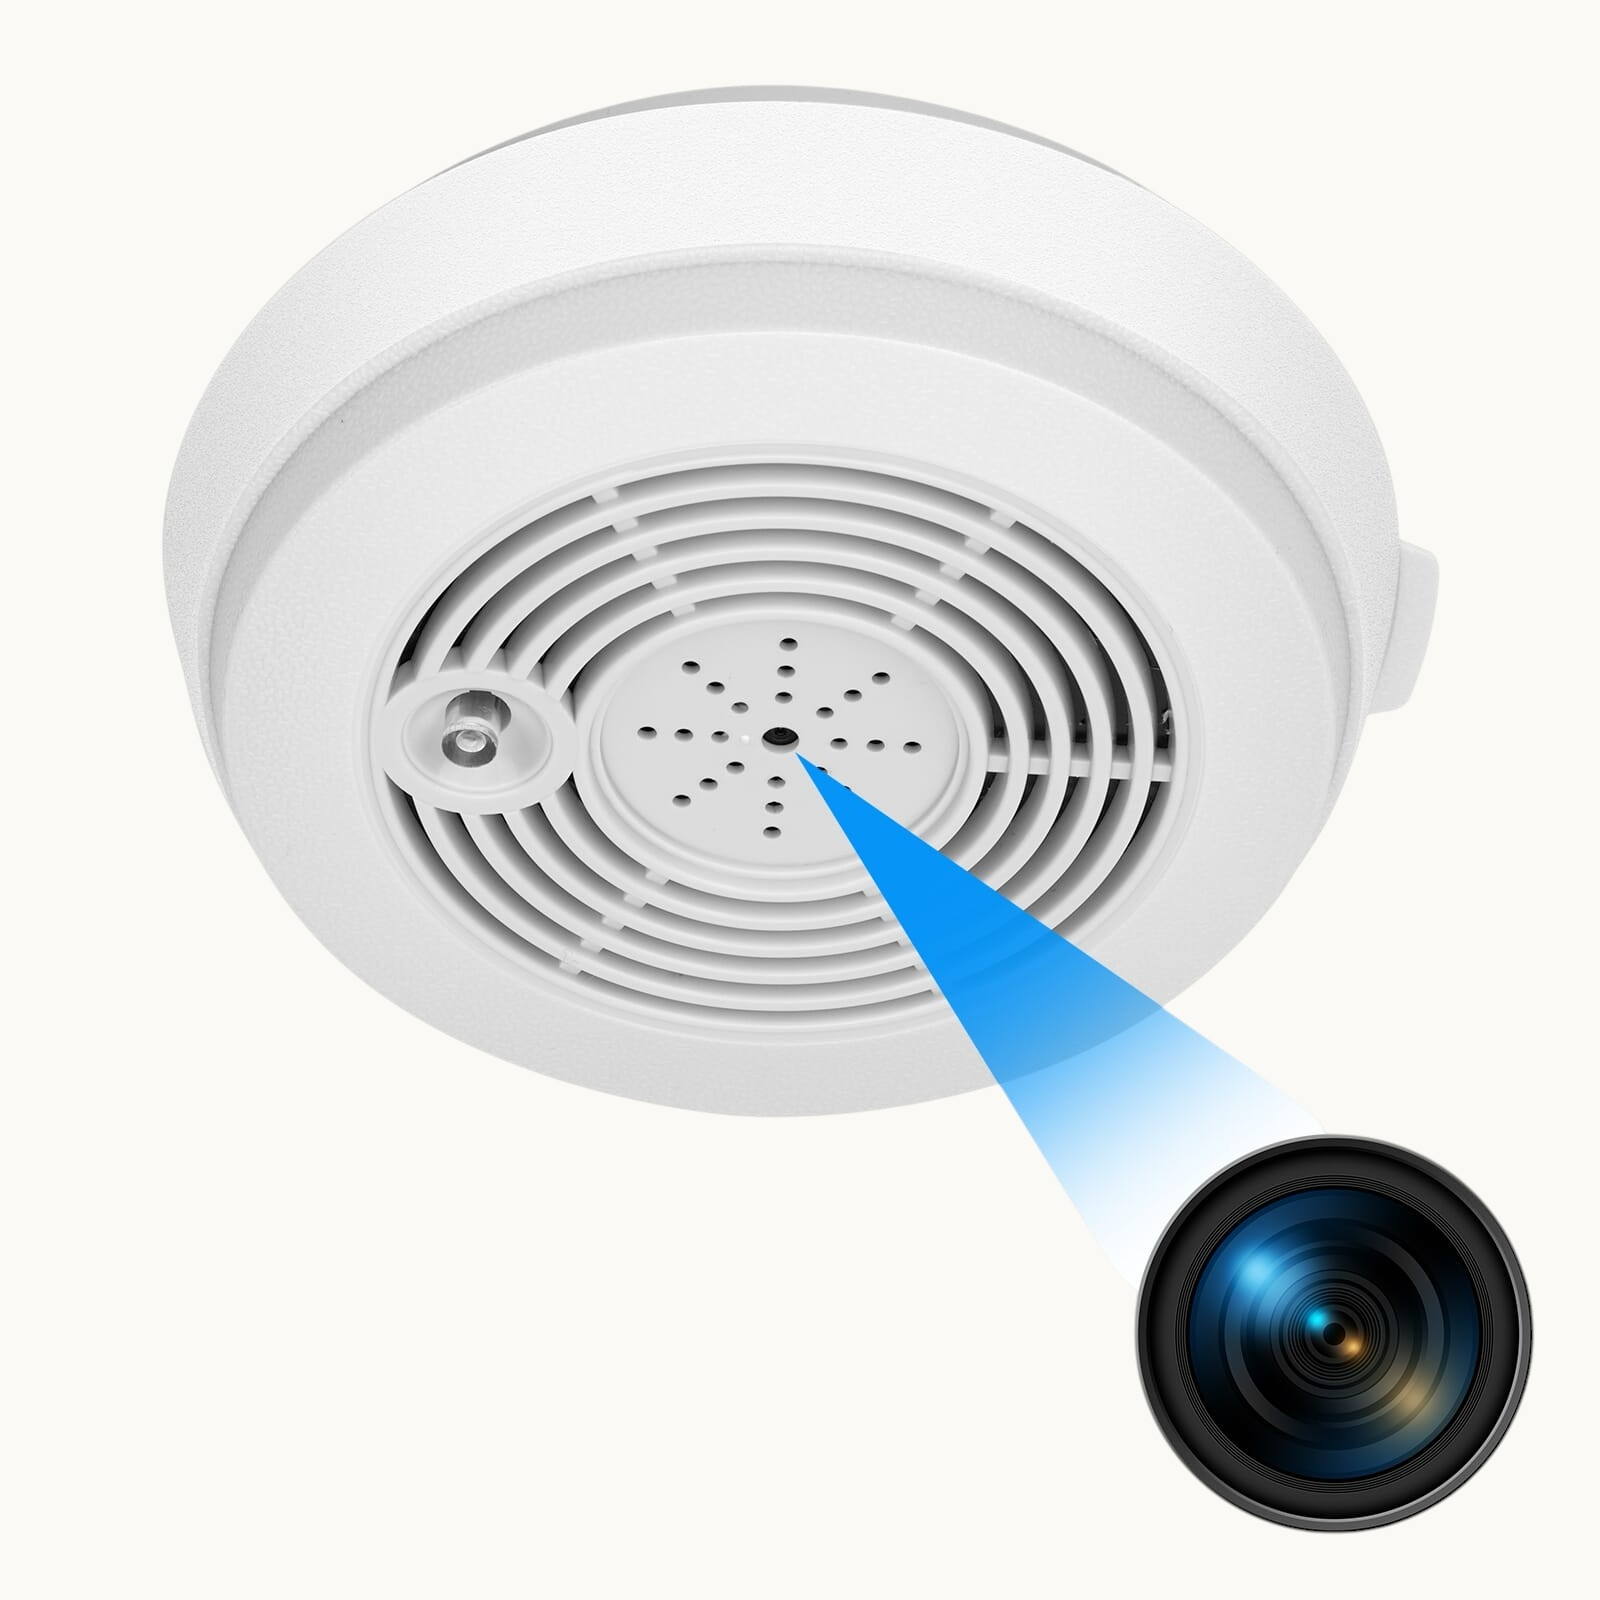
2. Locate the lens — on clock cameras it’s often hidden in the clock face; on charger cameras it’s in the plug head; on smoke detector cameras it’s in the sensor housing
3. Gently wipe the lens with a dry microfiber cloth in circular motions — this removes dust and light smudges
4. For stubborn grease or fingerprints, lightly dampen the cloth with isopropyl alcohol and wipe again
5. Clean the IR LED window — this is the small dark-tinted panel next to or around the lens. Use a cotton swab with alcohol for precision
6. Check for condensation — if the camera was moved from a cold environment, moisture can fog the interior glass. Leave the device in a warm, dry room for several hours before testing again
After cleaning, test the camera in a dark room to see if the image has improved.
How to Switch Night Vision Mode on Your Spy Camera
Many hidden cameras have two or three night vision modes that must be set correctly. Using the wrong mode produces green-tinted, overexposed, or completely black footage.
Common night vision modes:
| Mode | What it does | Best for |
|---|---|---|
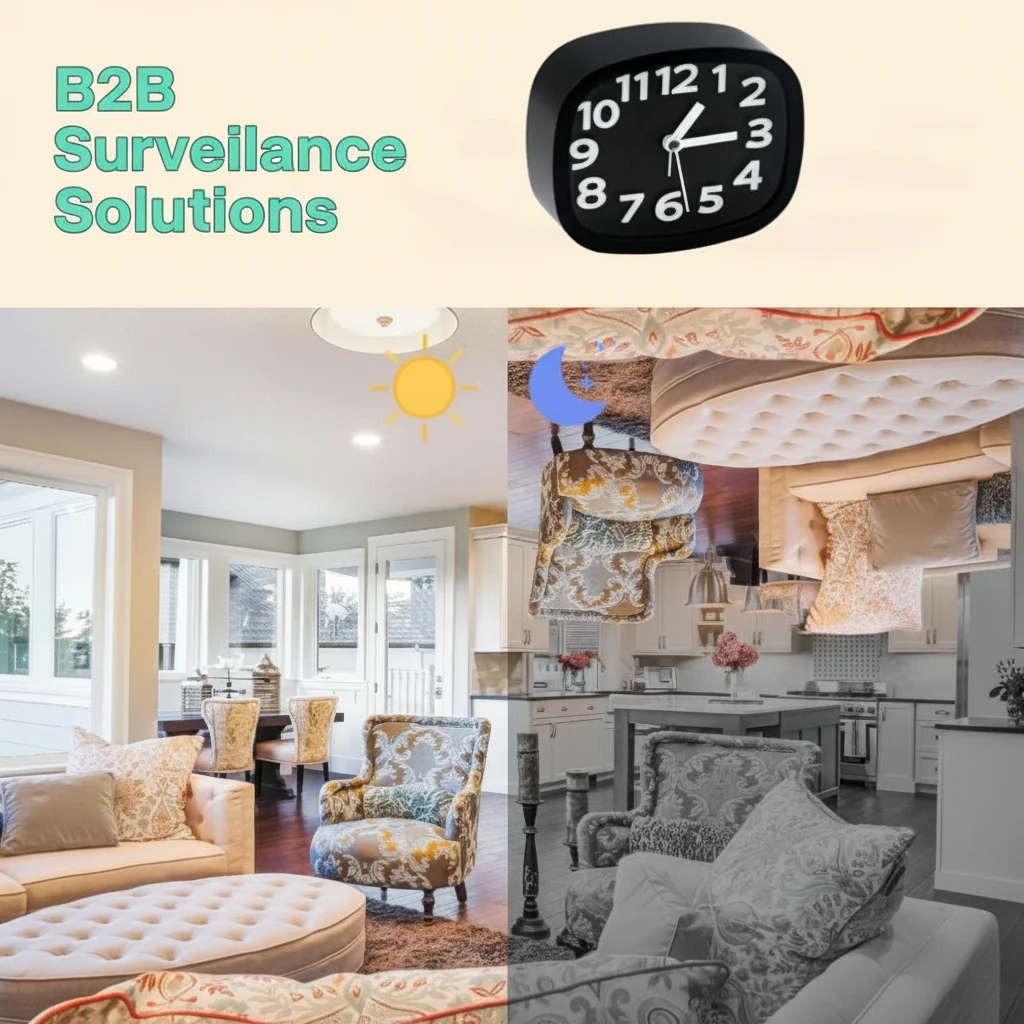
| Auto | Camera switches between day/night automatically based on ambient light | Most indoor use cases |
| IR Always On | IR LEDs stay on continuously, even in daylight | 24/7 dark environments (closets, drawers) |
| IR Always Off | Night vision disabled; camera records in color only | Brightly lit areas where IR would cause glare |
| Schedule Mode | IR activates only during set hours | Predictable environments (office, home) |
To change the mode:
– Via the App (Tuya/Smart Life/HDLiveCam): Open device settings → tap “Night Vision” or “IR Mode” → select Auto
– Via the camera’s physical button: Some cameras cycle through modes by holding the reset button for 3 seconds while powered on — check your device manual
– Via the SD card config file: Advanced users can edit the `config.ini` file on the SD card to set a specific IR mode
> Tip: Start with Auto mode. If footage still looks wrong, try “IR Always On” to see if the IR LEDs are actually functioning.
Why Is My Night Vision Footage Green or Too Bright
Green, washed-out, or overexposed night vision footage typically means IR light is reflecting back into the lens rather than illuminating the scene.
Common causes and fixes:
Camera placed too close to a wall or surface
IR light reflects off nearby walls and creates a blinding white/green glow. Move the camera at least 1–2 feet away from the nearest reflective surface, or angle it slightly away.
Camera behind glass or a plastic window
Glass reflects IR light strongly. If your camera is looking through a window, the IR LEDs will create a visible reflection. Either disable IR mode (use ambient light) or remove the glass barrier.
IR LEDs too powerful for the space
In very small rooms, the IR output may be too intense. Switch to a lower IR brightness setting in the app if available, or tape thin layers of semi-transparent material (like printer paper) over some of the IR LEDs to reduce output.
White walls or ceilings directly in the camera’s field of view
Point the camera toward a darker area of the room, or reposition so the field of view doesn’t include close-range white surfaces.
How to Test If IR LEDs Are Working
If your night vision footage is completely black — no image at all — the IR LEDs may be dead or disabled. Here’s a simple test:
The smartphone camera test:
1. Take out your smartphone and open the front-facing camera (not the main camera, as some main cameras have IR filters)
2. In a dark room, point your spy camera’s lens toward your phone screen at close range
3. Look at your phone screen — if the IR LEDs are working, you’ll see a purple or white glow coming from the spy camera’s LED area
4. No glow = IR LEDs are not emitting light
What to do if IR LEDs are dead:
– Check the app settings — IR may be manually disabled; turn it back on
– Perform a factory reset (see our factory reset guide) to restore default IR settings
– Check if the device is in a low-battery state — some cameras disable IR to conserve power
– If LEDs are physically burned out, the device needs repair or replacement
How to Improve Night Vision Range and Clarity
Even working IR cameras can struggle at longer distances. The effective range of most hidden camera IR systems is 3–8 meters (10–26 feet). Beyond that, footage gets grainy.
Tips to extend effective night vision range:
– Reduce ambient light interference — even faint streetlight or LED indicators can confuse the auto-exposure sensor. Cover or relocate competing light sources
– Choose the right camera placement — position the camera at a mid-room height (1.5–2m) pointing slightly downward for maximum scene coverage within IR range
– Use a camera with higher IR LED count — cameras with 6+ IR LEDs have noticeably better range than those with 2–3 LEDs. Our USB charger cameras and smoke detector cameras use arrays of 4–8 IR LEDs for extended range
– Check the video resolution settings — recording at 1080p in dark conditions produces better detail than 720p due to larger pixel capture area
– Increase camera sensitivity — in the app, look for “Night Sensitivity” or “ISO” settings and increase them for darker environments
How to Fix the IR Cut Filter Stuck Issue
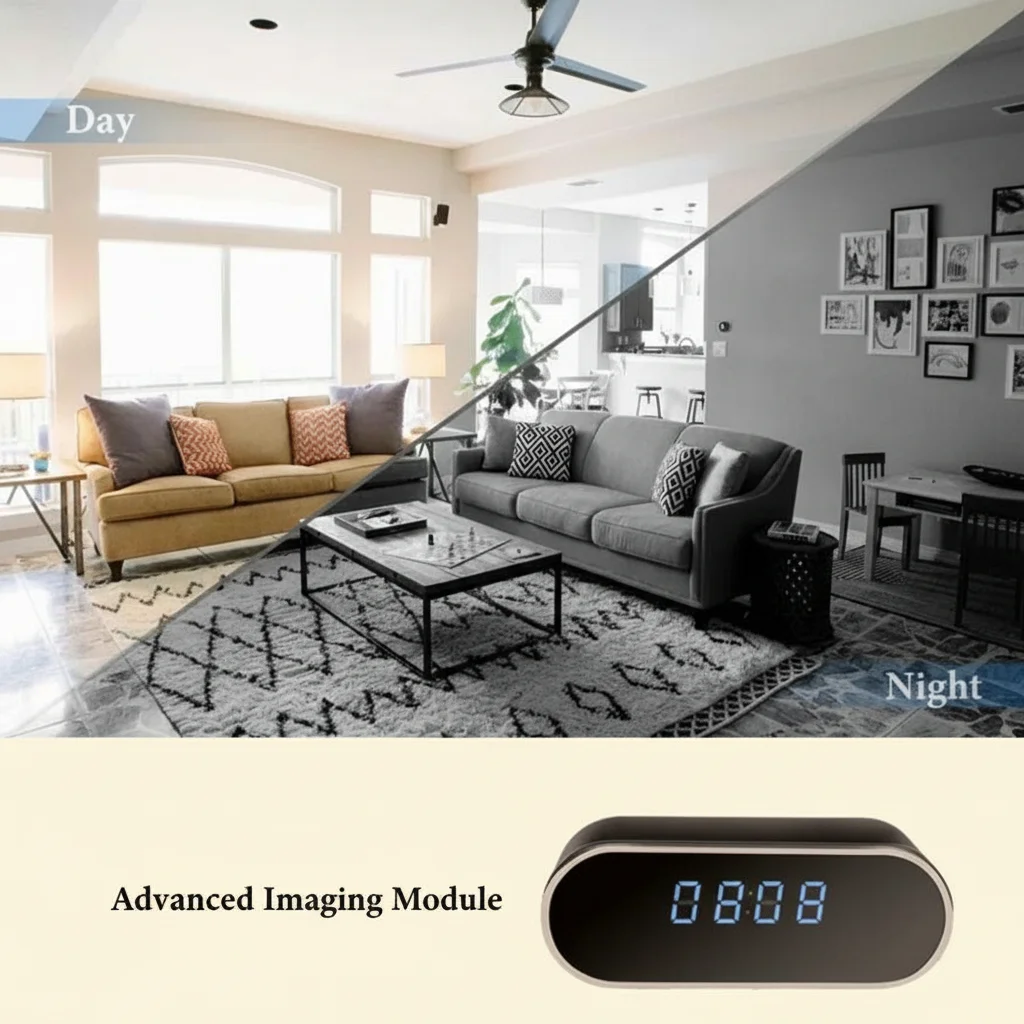
Higher-end hidden cameras include a mechanical IR cut filter (ICR) — a small filter that physically moves in front of the sensor. During the day it blocks IR light (to produce natural color). At night it moves out of the way to let IR light through.
When this filter gets stuck in the wrong position:
– Stuck in day mode (filter in): Camera shows a dim, grainy, bluish image at night despite IR LEDs working
– Stuck in night mode (filter out): Camera shows pink/reddish color during daytime footage
Fixes:
1. Tap or gently shake the camera — sometimes the filter is just stuck from dust or static. A light tap on the side of the device can free it
2. Power cycle the device — turn off completely for 30 seconds, then power back on. The filter motor runs a reset cycle on startup
3. Factory reset — restores motor control parameters to default
4. Temperature change — move the camera from a cold to warm environment; thermal expansion can free a stuck filter
5. Contact support — if none of the above works, the ICR motor may need replacement
Tips for Getting the Best Night Vision Footage
Even after fixing technical issues, proper placement and settings make a huge difference in footage quality.
Placement best practices:
– Mount at 1.5–2 meters high for optimal IR coverage angle
– Avoid pointing directly at windows, mirrors, or glossy surfaces
– Keep the field of view unobstructed — any object within 30cm of the lens will cause IR reflection glare
– Position so the subject will be within 5 meters of the camera for crisp footage
Settings best practices:
– Set recording resolution to 1080p minimum for usable nighttime detail
– Enable motion detection so the camera only records when activity occurs, reducing storage waste from dark empty footage
– Set loop recording so the SD card never fills up and stops recording unexpectedly. See our SD card formatting guide for best practices.
Maintenance:
– Clean the lens monthly
– Check for firmware updates every 3 months — manufacturers often improve night vision algorithms in updates. See our guide on how to update spy camera firmware for step-by-step instructions.
– Replace the device if IR LEDs produce less than 50% of their original brightness after 2+ years of daily use
Conclusion
Night vision problems on hidden spy cameras almost always fall into one of five categories: dirty lens, wrong mode settings, IR reflection, dead LEDs, or stuck IR cut filter. Work through the troubleshooting steps in this guide from simplest (clean the lens) to most complex (IR cut filter) and you’ll resolve the vast majority of issues without needing to replace the device.
If your camera’s IR LEDs have physically failed or the sensor is damaged, it may be time for an upgrade. Browse our range of hidden cameras with premium IR night vision systems built for reliable 24/7 performance.
FAQ
Q: Why does my spy camera show a green image at night?
A: Green tint usually means IR light is reflecting off a nearby surface back into the lens. Reposition the camera so it’s not too close to walls, and make sure the IR LEDs aren’t pointing directly at reflective materials.
Q: Can I add external IR illuminators to improve night vision?
A: Yes — standalone IR illuminators plug into a USB port and significantly boost the IR range of any compatible camera. Place them near but separate from the camera to avoid direct reflection.
Q: My camera shows a clear image during the day but nothing at night — what’s wrong?
A: First check if IR mode is enabled in the app. Then do the smartphone camera test to verify the IR LEDs are emitting light. If they’re not, try a factory reset or check the power supply.
Q: How far can a typical hidden camera see at night?
A: Most entry-level hidden cameras see 3–5 meters clearly in total darkness. Premium models with 8+ IR LEDs can reach 8–12 meters. Distance also depends on the size of the subject and ambient light conditions.
Q: Will the IR light be visible to people in the room?
A: Standard 850nm IR LEDs emit a very faint red glow visible in complete darkness when looked at directly. For completely covert operation, choose cameras with 940nm IR LEDs, which are truly invisible to the naked eye.