How to Fix FAT32 Errors on Voice Recorders and Spy Cameras
If your voice recorder suddenly stops being recognized by your computer, your audio or video files appear as garbled text, or your device freezes mid-recording — you are most likely not facing hardware failure. In the vast majority of field cases, these three symptoms share one root cause: FAT32 file system corruption, triggered by a hot-unplug or a sudden power-off during an active write cycle.
This guide documents the complete SOP (TS-FIX-01) used by our warehouse QC technicians before every unit ships. The same five-step deep-format procedure that restores production devices will restore yours — no third-party tools, no service center.
What Is FAT32 and Why Our Devices Use It

FAT32 (File Allocation Table, 32-bit) has been the backbone of embedded storage devices since 1996. Unlike NTFS or exFAT, FAT32 writes data in fixed-size clusters with a sequential allocation table. For covert recording hardware, this architecture delivers three specific advantages:
Write stability under voltage fluctuation. Spy cameras and voice recorders run on compact LiPo cells that experience micro-voltage drops during peak-load recording. FAT32’s simple allocation model tolerates these fluctuations without triggering filesystem errors that would halt an ongoing recording session.
Universal cross-platform compatibility. FAT32 volumes mount natively on Windows XP through Windows 11, macOS 10.x through macOS 15, and any modern Linux distribution — with zero driver installation. For a device that must transfer footage on any machine in the field, driver-free compatibility is non-negotiable.
Cluster efficiency for small audio and video files. Most recordings fall between 10 MB and 500 MB. At 32 KB allocation units, FAT32 requires only ~1 million FAT entries for a 32 GB device — an 8× reduction versus the 4 KB Windows default — translating to faster directory lookups and reduced write amplification on the internal NAND flash cells.
The one well-known FAT32 constraint — a 4 GB single-file size limit — does not affect our devices in practice: the firmware automatically splits recordings into sub-4 GB segments before the threshold is reached.
Why File Corruption Happens: The Technical Root Cause
Every FAT32 volume maintains two foundational data structures in its first sectors:
– Volume Boot Record (Sector 0): Stores the cluster size, total sector count, and FAT start position — the information the OS reads to understand how the volume is organized.
– File Allocation Table (FAT1 + FAT2): A cluster-by-cluster map showing whether each cluster is free, occupied, or the last in a file’s chain.
When your device is actively recording, it simultaneously writes raw data to clusters and updates both FAT copies in real time. If power is cut mid-write — drained battery, accidental hot-unplug, momentary USB power sag — the FAT update is abandoned mid-operation. The result is a split-brain state: the directory entry says a file exists and has a size, but the FAT cluster chain for that file is incomplete or points to free space.
Windows resolves this ambiguity by refusing to mount the volume entirely, which surfaces as a blank drive letter, a “0 bytes available” reading, or the prompt “You need to format the disk before you can use it.”
A quick format rewrites the directory but leaves the damaged FAT sectors untouched. Those sectors will corrupt whichever new file is next allocated to them. Only a full sector-level format rewrites every FAT entry from scratch and scans for physically defective sectors — producing a verified, clean allocation table.
How to Diagnose Before You Format
Before starting the repair, confirm the failure is FAT32 corruption and not a hardware fault:
| Symptom | Likely Cause | Action |
|---|---|---|
| No drive letter in Explorer | USB power insufficient or cable lacks data lines | Try rear USB port + OEM cable first |
| Drive letter visible, shows 0 bytes used/free | Corrupted Volume Boot Record | Full FAT32 deep format (this guide) |
| Files visible but 0 KB or won’t open | Broken FAT cluster chain | Full FAT32 deep format |
| “Please format disk” prompt on access | FAT directory table corrupted | Full FAT32 deep format |
| “Unknown USB Device” in Device Manager | Firmware lock-up / USB handshake failure | Hard-reset device first (pin, 10 s), then reconnect |
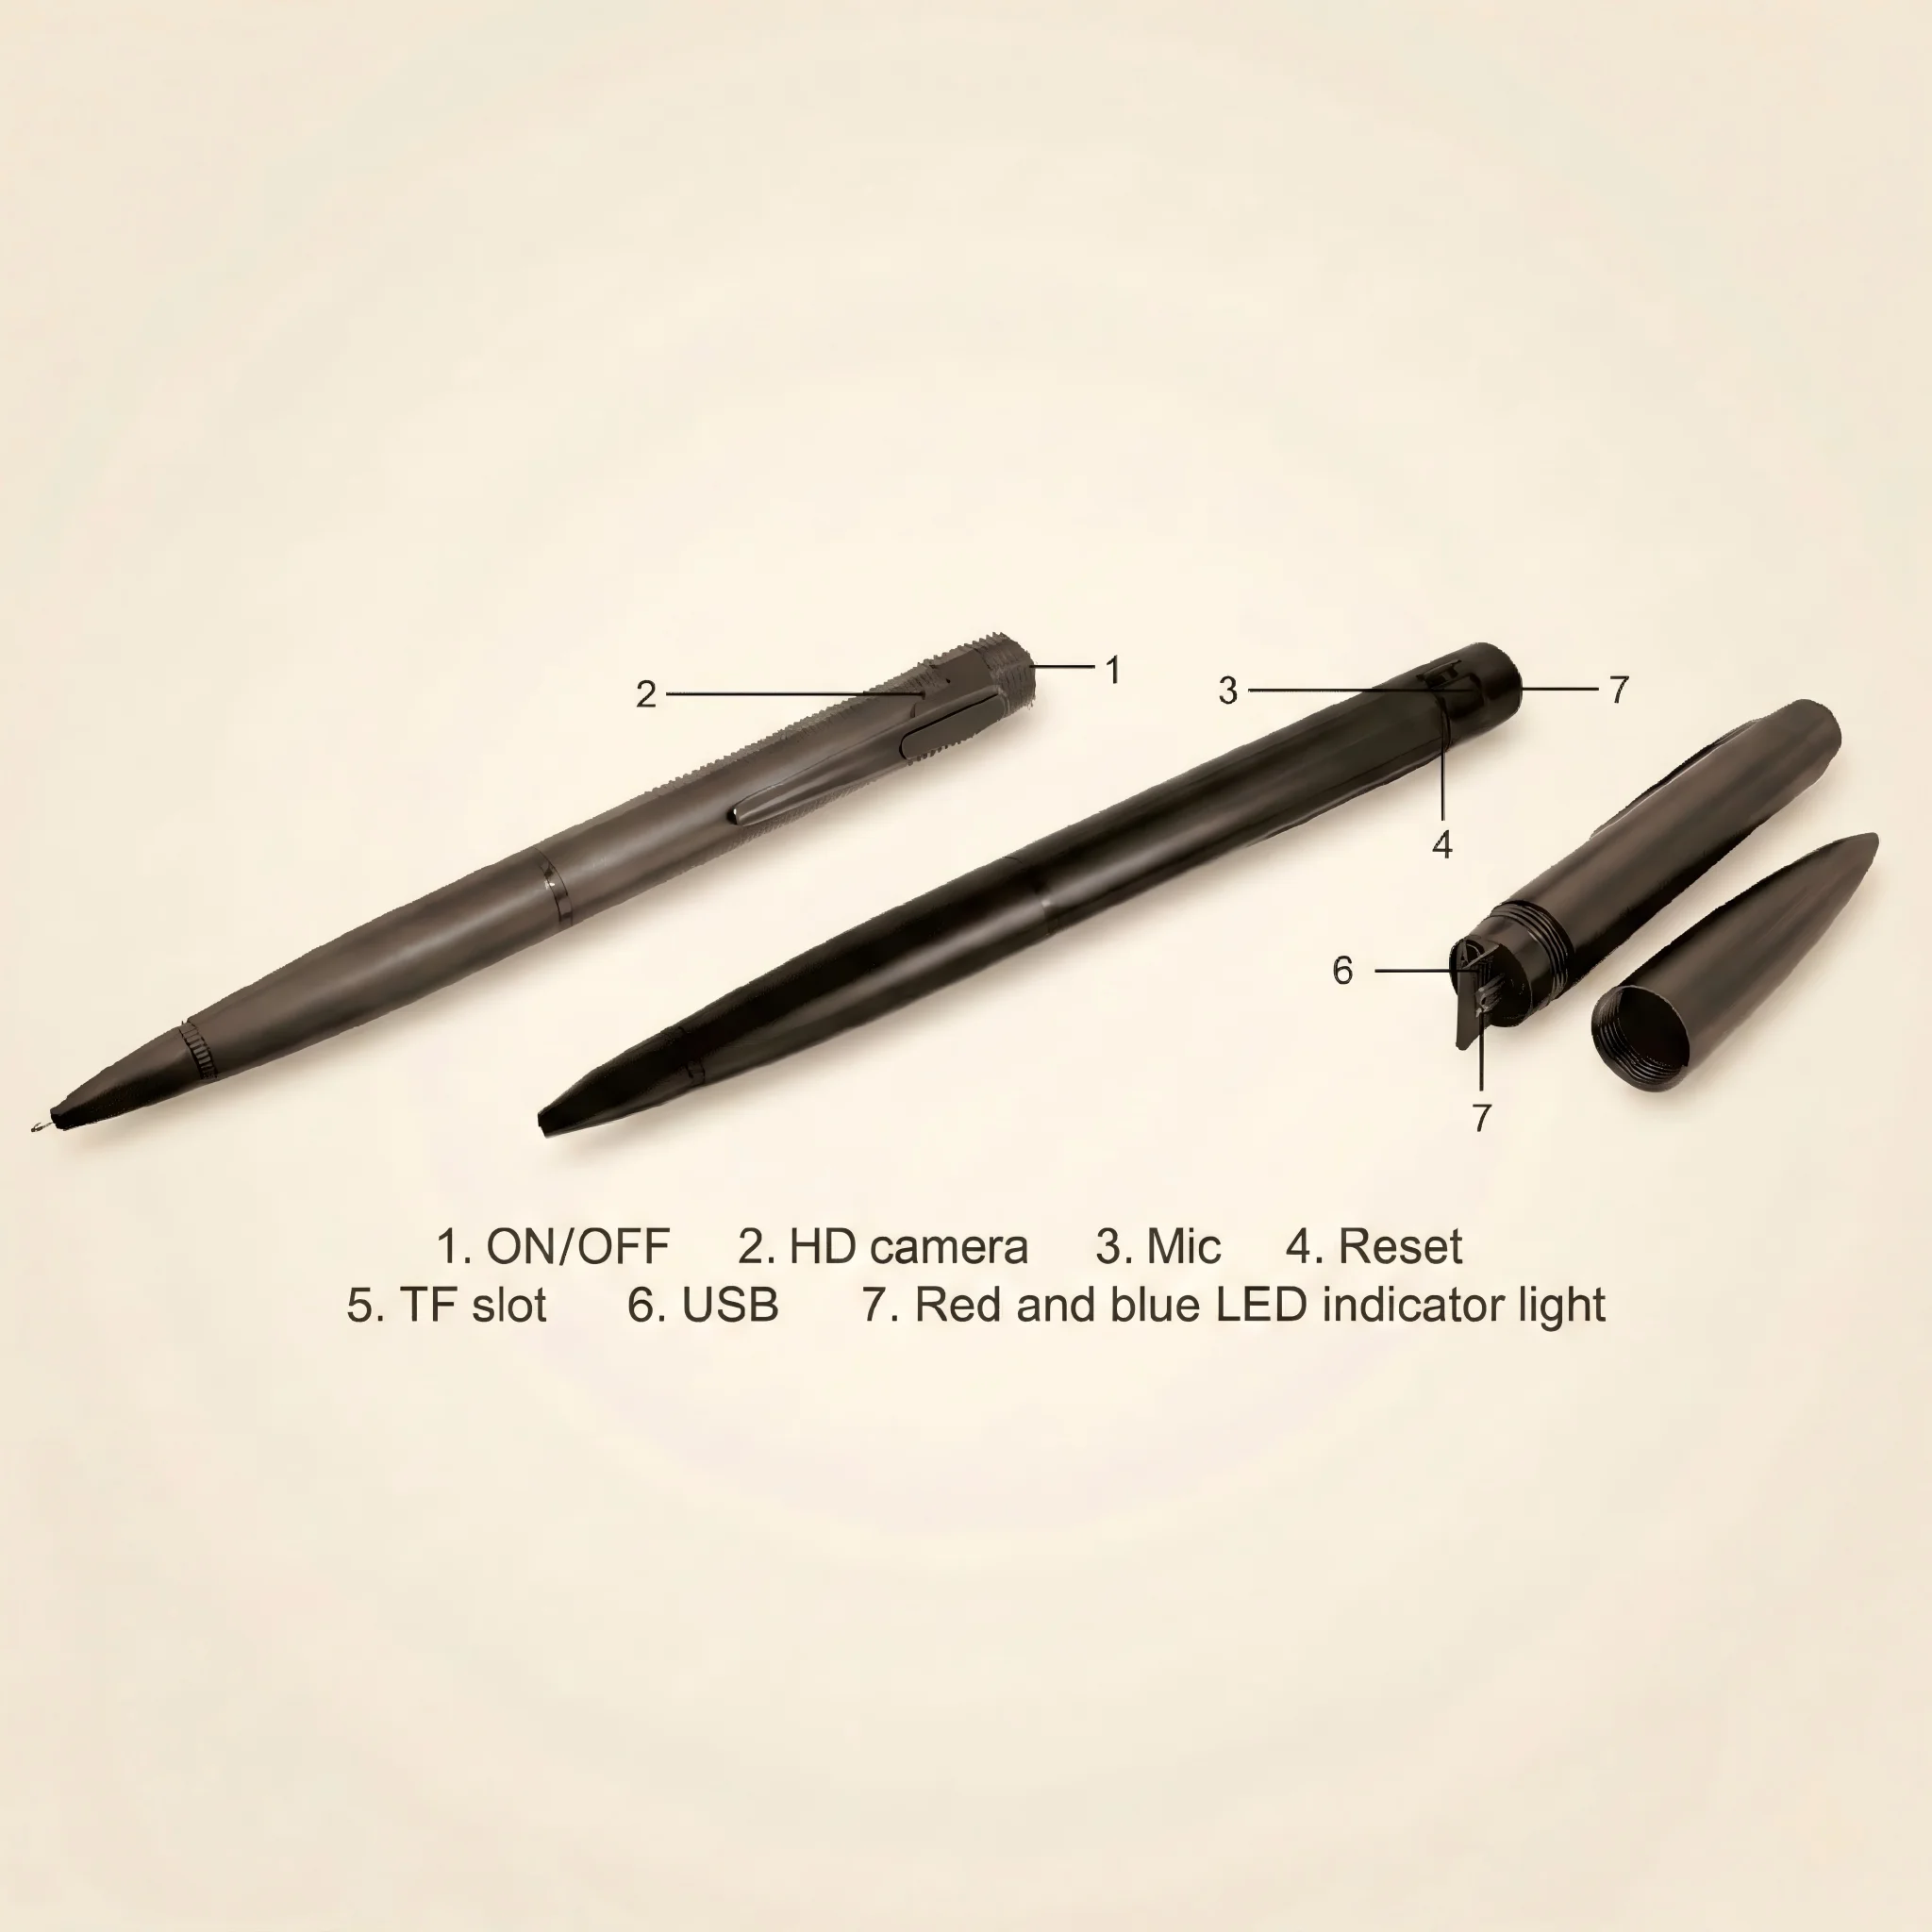
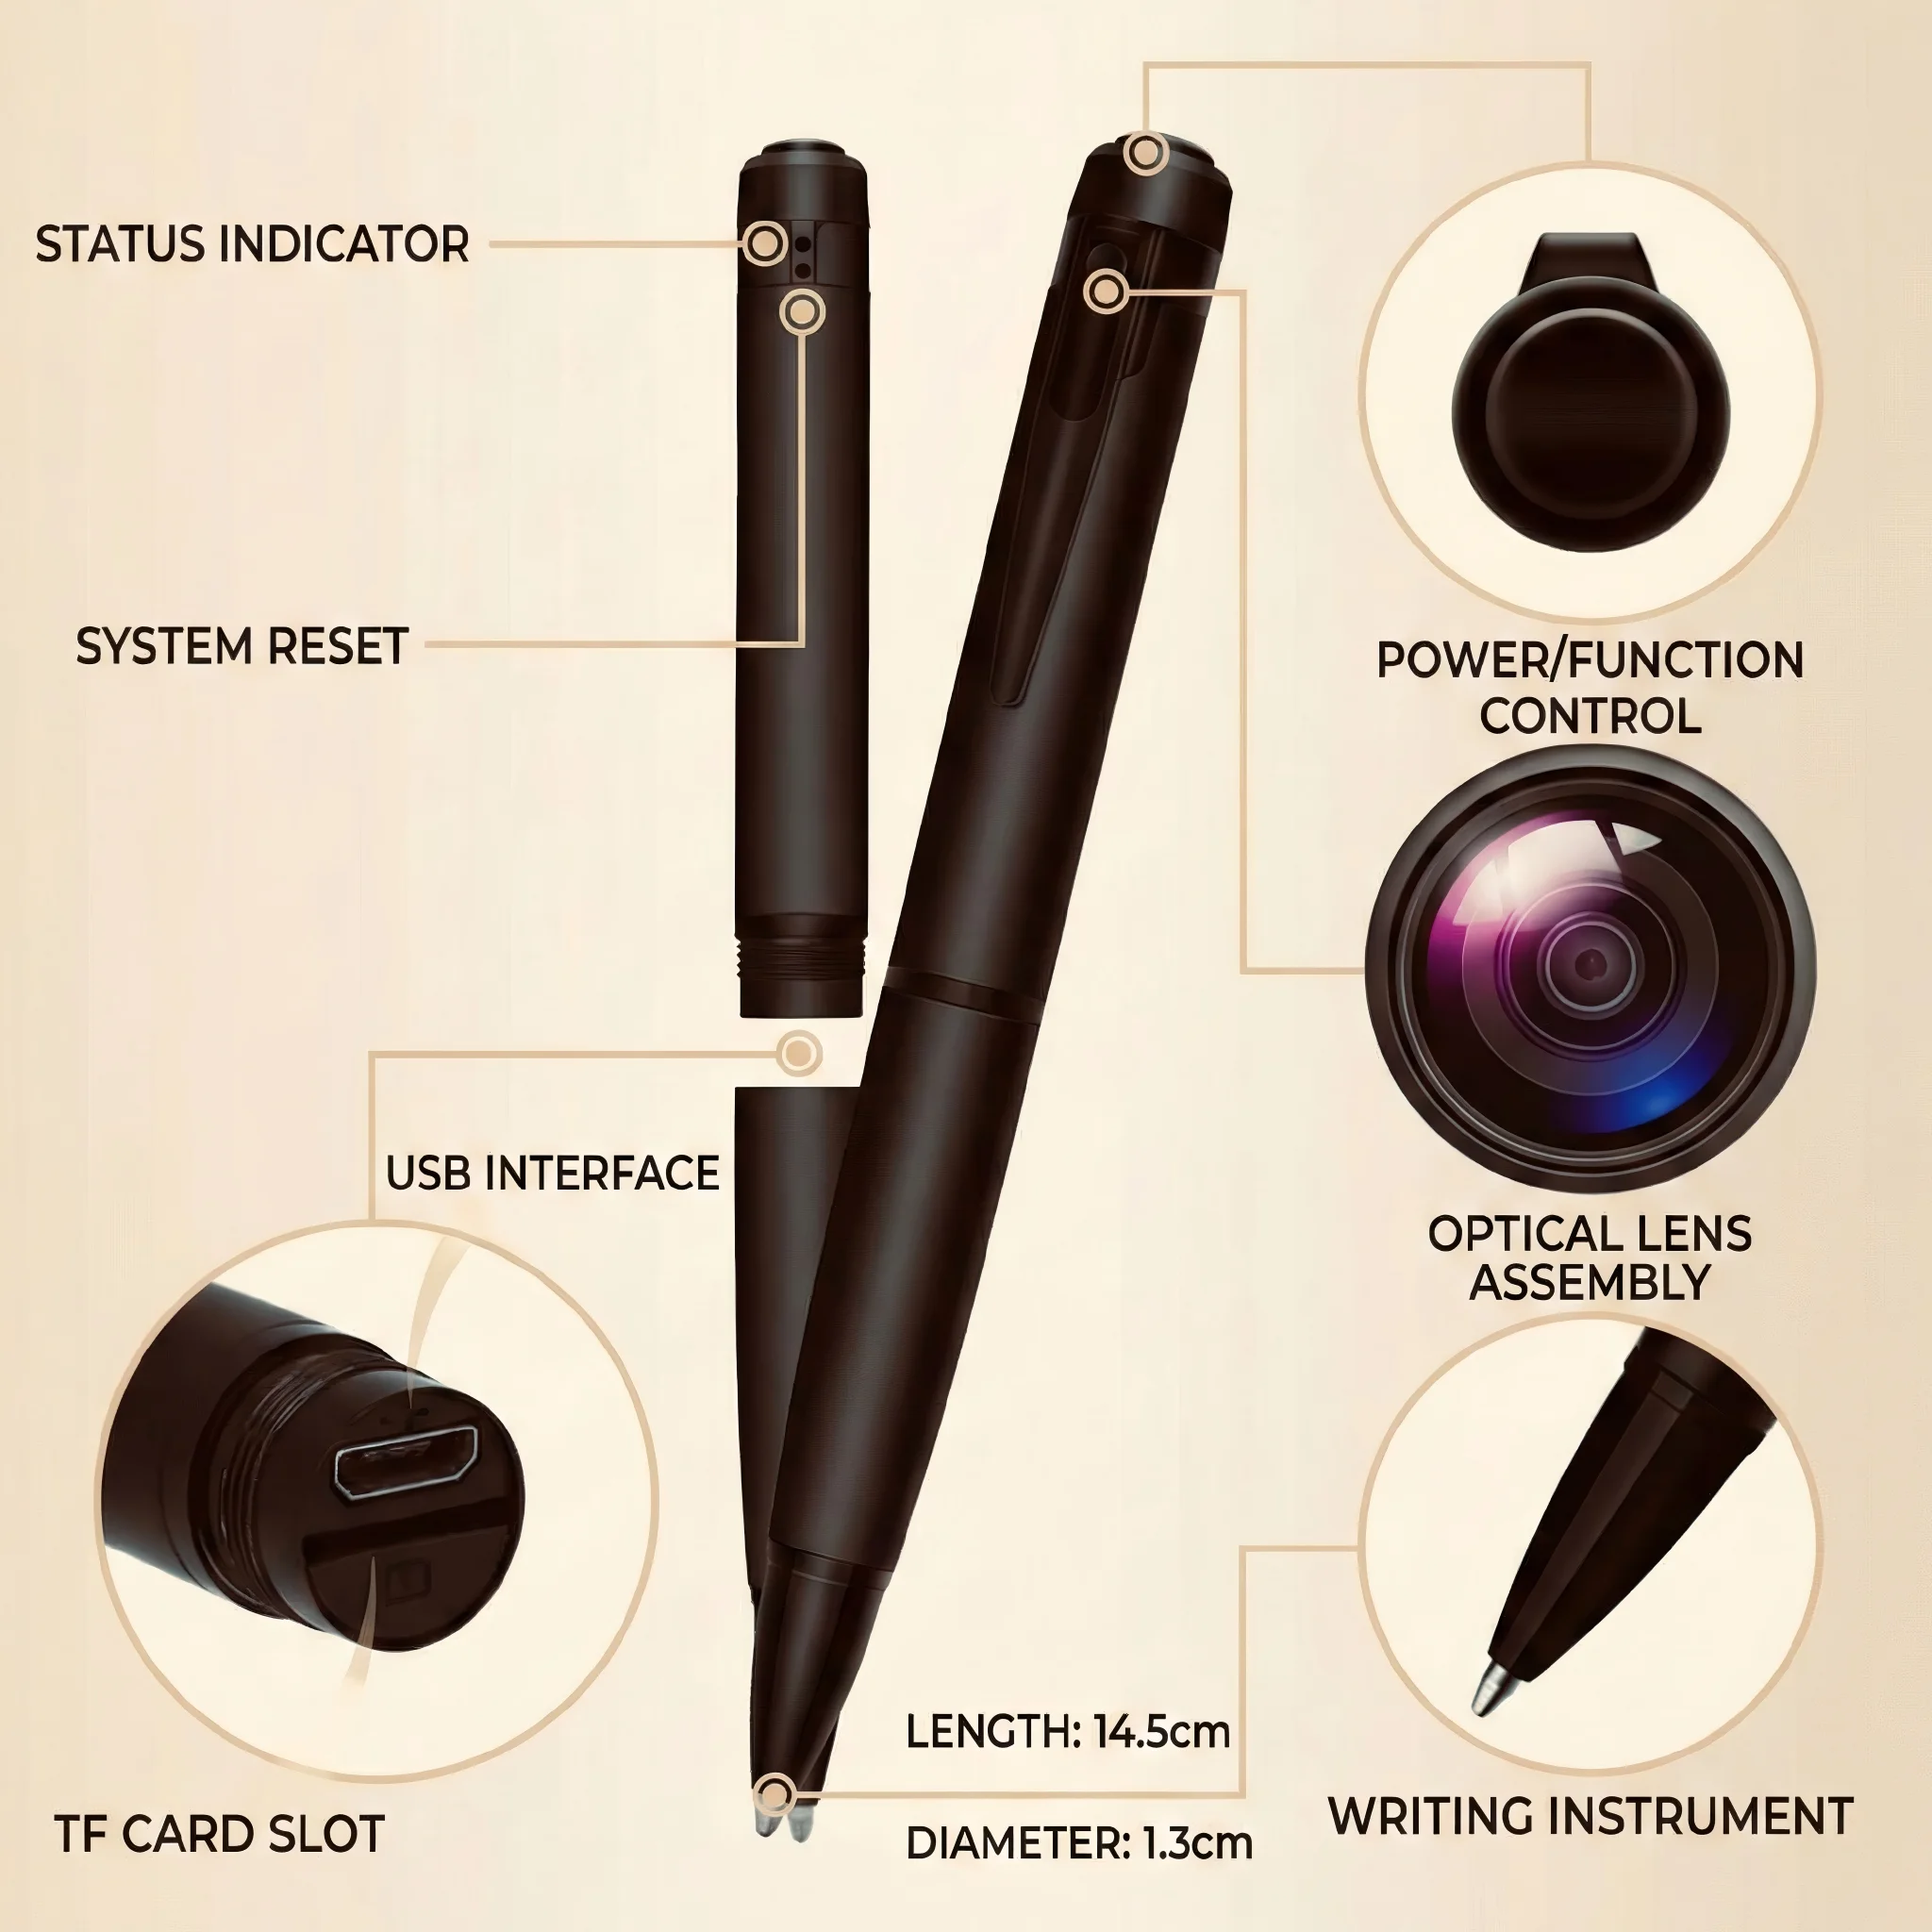
If your symptom matches the middle three rows, proceed with the steps below. If Device Manager shows a yellow exclamation mark under Universal Serial Bus controllers, perform the device hard reset first: locate the reset pinhole, insert a straightened paperclip, hold for 10 seconds, release, then reconnect.
Step 1 — Physical Connection: The Right Cable and the Right Port

This step is the most frequently skipped — and causes more failed repair attempts than any other mistake.
Use the original OEM data cable. Aftermarket USB cables sold for charging often omit the D+ and D− data lines entirely to cut cost. These cables deliver power but carry zero data — your device will appear to charge while Windows logs “USB device not recognized.” Every QZT device ships with a high-frequency USB 2.0 data cable rated for 480 Mbps full-speed transfer.
Desktop users: connect to a rear motherboard USB 2.0 port. This is non-obvious but critical. Front-panel USB ports route through an internal header cable that adds 15–30 cm of unshielded trace, introducing capacitive interference at USB full-speed frequencies. More critically, front-panel ports often share a 5 V rail that sags below the USB specification minimum (4.75 V) under storage-device load — the exact condition that produces “USB device not recognized” errors when the device draws a current spike during FAT table mounting. The rear I/O panel ports connect directly to the motherboard’s USB controller with no intermediate cable, delivering stable 5 V ± 5% at all times.
For spy pen cameras and voice recorders that enumerate as USB mass storage devices, this direct controller connection is the difference between a clean mount and a repeated identification failure.
Laptop users: Any USB-A port on the laptop body is acceptable. Avoid powered USB hubs — shared hub bandwidth and hub-level power management can both interfere with FAT table mounting.
After connecting, wait 10–15 seconds. Open Device Manager (Win + X → Device Manager) and confirm the device appears under “Disk drives” without a yellow warning icon before continuing.
Step 2 — Enter Disk Management, Not File Explorer
Right-clicking a drive in File Explorer and selecting “Format” invokes Windows Explorer’s lightweight formatter. This formatter defaults to NTFS, does not allow you to set the allocation unit size, and — critically — always performs a quick format regardless of whether you uncheck the option (a documented behavioral quirk in Windows 10 and 11 for sub-32 GB volumes). Using it will appear to succeed while leaving the damaged FAT sectors intact.
The correct path is Disk Management, which directly invokes the Windows `format.exe` kernel utility with full parameter control.
Navigation:
1. Right-click This PC on the desktop or in File Explorer sidebar.
2. Select Manage.
3. In the Computer Management window, click Disk Management in the left panel under Storage.
4. Wait 5–10 seconds for Disk Management to enumerate all connected volumes.
In the lower pane, locate your device — it will appear as a removable disk with a capacity matching your device’s storage (typically 32 GB or 64 GB). Note the disk number (e.g., “Disk 2”) before proceeding.
> Safety check before continuing: Confirm the capacity matches your device. Internal drives (usually 500 GB+) and system partitions are also visible in Disk Management. Selecting the wrong disk will erase data with no recovery path.
Step 3 — Configure Format Parameters Correctly
Right-click the colored partition bar (upper area of the Disk Management lower pane) representing your device’s volume. Select Format.
Configure the three parameters below exactly as shown:
Volume Label: Leave blank, or enter a label such as “QZT-REC” for easy identification.
File System: FAT32 — Mandatory. Do not select NTFS (incompatible with the device firmware’s storage controller) or exFAT (the onboard ARM-based MCU does not support exFAT’s extended directory entries). FAT32 is the only filesystem the device’s internal firmware can read and write.
Allocation Unit Size: 32768 (32 KB) — The parameter most users set incorrectly. Windows defaults to 4 KB for FAT32, which is optimal for magnetic hard drives but creates unnecessary FAT table overhead for flash storage. At 4 KB clusters, a 32 GB device requires 8 million FAT entries. At 32 KB clusters, the same device requires only 1 million — an 8× reduction that produces faster mount times, faster recording-start pre-allocation, and meaningfully lower write amplification on the NAND flash cells.
The 32 KB cluster size is the factory default applied during production QC (SOP: TS-FIX-01). Deviating from this value will allow the device to function but may produce slower recording-start times and intermittent “file not found” errors during pre-allocation of new recording segments.
Step 4 — Perform a Full Sector Scan, Not a Quick Format

Uncheck “Perform a quick format.”
With this option disabled, Windows runs a full format that performs two operations a quick format skips:
1. Writes zeros to every logical sector. This resets every FAT entry to “free,” eliminating any partial-write clusters left behind by the previous corruption event. No ghost entries remain to confuse future file allocation.
2. Reads back and verifies every physical sector. The formatter writes a test pattern to each sector, reads it back, and compares. Any sector that fails verification is flagged as “bad” in the FAT. Future write operations automatically skip these sectors — preventing the same corruption from recurring on worn NAND cells.
For a 32 GB device formatted at 32 KB clusters over USB 2.0, this process takes approximately 60–90 seconds. A 64 GB device takes approximately 2–3 minutes. Do not interrupt the process — disconnecting mid-format reproduces the exact failure mode you are repairing.
Click OK, confirm the data-erase warning, and monitor the Disk Management progress bar. Wait for “Format Complete” before touching the cable.
> Data recovery note: If your device contained recordings you need to retrieve, run a recovery tool (Recuva, TestDisk, or PhotoRec) before formatting. A full format overwrites all data — recovery is not possible afterward.
Step 5 — Safe Eject: The Step That Prevents the Next Failure
Formatting completes the repair. Safe ejection prevents you from immediately recreating the problem.
After the format progress bar reaches 100%, Windows continues flushing write-cache data to the volume for several additional seconds — specifically the final FAT entries and the refreshed Volume Boot Record. Pulling the cable before this flush completes re-corrupts the exact sectors you just repaired.
Correct procedure:
1. In the system tray (bottom-right), click the ^ arrow to show hidden icons.
2. Click the Safely Remove Hardware and Eject Media icon (USB plug with a checkmark).
3. Select your device from the list.
4. Wait for the “Safe to Remove Hardware” notification before disconnecting.
On Windows 11 you can alternatively right-click the drive letter in File Explorer and select Eject — this is functionally identical.
The five-second safe-eject habit is the single most effective change you can make. The majority of FAT32 corruptions seen in returned units trace directly to skipping this step — not to hardware defects.
Why Device Firmware Enforces FAT32 at the Hardware Level

A question that comes up frequently: can I just reformat to exFAT or NTFS to get larger file support?
The answer is no — and the reason is architectural, not arbitrary. Our voice recorders and spy pen cameras use ARM Cortex-M series microcontrollers running firmware compiled against the FatFs library (Chan’s open-source FAT filesystem driver). FatFs implements FAT12, FAT16, and FAT32 — and does not implement exFAT or NTFS. This is a deliberate engineering choice: FatFs fits in under 8 KB of flash ROM, leaving the full MCU processing budget for AES recording encryption, real-time audio compression, and motion-detection algorithms.
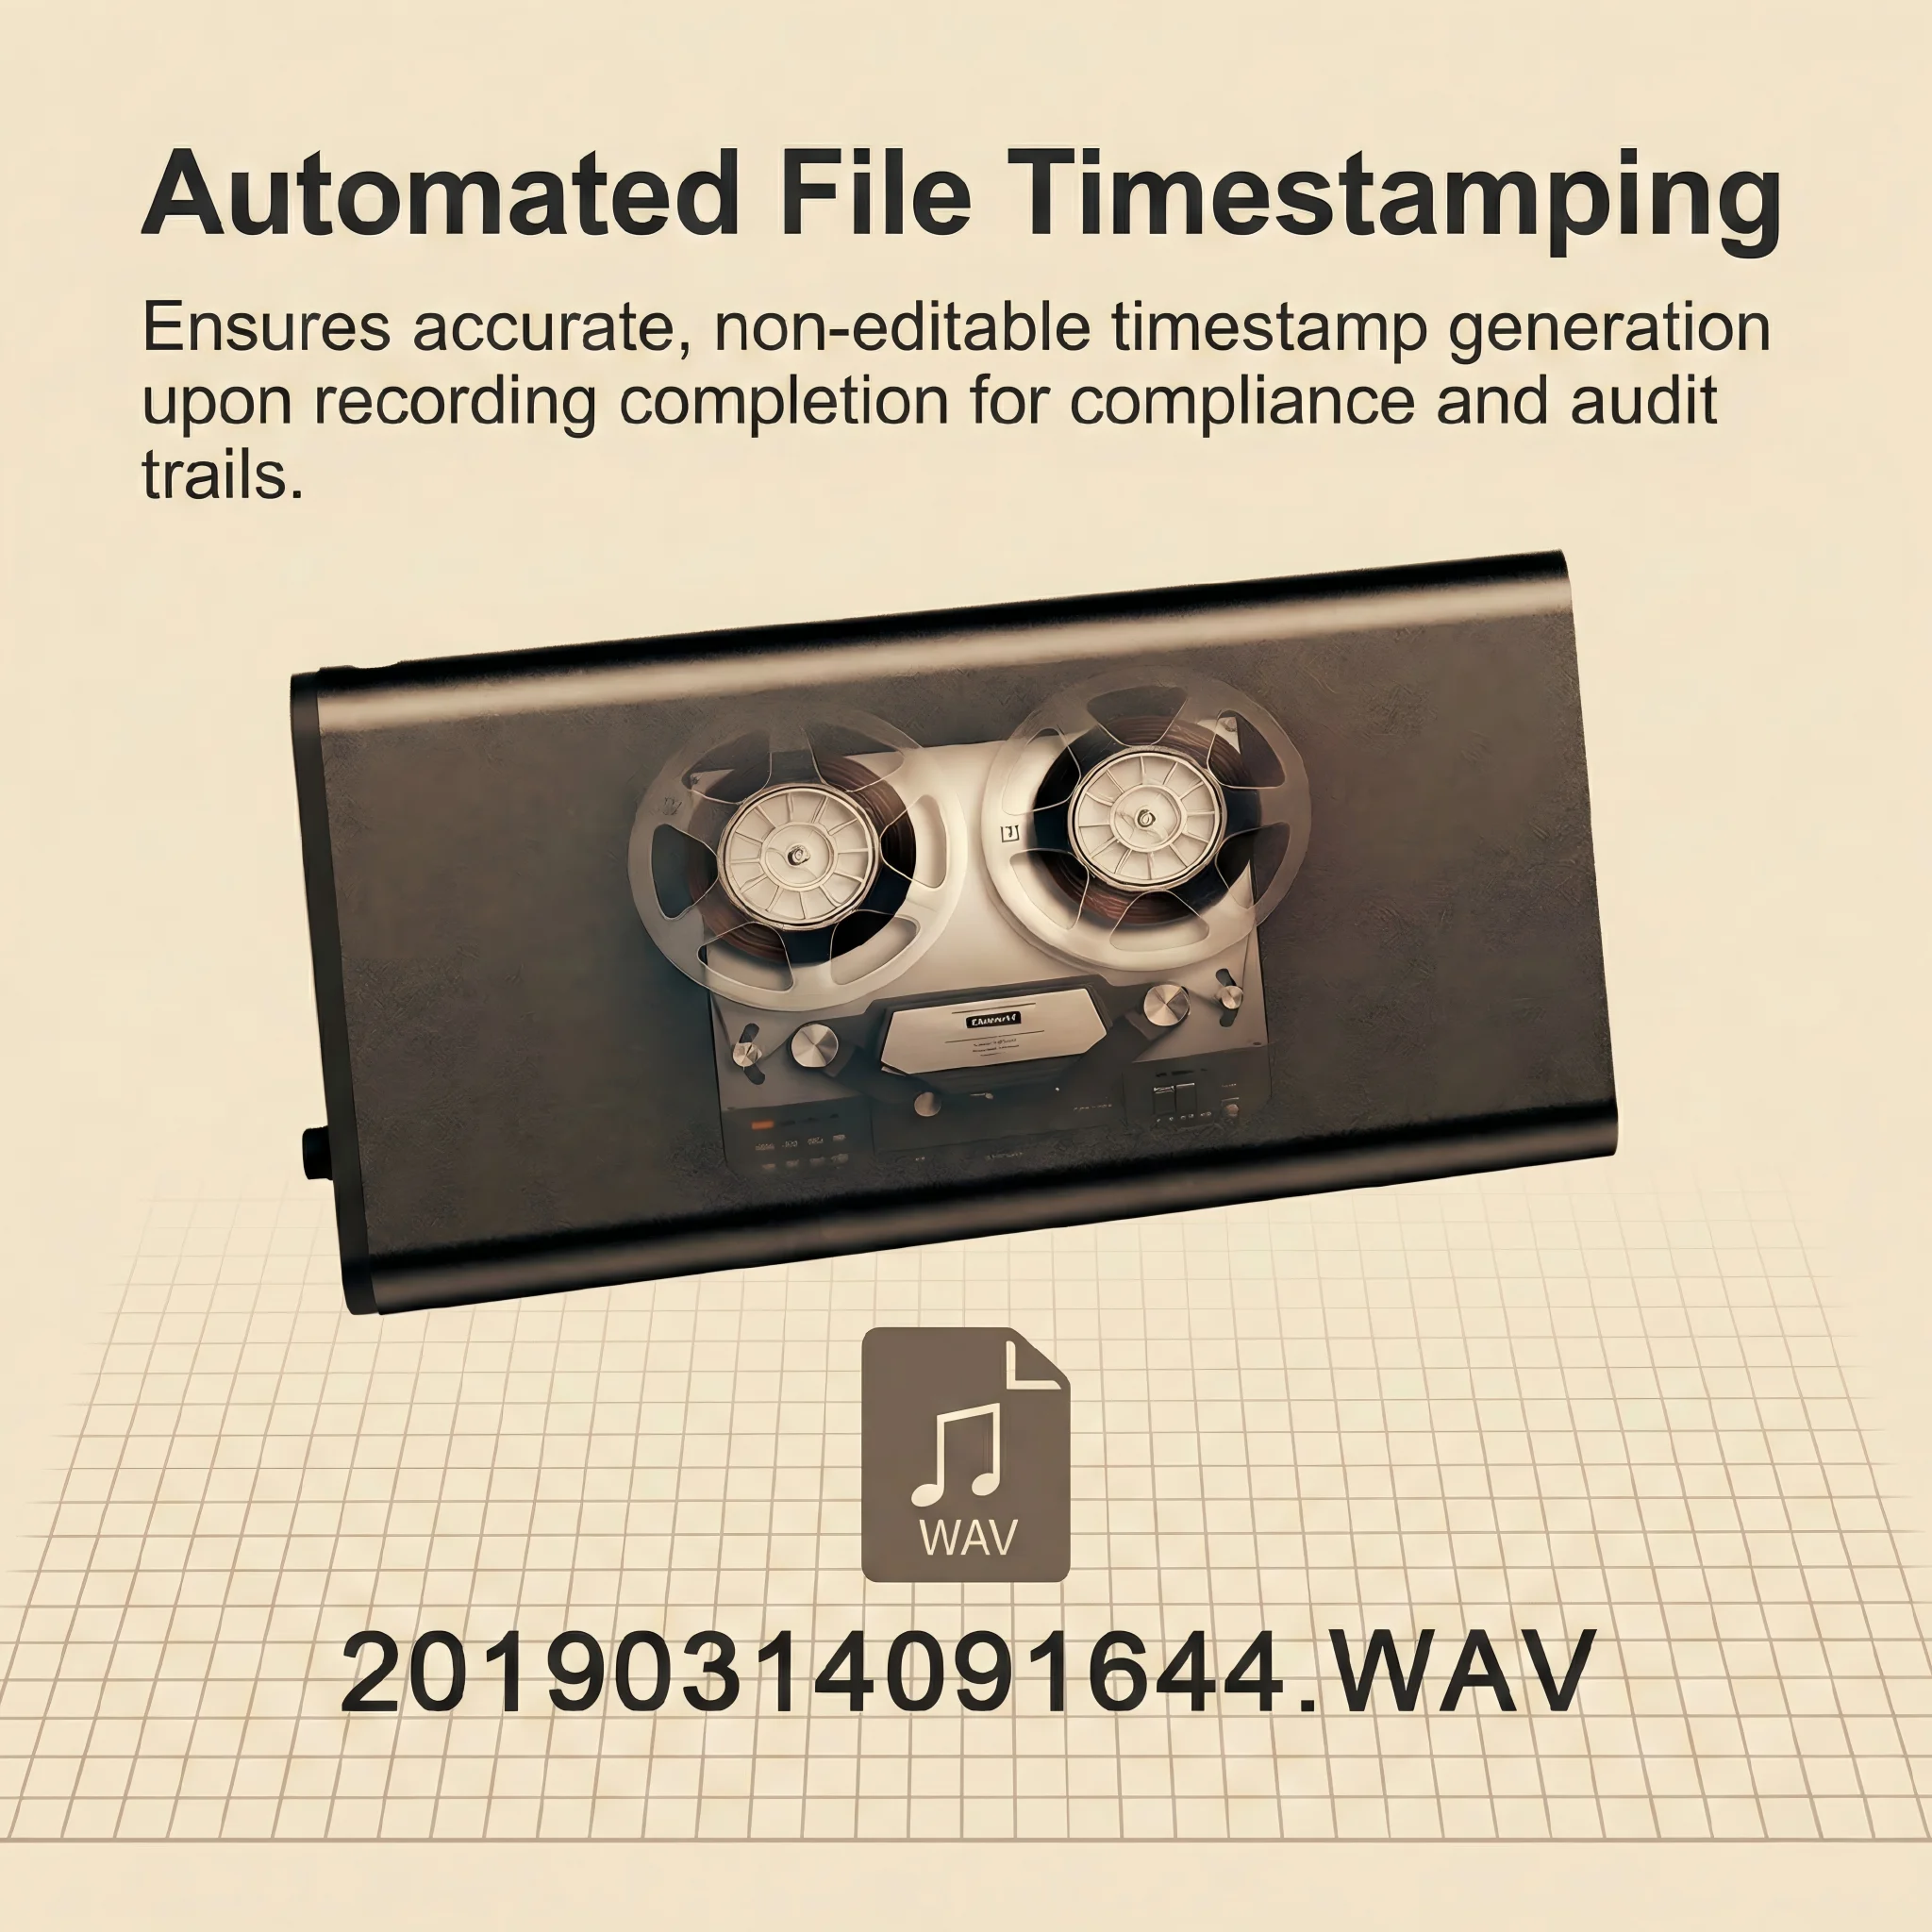
Flashing exFAT support into the firmware is not a field-serviceable operation and voids the warranty. The correct solution for recordings that would exceed 4 GB is to leave the device’s auto-split behavior enabled — recordings are transparently split into sequential files (REC001.WAV, REC002.WAV, etc.) that most playback software joins automatically on import.
Tips for Avoiding FAT32 Corruption Going Forward

The five repair steps above resolve current corruption. These practices prevent recurrence:
Always stop recording before connecting to a PC. Press the record button or power button to close the active session — wait for the LED to confirm the file is saved — before plugging in a USB cable or ejecting a memory card.
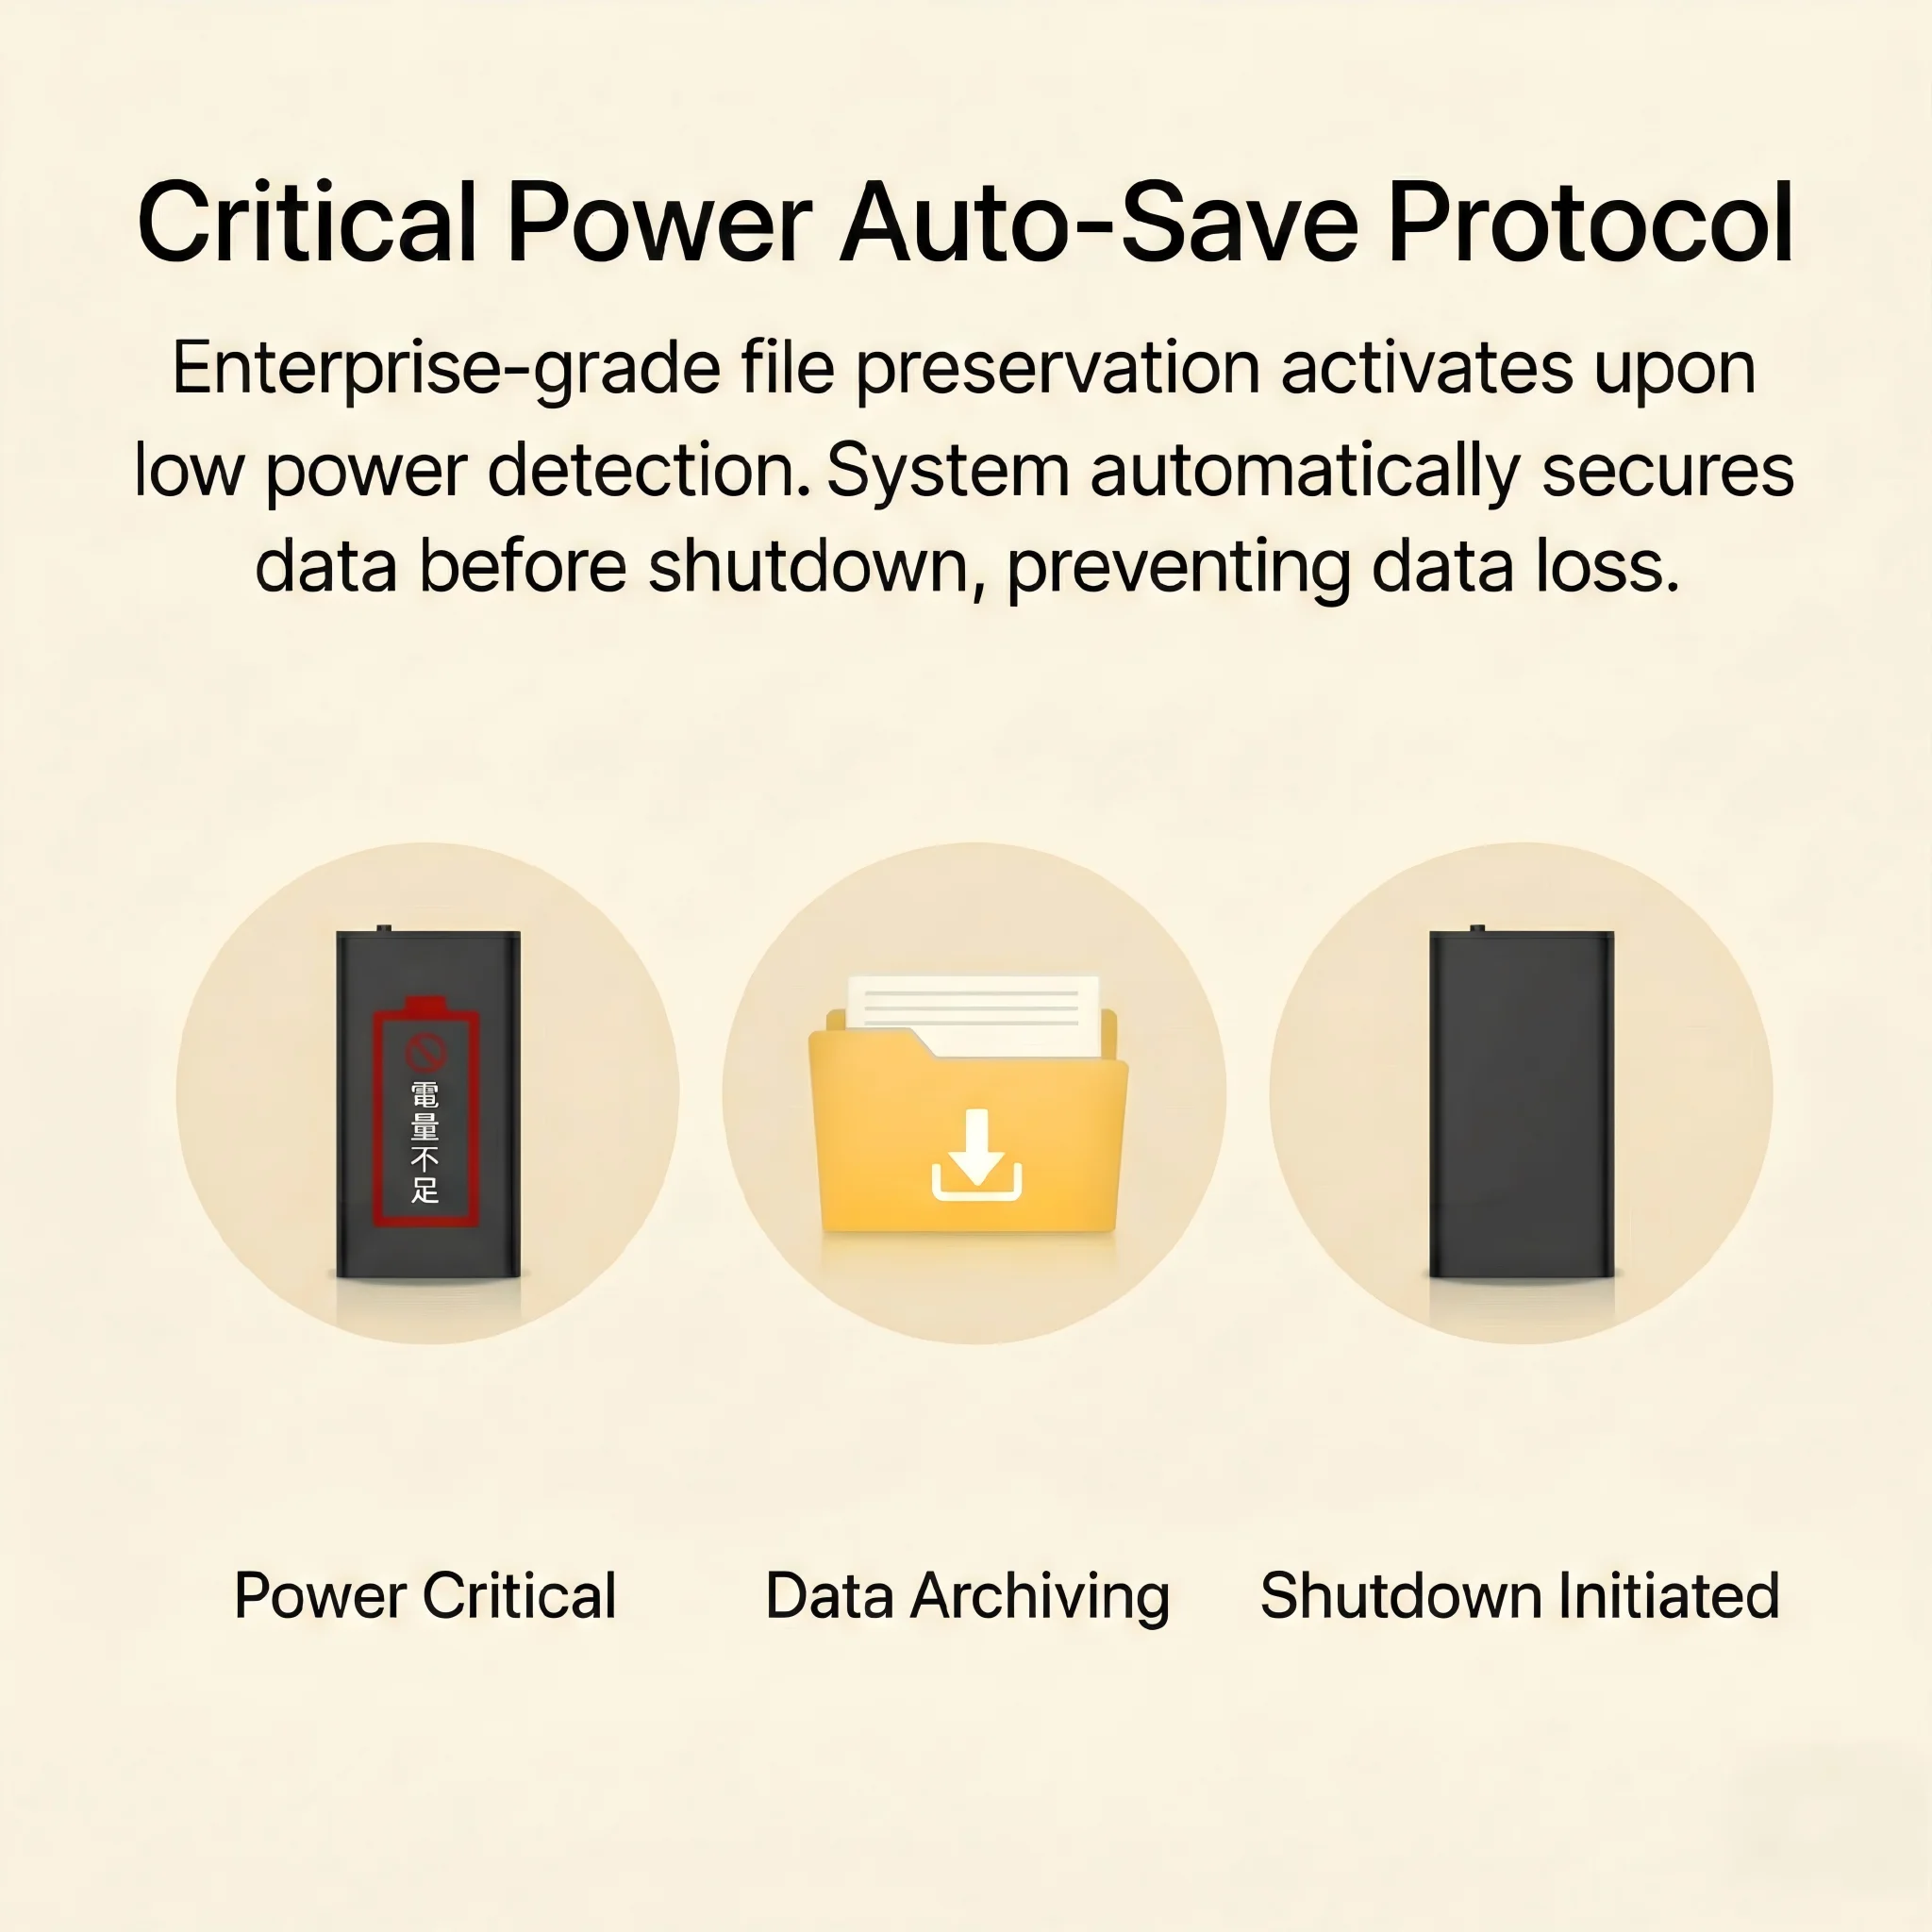
Keep battery above 20% before long sessions. The most common corruption scenario is a device that runs to zero mid-session. Most QZT voice recorders auto-save and power off cleanly at ~5% battery; check your model’s manual to confirm this feature is enabled.
Use safe eject every time — without exception. The five seconds required to safely eject is orders of magnitude faster than the 90-second deep format required to repair the damage caused by skipping it.
Keep the OEM cable with the device. A dedicated cable eliminates the risk of grabbing a charge-only cable that causes “not recognized” failures and mid-transfer USB power interruptions.
Avoid macOS Disk Utility GUI for repair formatting. macOS Disk Utility defaults to 512-byte allocation units for FAT32 — not compatible with the factory 32 KB parameter. If you must repair on a Mac, use the Terminal command: `sudo diskutil eraseDisk FAT32 QZT-REC MBRFormat /dev/diskN` (replace diskN with the correct identifier from `diskutil list`).
Frequently Asked Questions
Q: Disk Management shows “RAW” filesystem instead of FAT32. Is the device destroyed?
A: No. RAW means Windows cannot parse the filesystem header — typically because the Volume Boot Record was overwritten during a corruption event. The five-step deep format in this guide converts the volume from RAW back to functional FAT32.
Q: The full format seems to be stuck at a percentage. How long should I wait?
A: 32 GB over USB 2.0 takes 60–90 seconds; 64 GB takes 2–3 minutes. If the bar has not moved for more than 5 minutes, wait a total of 10 minutes before assuming a stall. If it stalls, disconnect, press the reset pin for 10 seconds, and retry from Step 1. Repeated stalls at the same percentage indicate a failing NAND cell cluster — contact support for a warranty replacement.
Q: Can I recover files from a corrupted device before I format it?
A: Yes. Download Recuva (Windows, free) or PhotoRec (cross-platform, free) and run a deep scan on the device before formatting. Audio (.WAV, .MP3) and video (.AVI, .MP4) files are often recoverable even from heavily corrupted FAT32 volumes because the raw sector data is typically intact — only the FAT cluster chain linking those sectors is broken.
Q: The format completed successfully, but the device still won’t record. What’s next?
A: After a successful full format, reset the firmware state: hold the power button for 15 seconds to force a complete restart, connect to a charger, and allow the startup sequence to complete before testing a recording. If the issue persists, contact support with the device serial number — a firmware reflash may be required.
Conclusion
The three most common failure symptoms for voice recorders and spy pen cameras — device not recognized, garbled files, and mid-recording freeze — are almost always caused by FAT32 file-header damage from improper disconnection. The repair is deterministic and reproducible every time: use the OEM cable on a rear USB port, enter Disk Management, format to FAT32 with 32 KB allocation units, run a full sector scan rather than a quick format, and safe-eject before disconnecting.
This five-step SOP (TS-FIX-01) is the same procedure our QC team runs on every production unit. Executed correctly, it restores the device to factory filesystem condition in under three minutes — no tools, no cost, no service center required.