
Jak zrobić kamerę szpiegowską: Kompletny przewodnik DIY
Możesz zbudować funkcjonalną kamerkę szpiegowską za $20–$60 korzystając z gotowych modułów — nie wymaga doświadczenia w soldowaniu, jeśli wybierzesz właściwe komponenty. Komercyjne kamery szpiegowskie w tej cenie często wykorzystują identyczne podzespoły ukryte w fabrycznych obudowach. Ten przewodnik omawia każdy dostępny sposób DIY, od modów kamery USB dla początkujących do zaawansowanych projektów ESP32-CAM z transmisją live. Czytelnicy B2B szukający obudów lub planujący instalacje instytucjonalne znajdą szczególnie przydatne tabelki porównawcze modułów.
> Chcesz pominąć budowanie? Przeglądaj zakres gotowych ukrytych kamer — wszystko zmontowane, certyfikowane CE i gotowe do wdrożenia.
Jakich części potrzebujesz, aby zbudować kamerę szpiegowską?
Istnieją trzy podejścia, każde o różnym koszcie, poziomie umiejętności i jakości wyników. Wybór niewłaściwego oznacza zmarnowane pieniądze i niefunkcjonalną kamerę.
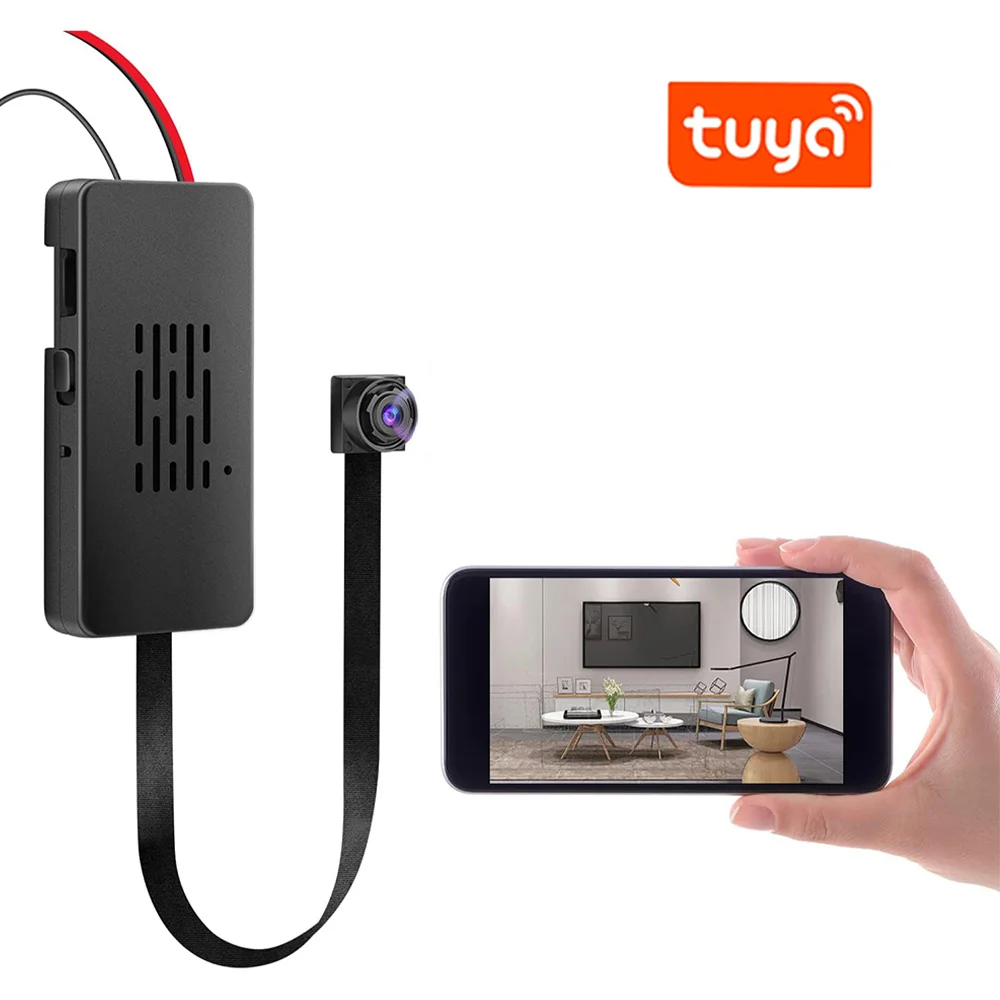
Zmodyfikowana kamera internetowa USB to najtańszy punkt wyjścia w przedziale $8–$15. Usuwasz fabryczną obudowę, przenosisz moduł obiektywu i podłączasz go do zewnętrznego źródła zasilania. Sprzęt zapewnia wideo w rozdzielczości 720p–1080p, ale wymaga ręcznej integracji z rejestratorem DVR i domyślnie nie oferuje WiFi. Moduł ESP32-CAM kosztuje $6–$12 i jest najbardziej zaawansowaną platformą DIY — przesyła strumień przez WiFi, lokalnie wykrywa ruch i kosztuje prawie nic w utrzymaniu. Kompromisem jest obiektyw szerokokątny 2–4 mm, który ogranicza elastyczność umiejscowienia, a konfiguracja wymaga wgrania niestandardowego oprogramowania.
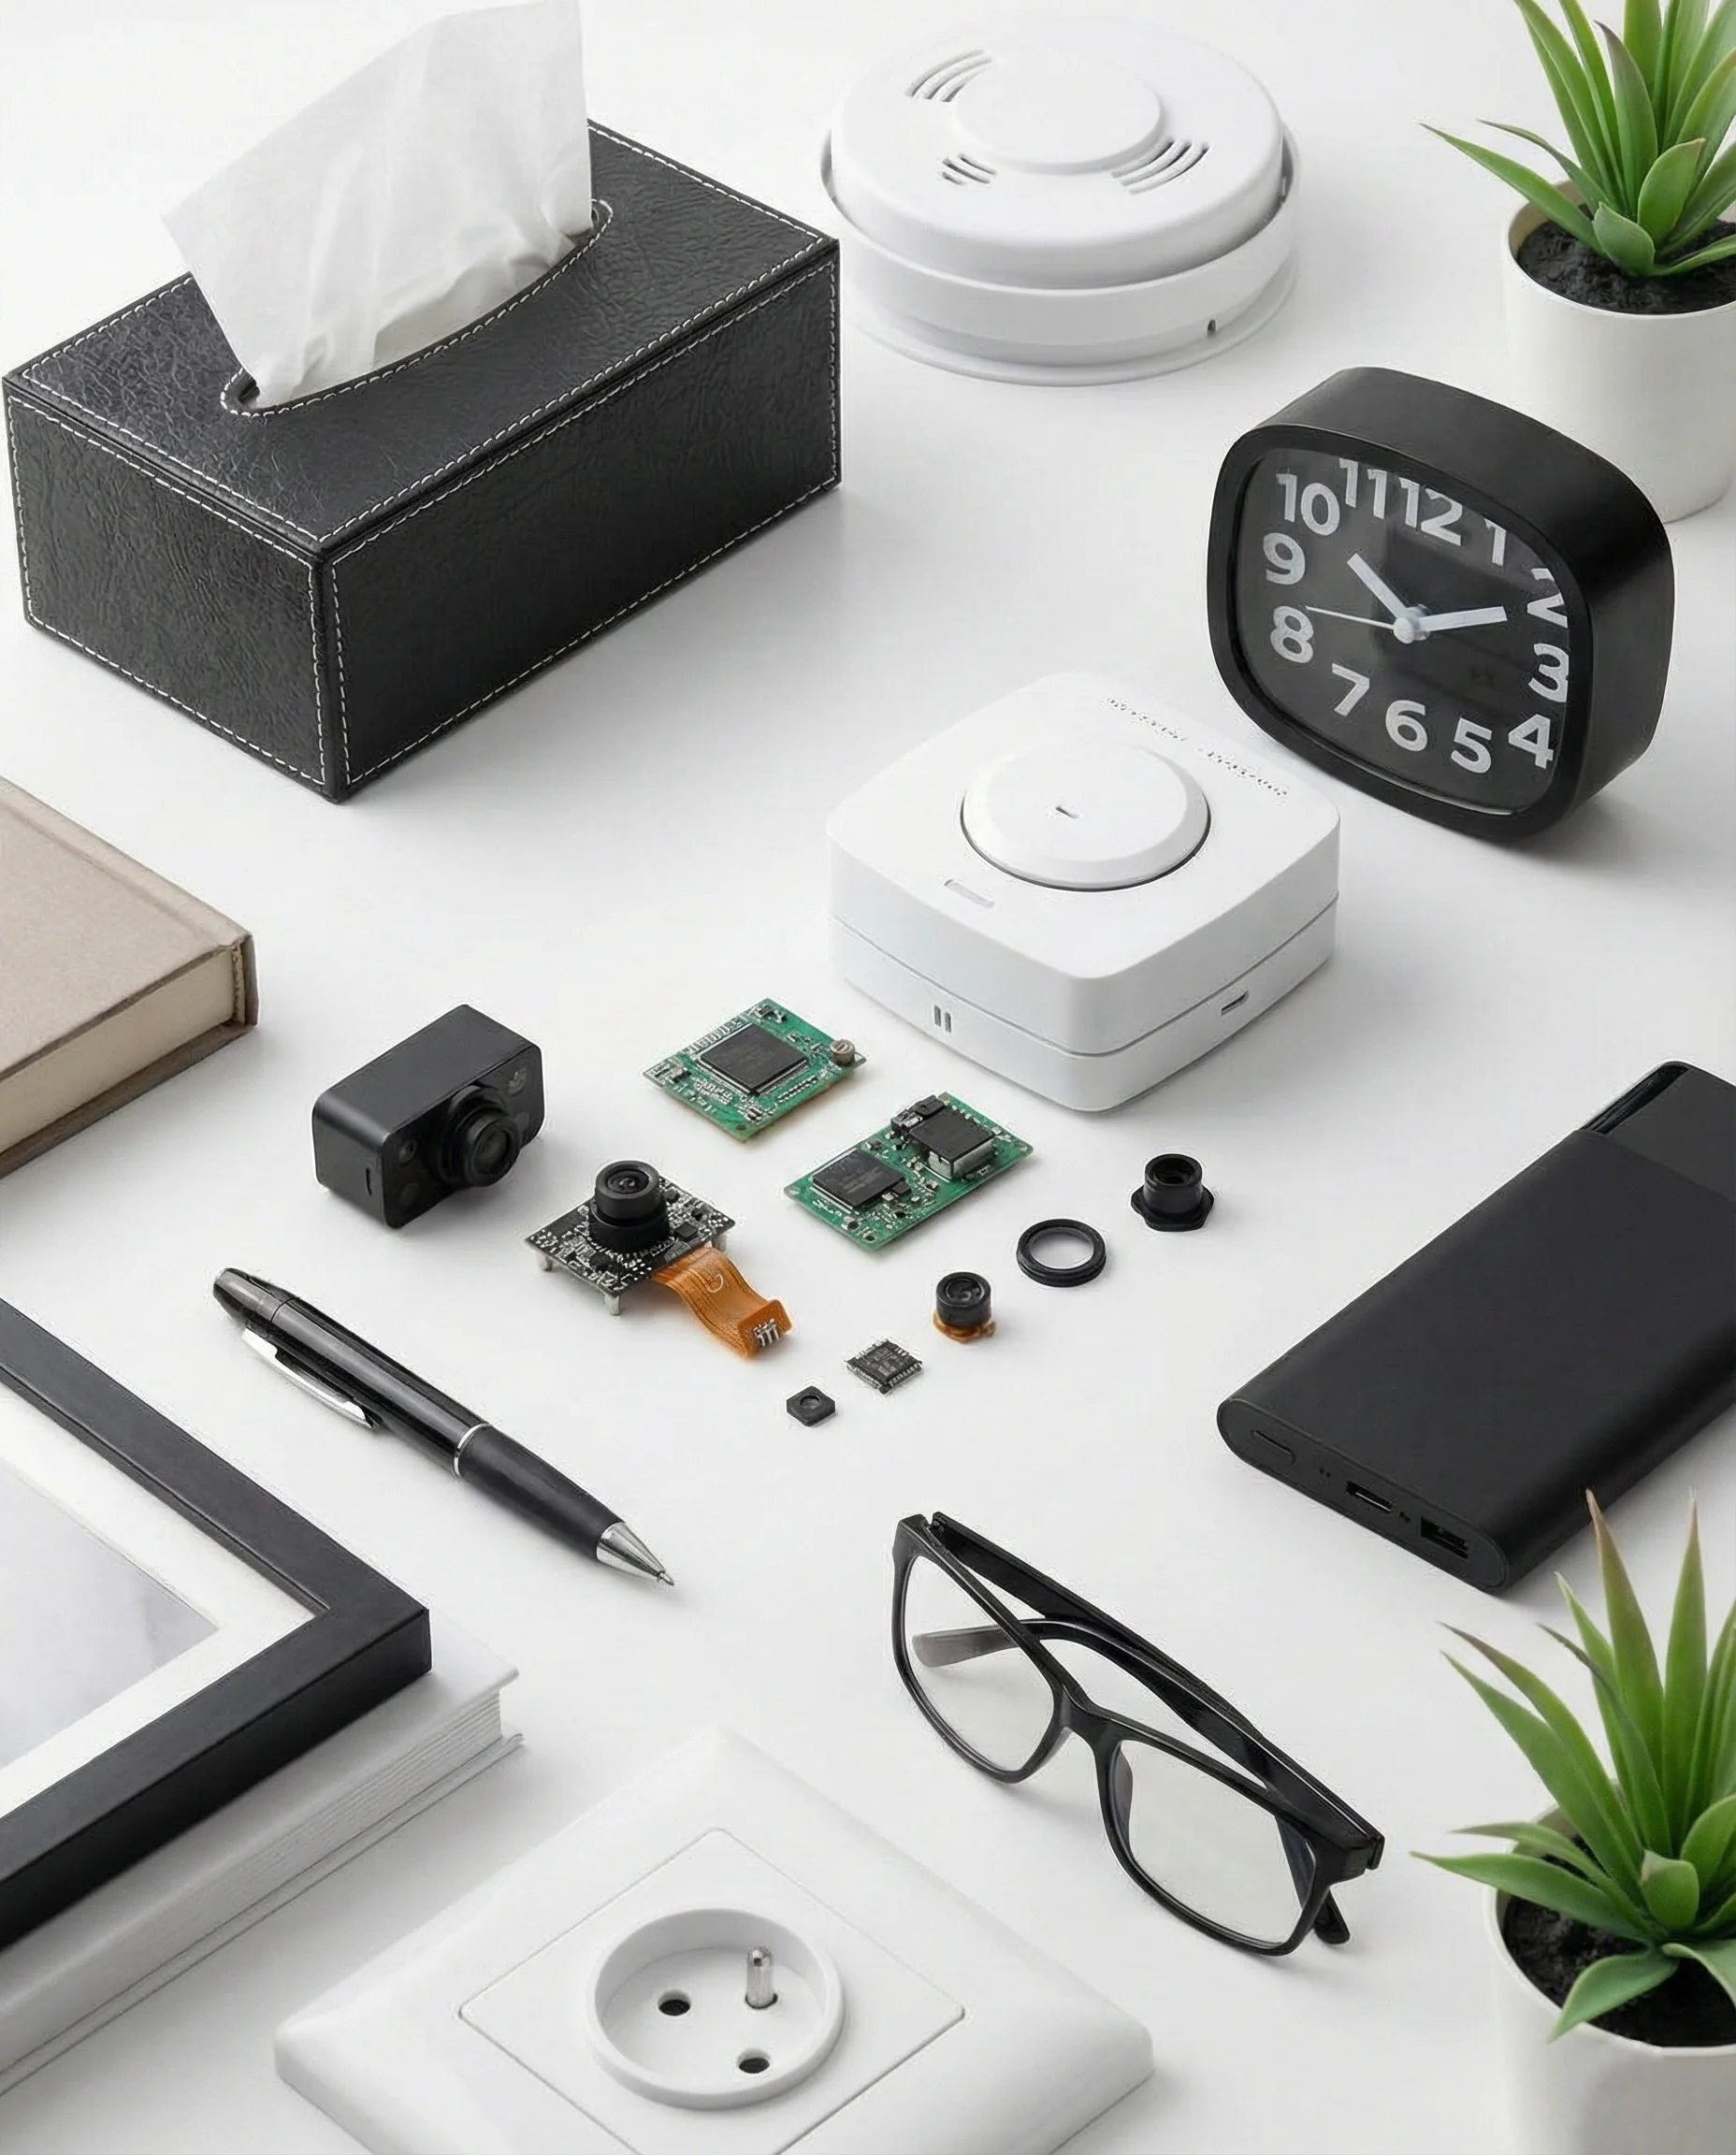
Minimoduł kamery z dedykowaną płytą to podejście stosowane w komercyjnych kamerach szpiegowskich. Kosztuje $15–$40 za sam moduł. Dostawcy tacy jak QZT dostarczają te same moduły — czujniki Sony IMX307 BSI na płycie 38×38 mm — wewnątrz gotowych produktów. Otrzymujesz profesjonalną jakość obrazu i proste okablowanie do zasilacza 5V, ale sama płytka nie zawiera WiFi ani wsparcia aplikacji bez dodatkowego sprzętu.
| Podejście | Koszt | Poziom umiejętności | Jakość wideo | WiFi wbudowane | Najlepsze dla |
|---|---|---|---|---|---|
| Zmodyfikowana kamera internetowa USB | $8–15 | Początkujący | 720p–1080p | Nie (dodaj adapter WiFi USB) | Podstawowe lokalne nagrywanie |
| ESP32-CAM | $6–12 | Średniozaawansowany | 720p–1080p | Tak (natywny) | Transmisja live na odległość |
| Dedykowana mini płytka modułu | $15–40 | Średniozaawansowany | 1080p–2K | Nie (dodaj moduł WiFi ESP01S) | Budowa obudowy OEM/nadanej na zamówienie |
| Gotowe komercyjne | $40–120 | Nic | 1080p–4K | Tak | Gotowe do wdrożenia zaopatrzenie B2B |
Dla większości zastosowań DIY, dedykowana mini płytka modułu daje najlepszy stosunek jakości do nakładu pracy — szczególnie jeśli pozyskujesz komponenty do projektu własnej obudowy.
Jak zbudować kamerę szpiegowską za pomocą miniaturowej płytki modułowej?
To najczęstsze komercyjne podejście. Sprzęt jest identyczny z tym, który znajduje się w masowo produkowanych kamerach szpiegowskich — a proces jest prostszy, niż większość ludzi zakłada.
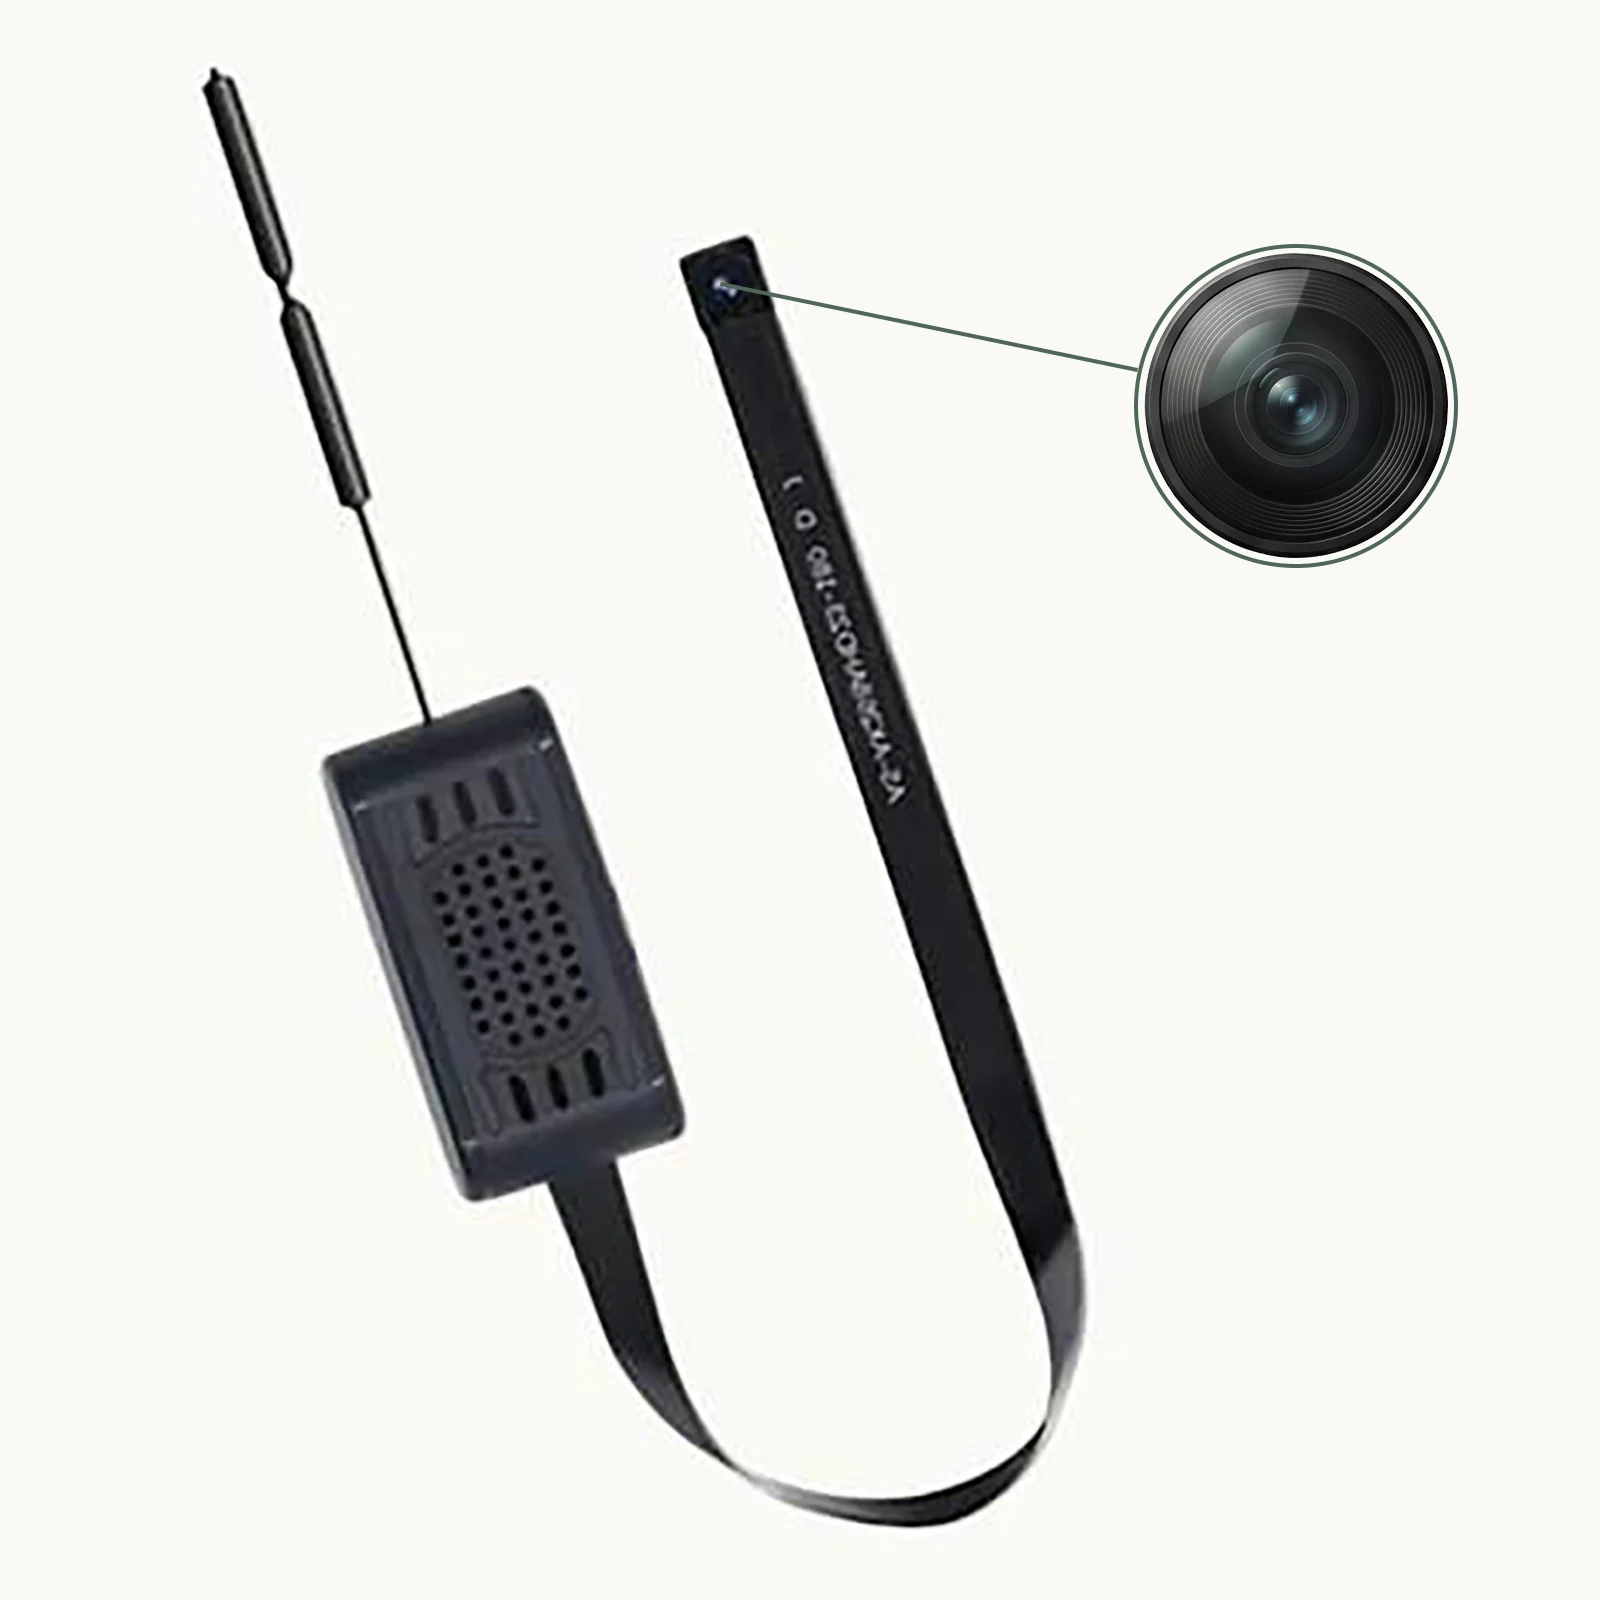
Krok 1 — Wybierz właściwy sensor. Sony IMX307 (2MP, 1920×1080, BSI) dominuje na rynku średniej klasy z powodu: dobrze radzi sobie w warunkach słabego oświetlenia i używa standardowych wyprowadzeń MIPI CSI akceptowanych przez większość płyt nośnych. Inne popularne wybory to GC2063 (budżetowy, 2MP) i IMX335 (5MP, lepszy detal w dobrym świetle).
Krok 2 — Wybierz płytkę nośną. Płyta odbiera sygnał MIPI modułu i wyprowadza USB, AV lub sieć. Płyty USB są najbardziej uniwersalne — podłącz kabel USB i działa jak kamera internetowa na dowolnym komputerze. Płyty sieciowe dodają Ethernet lub WiFi, ale wymagają konfiguracji.
Krok 3 — Podłącz zasilanie. Mini moduły kamery działają na 5V DC. Większość płyt zasilana jest przez USB-C lub 2-pinowy header. Prąd pobierany osiąga 300–500mA podczas nagrywania — standardowa ładowarka 5V/2A dla telefonu jest wystarczająca.
Krok 4 — Podłącz do sprzętu nagrywającego. Opcje obejmują:
– Karta przechwytywania USB → komputer (darmowe oprogramowanie, ciągłe nagrywanie)
– Analogowe AV → DVR (bez opóźnienia, zależność od sprzętu)
– Płytka WiFi → aplikacja na smartfona (oglądanie w czasie rzeczywistym, dostęp zdalny)
– Moduł ESP01S → niestandardowa integracja MQTT (dla użytkowników technicznych)
Krok 5 — Wybierz i zmodyfikuj obudowę. Obudowa decyduje o tym, jak dyskretna jest kamera. Typowe podejście: wywierć otwór 2–3mm w dowolnym przedmiocie (tarcza zegara, czujnik dymu, ramka obrazu) i zamontuj obiektyw równo z otworem. Obiektyw musi być precyzyjnie ustawiony — nawet 1mm przesunięcie powoduje widoczne winietowanie.
> Kluczowa wskazówka z pola: Zmiana ogniskowej obiektywu znacząco wpływa na efektywne pole widzenia. Obiektyw 3,6 mm na matrycy 1/2,9″ daje około 75° poziomego pola widzenia — dobre do rogu pokoju. Obiektyw szerokokątny 1,7 mm obejmuje 120°, ale wprowadza dystorsję beczkową na krawędziach. Dopasuj obiektyw do zastosowania, a nie ceny.
Jak działa podejście ESP32-CAM?
ESP32-CAM zasługuje na osobne omówienie, ponieważ jest to jedyna opcja DIY z wbudowanym WiFi, obsługą pamięci (microSD) i aktywnym oprogramowaniem społecznościowym — koszt około $7 za płytkę.
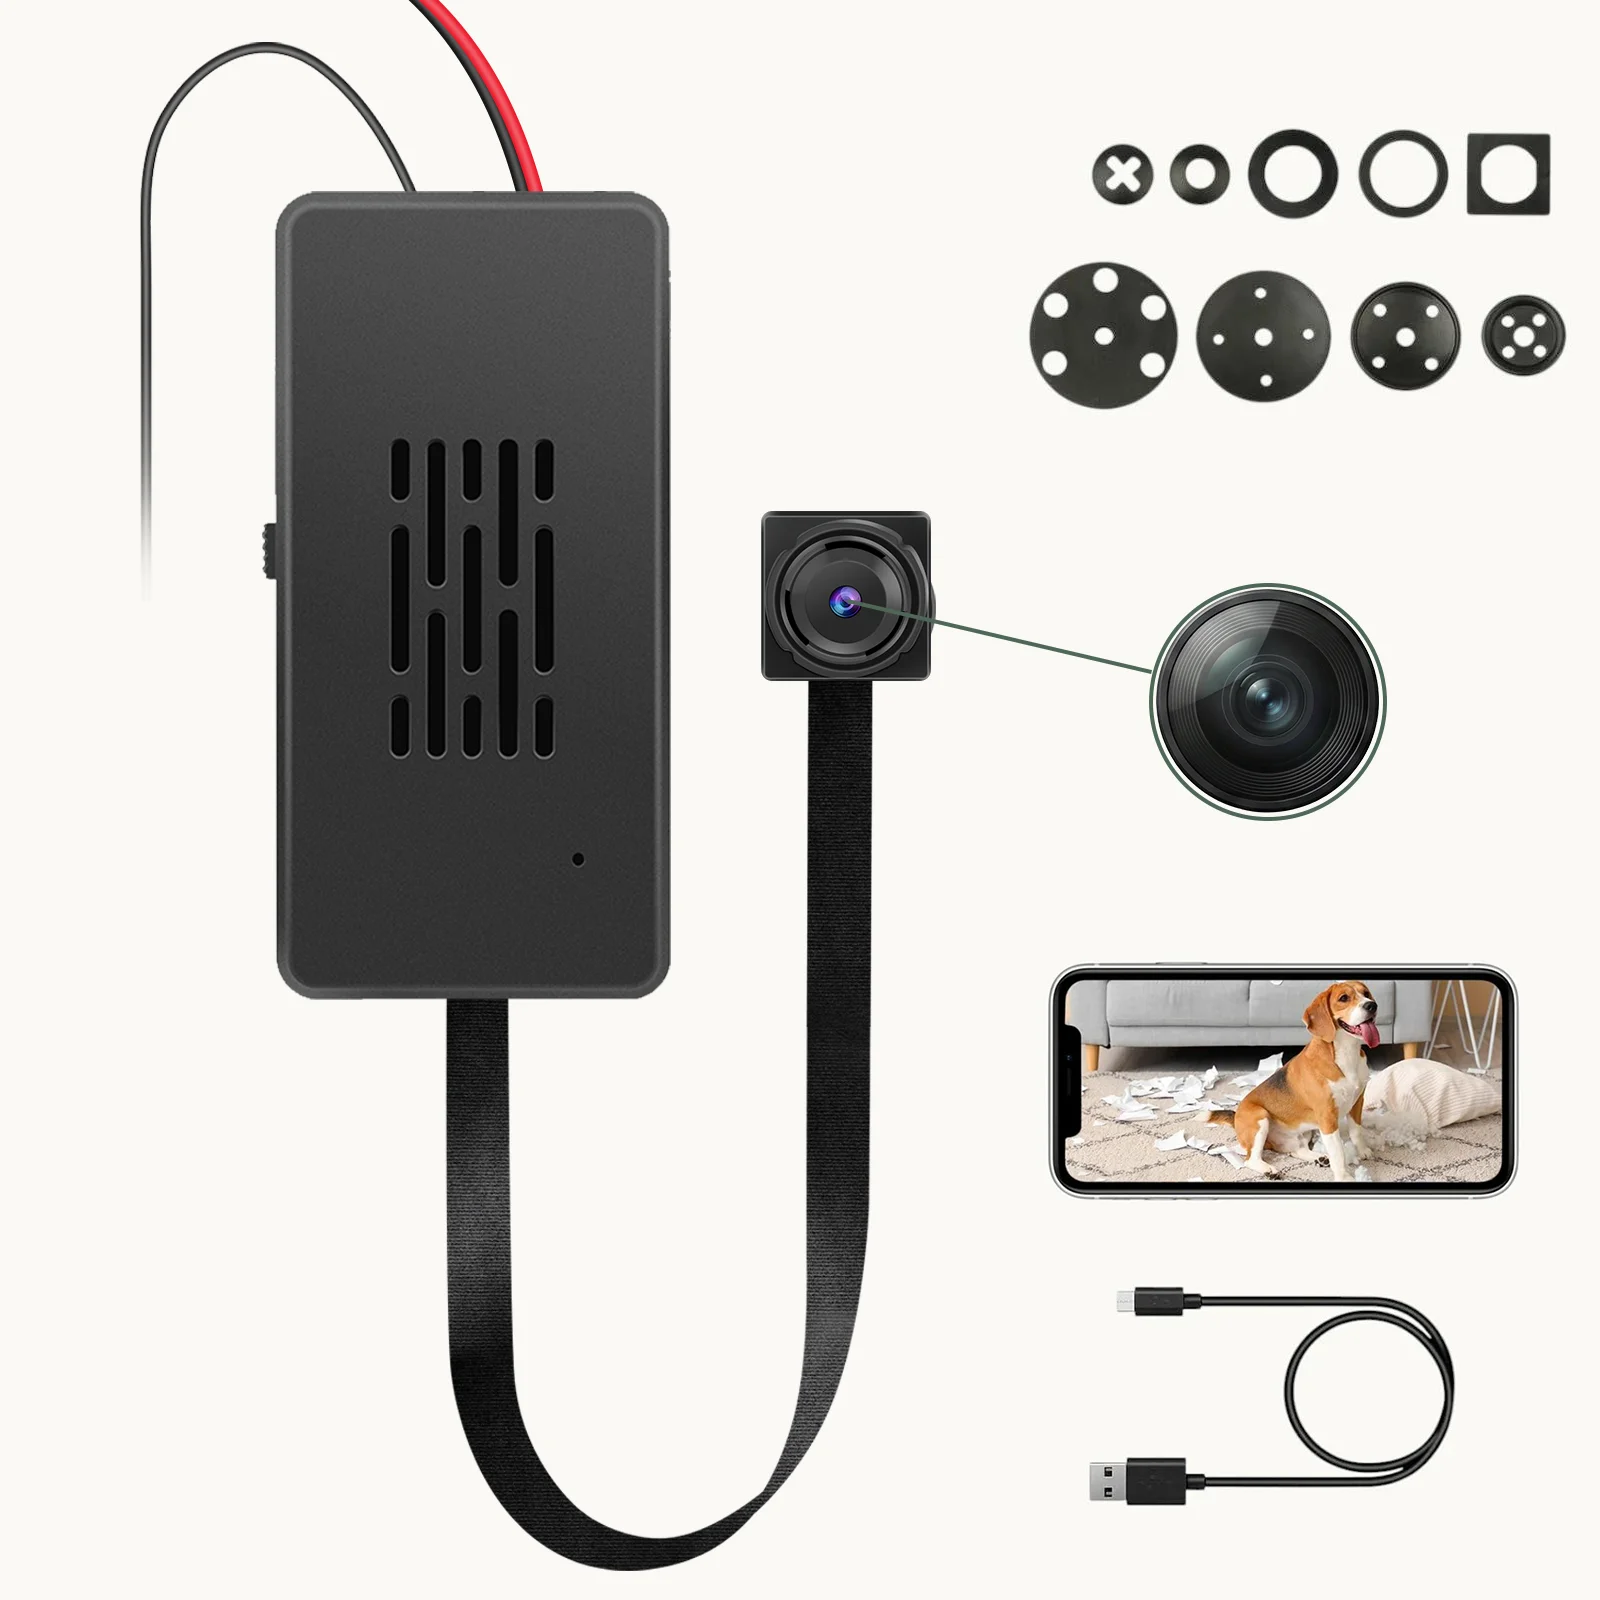
Konfiguracja sprzętu:
– Płytka ESP32-CAM (model AI Thinker jest najpopularniejszy)
– Programator FTDI USB-to-serial (logika 3,3 V, ~$3)
– Zasilacz 5 V (USB lub regulator 5 V)
– Opcjonalnie: moduł kamery OV2640 (2MP, dołączony do większości płytek) lub zamień na mniejszy obiektyw otworkowy dla większej dyskrecji
Opcje oprogramowania sprzętowego uszeregowane według możliwości:
1. ESP32-CAM-Video-Recorder (GitHub) — najlepsze do nagrywania wyzwalanego ruchem na kartę SD, prosty interfejs webowy
2. ESP32-CAM-MJPEG — przesyła strumień MJPEG przez HTTP, zgodny z większością oprogramowania NVR
3. HomeAssistant ESPHome — natywna integracja z Home Assistant, bez potrzeby pisania własnego kodu
4. Niestandardowy szkic Arduino — pełna kontrola nad zachowaniem, wymaga znajomości C++
Ograniczenia ESP32-CAM w praktyce:
– Wbudowane WiFi działa tylko w paśmie 2,4 GHz, a zasięg jest ograniczony do ~20 m na otwartej przestrzeni
– Czujnik OV2640 ma problemy poniżej 10 luksów — nie oczekuj użytecznej noktowizji bez iluminatora IR
– Nagrywanie na kartę SD i jednoczesne przesyłanie strumieniowe powoduje ograniczenie termiczne po 2–3 godzinach
W przypadku wdrożeń B2B wymagających pracy 24/7, ESP32-CAM jest platformą koncepcyjną, a nie rozwiązaniem produkcyjnym. Komercyjne moduły QZT z dedykowanymi procesorami SoC pracują chłodniej i zapewniają bardziej stabilną liczbę klatek na sekundę.
Jak zmodyfikować kamerę internetową USB do użycia ukrytego?
Zmodyfikowane podejście z kamerą internetową to oryginalna metoda domowej roboty kamery szpiegowskiej. Pozostaje aktualna w projektach budżetowych, gdzie jakość 720p jest wystarczająca.
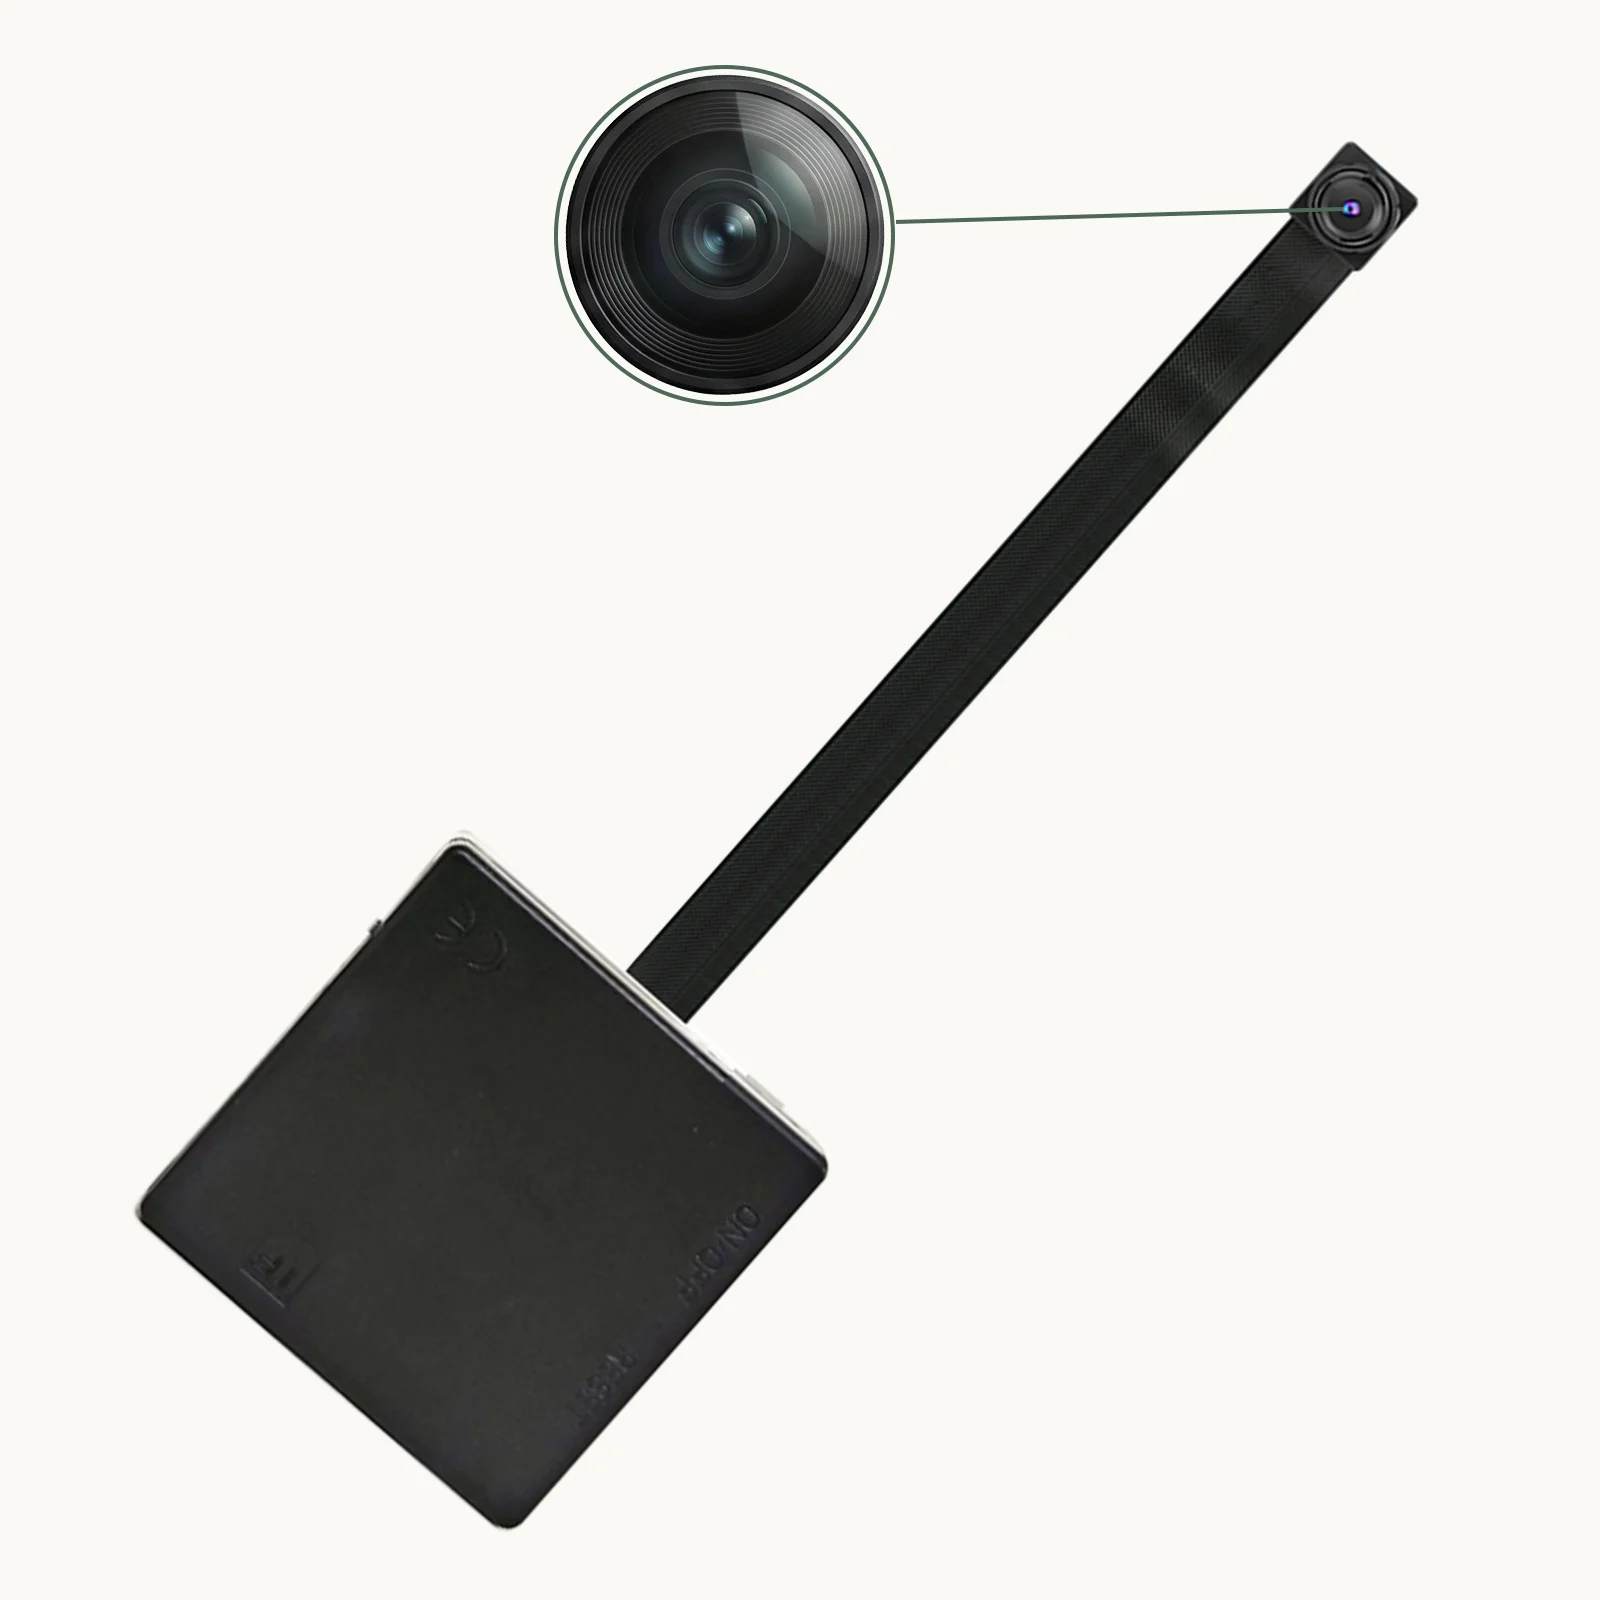
Wymagane narzędzia:
– Kamera internetowa USB (model podstawowy, $8–12, unikaj autofokusu — jest hałaśliwy i zawodny)
– Mały śrubokręt krzyżakowy
– Suszarka termiczna lub suszarka do włosów
– 502 superglue lub klej na gorąco
– Lutownica (opcjonalna, ale zalecana)
Proces:
1. Rozbierz kamerę internetową i oddziel zestaw obiektywu od standardowej obudowy
2. Określ ogniskową istniejącego obiektywu (zwykle 3,6 mm dla standardowego, 2,8 mm dla szerszego)
3. Wywierć otwór w docelowej obudowie pasujący do średnicy tubusu obiektywu
4. Przełóż obiektyw i przyklej go na miejscu — obiektyw musi być prostopadły do powierzchni
5. Poprowadź kabel USB przez mały kanał i podłącz do zasilania
6. Przetestuj pole widzenia przed ostatecznym zamknięciem obudowy
Częsty błąd: Wyśrodkowanie. Obiektyw musi być dokładnie wyśrodkowany nad otworem. Nawet 1mm przesunięcie powoduje częściowe zasłonięcie obrazu przez ściankę obudowy.
Jakie opcje oprogramowania sprzętowego istnieją dla samodzielnie wykonanych kamer szpiegowskich?
Poza sprzętem, oprogramowanie sprzętowe decyduje o tym, co faktycznie robi twoja kamera. Oto praktyczne porównanie.
| Oprogramowanie sprzętowe | Platforma | Wykrywanie ruchu | Dostęp zdalny | Pamięć lokalna | Poziom trudności |
|---|---|---|---|---|---|
| MotionEyeOS | Raspberry Pi | Tak (różnicowanie klatek) | Tak (interfejs webowy) | USB/SD | Łatwy |
| ESP32-CAM Rejestrator Wideo | ESP32 | Tak (na urządzeniu) | Poprzez serwer WWW | microSD | Średni |
| ZoneMinder | Komputer z systemem Linux | Tak (wiele trybów) | Tak | NAS/Dysk twardy | Trudny |
| Blue Iris | Komputer z systemem Windows | Tak | Tak | Lokalny | Średni |
| Shinobi | Dowolny (Docker) | Tak | Tak | Chmura/NAS | Średni |
Do projektów DIY, MotionEyeOS na Raspberry Pi Zero 2 W zapewnia najlepszą równowagę: prawdziwe wykrywanie ruchu, zdalny podgląd, przechowywanie w NAS i harmonogramy nagrywania na poziomie profesjonalnym. Całkowity koszt, w tym Pi Zero 2W, moduł kamery i obudowa, wynosi $35–45.
Jakie są granice prawne dla projektów domowych kamer szpiegowskich?
Przed zbudowaniem i wdrożeniem samodzielnie wykonanej kamery szpiegowskiej zrozum ramy prawne — różnią się one znacznie w zależności od jurysdykcji i zamierzonego użycia.
W Zjednoczonym Królestwie, Kodeks Praktyki Monitoringu (SCCP) dotyczy użycia przez władze lokalne. Osoby prywatne mają większą swobodę, ale nadal napotykają ograniczenia: nagrywanie w miejscach, gdzie osoby mają uzasadnione oczekiwanie prywatności (np. łazienki, przebieralnie), jest nielegalne na mocy Ustawy o ochronie przed nękaniem z 1997 roku. Użycie domowe we własnym domu jest ogólnie dozwolone w celach bezpieczeństwa.
W UE, RODO ma zastosowanie do każdego systemu, który przechwytuje identyfikowalne osoby. Nawet monitoring domowy podlega obowiązkom ochrony danych, jeśli nagrania są przechowywane lub udostępniane. Motyw 18 przewiduje pewne wyłączenia dla użytku domowego, ale wdrożenie komercyjne lub w miejscu pracy wymaga udokumentowanej prawnej podstawy (Artykuł 6 RODO). Instalowanie kamer, które rejestrują przestrzenie publiczne lub sąsiednie nieruchomości, jest zabronione bez zgody.
W Niemczech, prawo do własnego wizerunku (Recht am eigenen Bild) oraz stanowe przepisy przeciwko podglądactwu sprawiają, że ukryte nagrywanie w prywatnych przestrzeniach jest nielegalne, chyba że istnieje udokumentowane zagrożenie lub bezpośrednie niebezpieczeństwo. Ukryte rozmieszczenie w wynajmowanych nieruchomościach wymaga zgody właściciela.
Dla dystrybutorów B2B: Jeśli sprzedajesz komponenty do samodzielnego montażu klientom, którzy będą wdrażać systemy monitoringu, dołącz do każdego zakupu przewodnik dotyczący legalnego użytkowania. Zmniejsza to, ale nie eliminuje, twojego narażenia na odpowiedzialność za niewłaściwe użycie.
Często zadawane pytania
Czy mogę zbudować kamerę szpiegowską za mniej niż $20?
Tak — płytka ESP32-CAM kosztuje 6–8 USD i zapewnia użyteczne wideo 720p z wbudowanym WiFi. Podstawowa modyfikacja kamery internetowej USB kosztuje 8–12 USD. Obie działają bez lutowania, jeśli użyjesz modułów na poziomie płytki ze wstępnie przylutowanymi złączami. Nie oczekuj noktowizji ani materiału w jakości profesjonalnej w tej cenie, ale sprzęt jest wystarczający do monitoringu niewymagającego wysokiej jakości.
Jaki jest najlepszy czujnik do samodzielnie wykonanej kamery szpiegowskiej w słabym świetle?
Czujnik Sony IMX307 BSI (z podświetleniem od tyłu) radzi sobie w słabym świetle znacznie lepiej niż alternatywy z podświetleniem od przodu, takie jak OV2640. Jest to ten sam czujnik używany w większości komercyjnych kamer szpiegowskich średniej klasy. Tańsze alternatywy — GC2063, SC2232 — dają ziarnisty obraz poniżej 50 luksów i nie są warte niewielkich oszczędności.
Czy potrzebuję umiejętności programowania, aby zbudować domową kamerę szpiegowską?
To zależy od podejścia. Modyfikacja kamery USB nie wymaga programowania — pojawia się jako standardowa kamera internetowa. ESP32-CAM wymaga załadowania wstępnie skompilowanego oprogramowania (nie trzeba kodować) lub opcjonalnie napisania kodu Arduino (podstawowy C++). Dedykowane moduły nie wymagają programowania, ale potrzebują oddzielnego rejestratora DVR lub sprzętu do przechwytywania, aby nagrywać materiał.
Jak daleko może transmitować samodzielnie wykonana kamera szpiegowska WiFi?
Większość modułów ESP32-CAM i dodatkowych modułów WiFi (ESP-01S) przesyła sygnał na odległość 15–30 m przez ściany wewnętrzne przy częstotliwości 2,4 GHz. Zasięg znacznie spada przy grubych ścianach betonowych lub metalowych obudowach. W przypadku większych odległości dodaj kierunkową antenę WiFi lub użyj Raspberry Pi z zewnętrznym adapterem WiFi obsługującym mostkowanie 5 GHz.
Czy budowanie i sprzedaż zestawów kamery szpiegowskiej DIY jest legalna?
W większości jurysdykcji sprzedaż komponentów jest legalna. Liczy się ostateczne zastosowanie oraz to, czy sprzedajesz do nabywców z UE/Wielkiej Brytanii – RODO i lokalne przepisy o ochronie prywatności dotyczą końcowego wdrożenia. W USA sprzedaż sprzętu monitorującego ma niewiele ograniczeń federalnych, ale przepisy stanowe są różne. Nie reklamuj zestawów DIY specjalnie do potajemnego nagrywania w prywatnych przestrzeniach.
Potrzebujesz komponentów do niestandardowego projektu kamery szpiegowskiej?
QZT Security dostarcza hurtowo miniaturowe moduły kamer, zespoły obiektywów i płytki WiFi dla klientów OEM i instytucjonalnych. Skontaktuj się z nami już dziś aby omówić specyfikacje i ceny hurtowe.

 English
  Italiano
  Deutsch
  Français
  Español
  Polski