Wie man eine Spionagekamera baut: Vollständiger DIY-Bauleitfaden
You can build a functional spy camera for $20–$60 using off-the-shelf modules — no soldering experience required if you pick the right components. Commercial spy cameras at this price point often use identical hardware underneath proprietary shells. This guide walks through every viable DIY approach, from beginner-friendly USB webcam mods to advanced ESP32-CAM projects with live streaming. B2B readers sourcing for custom enclosures or institutional deployments will find the module comparison tables particularly useful.
> Want to skip the build? Browse QZT Security’s pre-built covert camera range — all assembled, CE-certified, and ready to deploy.
What Parts Do You Need to Build a Spy Camera?
Three approaches exist, each with a different cost, skill level, and result quality. Picking the wrong one means wasted money and a non-functional camera.
The modified USB webcam is the cheapest starting point at $8–$15. You remove the stock housing, relocate the lens module, and wire it to an external power source. The hardware delivers 720p–1080p video but requires manual DVR integration and offers no WiFi by default. The ESP32-CAM module runs $6–$12 and is the most capable DIY platform — it streams over WiFi, runs motion detection locally, and costs almost nothing to power. The trade-off is a 2–4mm wide-angle lens that limits placement flexibility, and setup requires loading custom firmware.
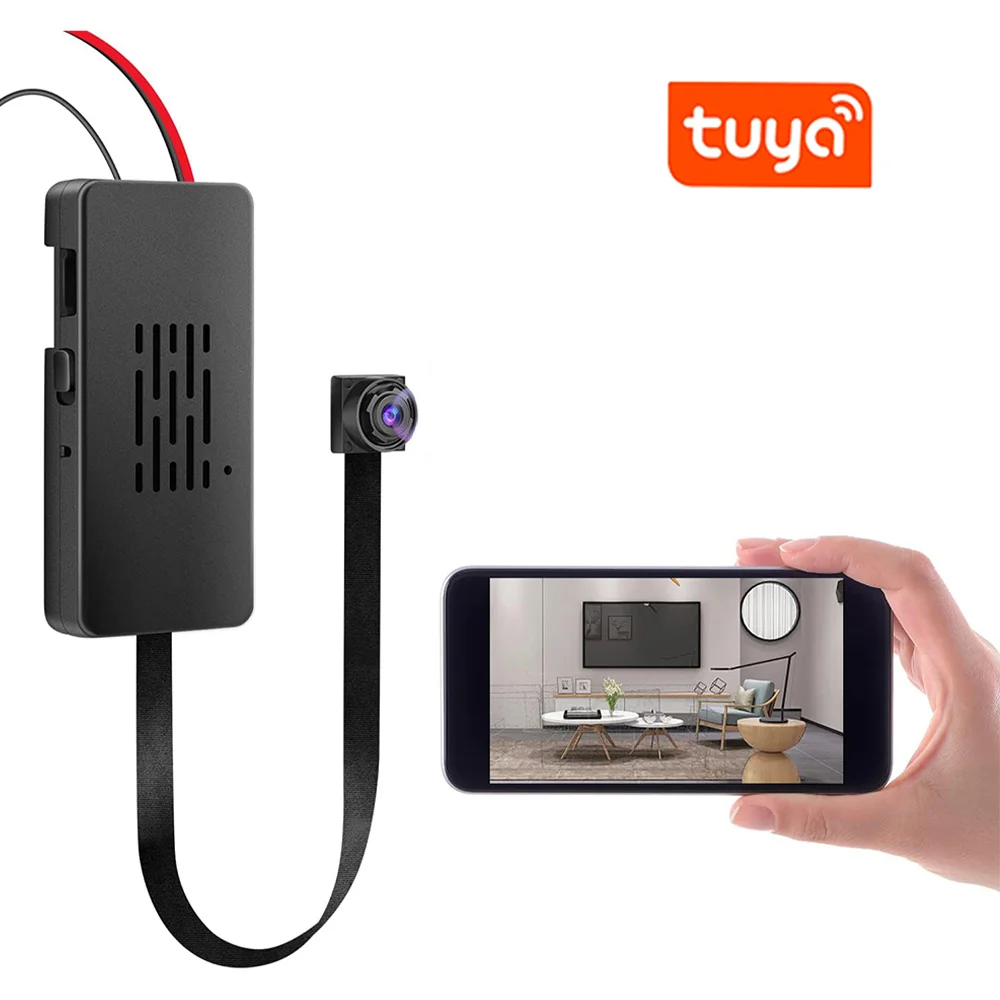
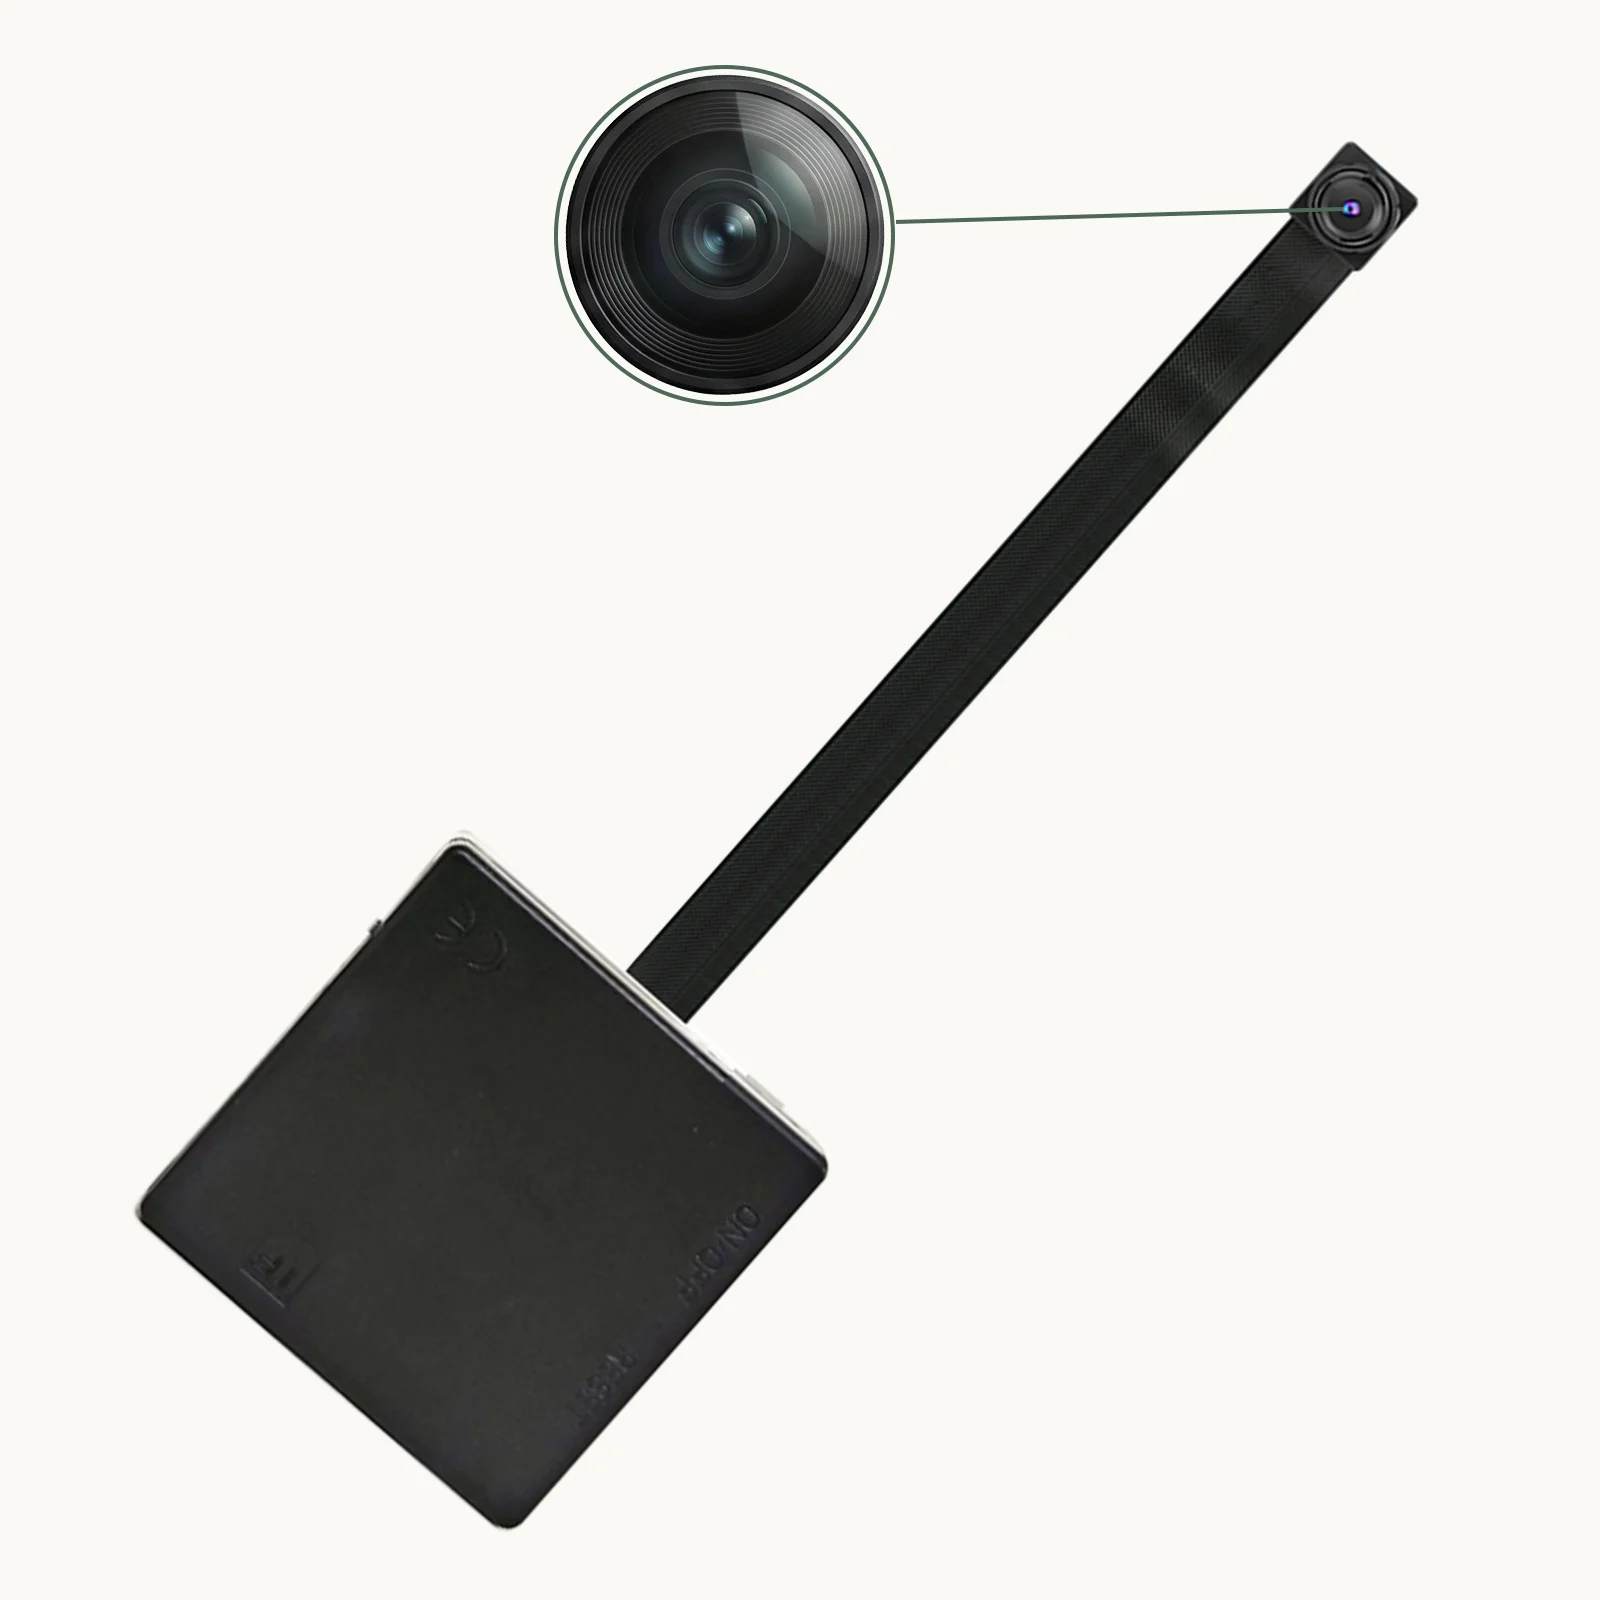
The mini camera module with dedicated board is the approach commercial spy cameras use. It costs $15–$40 for the bare module. Vendors like QZT supply these same modules — Sony IMX307 BSI sensors on a 38×38mm board — inside finished products. You get professional-grade image quality and straightforward wiring to a 5V power supply, but the board alone does not include WiFi or app support without additional hardware.
| Approach | Kosten | Skill Level | Videoqualität | WiFi Built-in | Ideal für |
|---|---|---|---|---|---|
| Modified USB webcam | $8–15 | Beginner | 720p–1080p | No (add USB WiFi adapter) | Basic local recording |
| ESP32-CAM | $6–12 | Intermediate | 720p–1080p | Yes (native) | Remote live streaming |
| Dedicated mini module board | $15–40 | Intermediate | 1080p–2K | No (add ESP01S WiFi module) | OEM/custom enclosure builds |
| Commercial pre-built | $40–120 | Keiner | 1080p–4K | Ja | Ready-to-deploy B2B procurement |
For most DIY purposes, the dedicated mini module board delivers the best quality-to-effort ratio — especially if you are sourcing components for a custom enclosure project.
How Do You Build a Spy Camera Using a Mini Module Board?
This is the most common commercial approach. The hardware is identical to what goes inside mass-produced spy cameras — and the process is simpler than most people assume.
Step 1 — Choose the right sensor. The Sony IMX307 (2MP, 1920×1080, BSI) dominates the mid-range market for a reason: it handles low-light conditions well and uses standard MIPI CSI pinouts that most carrier boards accept. Other common choices include the GC2063 (budget, 2MP) and the IMX335 (5MP, better detail in good light).
Step 2 — Select a carrier board. The board receives the module’s MIPI signal and outputs USB, AV, or network. USB boards are the most versatile — plug in a USB cable and it works like a webcam on any computer. Network boards add Ethernet or WiFi but require configuration.
Step 3 — Wire the power supply. Mini camera modules run on 5V DC. Most boards accept 5V via USB-C or a 2-pin header. Current draw peaks at 300–500mA during recording — a standard 5V/2A phone charger is more than adequate.
Step 4 — Connect to recording hardware. Options include:
– USB capture card → computer (free software, continuous recording)
– Analog AV input → DVR (no latency, hardware dependency)
– WiFi board → smartphone app (real-time viewing, remote access)
– ESP01S module → custom MQTT integration (for technical users)
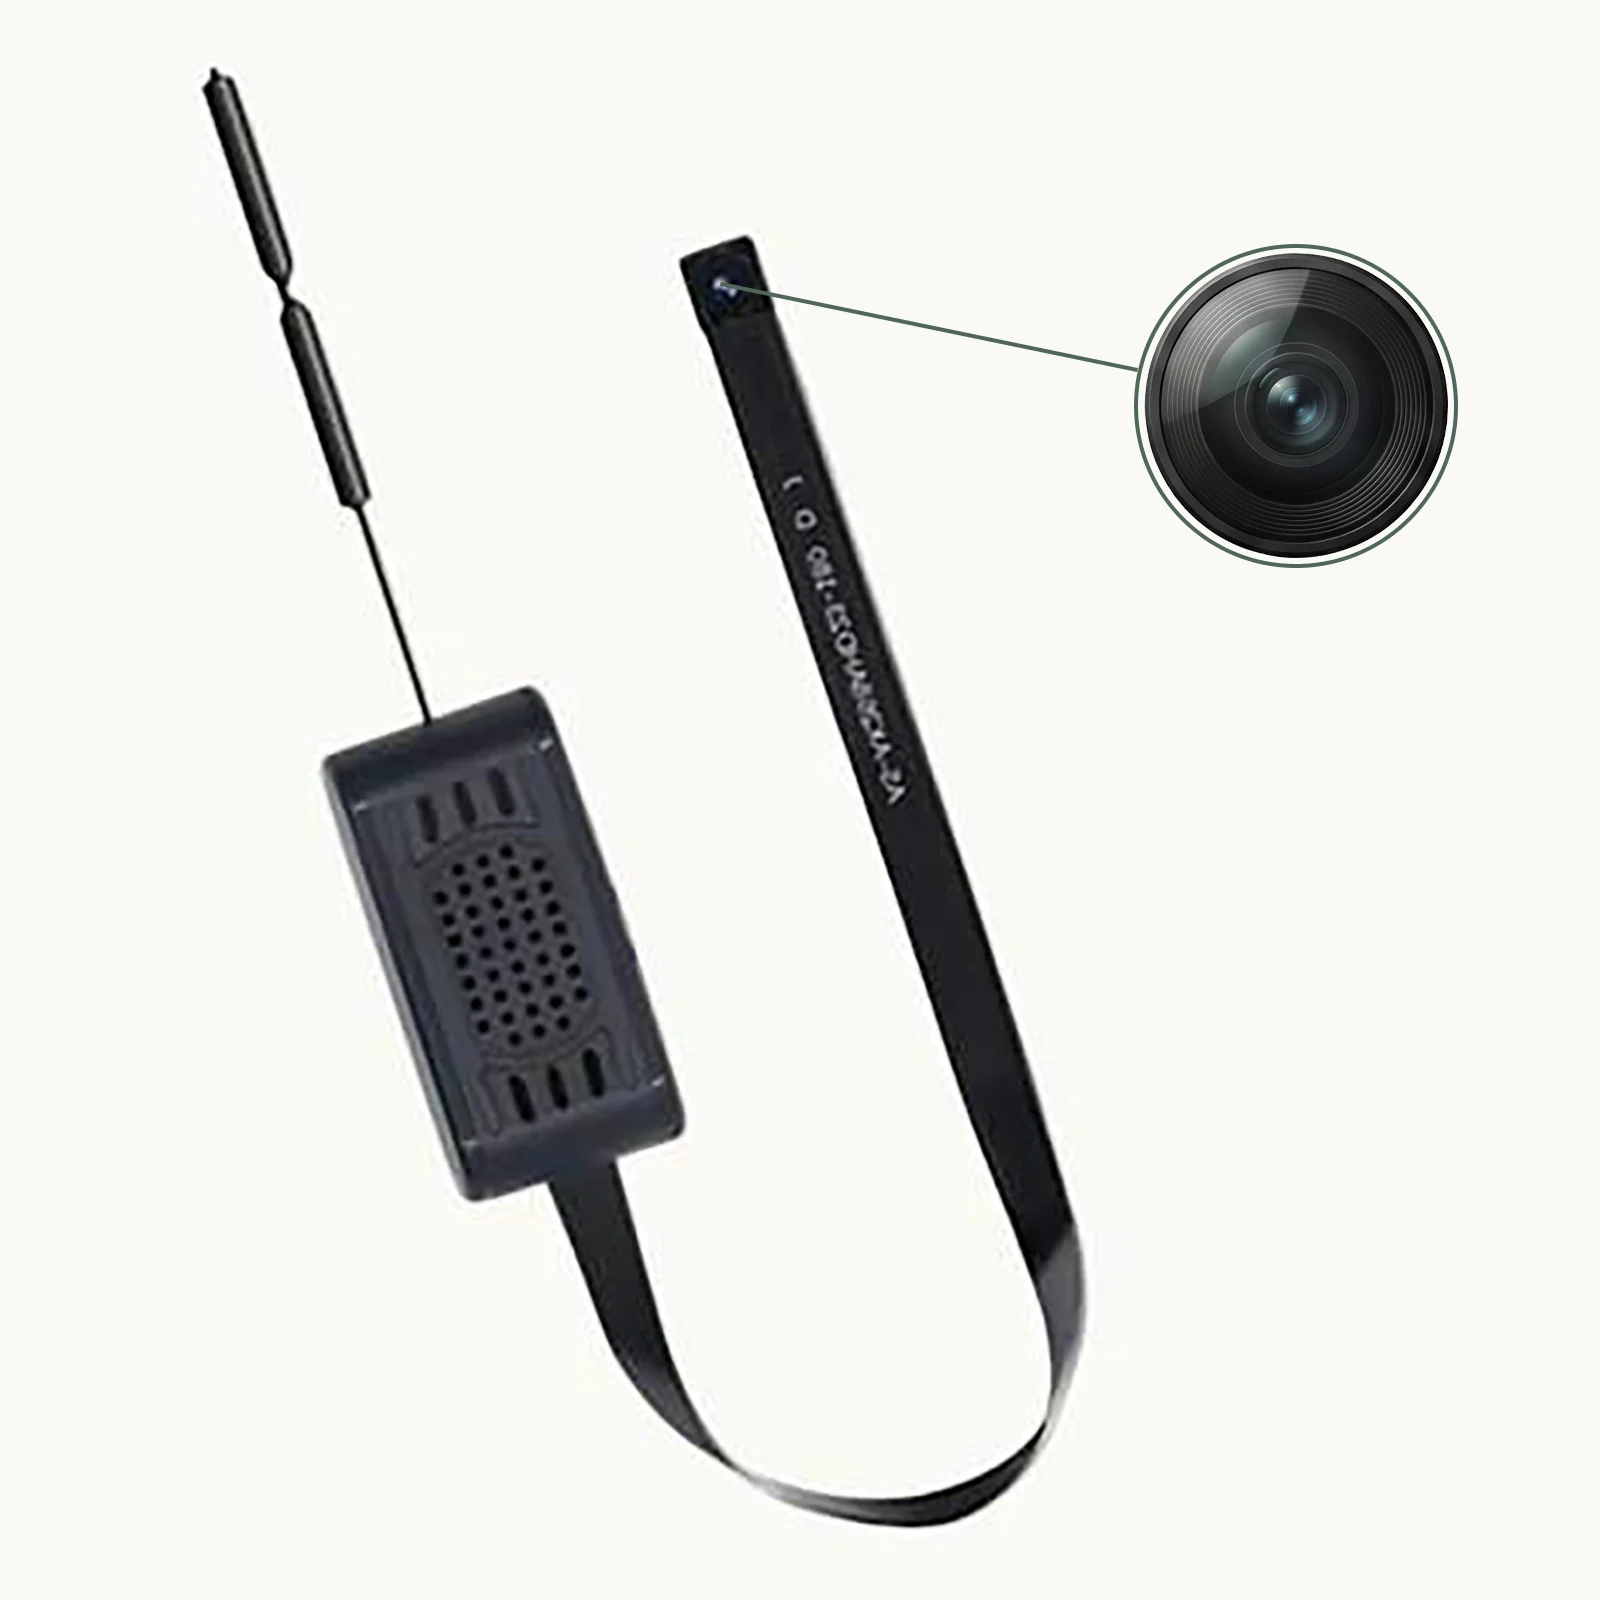
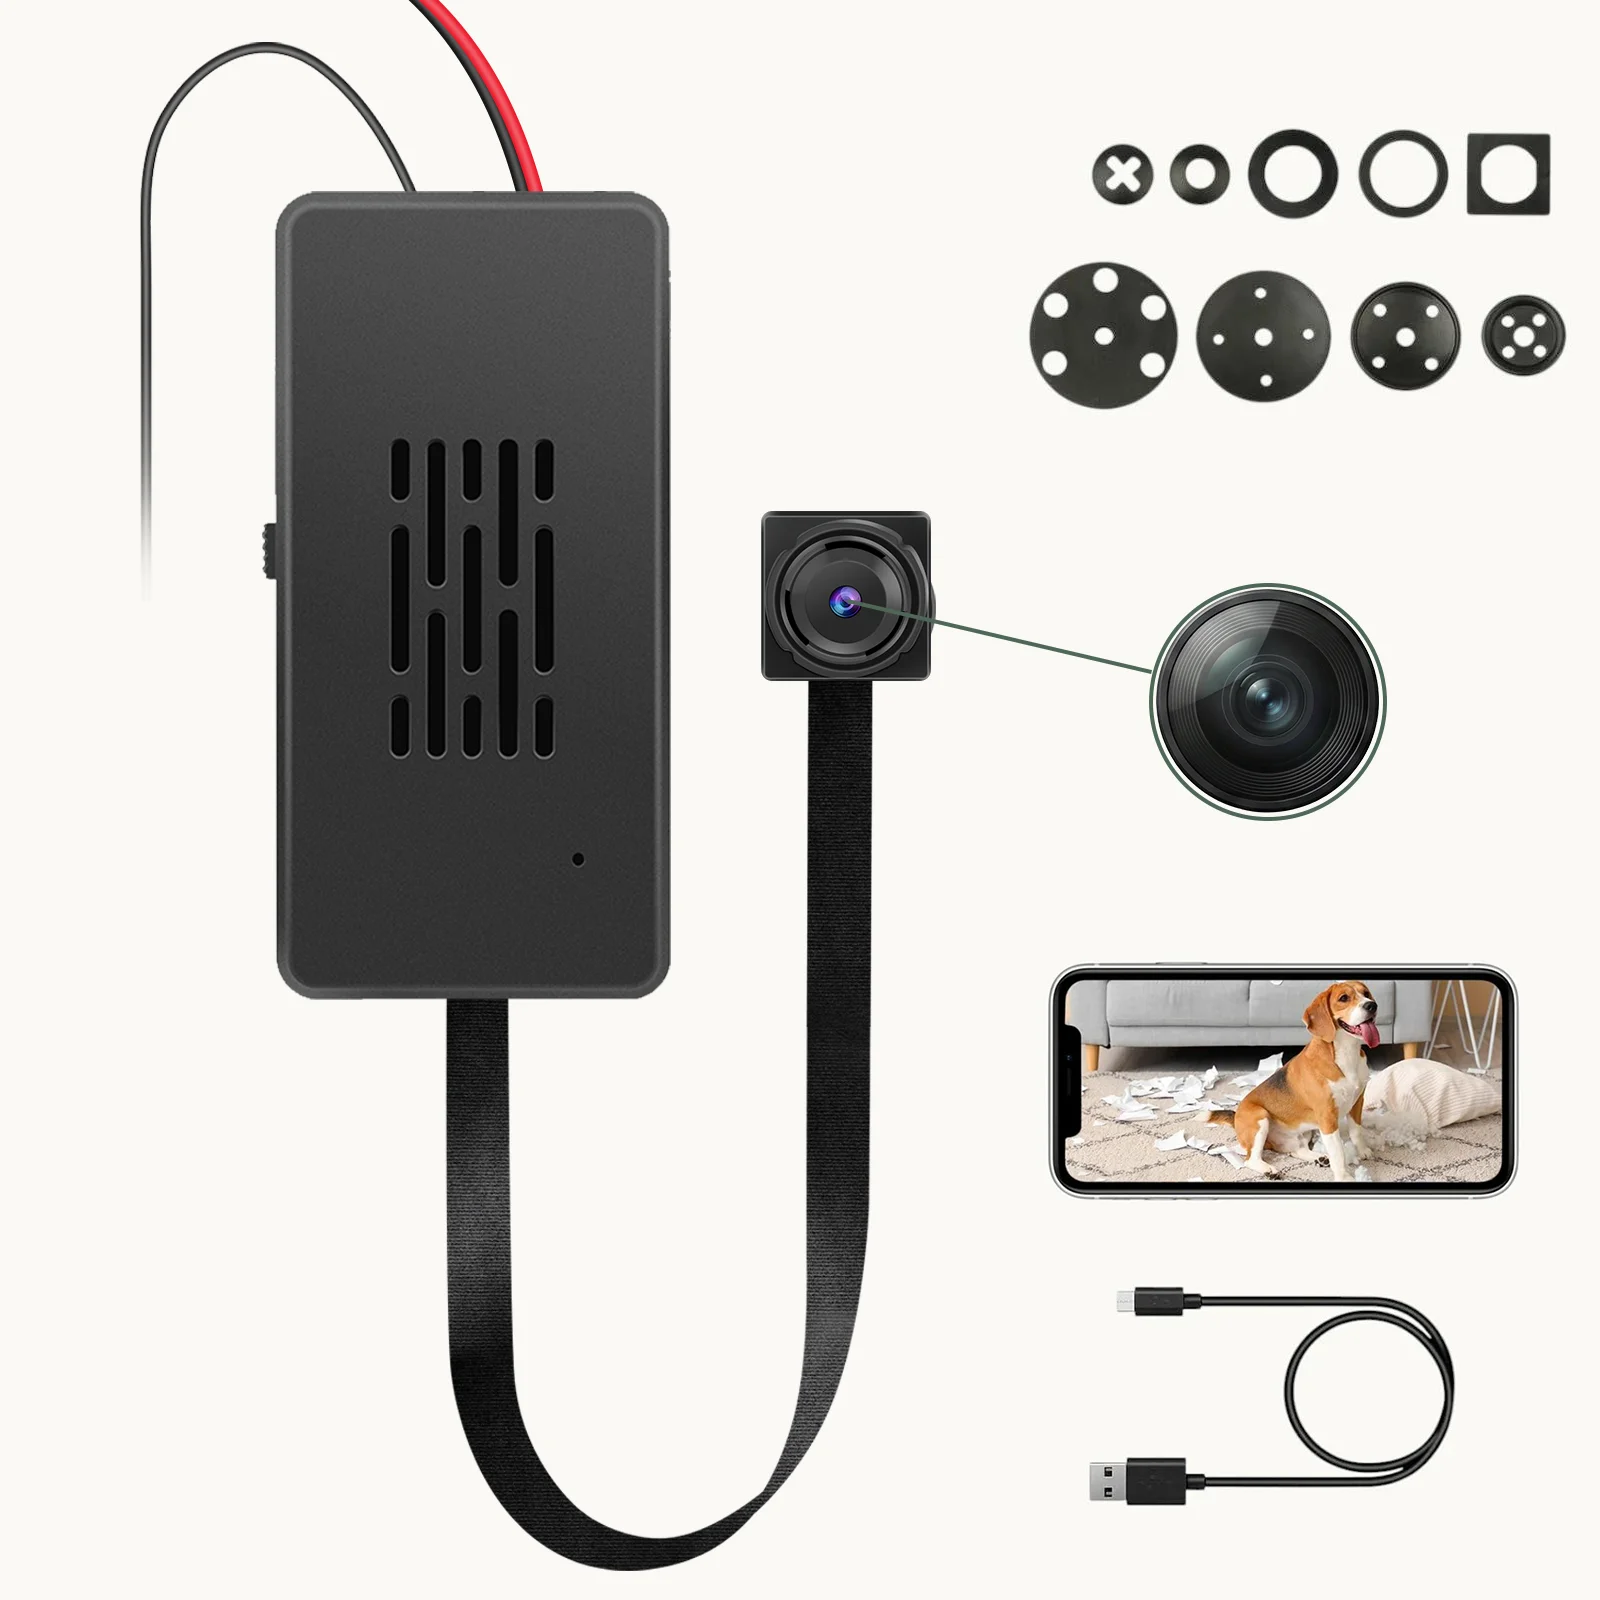
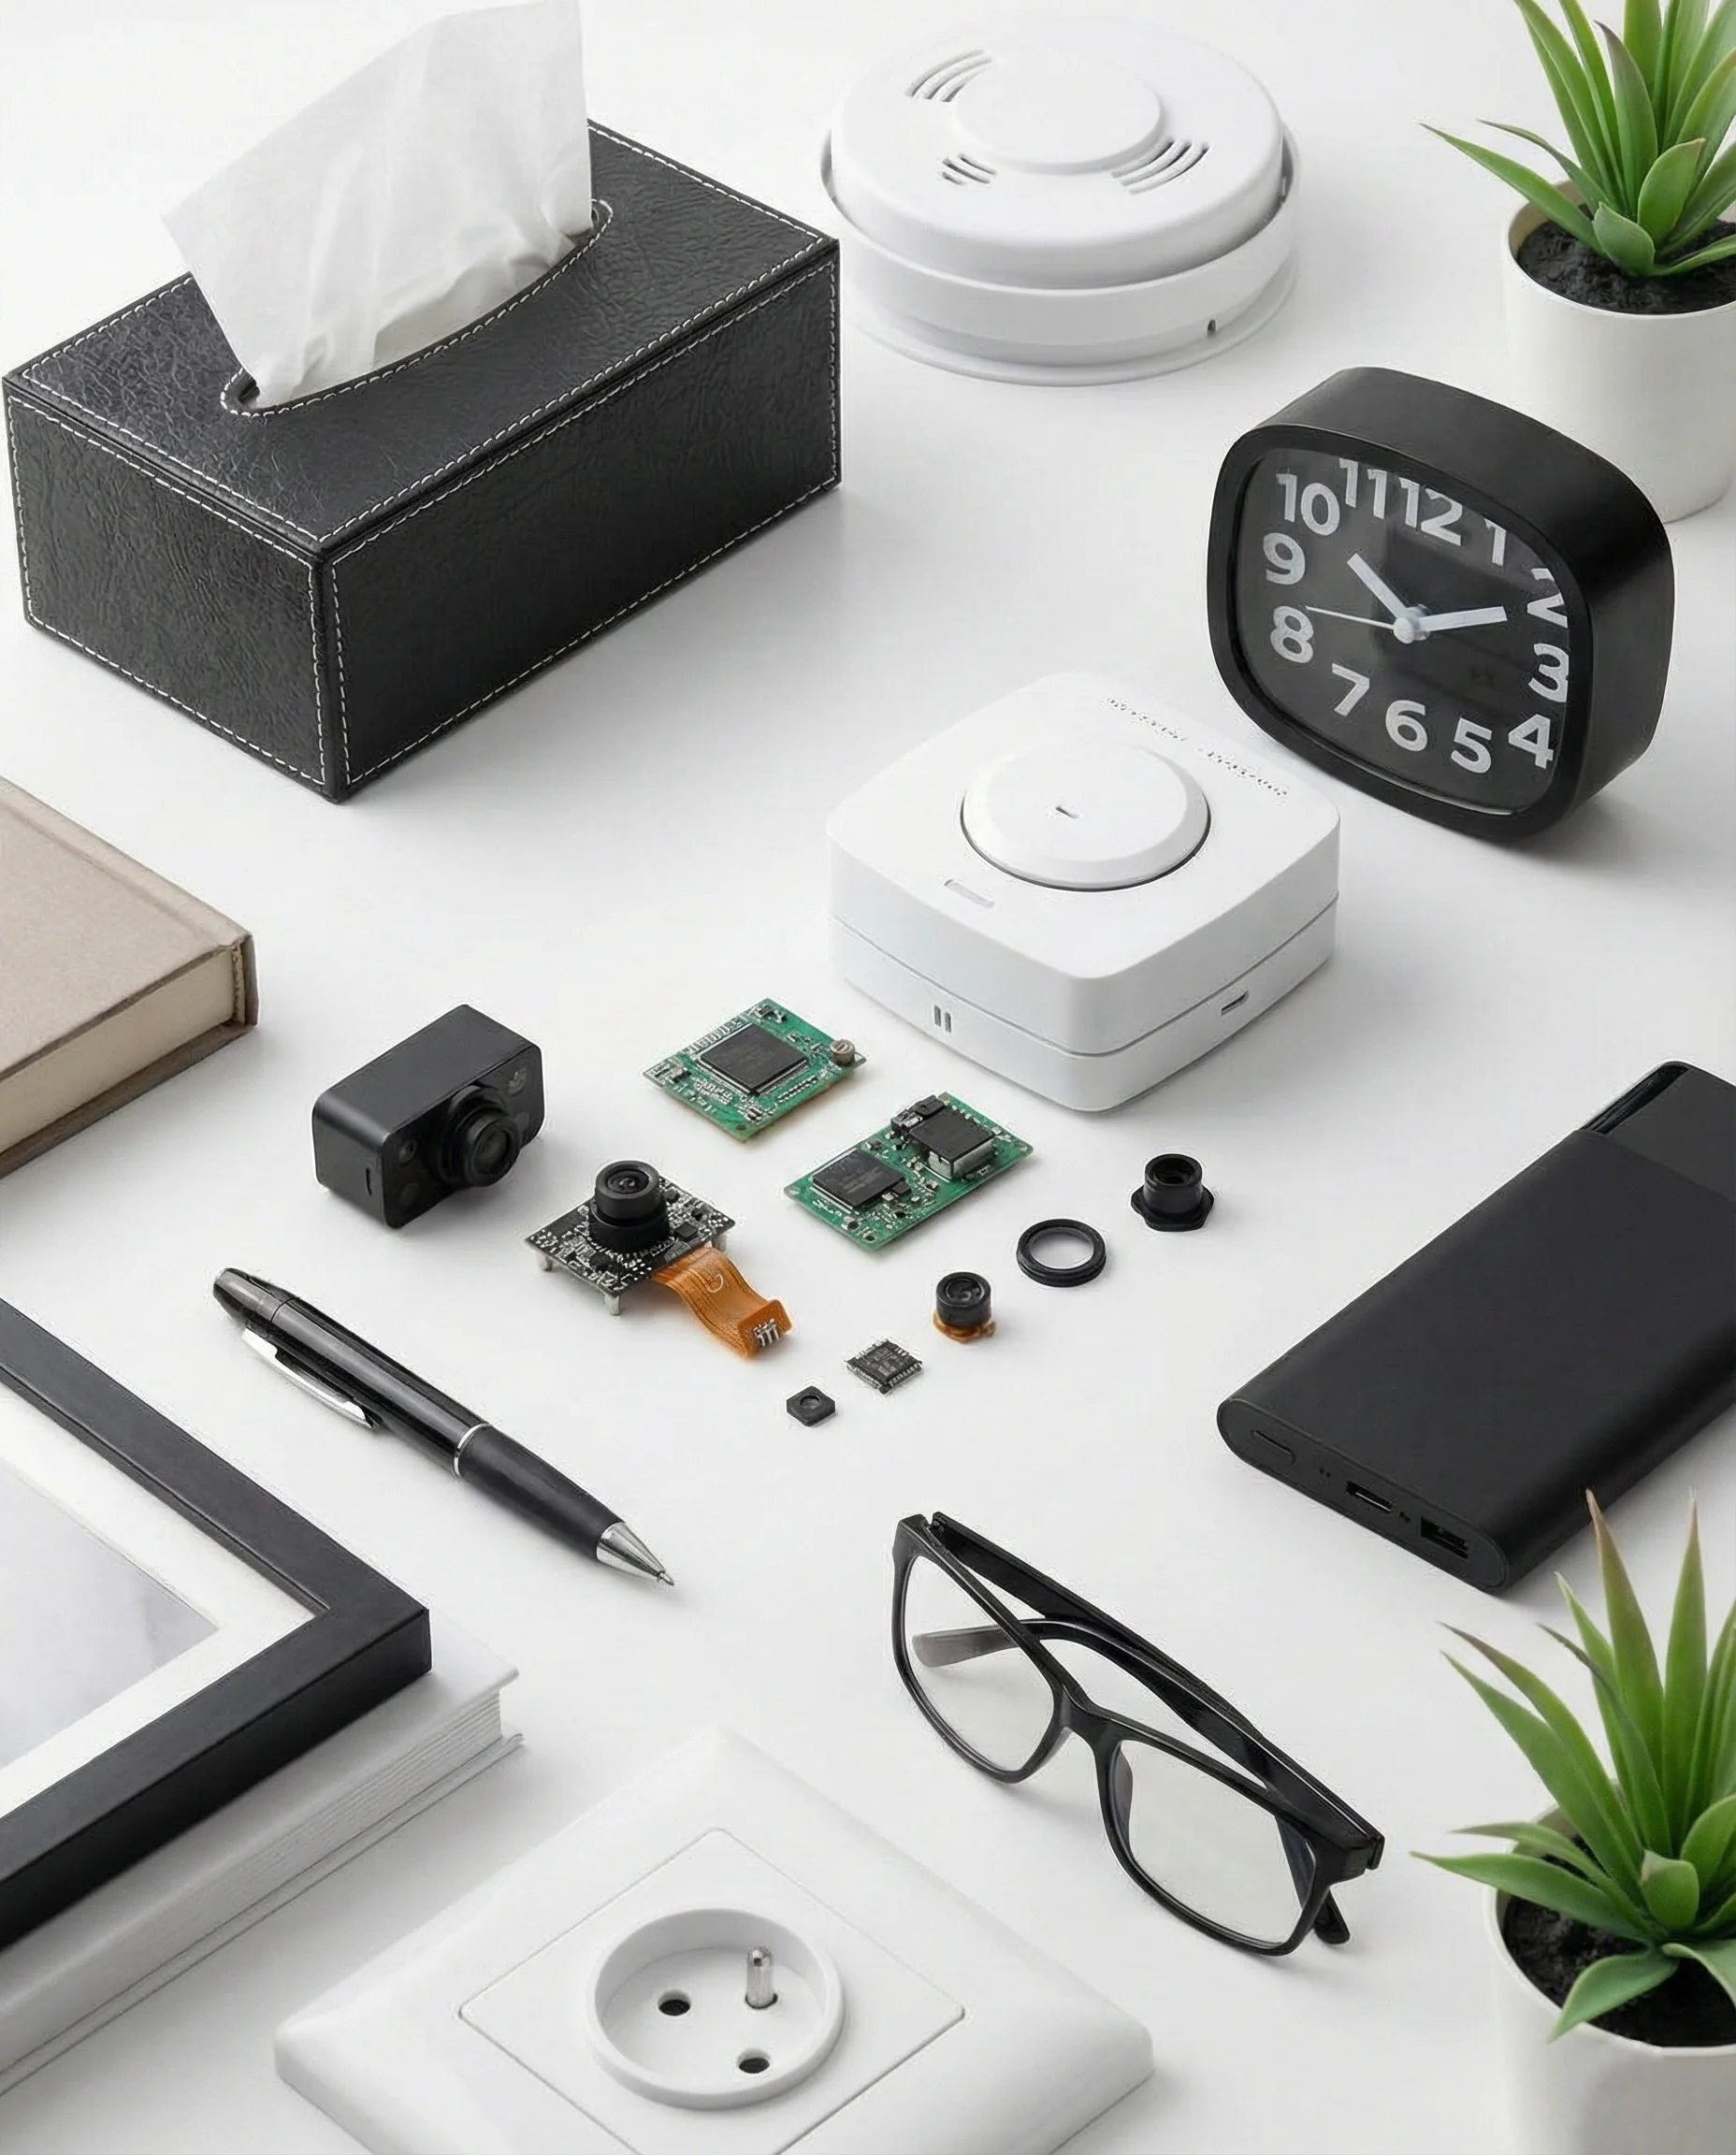
Step 5 — Select and modify the enclosure. The enclosure determines how covert the camera is. Common approaches: drill a 2–3mm hole in any object (clock face, smoke detector, picture frame) and mount the lens flush against the hole. The lens must be positioned precisely — even 1mm offset creates visible vignetting.
> Kritischer Tipp aus der Praxis: Die Objektivbrennweite verändert das effektive Sichtfeld dramatisch. Ein 3,6-mm-Objektiv auf einem 1/2,9″-Sensor ergibt etwa 75° horizontales Sichtfeld – gut für eine Zimmerecke. Ein 1,7-mm-Weitwinkelobjektiv deckt 120° ab, führt aber an den Rändern zu tonnenförmiger Verzerrung. Passen Sie das Objektiv an den Anwendungsfall an, nicht an den Preis.
Wie funktioniert der ESP32-CAM-Ansatz?
Die ESP32-CAM verdient besondere Aufmerksamkeit, da sie die einzige DIY-Option mit integriertem WLAN, Onboard-Speicherunterstützung (microSD) und aktiver Community-Firmware ist – bei etwa $7 pro Board.
Hardware-Einrichtung:
– ESP32-CAM-Board (das AI-Thinker-Modell ist am häufigsten)
– FTDI USB-zu-Seriell-Programmiergerät (3,3V-Logik, ~$3)
– 5V-Stromversorgung (USB oder 5V-Regler)
– Optional: OV2640-Kameramodul (2 MP, bei den meisten Boards enthalten) oder durch eine kleinere Lochkamera-Linse für zusätzliche Tarnung ersetzen
Firmware-Optionen nach Funktionsumfang geordnet:
1. ESP32-CAM-Video-Recorder (GitHub) – am besten für bewegungsausgelöste Aufnahmen auf SD, einfache Weboberfläche
2. ESP32-CAM-MJPEG – streamt MJPEG über HTTP, kompatibel mit den meisten NVR-Softwarelösungen
3. HomeAssistant ESPHome — native Home Assistant-Integration, kein benutzerdefinierter Code erforderlich
4. Benutzerdefiniertes Arduino-Sketch — volle Kontrolle über das Verhalten, erfordert C++-Kenntnisse
Praktische Einschränkungen des ESP32-CAM:
– Das Onboard-WLAN ist nur 2,4 GHz und die Reichweite ist auf ~20 m im Freien begrenzt
– Der OV2640-Sensor kämpft unter 10 Lux – erwarten Sie keine brauchbare Nachtsicht ohne IR-Beleuchtung
– Gleichzeitige Aufnahme auf SD-Karte und Streaming führt nach 2–3 Stunden zu thermischer Drosselung
Für B2B-Einsätze, die 24/7-Betrieb erfordern, ist der ESP32-CAM eine Proof-of-Concept-Plattform, keine Produktionslösung. QZTs kommerzielle Module mit dedizierten SoC-Prozessoren laufen kühler und liefern konsistentere Bildraten.
Wie modifiziert man eine USB-Webcam für verdeckten Einsatz?
Der modifizierte Webcam-Ansatz ist die ursprüngliche DIY-Spionagekamera-Methode. Er bleibt für Budgetprojekte relevant, bei denen 720p-Qualität ausreicht.
Benötigte Werkzeuge:
– USB-Webcam (Basismodell, $8–12, Autofokus vermeiden – er ist laut und unzuverlässig)
– Kleiner Kreuzschlitzschraubendreher
– Heißluftpistole oder Haartrockner
– 502 Sekundenkleber oder Heißkleber
– Lötkolben (optional, aber empfohlen)
Prozess:
1. Zerlegen Sie die Webcam und trennen Sie das Linsengehäuse vom Originalgehäuse
2. Bestimmen Sie die Brennweite des vorhandenen Objektivs (typisch 3,6 mm für Standard, 2,8 mm für Weitwinkel)
3. Bohren Sie ein Loch in Ihr Zielgehäuse, das dem Durchmesser des Linsenzylinders entspricht
4. Führen Sie die Linse durch und kleben Sie sie in Position – die Linse muss senkrecht zur Oberfläche stehen
5. USB-Kabel durch einen kleinen Kanal führen und mit Strom verbinden
6. Testen Sie das Sichtfeld vor der endgültigen Gehäusemontage
Häufiger Fehler: Zentrierung. Die Linse muss exakt über dem Loch zentriert sein. Selbst eine Abweichung von 1 mm führt dazu, dass das Bild teilweise von der Gehäusewand verdeckt wird.
Welche Firmware-Optionen gibt es für DIY-Spionagekameras?
Neben der Hardware bestimmt die Firmware, was Ihre Kamera tatsächlich tut. Hier ist ein praktischer Vergleich.
| Firmware | Plattform | Bewegungserkennung | Fernzugriff | Lokale Lagerung | Difficulty |
|---|---|---|---|---|---|
| MotionEyeOS | Raspberry Pi | Ja (Frame-Differencing) | Ja (Web-UI) | USB/SD | Easy |
| ESP32-CAM-Videorecorder | ESP32 | Yes (on-device) | Via web server | microSD | Medium |
| ZoneMinder | Linux PC | Yes (many modes) | Ja | NAS/Hard drive | Hard |
| Blue Iris | Windows PC | Ja | Ja | Local | Medium |
| Shinobi | Any (Docker) | Ja | Ja | Cloud/NAS | Medium |
For DIY projects, MotionEyeOS on a Raspberry Pi Zero 2 W delivers the best balance: true motion detection, remote viewing, NAS storage, and professional-grade recording schedules. The total cost including Pi Zero 2W, camera module, and case is $35–45.
What Are the Legal Boundaries for DIY Spy Camera Projects?
Before building and deploying a self-made spy camera, understand the legal framework — it varies sharply by jurisdiction and intended use.
In the United Kingdom, the Surveillance Camera Code of Practice (SCCP) applies to local authority use. Private individuals have more latitude but still face restrictions: recording in areas where subjects have a reasonable expectation of privacy (e.g., bathrooms, changing rooms) is illegal under the Protection from Harassment Act 1997. Domestic use in your own home is generally permitted for security purposes.
In the EU, GDPR applies to any system that captures identifiable individuals. Even domestic surveillance falls under data protection obligations if footage is stored or shared. Recital 18 provides some home-use exemptions, but commercial or workplace deployment requires a documented lawful basis (Article 6 GDPR). Installing cameras that capture public spaces or neighboring properties is prohibited without consent.
In Deutschland, the right to one’s own image (Recht am eigenen Bild) and state-level Peeping Tom laws make covert recording in private spaces illegal unless there is documented threat or imminent danger. Covert deployment in rented properties requires landlord consent.
For B2B distributors: If you are selling DIY components to customers who will deploy surveillance systems, provide a legal usage guide with each purchase. This reduces but does not eliminate your exposure to misuse liability.
Häufig gestellte Fragen
Can I build a spy camera for under $20?
Yes — an ESP32-CAM board costs $6–8 and produces usable 720p video with built-in WiFi. A basic USB webcam modification costs $8–12. Both work without any soldering if you use board-level modules with pre-soldered headers. Do not expect night vision or professional-quality footage at this price, but the hardware is sufficient for non-critical monitoring.
What is the best sensor for a DIY spy camera in low light?
The Sony IMX307 BSI (back-illuminated) sensor handles low-light significantly better than front-illuminated alternatives like the OV2640. It is the same sensor used in most commercial mid-range spy cameras. Budget alternatives — GC2063, SC2232 — produce grainy footage below 50 lux and are not worth the small cost saving.
Do I need programming skills to build a DIY spy camera?
It depends on the approach. USB webcam modification requires no programming — it appears as a standard webcam. ESP32-CAM requires loading pre-compiled firmware (no coding needed) or optionally writing Arduino code (basic C++). Dedicated module boards require no programming but need separate DVR or capture hardware to record footage.
How far can a DIY WiFi spy camera transmit?
Most ESP32-CAM and add-on WiFi modules (ESP-01S) transmit 15–30m through interior walls at 2.4GHz. Range drops substantially with thick concrete walls or metal enclosures. For longer distances, add a directional WiFi antenna or use a Raspberry Pi with an external WiFi adapter capable of 5GHz bridging.
Is it legal to build and sell DIY spy camera kits?
In most jurisdictions, selling the components is legal. What matters is the end use and whether you are selling to EU/UK buyers — GDPR and local privacy laws apply to the final deployment. In the US, selling surveillance equipment has few federal restrictions but state laws vary. Do not market DIY kits specifically for covert recording in private spaces.
Need components for a custom spy camera project?
QZT Security supplies mini camera modules, lens assemblies, and WiFi boards in bulk for OEM and institutional buyers. Wie man die beste versteckte Kamera in 2026 auswählt to discuss specifications and volume pricing.