How to Choose the Best WiFi Hidden Camera for Your Home
Most people buy a hidden camera the same way they buy a toaster: they pick the cheapest one with decent reviews and hope for the best. Then six months later, they’re staring at grainy night footage of someone who burglarized their home, and the face is nothing but a smudge of pixels. Choosing the right WiFi hidden camera for your home isn’t complicated—but it does require knowing which specs actually matter and which are just marketing fluff. This guide cuts through the noise.
What Exactly Is a WiFi Hidden Camera and How Does It Work?
A WiFi hidden camera is exactly what it sounds like: a surveillance camera disguised as an everyday object, connected to your home network so you can view footage remotely from anywhere in the world. Unlike traditional CCTV systems that record to a local DVR, WiFi hidden cameras push video to the cloud or a local network storage device, giving you access from your phone, tablet, or laptop.
Here’s the technical bit most guides skip: the camera works in two directions simultaneously. When motion is detected, the camera captures video, compresses it using H.264 or H.265 encoding (which reduces file size by 40–60%), and pushes it to a server. At the same time, the camera maintains a persistent connection to your router, which means it can receive commands—turn night vision on, start a live stream, adjust resolution. That’s why you can check your camera in real time from a coffee shop in Milan while it’s sitting on your bookshelf in Birmingham.
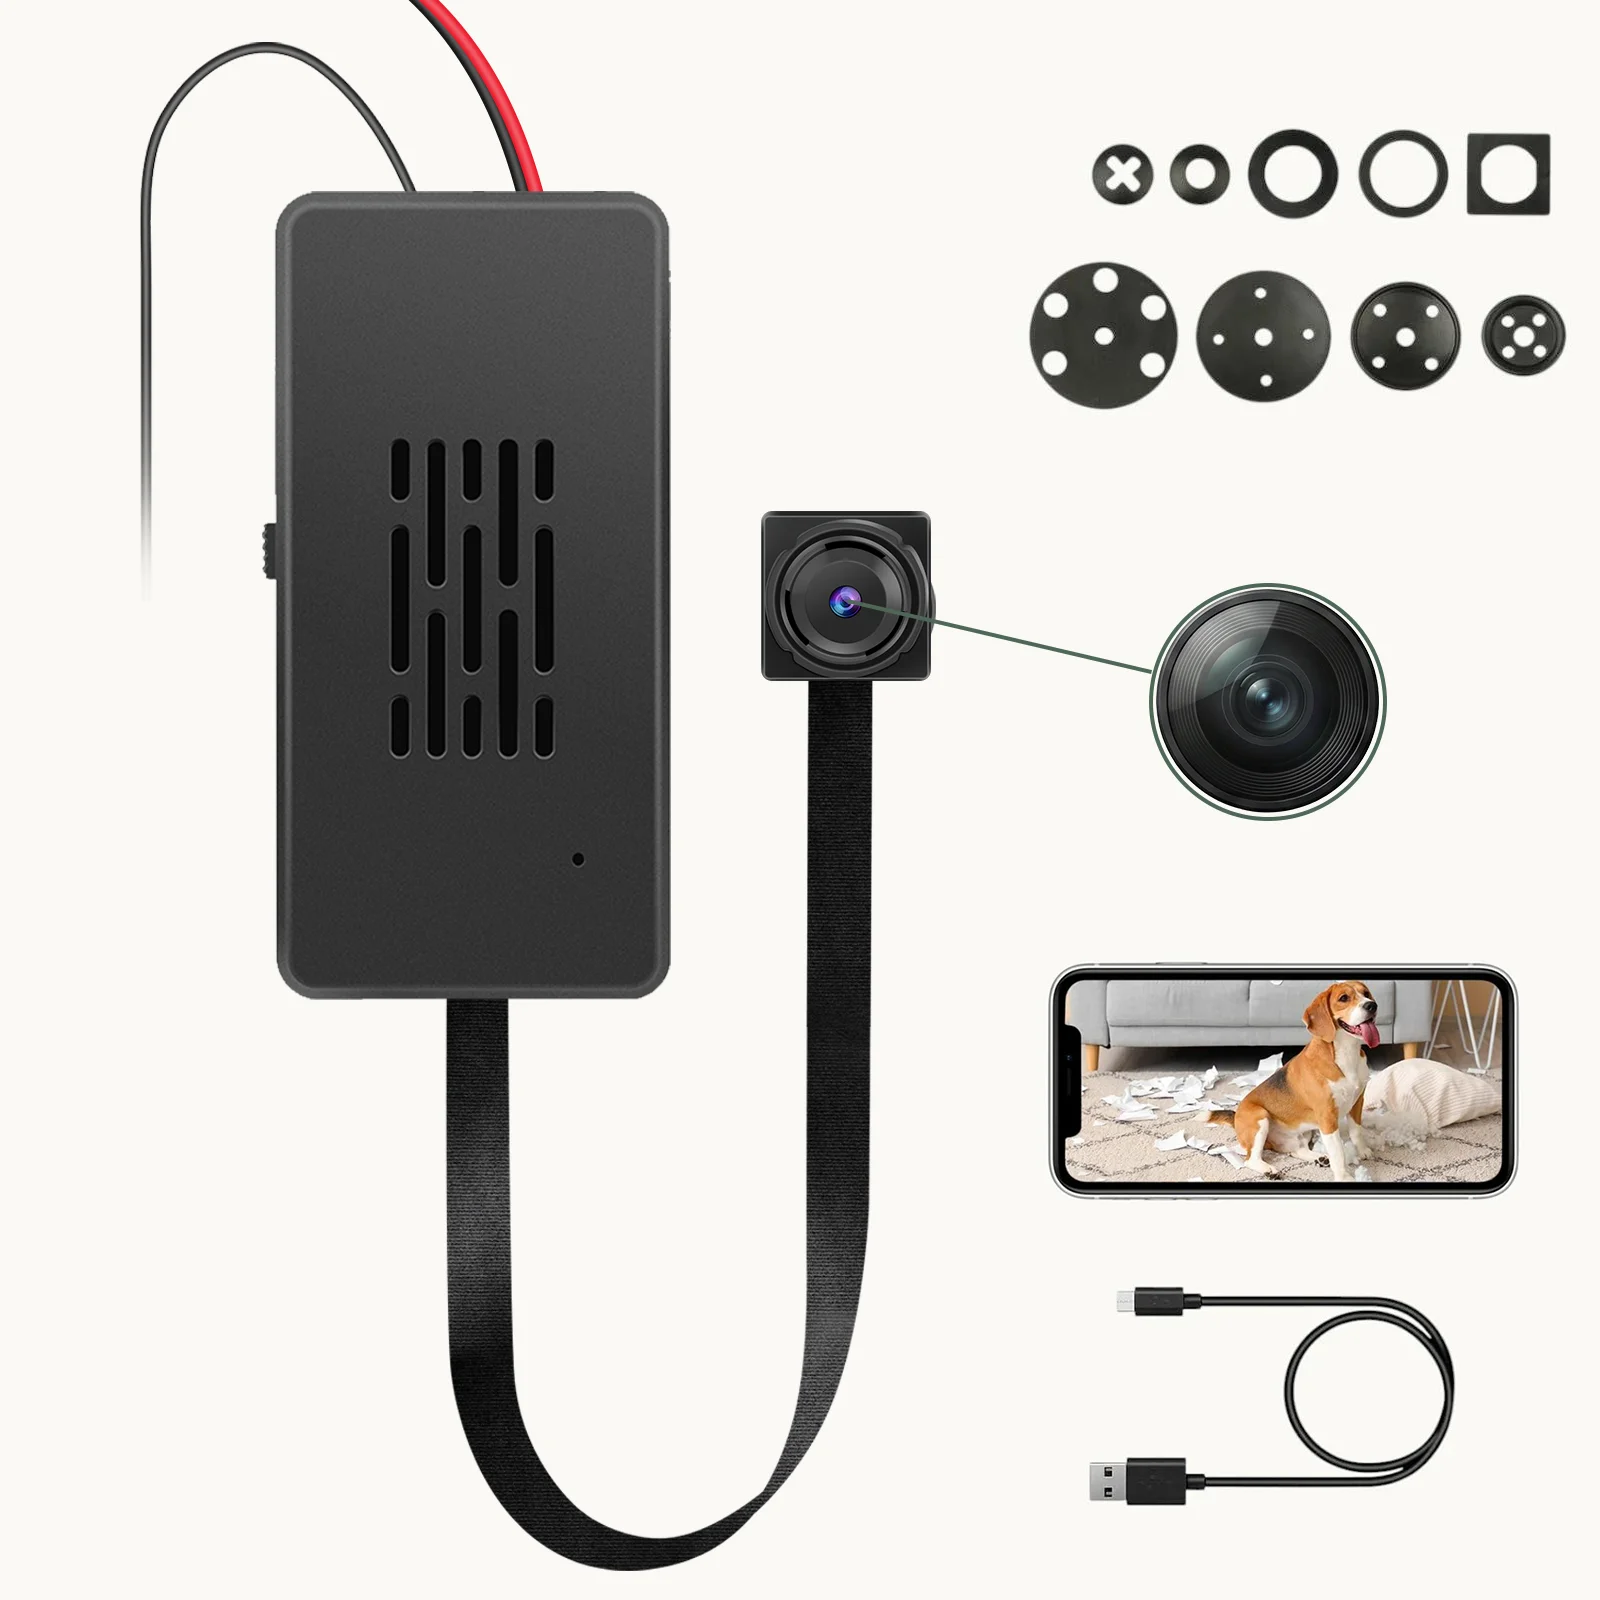
The “hidden” part comes from the form factor. The camera lens is embedded in an object that belongs naturally in your home: a smoke detector, a wall clock, a USB charger, a power bank. From the outside, there’s no visible camera housing, no blinking LED, no obvious dome. This matters because a visible camera announces itself—and that defeats the purpose of covert monitoring.
Here’s what most people get wrong: “WiFi” doesn’t mean “works over the internet.” A camera connected to your home WiFi can only be accessed remotely if you configure remote access (usually through a cloud service or port forwarding). Some cameras make this easy; others require network configuration knowledge. For most home users, a camera with built-in cloud relay—where the manufacturer handles the remote access infrastructure—is the way to go.
Key Takeaway: A WiFi hidden camera combines covert form factor with remote access capability. The key is understanding that “WiFi connected” is just the first step—your camera also needs a remote access method to be truly useful.
Why Choose WiFi Over Non-WiFi Hidden Cameras for Home Use?
Non-WiFi cameras have their place. If you’re setting up a standalone recording device with no need for remote access—a camera you check manually once a week—then a non-WiFi model saves you money and simplifies setup. But for most home applications, WiFi is the clear winner, and here’s why.
Remote monitoring is the primary advantage. Whether you’re at work, on holiday, or just downstairs, a WiFi camera lets you pull up the live feed on your phone in seconds. When something triggers the motion detection at 3 a.m., you get a push notification, you open the app, and you see what’s happening in real time. A non-WiFi camera just records to an SD card—and you won’t know anything happened until you check the card manually.
Storage flexibility is the second major advantage. WiFi cameras can record to the cloud, which means even if the camera is stolen or destroyed, your footage survives. This is a meaningful consideration for home security: a thief who knows there’s a camera will often grab it and run. If your footage is in the cloud, you still have the evidence. The Z10 WiFi Spy Clock Camera supports both local SD card storage and cloud sync, giving you the best of both worlds.
Installation simplicity is underrated. A WiFi camera needs only a power source. You don’t need to run cables, install a DVR, or route wires through walls. Place it, plug it in, connect it to your WiFi network, and you’re done. Compare that to traditional CCTV, which requires professional cable runs and a central recording unit.
One genuine downside: WiFi cameras depend on your network. If your WiFi is slow, unreliable, or goes down entirely, your camera is offline. For most homes with decent broadband, this isn’t a practical concern—but if you live in an area with frequent outages, or if the camera is in a part of your home with weak WiFi signal, you might hit reliability issues. Mesh WiFi systems have largely solved the coverage problem, but it’s worth noting before you buy.
Key Takeaway: WiFi cameras win on remote monitoring, cloud storage, and installation simplicity. The only scenario where non-WiFi makes sense is a fixed-location, manually-checked device with no remote access requirement.
| Feature | WiFi Hidden Camera | Non-WiFi Hidden Camera |
|---|---|---|
| Remote Viewing | Yes (via app/cloud) | No |
| Cloud Storage | Yes (most models) | No |
| Installation | Plug and play | Requires cable run to DVR |
| Network Dependency | Yes | No |
| Cost | £40–150 | £20–80 |
| Best For | Home security, real-time monitoring | Fixed-location, offline recording |
What Resolution Do You Actually Need for Home Use?
Resolution is the most marketed—and most misunderstood—specification on any camera. Manufacturers love to flash “4K!” on the box because bigger numbers sell. But here’s the truth: for most home hidden camera applications, 1080p is not just sufficient—it’s optimal. And in some cases, 4K is actually worse.
Let us explain. Resolution determines how many pixels are in each frame. 1080p is 1920 × 1080 pixels (about 2 million pixels per frame). 4K is 3840 × 2160 pixels (about 8 million pixels per frame). Four times the pixel count sounds great—but it comes with three significant costs.
First: file size and bandwidth. A 4K video file is roughly four times larger than a 1080p file of the same duration. That means your camera uses four times as much bandwidth when streaming, your cloud storage fills up four times as fast, and your app takes longer to load each video clip. On a typical home broadband connection, streaming 4K live video from a hidden camera can cause noticeable lag and stuttering.
Second: motion blur. Here’s the technical reason resolution alone doesn’t guarantee better footage. Most home hidden cameras use CMOS sensors that have a rolling shutter—which means the sensor captures the image line by line, not all at once. At higher resolutions, this line-by-line capture takes longer, which introduces motion blur. A fast-moving subject recorded in 4K on a budget camera often looks worse than the same subject recorded in 1080p, because the extra resolution is wasted on a blurry image.
Third: low-light performance. Higher resolution sensors are typically physically smaller pixels, which means each pixel captures less light. This directly impacts night vision quality. A 1080p camera with large pixels and good lens optics will often outperform a 4K camera with tiny pixels in low-light conditions. And since most break-ins happen at night or in low-light conditions, this matters more than any spec on the box.
For most home applications—monitoring a living room, a nursery, a front door—a 1080p camera with a quality lens and good IR night vision is the sweet spot. If you need to capture fine details like licence plates or serial numbers, you might benefit from 2K or 4K—but only if the camera also has a large sensor and a high-quality lens to back up the resolution.
Key Takeaway: Resolution alone is meaningless without considering sensor size, lens quality, and low-light performance. 1080p with a quality lens beats 4K with a cheap sensor. For home use, 1080p is almost always the right choice.
How Important Is Night Vision for Home Hidden Cameras?
Critical. More than half of all burglaries in the UK happen after dark, according to Home Office data. If your camera’s night vision is poor, you’re essentially flying blind during the hours when you need visibility most. Yet most hidden camera buying guides treat night vision as an afterthought. We’re going to do the opposite.
Night vision in modern cameras works using infrared (IR) LEDs—small lights that emit infrared radiation, which is invisible to the human eye but illuminates the scene for the camera sensor. The camera’s sensor can see IR light, so even in pitch darkness, the scene is illuminated from the camera’s perspective. The result is a black-and-white image (colour night vision exists but requires ambient light sources and is far more expensive).
Two specs matter for night vision: IR LED count and IR wavelength. More IR LEDs generally mean a more powerful illuminator, which translates to a longer effective range. Budget cameras might have 4–6 IR LEDs and a range of 3–5 metres. Better cameras have 10–12 LEDs and effective range of 8–10 metres. High-end models can push to 15+ metres.
Wavelength matters because different IR wavelengths penetrate different materials differently. Standard IR LEDs emit at 850nm, which is the most common and offers good range. Some cameras use 940nm LEDs, which are truly invisible to the human eye (850nm LEDs emit a faint red glow that’s visible in a dark room if you know where to look). For a truly covert hidden camera in a bedroom or nursery, 940nm is worth the slight range trade-off.
Here’s the practical test: if you can hold your hand in front of the camera at arm’s length and still see your hand clearly in the night vision feed, the camera’s low-light performance is adequate for basic monitoring. If you need to identify a face at 3 metres, you want a camera with at least 6 IR LEDs and a sensor that’s rated for low-light operation.
The WiFi 1080P Power Bank Hidden Camera with night vision capability is a strong choice for home deployments in areas where you can’t easily access a power outlet, as the IR system runs effectively off the internal battery for extended periods.
Key Takeaway: Night vision quality is non-negotiable for home security. Prioritise IR LED count, wavelength (940nm for invisible covert use), and low-light sensor performance over resolution.
| Night Vision Spec | Budget (£40–60) | Mid-Range (£60–100) | Premium (£100+) |
|---|---|---|---|
| IR LED Count | 4–6 LEDs | 8–12 LEDs | 12+ LEDs |
| Effective Range | 3–5 metres | 6–10 metres | 12–15+ metres |
| IR Wavelength | 850nm (slight red glow) | 850nm or 940nm | 940nm (invisible) |
| Low-Light Sensor | Basic | Good | High-quality星光级 sensor |
| Colour Night Vision | No | Rare | Sometimes available |
What Form Factor Is Best for Different Rooms in Your Home?
The camera’s伪装 (camouflage) is what makes it a “hidden” camera rather than just a small camera. The right form factor depends on where you’re placing it and what you need to monitor. Here’s a room-by-room breakdown.
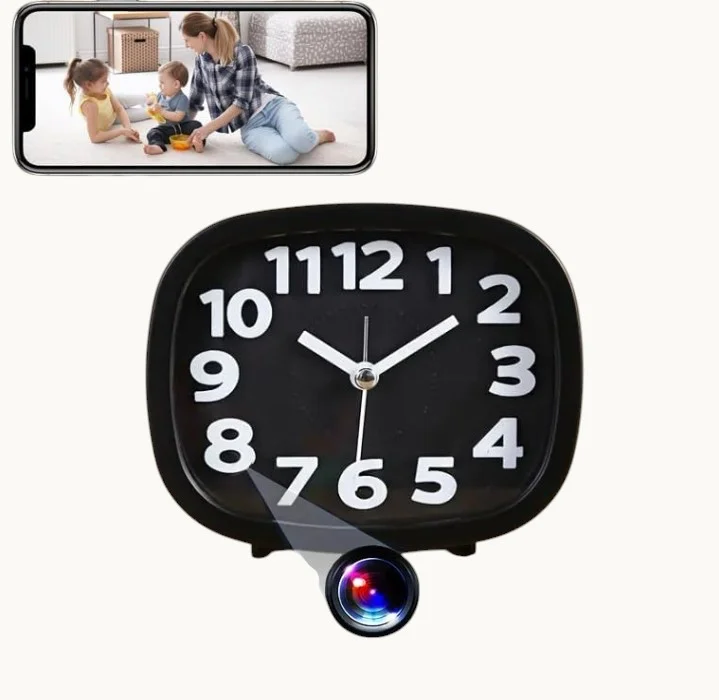
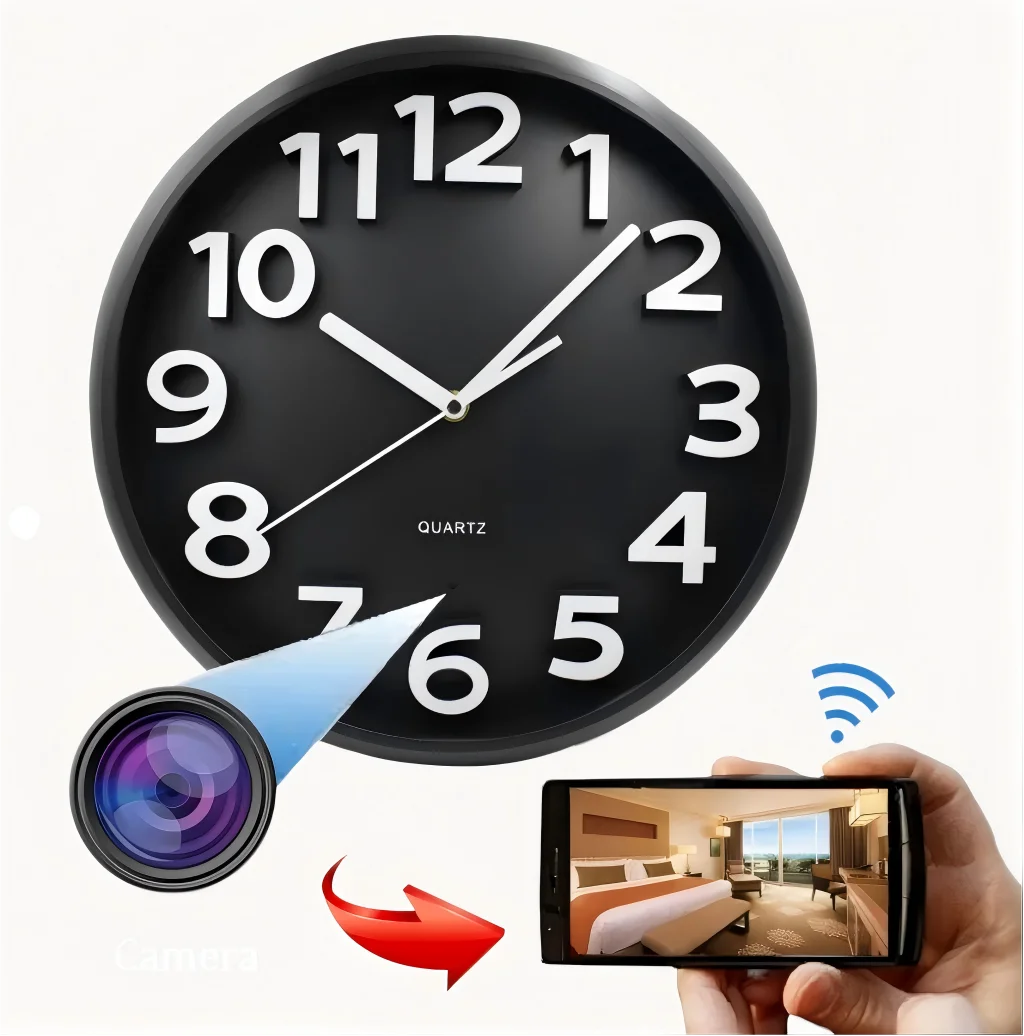
Living room and common areas: The wall clock is the gold standard for living room covert monitoring. It sits naturally on a shelf or wall, has a clear sightline to most of the room, and no one looks twice at a clock. The Z10 WiFi Spy Clock Camera is a top choice because the clock face provides a legitimate reason for the device’s presence, the viewing angle is optimised for standard living room configurations, and the power cable can be hidden behind furniture.
Kitchen and utility areas: A USB charger camera is ideal for the kitchen—it’s genuinely useful (everyone needs to charge devices), it plugs into a wall socket which is readily available, and it sits at counter height with a clear view of the room. The WiFi Spy Camera USB Charger is one of our bestsellers for exactly this reason. Just remember: it needs to stay plugged in to record continuously.
Bedroom or nursery: For bedroom monitoring, you want something that makes zero noise and has zero visible indicators. The smoke detector camera is the only realistic option for ceiling placement. Mounted on the ceiling, it has the best possible vantage point, and smoke detectors are so ubiquitous in UK homes that no one questions their presence. The WiFi Smoke Detector Hidden Camera is a functioning smoke alarm as well as a camera—which is both legally useful (it’s a real safety device) and practically reassuring.
Hallways and entrances: A power bank camera placed on a hallway shelf or console table gives you a clear view of anyone entering or leaving. The WiFi 1080P Power Bank Hidden Camera is also genuinely portable, which means you can move it to different locations as needed—hallway today, living room tomorrow.
Bathrooms and toilets: We don’t recommend placing any camera in bathrooms or toilets. Beyond the obvious privacy and legal issues, this is an area where people have the highest expectation of privacy, and hidden camera evidence from bathrooms is almost always inadmissible in UK court proceedings.
Here’s what most guides won’t tell you: placement height matters almost as much as location. A camera mounted at eye level captures faces clearly. A camera mounted low (on a shelf) captures the top of people’s heads. A camera mounted high (on a ceiling) captures a bird’s-eye view that’s useful for understanding movement patterns but poor for identifying individuals. For most home monitoring purposes, camera height of 1.5–2.5 metres is optimal.

Key Takeaway: Match the form factor to the room and your monitoring goal. Clock cameras for living rooms, USB chargers for kitchens, smoke detectors for bedrooms, power banks for flexible placement. Avoid bathrooms entirely.
Should You Prioritise Local Storage, Cloud Storage, or Both?
This is where a lot of buyers make a costly mistake. They buy a camera based on its resolution or app ratings, then discover six months later that their footage is gone—either the SD card failed, or the cloud subscription lapsed, or the footage was overwritten before they could review it. Here’s how to avoid that.
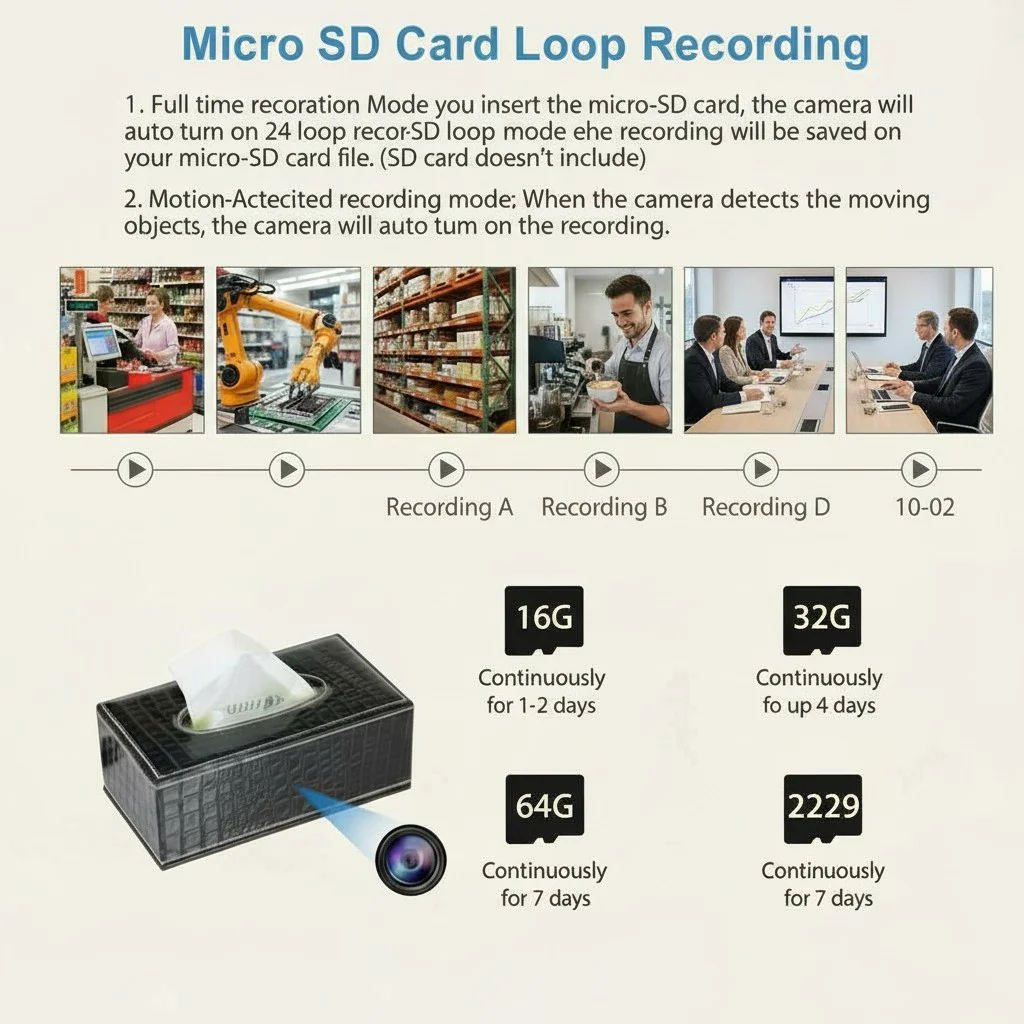
Local SD card storage is the most common option. The camera writes footage to a microSD card inserted into the device. Capacity ranges from 8GB to 128GB, and higher-resolution footage uses more space. At 1080p with standard compression, 128GB holds approximately 7–10 days of continuous recording (or 3–4 weeks of motion-triggered recording). The main risks: the card can fail, the camera can be stolen with the card inside, and footage that isn’t backed up is gone if the card corrupts.
Cloud storage solves the theft and failure problem by sending footage to remote servers. Most cameras offer cloud plans through the manufacturer’s platform, typically ranging from £3–10 per month per camera. The footage is accessible from anywhere, and even if someone steals the camera, your evidence is safe in the cloud. The trade-off: subscription costs add up, and you’re trusting the manufacturer with your footage (which raises privacy considerations).
Hybrid storage—local SD card with cloud backup for motion clips—is the most robust approach. The camera records continuously to the local card (fast access, no monthly fee) and pushes important clips (motion events) to the cloud automatically. This gives you the reliability of cloud storage for critical footage without paying monthly fees for continuous cloud recording. The Z10 WiFi Spy Clock Camera supports both SD card and cloud sync, making it a strong choice for home security where evidence preservation is critical.
One practical consideration: many cameras support loop recording, where new footage automatically overwrites the oldest footage when the storage is full. This is convenient but means you always have the most recent footage available while potentially losing footage from days ago. For home security, a 30-day loop with motion-triggered recording is usually the right configuration.
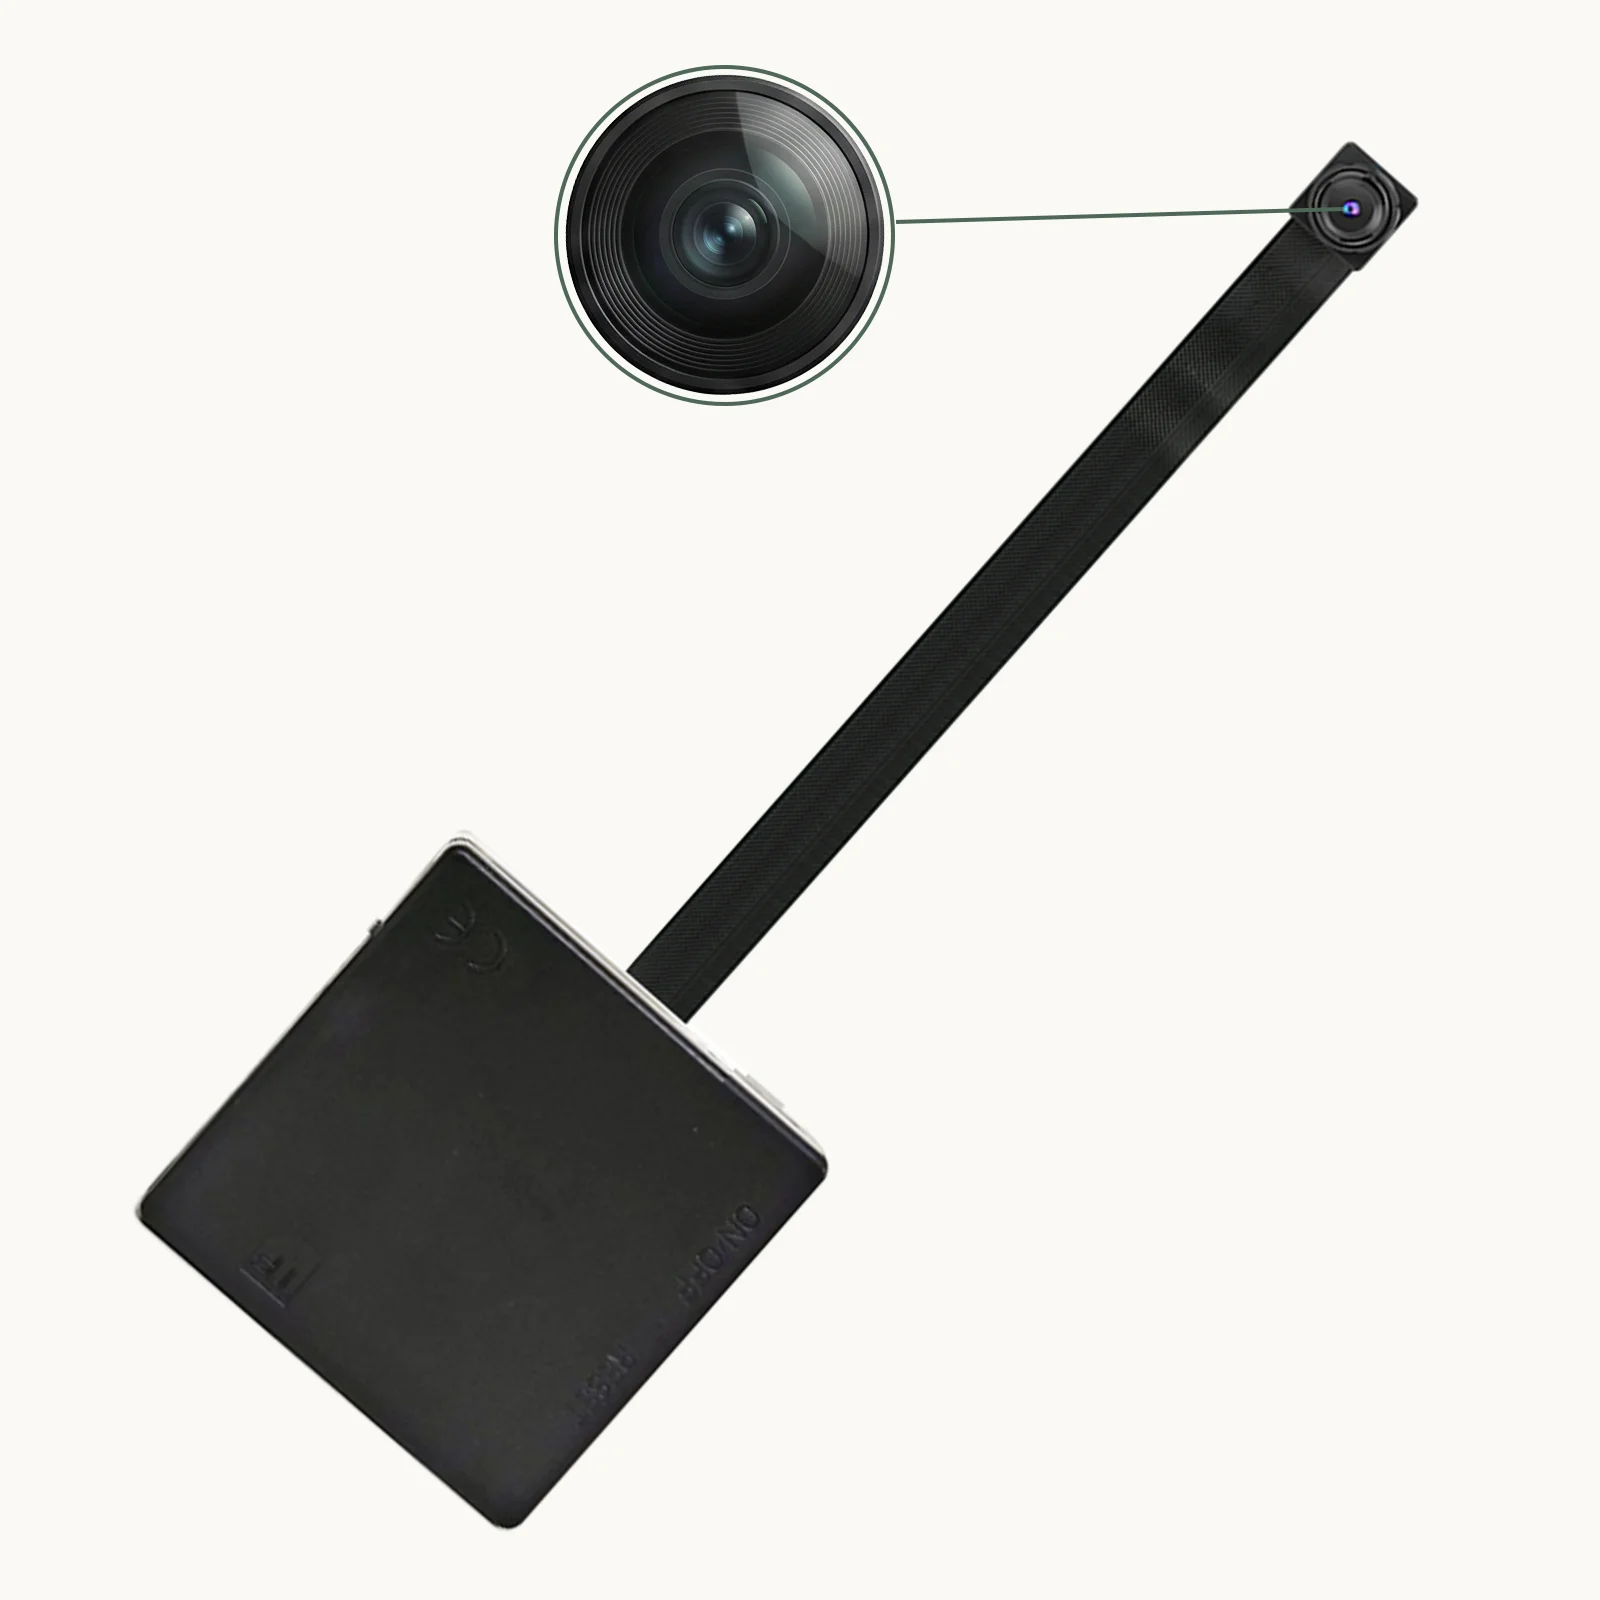
For those on a tight budget, the DIY Hidden WiFi Spy Camera Module offers maximum flexibility—you can pair it with your own preferred storage solution, whether that’s a dedicated NVR, a NAS system, or a large-capacity SD card.
Key Takeaway: Hybrid storage (local SD card plus cloud backup for motion clips) is the most robust approach for home security. SD-only storage is affordable but vulnerable to theft and failure; cloud-only storage is reliable but carries subscription costs.
How Do You Set Up the App and Remote Viewing?
You’ve mounted the camera, plugged it in, and now you’re staring at an app store listing wondering how to actually see the footage on your phone. App setup varies by manufacturer, but the broad process is the same for most modern WiFi hidden cameras—and once you’ve done it for one camera, you can repeat it for any camera on the same platform.
Most QZT Security cameras use the Tuya Smart or Smart Life app, which is one of the most widely used smart home platforms globally. The setup process:
1. Download the app from the App Store or Google Play. Search for “Tuya Smart” or “Smart Life” and install the one with the correct icon (Tuya Smart has a pink/red logo).
2. Create an account (or log in with Google/Apple). You’ll need a valid email address for verification.
3. Add the camera: Tap the “+” button in the top right of the app, select “Add Device,” and choose the appropriate category. Most hidden cameras appear under “Cameras” or “Battery Cameras.” You’ll be prompted to put the camera in pairing mode—usually by holding the reset button for 5–10 seconds until an LED flashes.
4. Connect to WiFi: The app will prompt you to enter your home WiFi credentials. Important: most home hidden cameras only support 2.4GHz WiFi, not 5GHz. If your router broadcasts separate 2.4GHz and 5GHz networks (or uses a single combined network), make sure your phone is connected to the 2.4GHz network during setup. Most connection failures happen here.
5. Name and configure: Give the camera a name (e.g., “Living Room Clock”), assign it to a room, and you’re done. You should now see the live feed in the app.
For remote viewing, Tuya Smart handles this automatically through its cloud relay system. You don’t need to configure port forwarding or set up dynamic DNS—the app simply connects to Tuya’s servers, which relay the video stream to your phone. This works from anywhere in the world with an internet connection.
One common issue: if you’re traveling internationally and the camera’s remote view is slow or won’t load, check whether the manufacturer’s cloud servers are accessible from that region. Tuya Smart generally works globally, but some countries with restricted internet access (China, North Korea, Iran) can cause connectivity problems.
Key Takeaway: App setup is straightforward using Tuya Smart or Smart Life. The most common failure point is trying to connect to a 5GHz WiFi network—always use 2.4GHz during setup. Cloud relay provides automatic remote access without manual port forwarding.
What Motion Detection Settings Should You Configure for Best Results?
Motion detection is what separates a useful security camera from an expensive version of a static webcam. Without motion detection, you get constant notifications, filled-up storage, and hours of boring footage of an empty room. With the right motion detection settings, you get alerts only when something actually happens.
Most cameras offer three types of motion detection, and understanding the differences matters:
PIR (Passive Infrared) motion detection is the most common type. PIR sensors detect changes in infrared radiation (heat) in the camera’s field of view. When a warm body (human, pet, large animal) moves across the scene, the PIR sensor detects the temperature change and triggers a recording. PIR is reliable and doesn’t trigger on light changes or shadows—but it can be fooled by heating vents, air conditioning units, and direct sunlight.
Software motion detection analyses video frames for pixel-level changes. If enough pixels change between frames (indicating movement in the scene), it triggers a recording. This type can detect any movement—not just warm bodies—but it’s prone to false positives from light changes, shadows, and trees swaying in the wind.
Advanced AI detection (available on some premium cameras) uses machine learning to distinguish between humans, animals, vehicles, and other objects. This dramatically reduces false positives from pets or passing cars. The trade-off: AI detection requires more processing power and may introduce a slight delay between detection and notification.
For most home users, a camera with PIR detection and adjustable sensitivity is the right balance. Here’s how to configure it:
Set sensitivity to “medium” as a starting point. If you’re getting too many notifications, lower it. If you’re missing events, raise it. Most cameras have 3–5 sensitivity levels—play with it for a day or two and fine-tune.
Enable motion detection zones if the camera supports them. This lets you define specific areas of the frame that should trigger alerts (e.g., just the doorway, not the whole room). This is especially useful if your camera faces a window where passing cars would otherwise trigger constant alerts.
Set recording duration for the motion event. A typical configuration is to record from 10 seconds before motion is detected (pre-roll, if supported) to 30 seconds after motion stops. Too short and you might miss the beginning of an event; too long and you waste storage.
Configure notification frequency to avoid being spammed. Many cameras have an option to limit notifications to one per event, rather than one per motion clip. Use this—receiving 47 notifications because a tree branch keeps swaying is maddening and counterproductive.
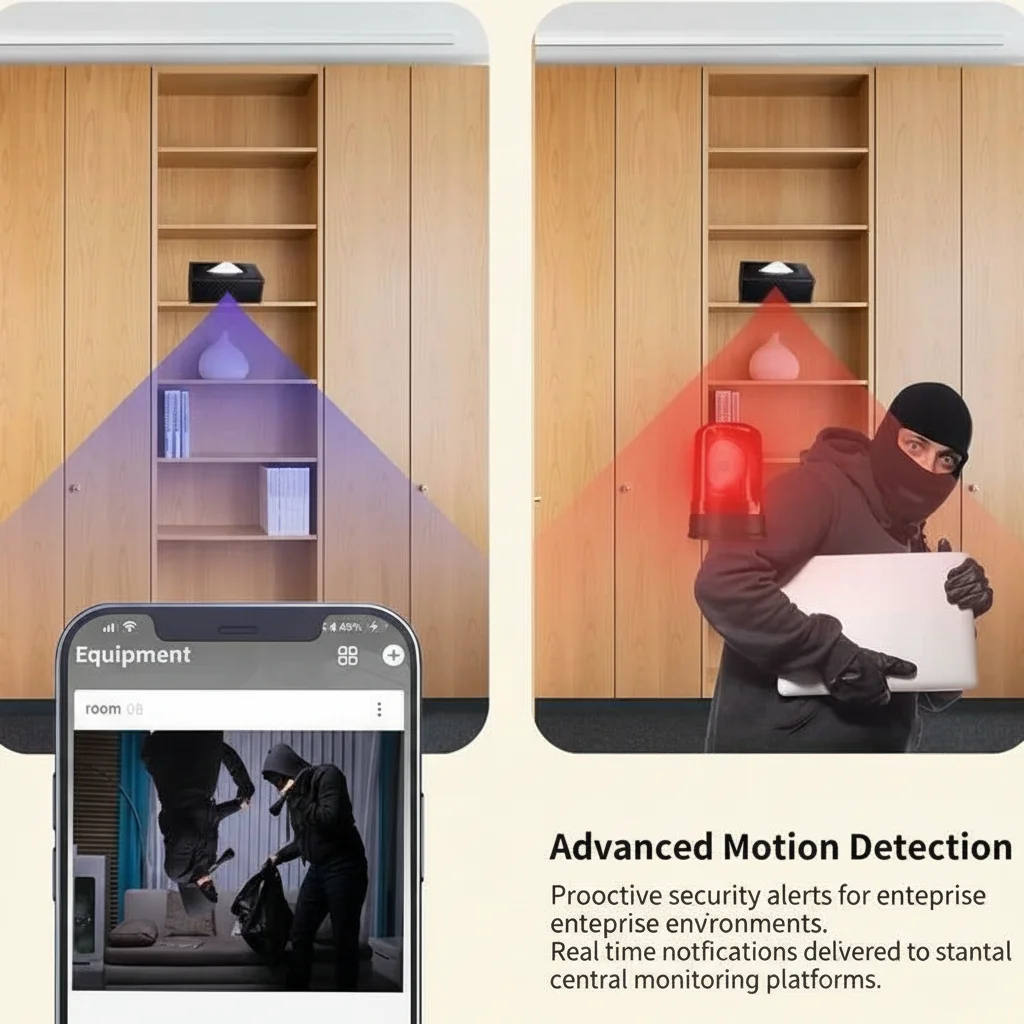
Key Takeaway: PIR motion detection is the most reliable type for home use. Start with medium sensitivity, enable detection zones to reduce false positives, and limit notification frequency to avoid alert fatigue.
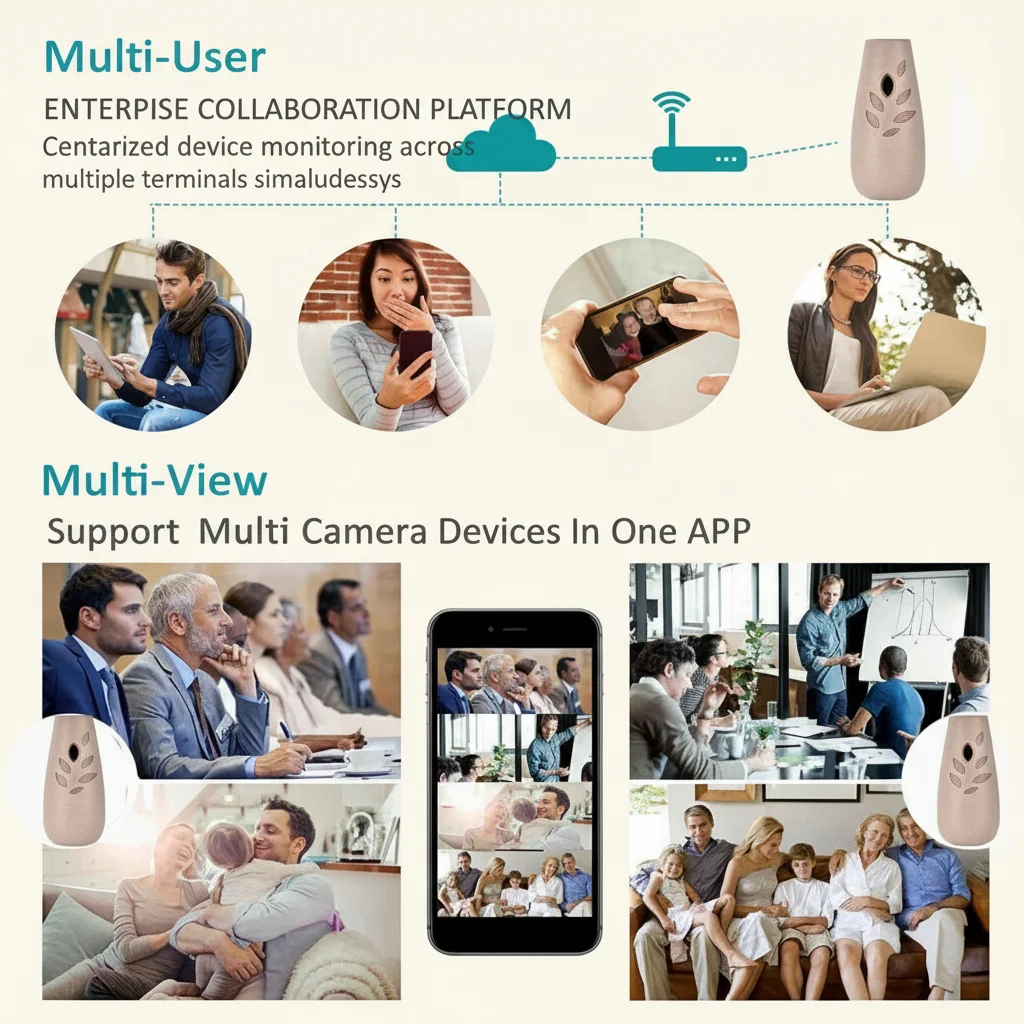
Can Hidden Cameras Work with Smart Home Systems Like Alexa or Google Home?
Smart home integration is becoming increasingly common in hidden cameras, and for good reason. The ability to view your camera feed on an Echo Show, cast it to a Chromecast, or trigger recording with a voice command adds genuine utility. But the integration is often shallower than it appears, and understanding what’s actually possible helps set realistic expectations.
Amazon Alexa integration typically works in one of two ways. The most common is Live View—you can say “Alexa, show me the living room camera” and the feed appears on a compatible Echo Show or Fire TV. This requires the camera to be linked to the Alexa app (usually through the manufacturer’s Alexa skill) and works well for basic viewing. Some cameras also support motion announcements through Alexa, where an Echo device announces when motion is detected.
Google Home integration follows a similar pattern. You link the camera through the Google Home app, and then you can say “Hey Google, show me the living room camera” on a Nest Hub or Chromecast with Google TV. Again, this is primarily live view functionality—useful for quickly checking in without reaching for your phone.
IFTTT and smart home automation is where things get more interesting. Many cameras support IFTTT (If This Then That), which lets you create automations: when the camera detects motion, turn on the living room lights; when the front door opens, start recording. This requires compatible devices on both sides of the automation, but for smart home enthusiasts, it opens up genuinely useful scenarios.
What you can’t do through standard integrations: review footage, download clips, change settings, or PTZ control (if your camera has PTZ). These require the manufacturer’s app. Smart home integration is primarily for quick live viewing and basic automations.
For those building a comprehensive smart home security system, the WiFi Spy Camera Bluetooth Speaker offers an interesting angle—it’s a functioning Bluetooth speaker as well as a hidden camera, giving you another placement option in living areas where a speaker naturally belongs.
Key Takeaway: Smart home integration is useful for live viewing through voice commands and basic automations, but it doesn’t replace the manufacturer’s app for footage review and configuration. Check compatibility before buying if smart home integration is important to you.
How Do You Keep Your Hidden Camera Secure from Hackers?
Here’s an uncomfortable truth: any internet-connected camera can be hacked. In 2019, a massive research study found security vulnerabilities in dozens of popular IP camera brands, and the footage of thousands of cameras ended up on hacker forums. The good news: you can dramatically reduce your risk with a few basic precautions that take minutes to implement.
Change the default password immediately. This is the single most important step. Most cameras ship with default credentials like “admin/admin” or “123456.” Hackers run automated scripts that scan the internet for devices with default passwords. If you haven’t changed the password, your camera is trivially easy to compromise. Use a strong, unique password—ideally generated by a password manager—and never reuse passwords.
Keep firmware updated. Manufacturers regularly release firmware updates that patch security vulnerabilities. Enable automatic updates if the camera supports them; otherwise, check for updates monthly. An outdated camera is an insecure camera. The Z10 WiFi Spy Clock Camera firmware can be updated through the Tuya Smart app, which typically notifies you when updates are available.
Use a strong, unique WiFi password. Your camera is only as secure as your home network. A weak or default WiFi password gives hackers access to your entire network—including all your cameras. Use WPA3 or WPA2-AES encryption, and change your router’s default admin password as well.
Disable UPnP on your router. UPnP (Universal Plug and Play) is a convenience feature that automatically opens ports on your router for connected devices. It’s also a significant security risk because it can be exploited to give hackers direct access to your network. Most users should keep UPnP disabled and use the camera’s built-in cloud relay for remote access instead.
Consider network isolation. If your router supports it, set up a guest network or VLAN for your IoT devices (cameras, smart plugs, etc.) separate from your main network. This way, even if a camera is compromised, the hacker can’t access your computers, phones, or personal data.
One more thing: be wary of cameras from unknown brands sold at extremely low prices. A camera that costs £15 is either subsidized by your data (the manufacturer is selling your footage or usage data) or uses bargain-basement security hardware. Stick to reputable brands with a track record of security updates.

Key Takeaway: The biggest risk to your hidden camera is a default password. Change it immediately, keep firmware updated, use strong WiFi encryption, disable UPnP, and consider network isolation for IoT devices.
What Are the Best WiFi Hidden Cameras for Different Home Security Needs?
After testing dozens of models, here’s our honest breakdown of the best WiFi hidden cameras for different home security scenarios. We’ve focused on real-world performance rather than spec sheet comparisons.
Best overall for home security: WiFi Smoke Detector Hidden Camera
The smoke detector form factor gives you the best possible viewing angle (ceiling-mounted, covering the entire room), a legitimate reason for the device to be present, and a functioning smoke alarm as a bonus. 1080p resolution, night vision, motion detection, and Tuya Smart app support. Ideal for living rooms, hallways, and any room where ceiling placement is possible.
Best for flexible placement: WiFi 1080P Power Bank Hidden Camera
No power socket needed—you can place it anywhere. The 10,000mAh battery lasts 8–12 hours in active mode, and it can run plugged in indefinitely. The power bank form factor means it sits naturally on shelves, countertops, or bedside tables. The best choice for renters who can’t modify their living space, or for anyone who wants to reposition the camera regularly.
Best for desk and shelf placement: Z10 WiFi Spy Clock Camera
A functioning clock (synced to internet time via WiFi) sitting on your desk or shelf looks completely natural in any home or office environment. The viewing angle is optimised for a standard desk/shelf height of about 1–1.5 metres, making it ideal for monitoring the area directly in front of the camera. Good low-light performance and discreet power management.
Best budget option: WiFi Spy Camera USB Charger
Under £50 for a functional hidden camera that also charges your devices. The USB charger form factor is ubiquitous and natural in any room. The trade-off is that it needs to stay plugged in, limiting placement to areas near power outlets. For basic living room or kitchen monitoring on a budget, it’s hard to beat.
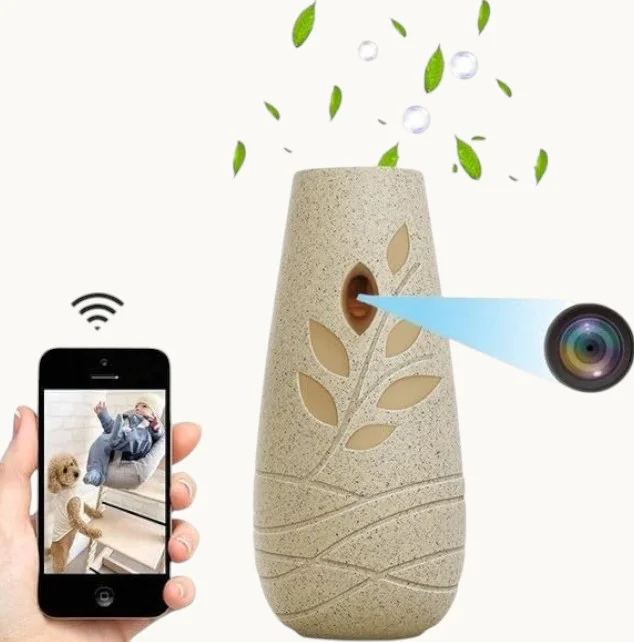
Best for DIY enthusiasts: DIY Hidden WiFi Spy Camera Module
A bare camera module that you can integrate into any object—a vase, a book, a hollowed-out decorative item. Maximum flexibility and complete custom camouflage. Requires basic electronics or DIY skills, but the creative possibilities are endless. Compatible with Tuya Smart for full app and remote viewing support.
Key Takeaway: For most homes, the smoke detector camera is the best all-round choice. The power bank camera is best for flexible placement without power outlets. The clock camera is ideal for desk-level monitoring. The USB charger is the best budget option.
FAQ
Is it legal to have a WiFi hidden camera inside my own home?
Yes, in most circumstances. Recording your own property with a hidden camera for personal security purposes is generally legal in the UK. However, you must not capture areas where people have a reasonable expectation of privacy (like bathrooms or toilets), and you must comply with GDPR requirements if your footage includes identifiable individuals. For lodgers, tenants, or employees in your home, additional rules apply—see our guide on how to legally use a nanny cam in the UK.
How far can a WiFi hidden camera’s signal reach?
WiFi range depends on your router, not the camera. Most home WiFi networks cover 30–50 metres indoors, but thick walls, metal structures, and distance can reduce this significantly. If you need to place a camera in an area with weak WiFi, consider a WiFi extender or a mesh system. Some cameras can connect to your phone’s hotspot directly if WiFi is unavailable.
Can someone detect a hidden WiFi camera?
Yes—with difficulty. Professional bug detectors can pick up the camera’s wireless signal, and skilled technical investigators can identify network-connected devices on a local network. However, for casual detection, it’s very difficult. The camera’s LED indicators (if any—many are disabled) and the physical lens are the main giveaways. For truly covert applications, choose cameras with no visible indicators and position them carefully.
Do hidden cameras record audio as well as video?
Most do, but audio recording is subject to stricter legal requirements than video. In the UK, recording audio covertly without consent can potentially violate the Regulation of Investigatory Powers Act 2000 (RIPA). For basic home monitoring, video-only is the safer choice. If you need audio, make sure signage is clearly visible and that you’re only recording in areas where people don’t have a reasonable expectation of privacy.
What’s the difference between 1080p and 2K resolution?
2K (approximately 2048 × 1080 pixels) sits between 1080p and 4K in resolution. The practical difference for home hidden cameras is minimal—2K files are larger than 1080p but smaller than 4K, and the detail improvement over 1080p is marginal for most home monitoring scenarios. We recommend prioritising low-light performance and night vision quality over resolution.
At QZT Security, we supply WiFi hidden cameras to homeowners and professionals across the UK and EU. Our cameras are CE and RoHS certified, shipped from warehouses in Italy and the USA for fast European delivery, and backed by a quality warranty.
Contact Us Today for personalised recommendations for your specific home security requirements. Whether you need one camera for a flat or a complete monitoring system for a large property, we’ll help you find the right solution.