Jak podłączyć mini kamerę szpiegowską: Przewodnik konfiguracji WiFi
Connecting a mini spy camera to your phone and home network takes 5–10 minutes if you know the sequence. The process breaks down into three paths: direct WiFi hotspot mode (camera creates its own network), router mode (camera joins your home WiFi), and AP+client mode (camera creates a hotspot but also connects to your router for remote access). Most people fail because they skip step 2 or because their phone is connected to a 5GHz network the camera cannot see. This guide covers all three setup modes, the most common failure points, and how to fix them.
How Do You Connect a Mini Spy Camera to Your Phone for the First Time?
First-time setup uses the camera’s built-in WiFi hotspot. The camera boots, creates its own SSID (usually “CAM_XXXX” or “IPCAM_XXXX”), and your phone connects to it directly.
Prerequisites before starting:
– SD card inserted (some cameras require this to activate WiFi)
– Camera fully charged or plugged into power
– Phone WiFi pointing to the 2.4GHz band — this is the most common setup failure. Most modern routers run both 2.4GHz and 5GHz on the same network name (SSID); your phone defaults to 5GHz, which mini cameras cannot see.
Step-by-step:
1. Power on the camera. Wait 30–60 seconds for it to fully initialize — the blue LED will be solid, red LED flashing.
2. Open your phone’s WiFi settings. Look for the camera’s SSID in the available networks list.
3. Connect to the camera’s WiFi. The default password is usually “1234567890”, “88888888”, or printed on the camera body/box.
4. Download the manufacturer’s app before opening it — searching “ICSEE” in the app store returns dozens of unrelated apps. Use the QR code in the manual or on the device.
5. Open the app, tap “Add Device” or the “+” button. The app detects the camera automatically via the local hotspot connection.
6. Follow the in-app prompts to set a password and device name.
At this point you have live video — but only within WiFi range of the camera. To view remotely, you need to connect the camera to your home router (see next section).
How Do You Connect a Mini Spy Camera to Your Home WiFi Router?
Remote viewing — watching your camera from anywhere, not just within WiFi range — requires the camera to connect to your home router.

Why 2.4GHz matters here: Every mini spy camera on the market uses 2.4GHz WiFi. If your router broadcasts 2.4GHz and 5GHz under the same SSID, your camera will only connect to the 2.4GHz radio. Check your router settings — many ISP-provided routers have 2.4GHz disabled or on a different band by default.
Configuration steps within the app:
1. With the camera connected to your phone (via its hotspot), open the camera settings in the app.
2. Find “WiFi Settings” or “Network Configuration.”
3. Select your home router’s 2.4GHz SSID and enter the password.
4. The camera reboots, disconnects from its own hotspot, and connects to your router.
5. Your phone should reconnect to your normal home WiFi.
6. Open the app — the camera now appears as an online device with a router icon rather than a hotspot icon.
How to confirm the camera is on your network:
– Router admin page: Look for a device with a manufacturer name (e.g., “Shenzhen” or the app developer’s company) in the connected devices list.
– App status: The camera icon in the app should show a green “Online” indicator.
– Ping test: If you know the camera’s IP address (from the router), enter it in a browser — many cameras serve a web interface at their local IP.
What Are the Three WiFi Modes and When to Use Each?
Mini spy cameras support three distinct network configurations. Using the wrong mode for your situation is the second most common setup failure after the 5GHz problem.
Mode 1 — AP Station (hotspot only): The camera creates its own WiFi network. Your phone connects directly to the camera. Range is limited to ~15–20 meters. No remote access. Best for temporary setups, testing, or locations without WiFi.
Mode 2 — STA Station (router mode): The camera connects to your existing WiFi network. Your phone connects to the same network (or uses mobile data). Remote access works from anywhere. Best for permanent installations where the camera is within your router’s WiFi range.
Mode 3 — AP+STA (dual mode): The camera maintains its own hotspot while also connected to your router. This allows direct connection at close range and remote access via your router simultaneously. Some cameras require manual switching between modes; others run both in parallel. Best for cameras placed in locations where WiFi signal is marginal — the hotspot provides a reliable local backup.
| Tryb | Camera Creates Hotspot | Joins Router | Zdalny dostęp | Najlepszy przypadek użycia |
|---|---|---|---|---|
| AP (hotspot only) | Tak | NIE | NIE | Temporary, testing |
| STA (router only) | NIE | Tak | Tak | Permanent install, good signal |
| AP+STA (dual) | Tak | Tak | Tak | Marginal WiFi signal locations |
Why Is Your Mini Spy Camera Not Connecting to WiFi?
The three most common causes — and their fixes.

Cause 1 — Your phone is on 5GHz WiFi. The camera cannot see 5GHz networks. Fix: Go to router settings and either rename the 2.4GHz band to a different SSID, or force your phone onto 2.4GHz during setup. Alternatively, use a separate 2.4GHz-only device for initial setup.
Cause 2 — The WiFi password contains special characters. Spaces, symbols like @#$%, and non-ASCII characters confuse many mini camera firmware. Fix: Change your router’s 2.4GHz password to alphanumeric only (letters and numbers) during setup, then restore the original password afterward.
Cause 3 — WiFi signal is too weak at the camera location. Most mini cameras have small antennas with limited reception. Fix: Use a WiFi range extender on the 2.4GHz band, or reposition the camera closer to the router. Alternatively, run a Ethernet cable to a PoE injector and use a camera with Ethernet connectivity.
Cause 4 — The camera’s firmware is outdated. Some cameras ship with firmware that has known WiFi compatibility issues with specific router chipsets (MediaTek and Realtek WiFi chips in particular). Fix: Check the manufacturer’s app for firmware updates after initial setup. If no update is available, the issue may be inherent to that hardware revision.
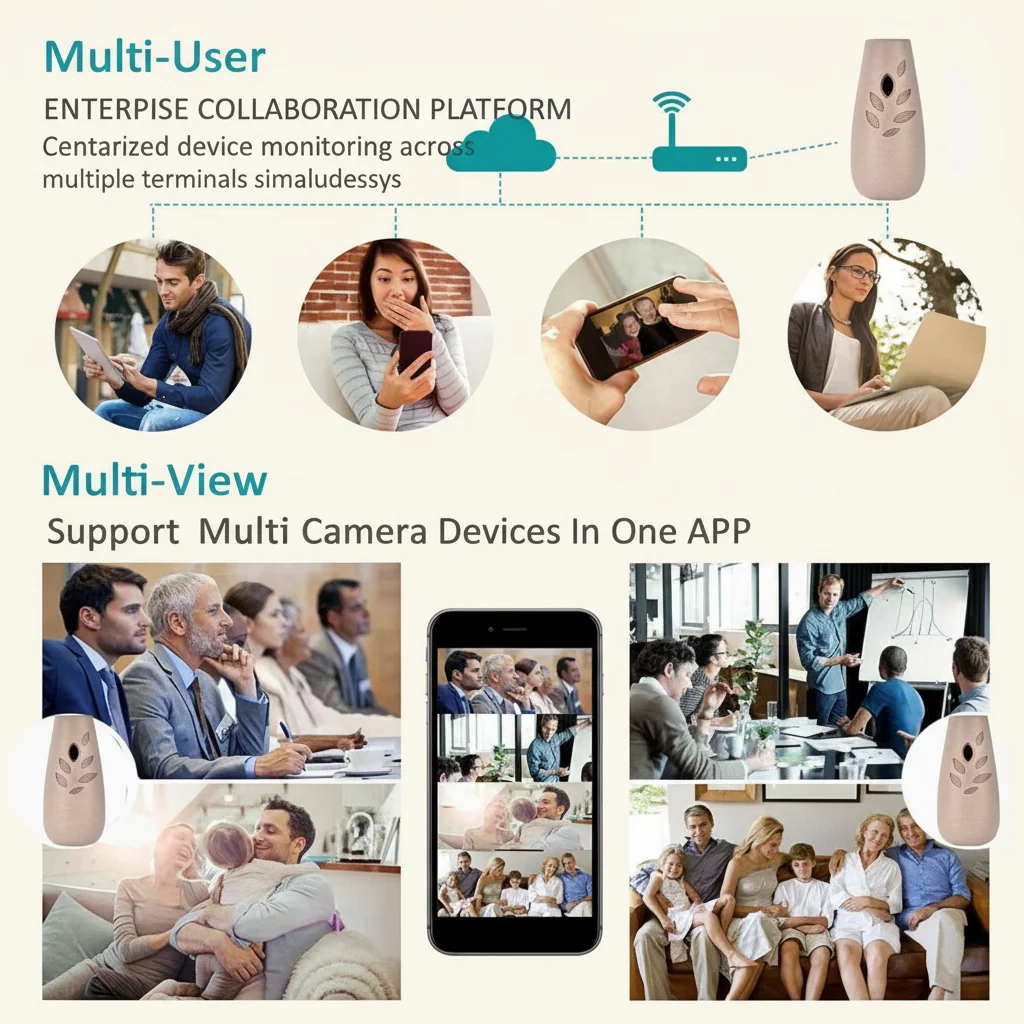
How Do You Connect Multiple Mini Spy Cameras to One App?
Most apps support 4–16 cameras simultaneously. Adding multiple cameras follows the same process as adding the first — but with one additional decision point.
Method 1 — Individual device addition: Add each camera through the app’s “Add Device” function. Each camera gets its own live view tile. This is the standard approach and works for all cameras.
Method 2 — Group/zone organization: In apps that support it, create groups (e.g., “Ground Floor”, “Office”) and assign cameras to groups. The app displays a grid view of all cameras in a group simultaneously — useful for live monitoring.
Method 3 — NVR/software centralization: For 8+ cameras, a network video recorder (NVR) or software like Blue Iris, Shinobi, or Home Assistant captures all streams centrally. Each camera connects to the NVR/software via its local IP address — no app required for the cameras themselves. QZT Security offers compatible NVR-ready models with ONVIF protocol support.
| Metoda | Max Cameras | Zdalny podgląd | Lokalne przechowywanie | Setup Complexity |
|---|---|---|---|---|
| App (individual) | 4–16 | Via app | Per-camera SD | Niski |
| NVR software | 8–64 | Via NVR web UI | Central NAS/hard drive | Średni |
| Home Assistant | Nieograniczony | Via HA interface | Per-integration | Wysoki |
How Secure Is a WiFi-Connected Mini Spy Camera?
WiFi connectivity introduces two specific risks that wired cameras do not face: network intrusion and video interception.

Network security: Most mini cameras use basic WPA2-AES encryption for WiFi connectivity. However, the camera’s own web interface (if accessible) often has no password or uses a weak default. Fix: Change the camera’s admin password immediately after setup, disable UPnP on your router (prevents the camera from opening ports automatically), and ensure your router’s firmware is current.
Video stream interception: Without encryption, video streams on the same WiFi network can potentially be captured. Many cameras now support RTSPS (encrypted stream) rather than unencrypted RTSP. Check whether your camera supports RTSPS — if it does, enable it in the settings. QZT Security cameras with TUYA integration support encrypted streaming by default.
Cloud vs. P2P security: Cameras using P2P (peer-to-peer) technology like Tuya or Akamai IoT connect through a third-party relay server. The video stream may pass through servers in multiple jurisdictions, which has GDPR implications for EU businesses. Cameras with direct P2P or fully local storage avoid this issue.
How Do You Troubleshoot a Camera That Disconnects Repeatedly?
Intermittent disconnections usually stem from power supply issues, WiFi signal degradation, or SD card corruption — not firmware problems.
Power supply check first. Mini cameras draw 300–500mA during recording. If the power adapter is underpowered (e.g., a 5V/500mA charger used with a camera that peaks at 600mA), the camera browns out during IR activation (when LED arrays switch on, current draw spikes). Fix: Use a 5V/2A adapter and a cable with thicker copper conductors — thin cables drop voltage under load.
WiFi signal monitoring. Place your phone next to the camera and monitor the WiFi signal strength. If it fluctuates below -75dBm, the signal is marginal. Use a WiFi signal meter app (free) to measure actual signal at the camera location. Any reading below -80dBm will cause intermittent drops.
SD card diagnostic. A failing or incompatible SD card causes recording failures that appear as “disconnection” in the app. Test with a known-good Class 10 card from a reputable brand (Sandisk, Samsung). Format the card in the camera’s own menu — not in a computer.
Firmware reflash. W ostateczności pobierz najnowsze oprogramowanie sprzętowe ze strony producenta i przeładuj je metodą karty SD (większość kamer obsługuje aktualizację oprogramowania poprzez plik firmware.bin na karcie SD).
Często zadawane pytania
Dlaczego mój telefon nie widzi sygnału WiFi kamery?
Najczęstszą przyczyną jest to, że Twój telefon jest podłączony do pasma WiFi 5 GHz — mini kamery nadają tylko na 2,4 GHz. Przejdź do Ustawienia → WiFi i ręcznie wybierz SSID kamery 2,4 GHz. Jeśli sieć kamery w ogóle się nie pojawia, kamera może być już podłączona do Twojego routera z poprzedniej konfiguracji — zrestartuj kamerę, aby zresetować jej stan sieciowy.
Jak mogę zdalnie podglądać moją mini kamerę szpiegowską z dowolnego miejsca?
W trybie routera (kamera podłączona do domowej sieci WiFi) aplikacja łączy się przez przekaźnik P2P lub serwer chmurowy — nie musisz konfigurować przekierowania portów. Pobierz aplikację, zaloguj się na swoje konto (utwórz je w aplikacji), a kamera automatycznie pojawi się na liście urządzeń. Dla większości kamer konsumenckich nie jest potrzebna konfiguracja routera.
Jaki jest maksymalny zasięg WiFi dla mini kamery szpiegowskiej?
Na otwartej przestrzeni oczekuj niezawodnego połączenia na odległość 15–30 metrów. W pomieszczeniach z murami efektywny zasięg spada do 10–15 metrów przez jedną ścianę wewnętrzną lub 5–10 metrów przez dwie. Powierzchnie metalowe i ściany betonowe znacząco blokują sygnał WiFi. W przypadku instalacji na duże odległości użyj wzmacniacza WiFi w paśmie 2.4 GHz umieszczonego między routerem a kamerą.
Czy dwie kamery szpiegowskie mogą korzystać z tej samej sieci WiFi?
Tak — większość sieci obsługuje jednocześnie 4–10 kamer bez problemu. Przepustowość na kamerę jest umiarkowana (1–4 Mbps dla 1080p). Wąskim gardłem jest zazwyczaj prędkość łącza w górę: 4 kamery przesyłające jednocześnie po 2 Mbps każda wymagają 8 Mbps przepustowości wysyłania w domowym łączu. Sprawdź limit połączeń urządzeń w routerze — niektóre routery od ISP ograniczają do 10–16 urządzeń łącznie.
Dlaczego kamera rozłącza się, gdy włączam nocne widzenie?
Diody podczerwieni nocnego widzenia pobierają znaczny dodatkowy prąd (szczytowo 200–400mA). Jeśli Twój zasilacz jest słabo wydajny, napięcie spada przy aktywacji diod IR, powodując reset kamery lub utratę połączenia WiFi. Zamień zasilacz na jednostkę 5V/2A i użyj krótkiego kabla USB o grubym przekroju, aby zminimalizować spadek napięcia.
Potrzebujesz pomocy w wyborze odpowiedniej ukrytej kamery z WiFi?
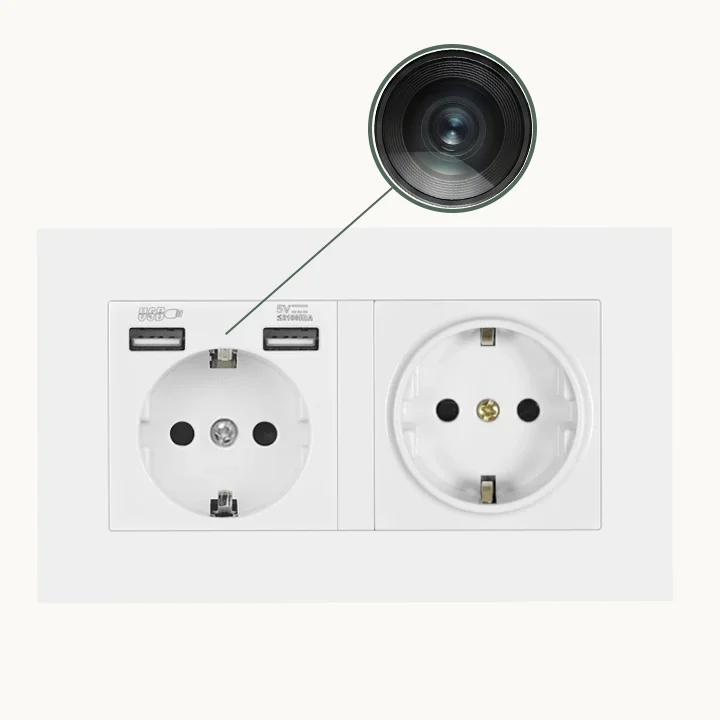
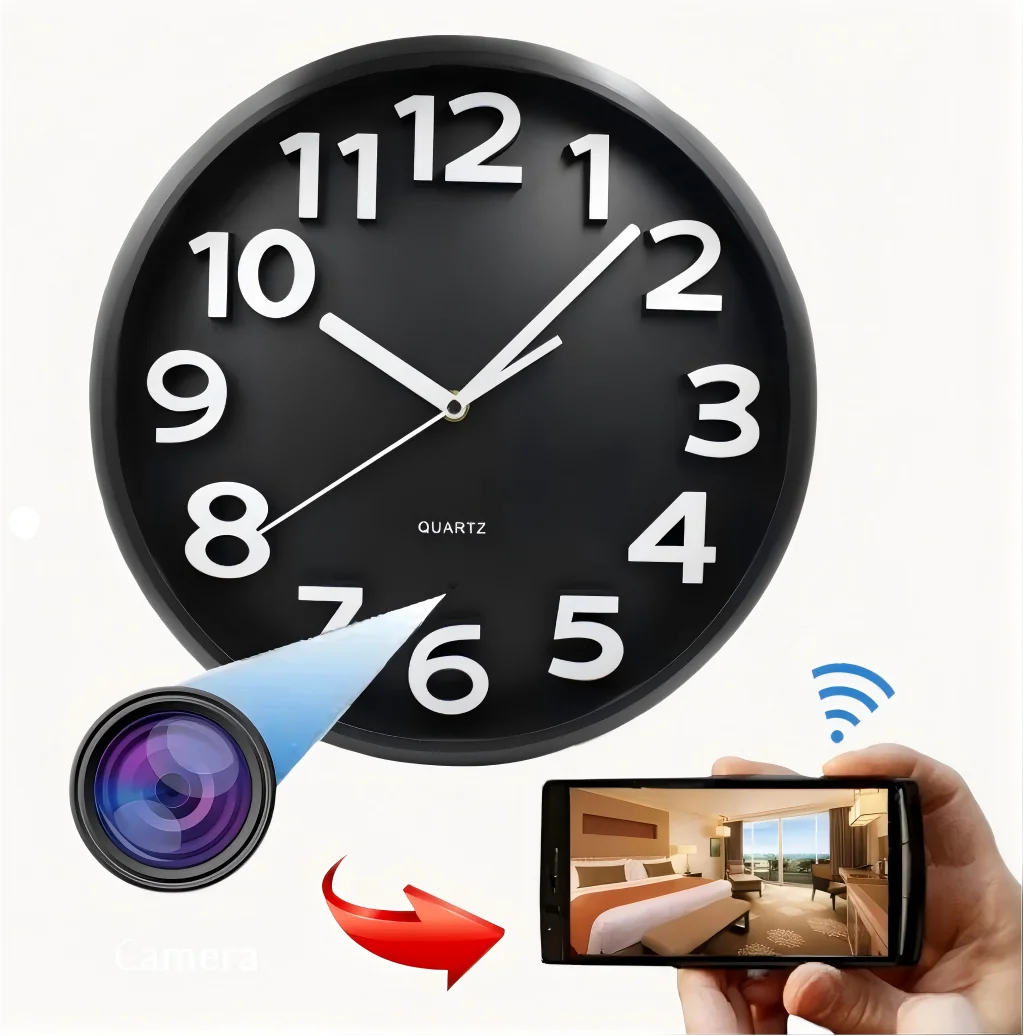
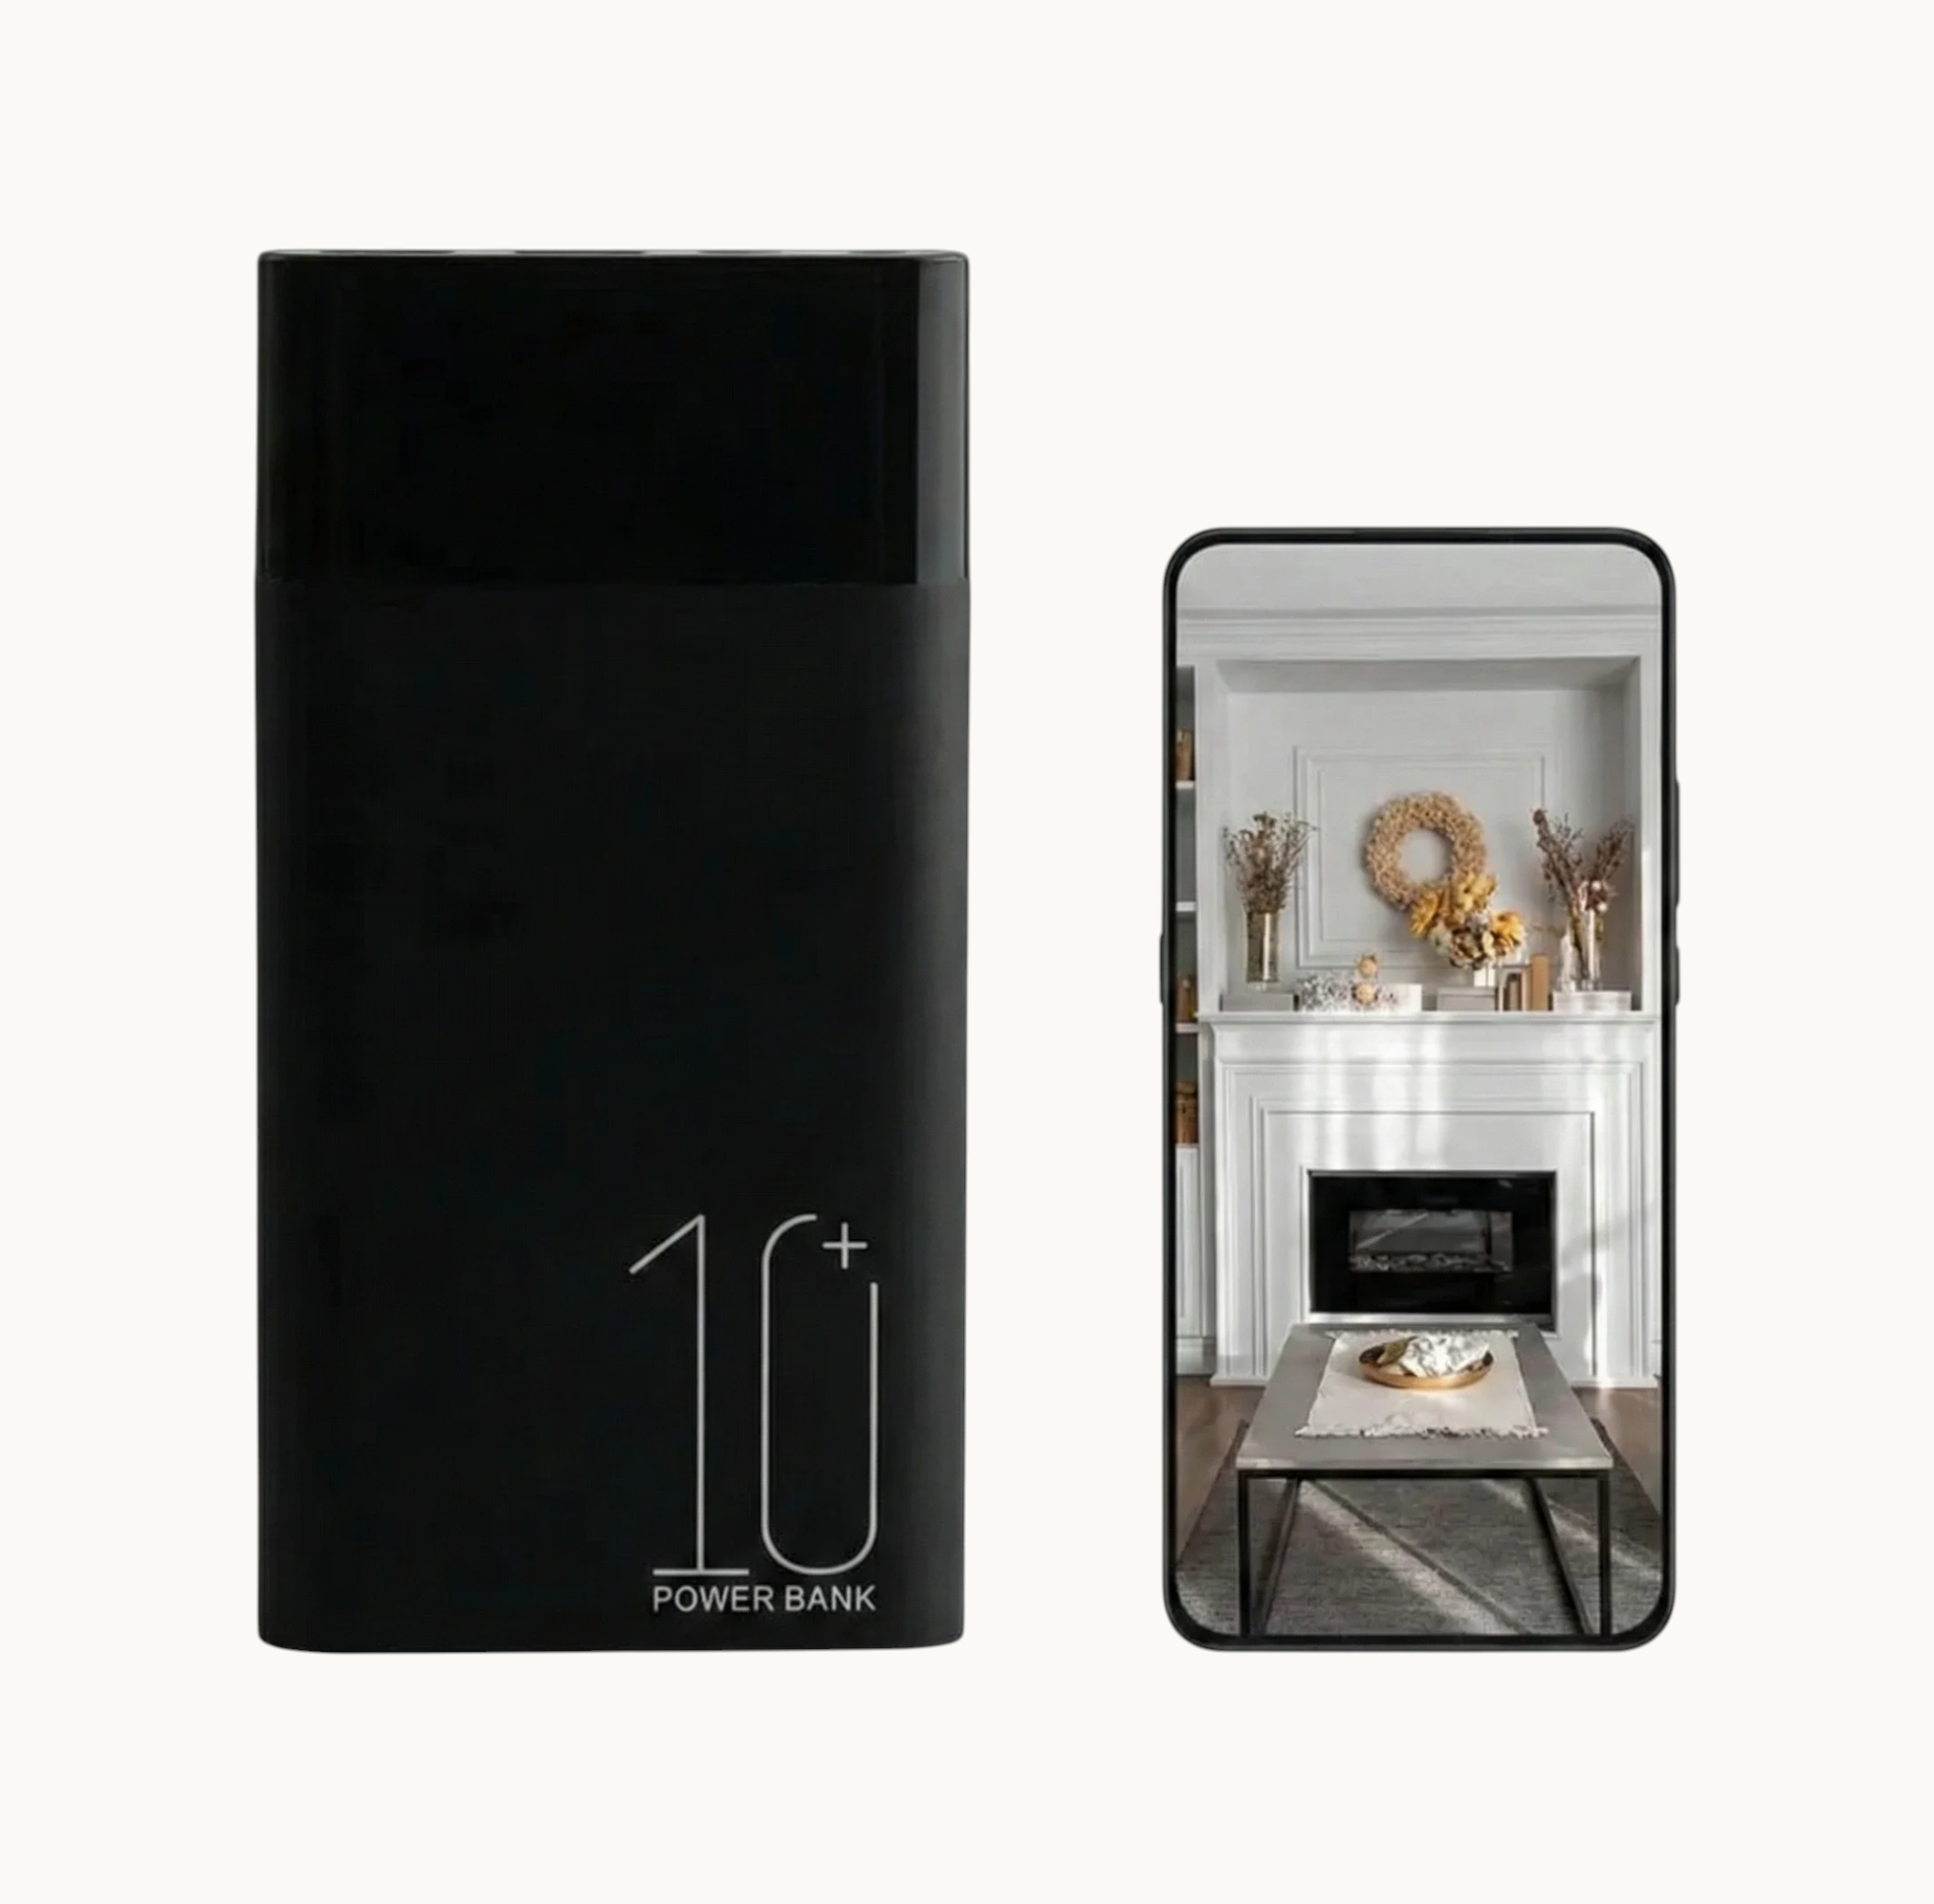
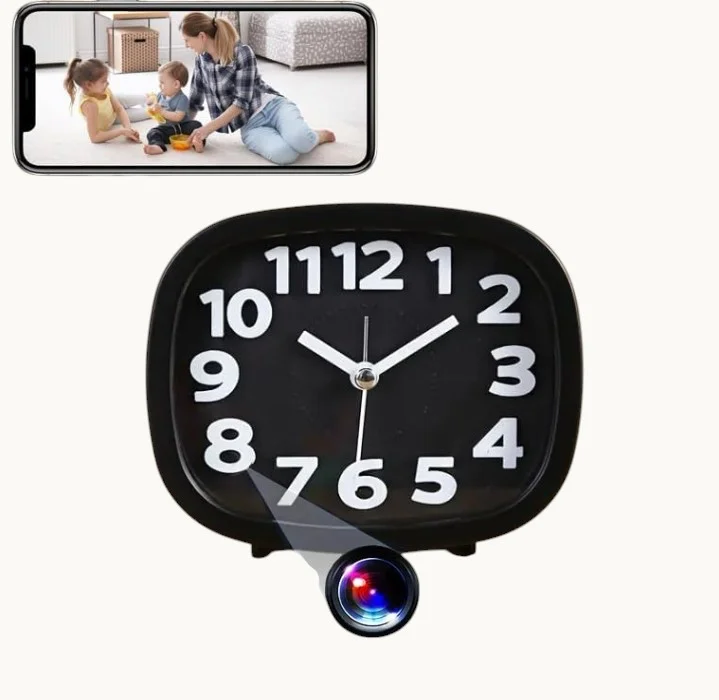
Asortyment QZT Security obejmuje kamery w zegarach, kamery w ładowarkach USB, kamery w czujkach dymu oraz kamery w brelokach do kluczyków samochodowych — wszystkie z konfiguracją WiFi przez aplikację. Przeglądaj pełny katalog or skontaktuj się z naszym zespołem technicznym w celu uzyskania wsparcia przy konfiguracji.