
comment réparer les fichiers audio non jouables sur les dictaphones
Si vous avez déjà branché un enregistreur vocal pour constater que les fichiers ne se lisent pas, que le disque affiche des caractères illisibles, ou que l'appareil semble totalement ne pas répondre, vous n'êtes pas seuls. Ce sont parmi les tickets de support les plus courants que nous recevons, aussi bien de la part des distributeurs que des utilisateurs finaux. La bonne nouvelle, c'est que les causes racines sont bien comprises — et dans plus de 95 % des cas, entièrement réversibles sans aucun remplacement de matériel.
Ce guide passe en revue le processus complet de diagnostic et de réparation, depuis la correction logicielle la plus simple jusqu'à la récupération complète du système de fichiers FAT32. Il inclut également des protocoles spécifiques B2B pour éduquer vos clients en aval avant qu'ils ne rencontrent ces problèmes.
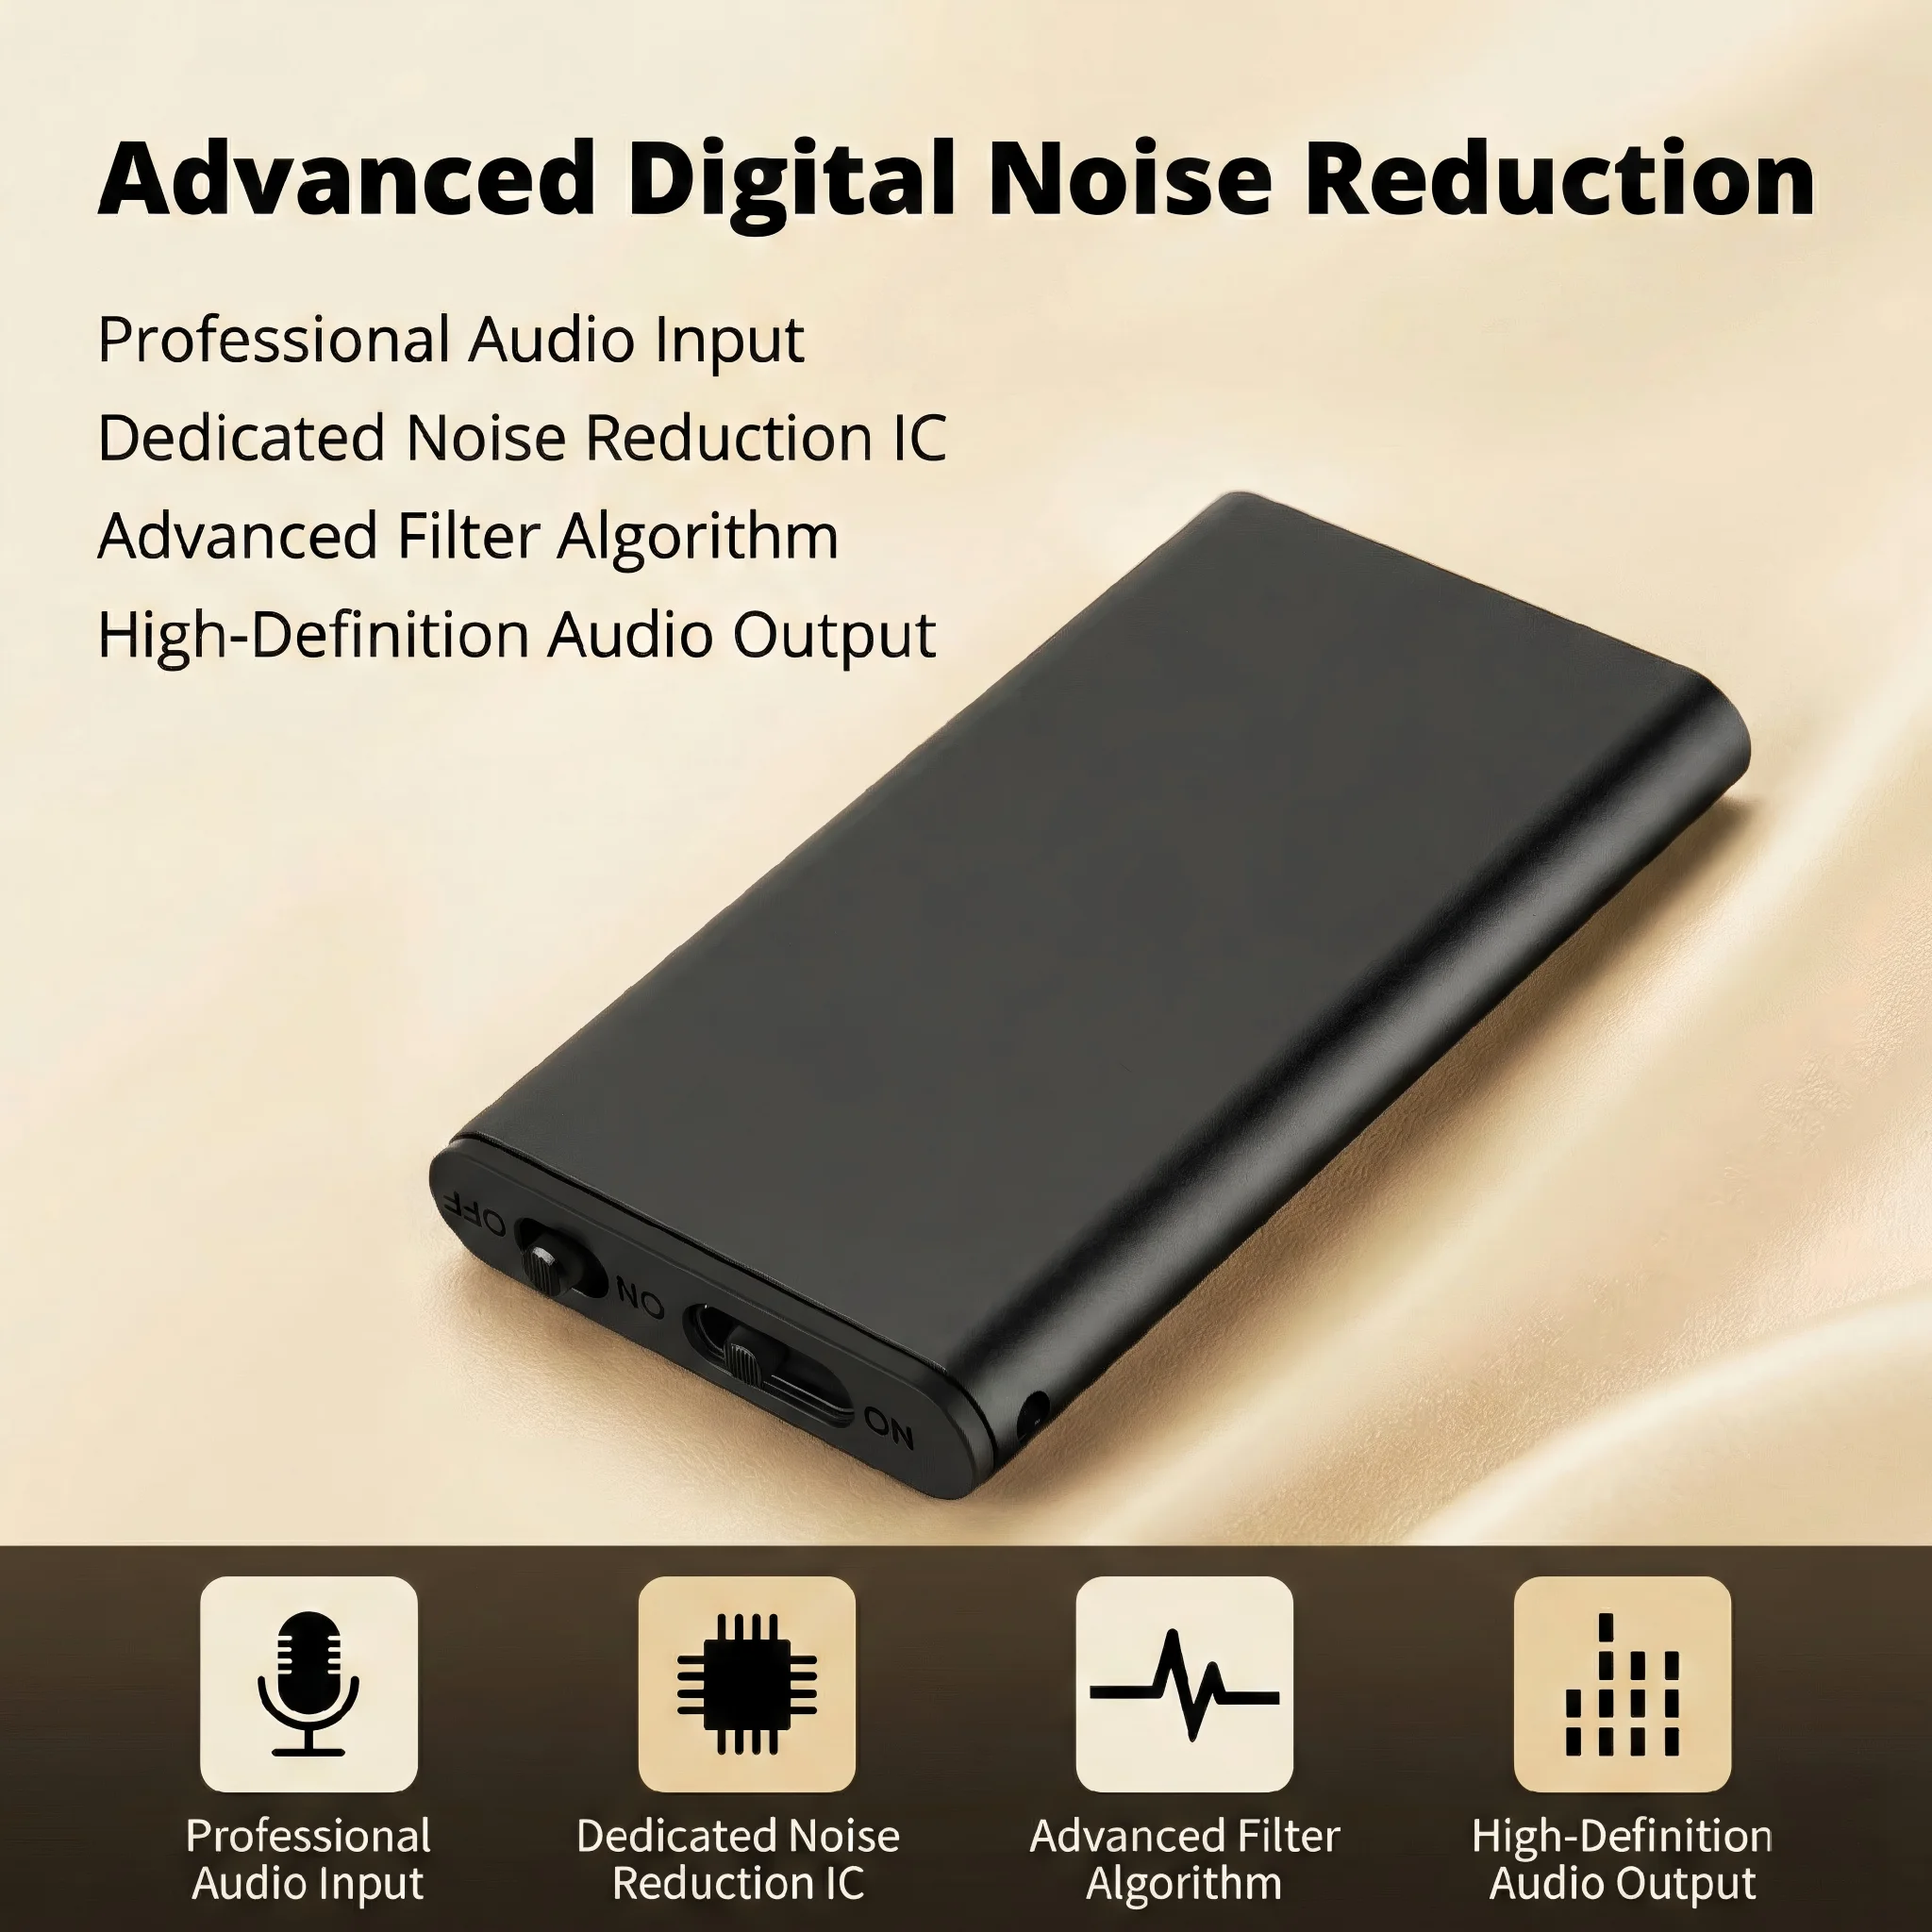
Qu'est-ce qui rend les fichiers audio illisibles ?
Comprendre la cause profonde vous aide à appliquer la bonne solution — et évite de perdre du temps à remplacer du matériel qui n'a jamais été cassé.
Cause 1 — Incompatibilité de codec sur l'appareil de lecture. Nos enregistreurs capturent l'audio au format WAV (PCM) ou MP3. Le lecteur Windows Media Player intégré et macOS QuickTime peuvent parfois ne pas ouvrir certains débits binaires WAV, en particulier les fichiers 192 kbps ou 44,1 kHz mono enregistrés par des puces DSP optimisées pour la voix. Le fichier lui-même est parfaitement intact ; il nécessite simplement un décodeur compatible.
Cause 2 — Éjection forcée ou remplacement à chaud pendant la lecture/écriture. Lorsque l'appareil est connecté à un ordinateur et que l'utilisateur débranche le câble USB sans utiliser « Retirer le périphérique en toute sécurité », ou lorsque l'enregistreur est encore en train d'enregistrer et est branché directement sur un chargeur, la table d'allocation FAT32 reçoit une écriture incomplète. Cela corrompt l'en-tête du fichier ou l'entrée de répertoire, ce qui entraîne des noms de fichiers illisibles, des fichiers de zéro octet ou des fichiers qui semblent présents mais ne peuvent pas être lus.
Cause 3 — Défaillance matérielle ESD ou de cellule flash (extrêmement rare, ~0,2 %). Dans les déploiements à grande échelle, une petite fraction d'unités peut développer des erreurs de lecture flash internes après des milliers de cycles d'écriture. Cela est distinct des deux scénarios ci-dessus et est traité séparément.
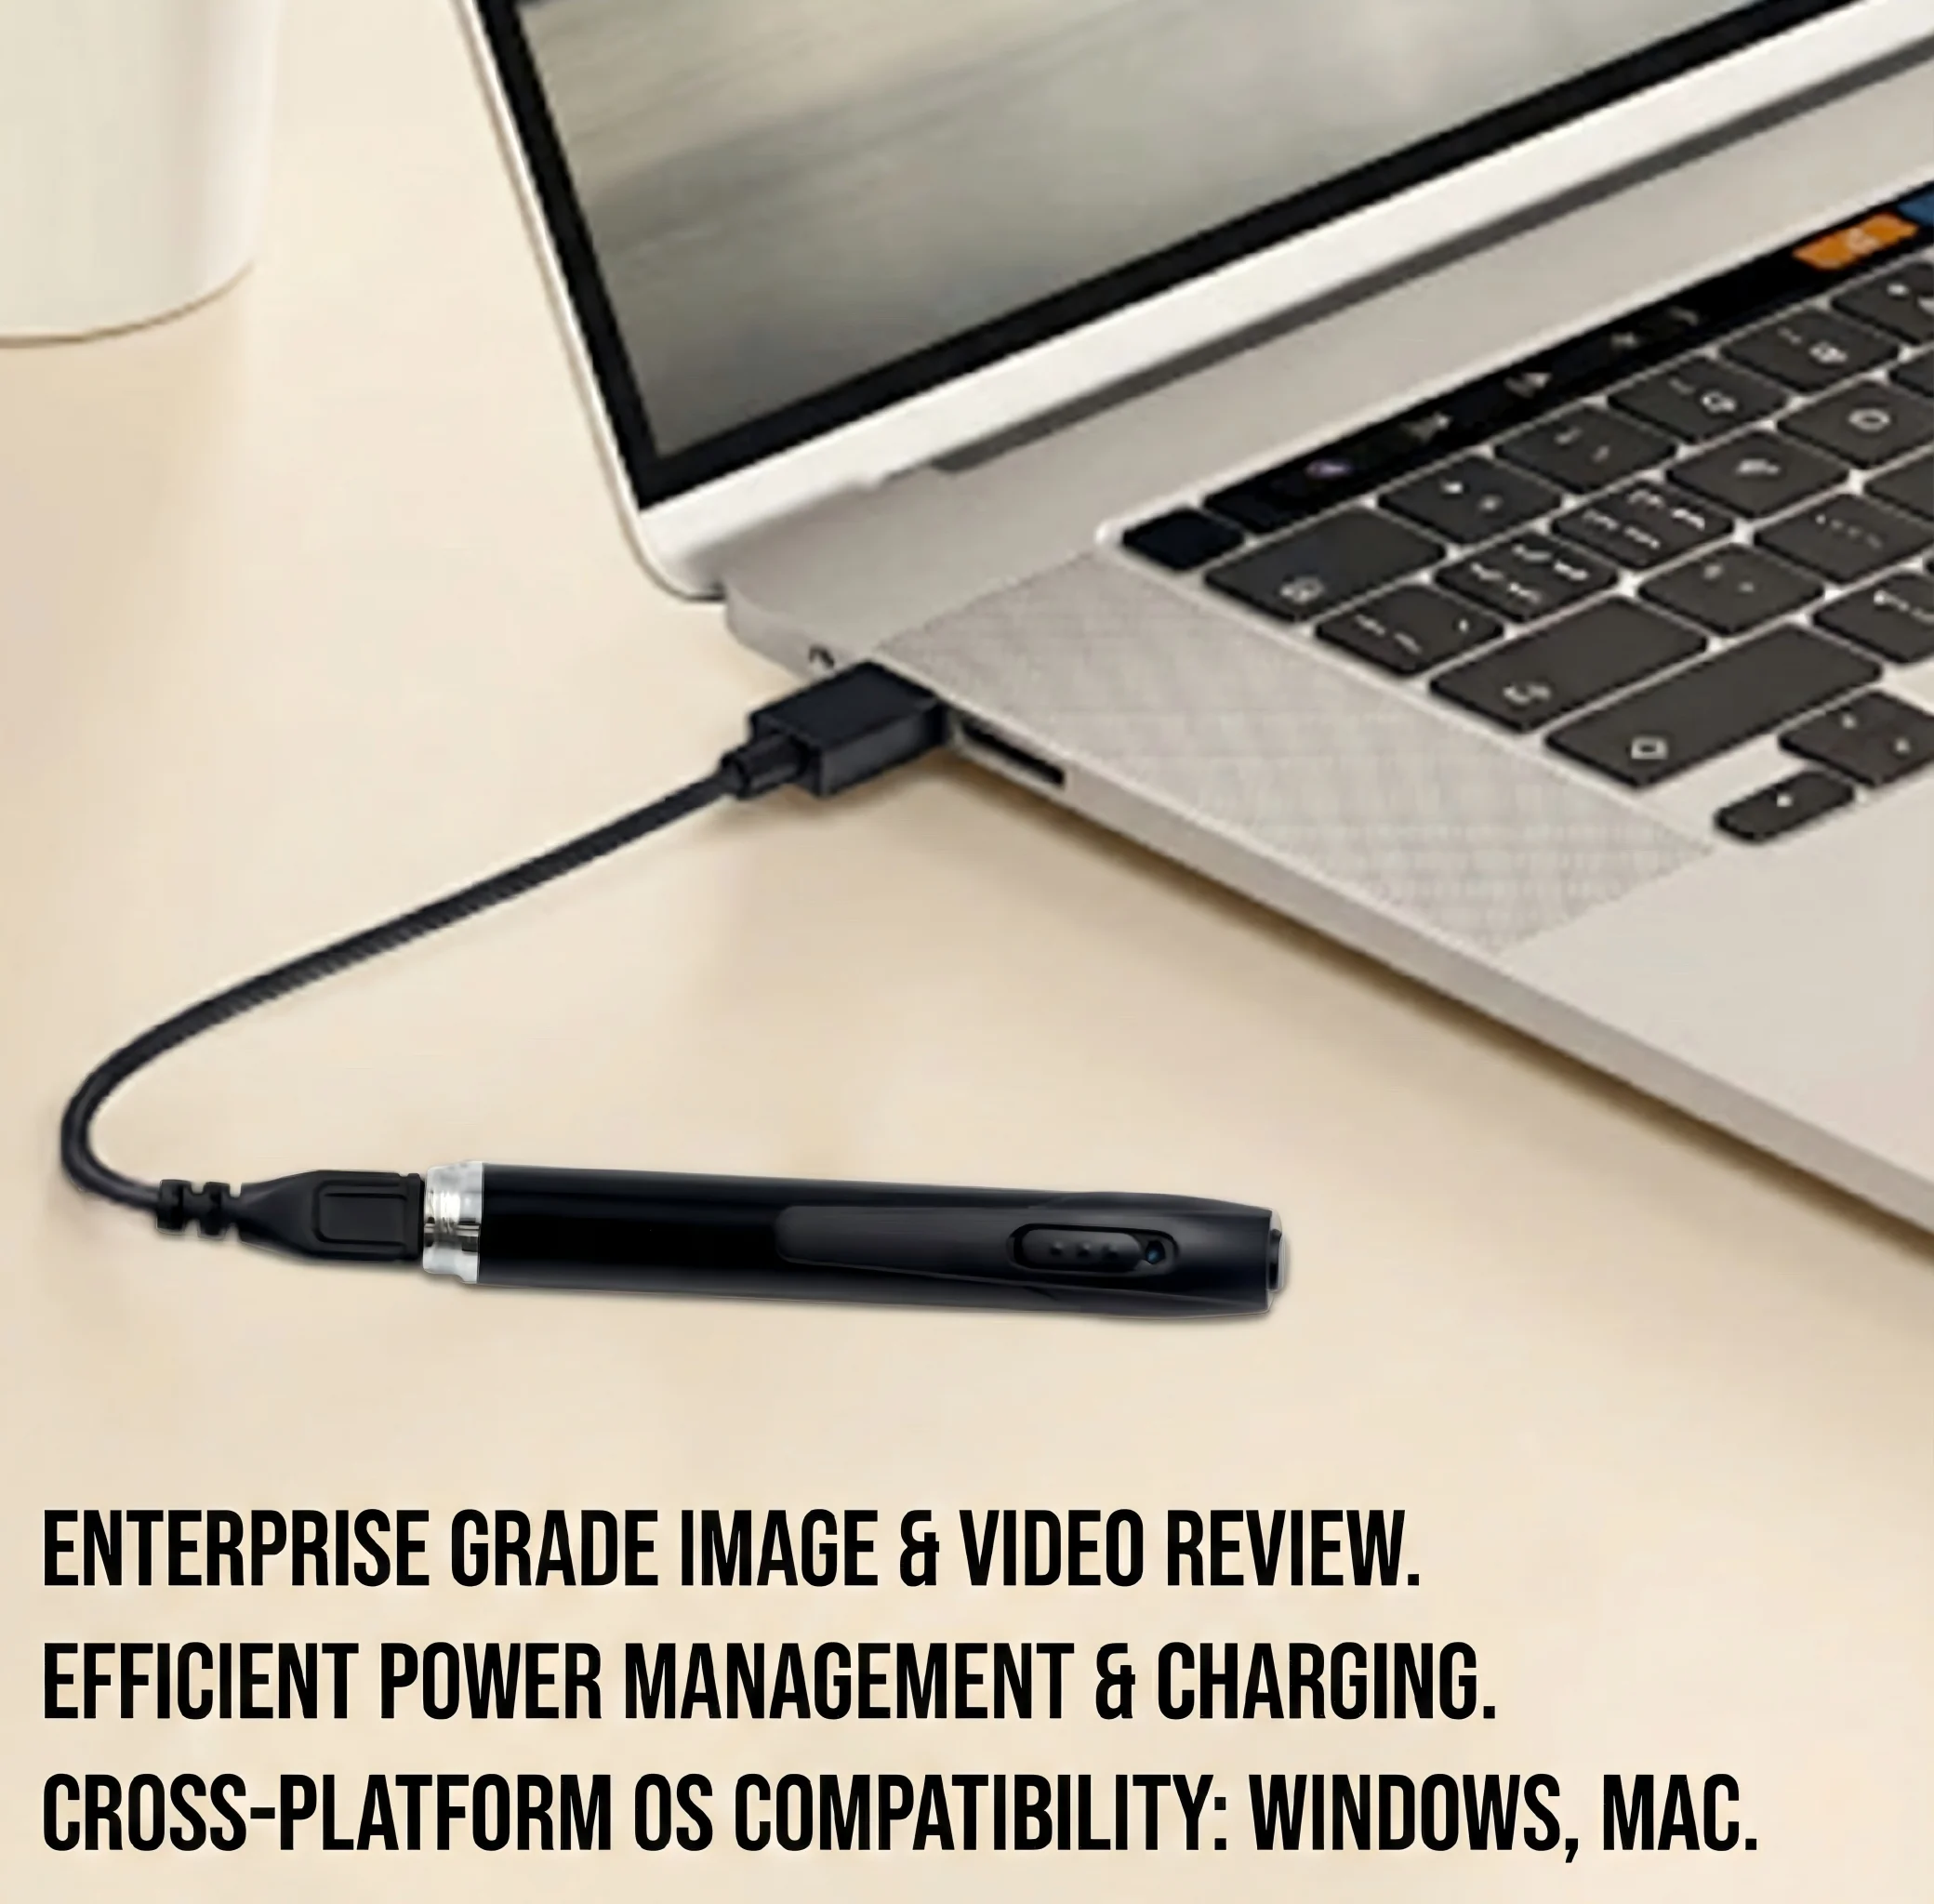
Étape 1 — Recouper en utilisant la sortie casque intégrée de l’appareil
Avant même de toucher à l'ordinateur, effectuez cette étape de vérification matérielle. Cela prend 30 secondes et vous indique immédiatement si le problème vient de l'enregistreur ou du logiciel de lecture.
Branchez le câble adaptateur pour casque de 3,5 mm fourni à la prise de sortie audio de l'enregistreur (sur la plupart de nos enregistreurs-stylos et modèles ZD46, il s'agit de la prise jack latérale de 3,5 mm). Branchez une paire d'écouteurs standard. Allumez l'appareil en mode lecture (généralement en appuyant longuement sur le bouton de fonction, ou en accédant au menu « Lecture »).
Si vous entendez clairement l'audio à travers les écouteurs : L'enregistreur fonctionne correctement. Le problème vient entièrement du côté de l'ordinateur — un codec manquant ou un lecteur non pris en charge. Passez à l'étape 2.
Si l'audio est déformé, silencieux ou que le fichier ne se charge pas du tout : Le fichier ou le système de fichiers lui-même est endommagé. Passez à l'étape 3 (récupération FAT32).
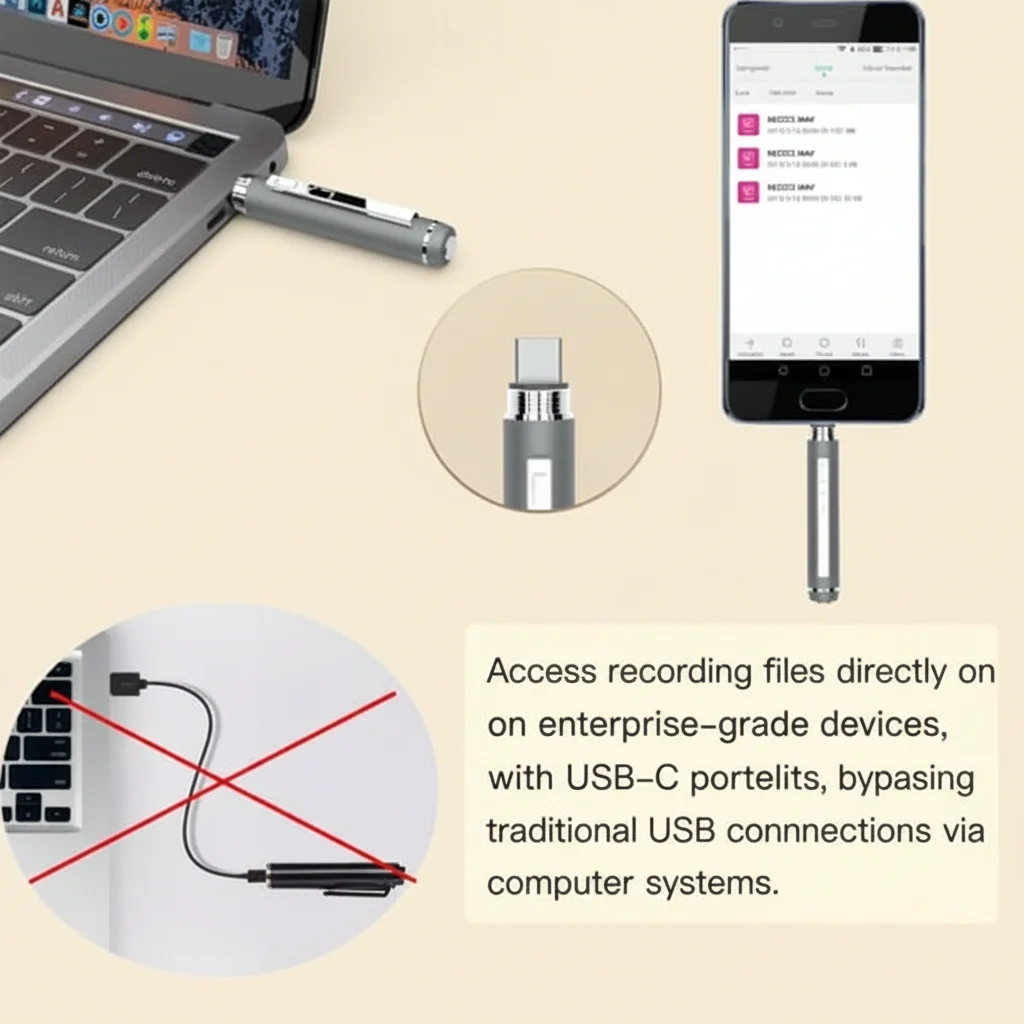
Étape 2 — Installer un lecteur multimédia universel (VLC)
Si le test du casque confirme que les fichiers sont intacts, la correction nécessite une minute d'installation du logiciel.
La solution standard de l'industrie est VLC Media Player, disponible gratuitement sur videolan.org. VLC regroupe tous les principaux codecs audio et vidéo, y compris le WAV PCM sans perte à tous les taux d'échantillonnage et débits binaires. Il n'a aucune limitation de taille de fichier et fonctionne de manière identique sur Windows, macOS, Linux, Android et iOS.
Étapes d'installation sur Windows :
1. Ouvrez un navigateur et rendez-vous sur `https://www.videolan.org/vlc/
2. Cliquez sur “Download VLC” — la page détecte automatiquement votre système d'exploitation
3. Exécutez l'installateur et acceptez toutes les valeurs par défaut.
4. Après l'installation, faites un clic droit sur n'importe quel fichier WAV → “Ouvrir avec” → “VLC Media Player”
Étapes d'installation sur macOS :
1. Téléchargez le .dmg macOS depuis la même page VLC.
2. Faites glisser VLC vers le dossier Applications
3. Ouvrez VLC → Fichier → Ouvrir un fichier → sélectionnez le WAV depuis l'enregistreur
Lecteurs alternatifs qui prennent également en charge la lecture complète des fichiers WAV : foobar2000 (Windows), Audacity (multiplateforme, affiche également la forme d'onde), et PotPlayer (Windows).
Une fois VLC installé, tous les futurs enregistrements de l'appareil s'ouvriront sans problème. Aucune modification de l'enregistreur lui-même n'est nécessaire.
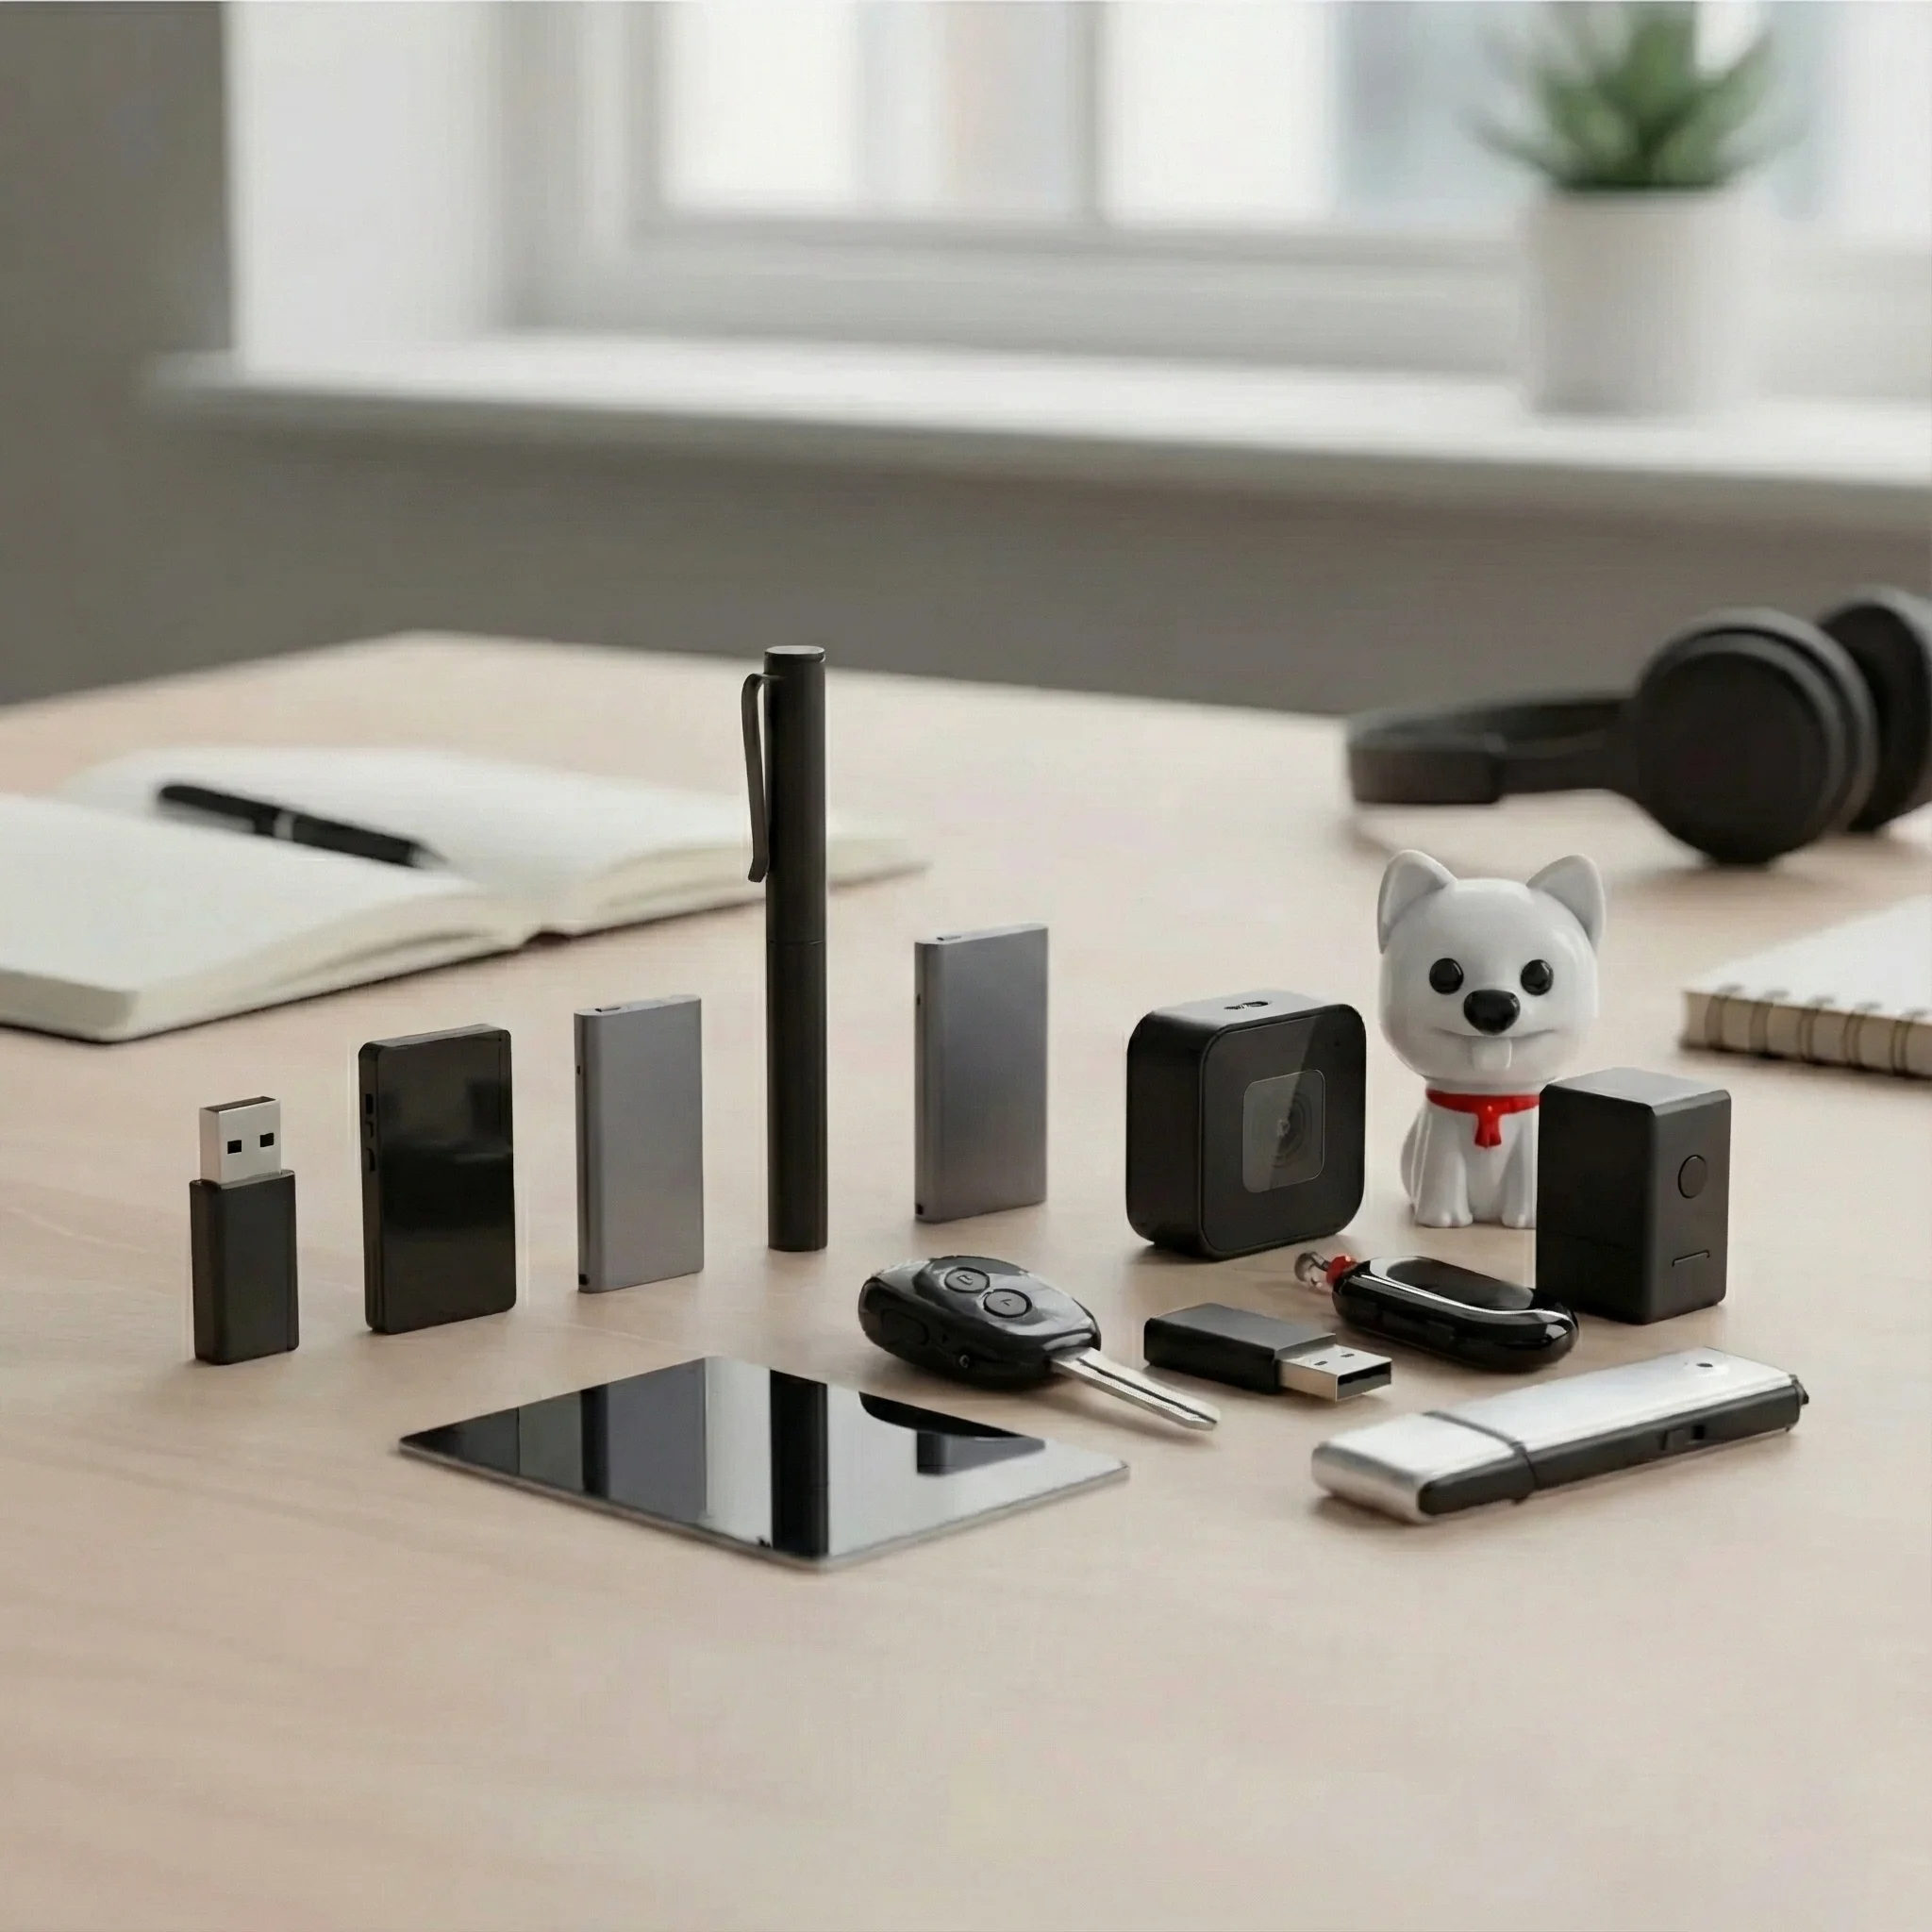
Étape 3 — Récupération du système de fichiers FAT32 (Fichiers corrompus ou absence totale de réponse)
Si le test du casque a échoué, ou si le disque affiche des noms de fichiers corrompus (caractères chinois apparaissant sous forme de boîtes, symboles aléatoires, entrées de zéro octet impossibles à supprimer), le système de fichiers FAT32 nécessite une réinitialisation complète.
Critical note: Cette procédure efface tous les enregistrements stockés. Avant de procéder, tentez de récupérer les données à l'aide de Recuva (Windows) ou PhotoRec (multiplateforme) si les enregistrements ont une valeur probante ou commerciale. Ces outils peuvent souvent récupérer des fichiers d'un volume FAT32 logiquement corrompu, même lorsque Windows ne peut pas les afficher.
La procédure de formatage FAT32
Prérequis :
– Éteignez complètement l'enregistreur vocal (maintenez le bouton d'alimentation enfoncé jusqu'à ce que le voyant s'éteigne)
– Utilisez le câble USB d'origine (les câbles tiers avec un câblage exclusivement électrique n'exposeront pas le lecteur)
– Utilisez un PC Windows (Windows offre le format FAT32 natif pour les supports amovibles jusqu'à 32 GB)
Étape par étape:
1. Connectez l'enregistreur éteint via USB. Windows lui attribuera une lettre de lecteur (par exemple, E: ou F:).
2. Ouvrez “Ce PC” (Explorateur de fichiers). Localisez le lecteur amovible — ne l’ouvrez PAS.
3. Faites un clic droit sur l’icône du lecteur → sélectionnez « Formater… »
4. Dans la boîte de dialogue Format, cliquez Restaurer les paramètres par défaut de l'appareil Premièrement. Ceci réinitialise toute taille de cluster personnalisée à la valeur recommandée par le fabricant.
5. Dans le menu déroulant “Système de fichiers”, vérifiez que FAT32 est sélectionné. Si elle affiche exFAT ou NTFS, changez-la en FAT32.
6. Assurez-vous que « Taille d'unité d'allocation » est définie sur Taille d'allocation par défaut (généralement 4096 octets pour FAT32).
7. Cochez la case pour Format rapide (décocher cette option lance une analyse au niveau des secteurs, utile si vous suspectez une défaillance des cellules flash, mais prend 10 à 20 minutes).
8. Cliquez « Démarrer. » Confirmez la boîte de dialogue d'avertissement. Le formatage se termine en moins de 10 secondes pour le formatage rapide.

Étape 4 — Réinstaller l'utilitaire de synchronisation horaire après le formatage
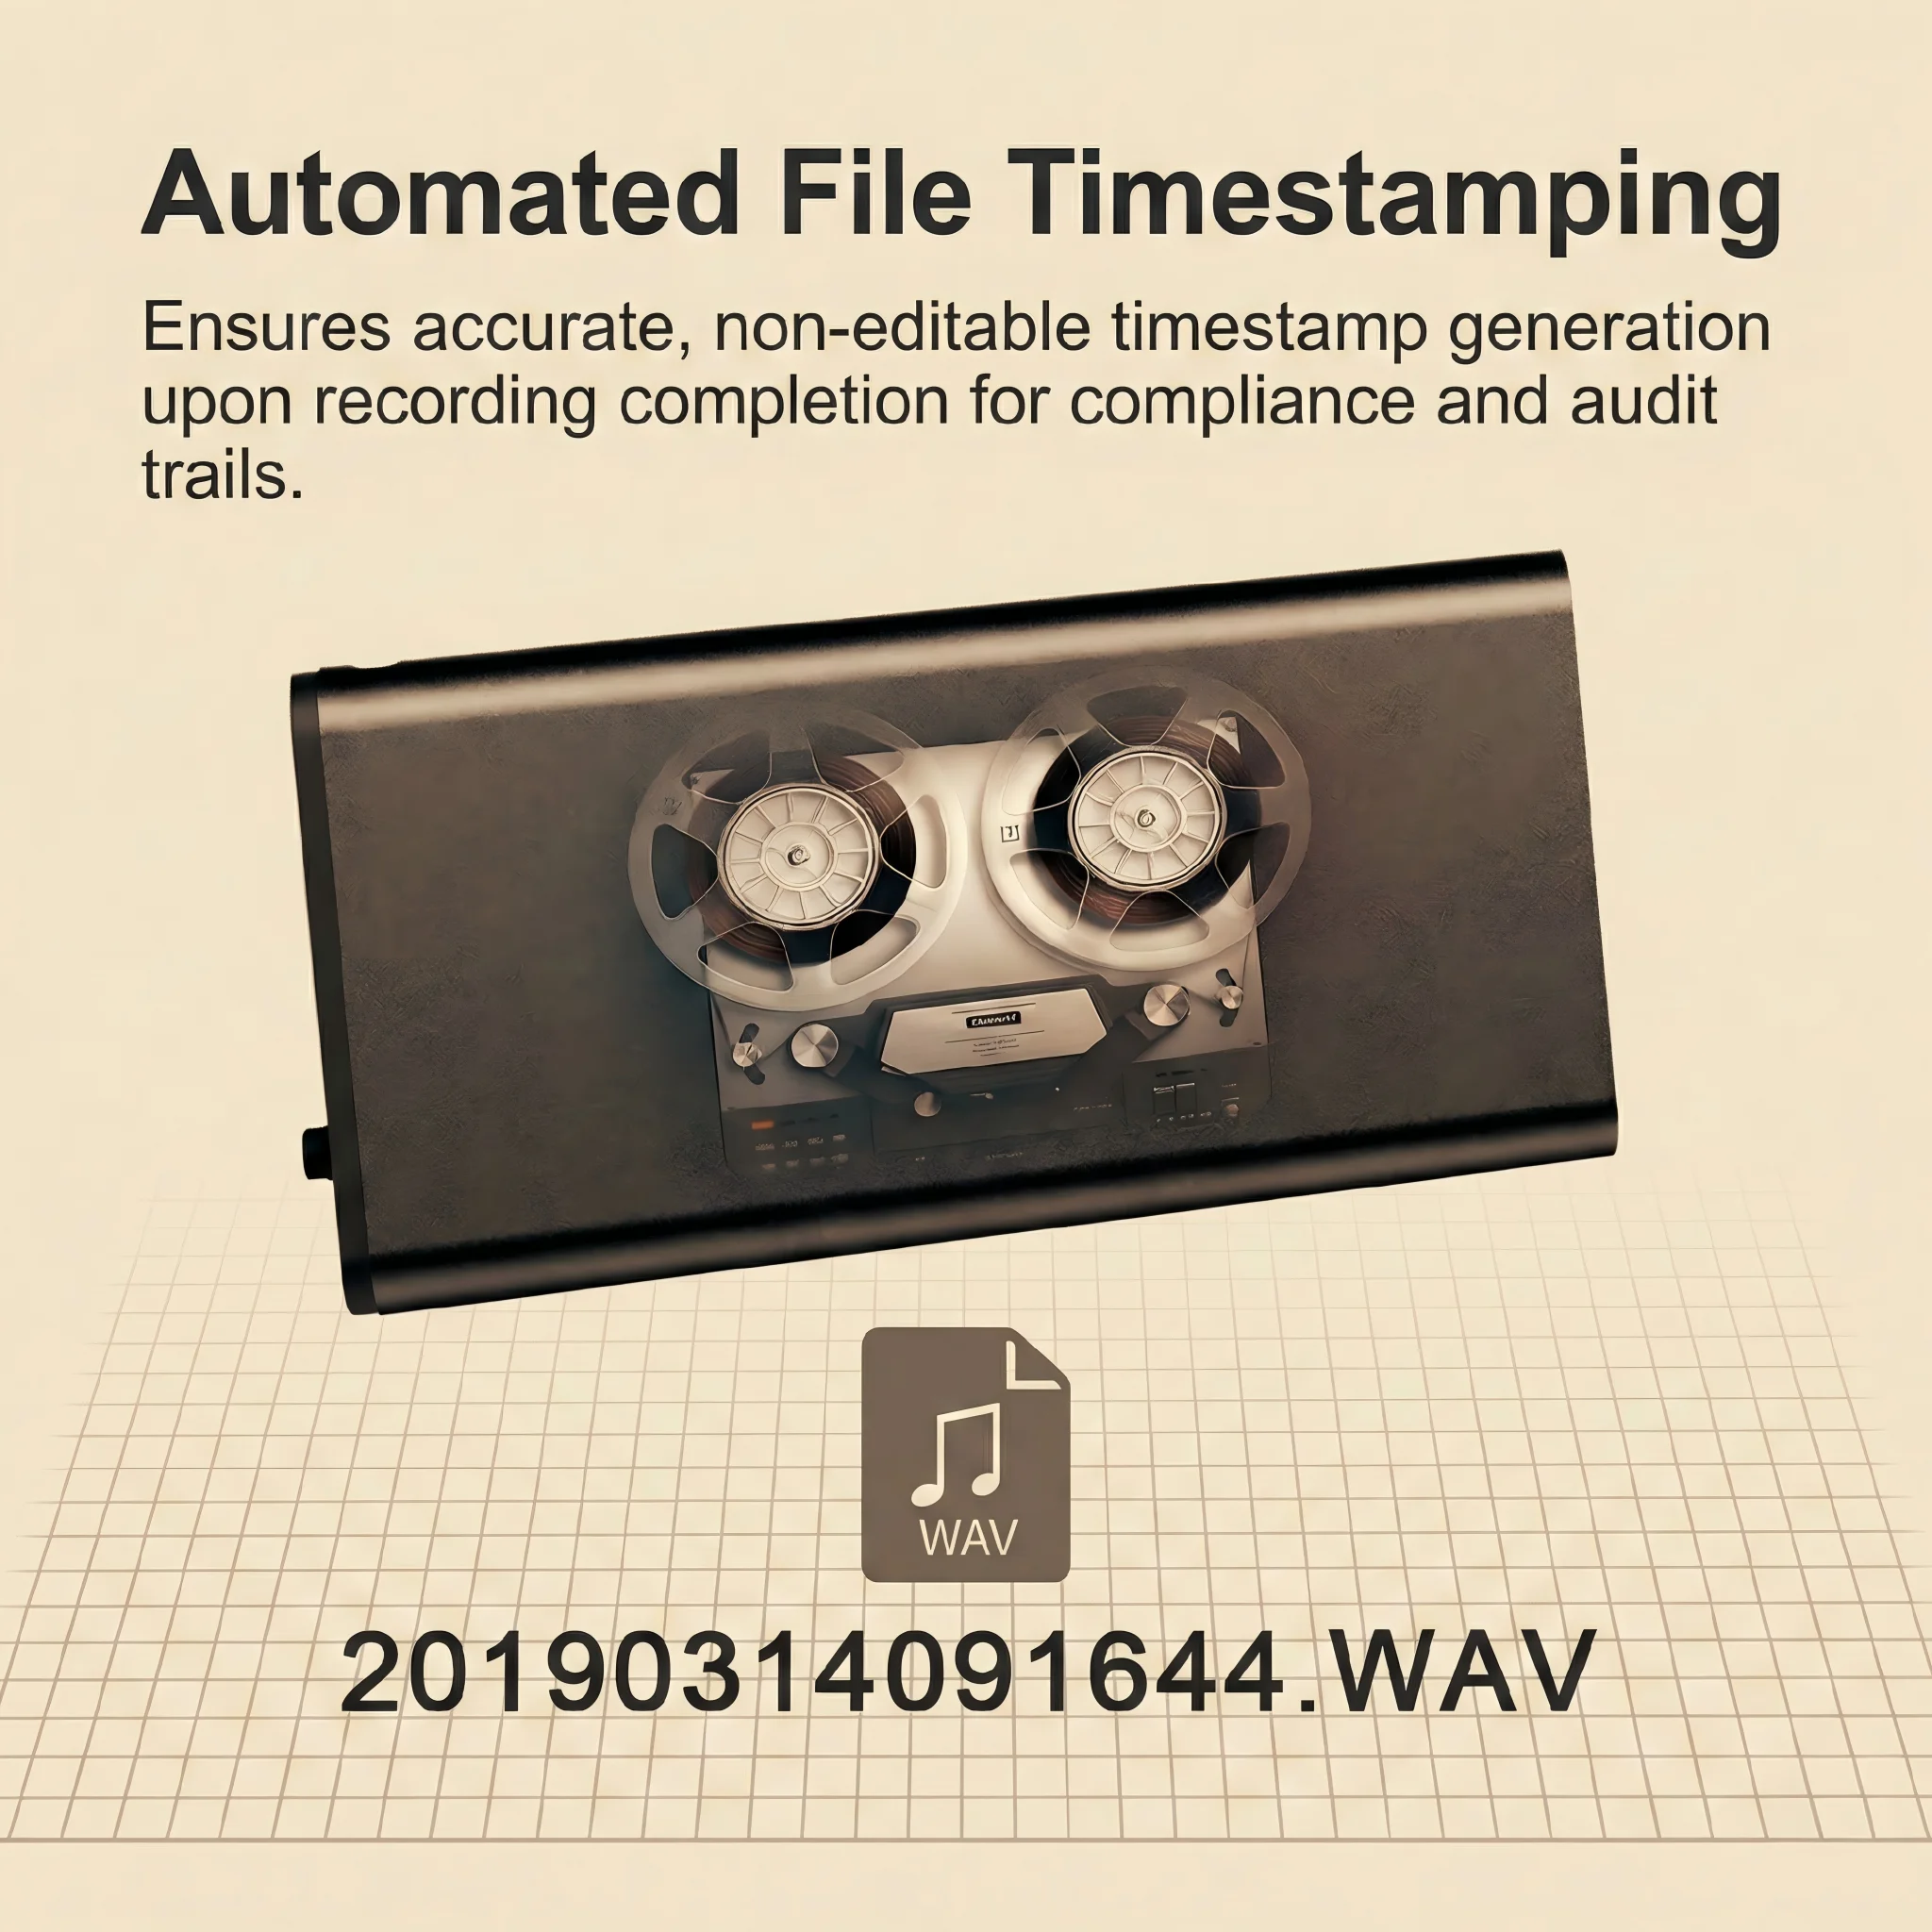
Après un formatage FAT32, l'horloge temps réel interne de l'enregistreur perdra sa référence de synchronisation. Tous les enregistrements seront horodatés à partir de la date d'usine par défaut de l'appareil (souvent 2020-01-01 00:00:00), ce qui rend la gestion des fichiers et la conformité de la piste d'audit impossibles.
La solution est simple : copiez l'outil de synchronisation horaire dans le répertoire racine de l'enregistreur avant la première utilisation.
Où trouver l'utilitaire : L'outil de synchronisation horaire est inclus sur le CD/carte de manuel dans l'emballage d'origine. Si l'utilisateur final n'a plus l'emballage d'origine, les distributeurs peuvent le télécharger depuis notre portail B2B ou le demander par e-mail. Le fichier est généralement nommé `时间设定工具.exe` ou `TimeSync.exe` selon la version.
Comment cela fonctionne : Lorsque l'enregistreur est connecté à un ordinateur et que cet exécutable est présent dans le répertoire racine, le firmware de l'appareil lit l'horloge système de l'ordinateur hôte et l'écrit dans la puce RTC (Real-Time Clock) de l'enregistreur. Cela se produit automatiquement lors de la prochaine connexion, sans nécessiter d'action de l'utilisateur.
Après avoir terminé cette étape, l'enregistreur est pleinement opérationnel : horodatages corrects, structure de répertoire propre et aucune entrée résiduelle brouillée.
Étape 5 — Sauvegarde automatique de l'alimentation critique pour la protection des données
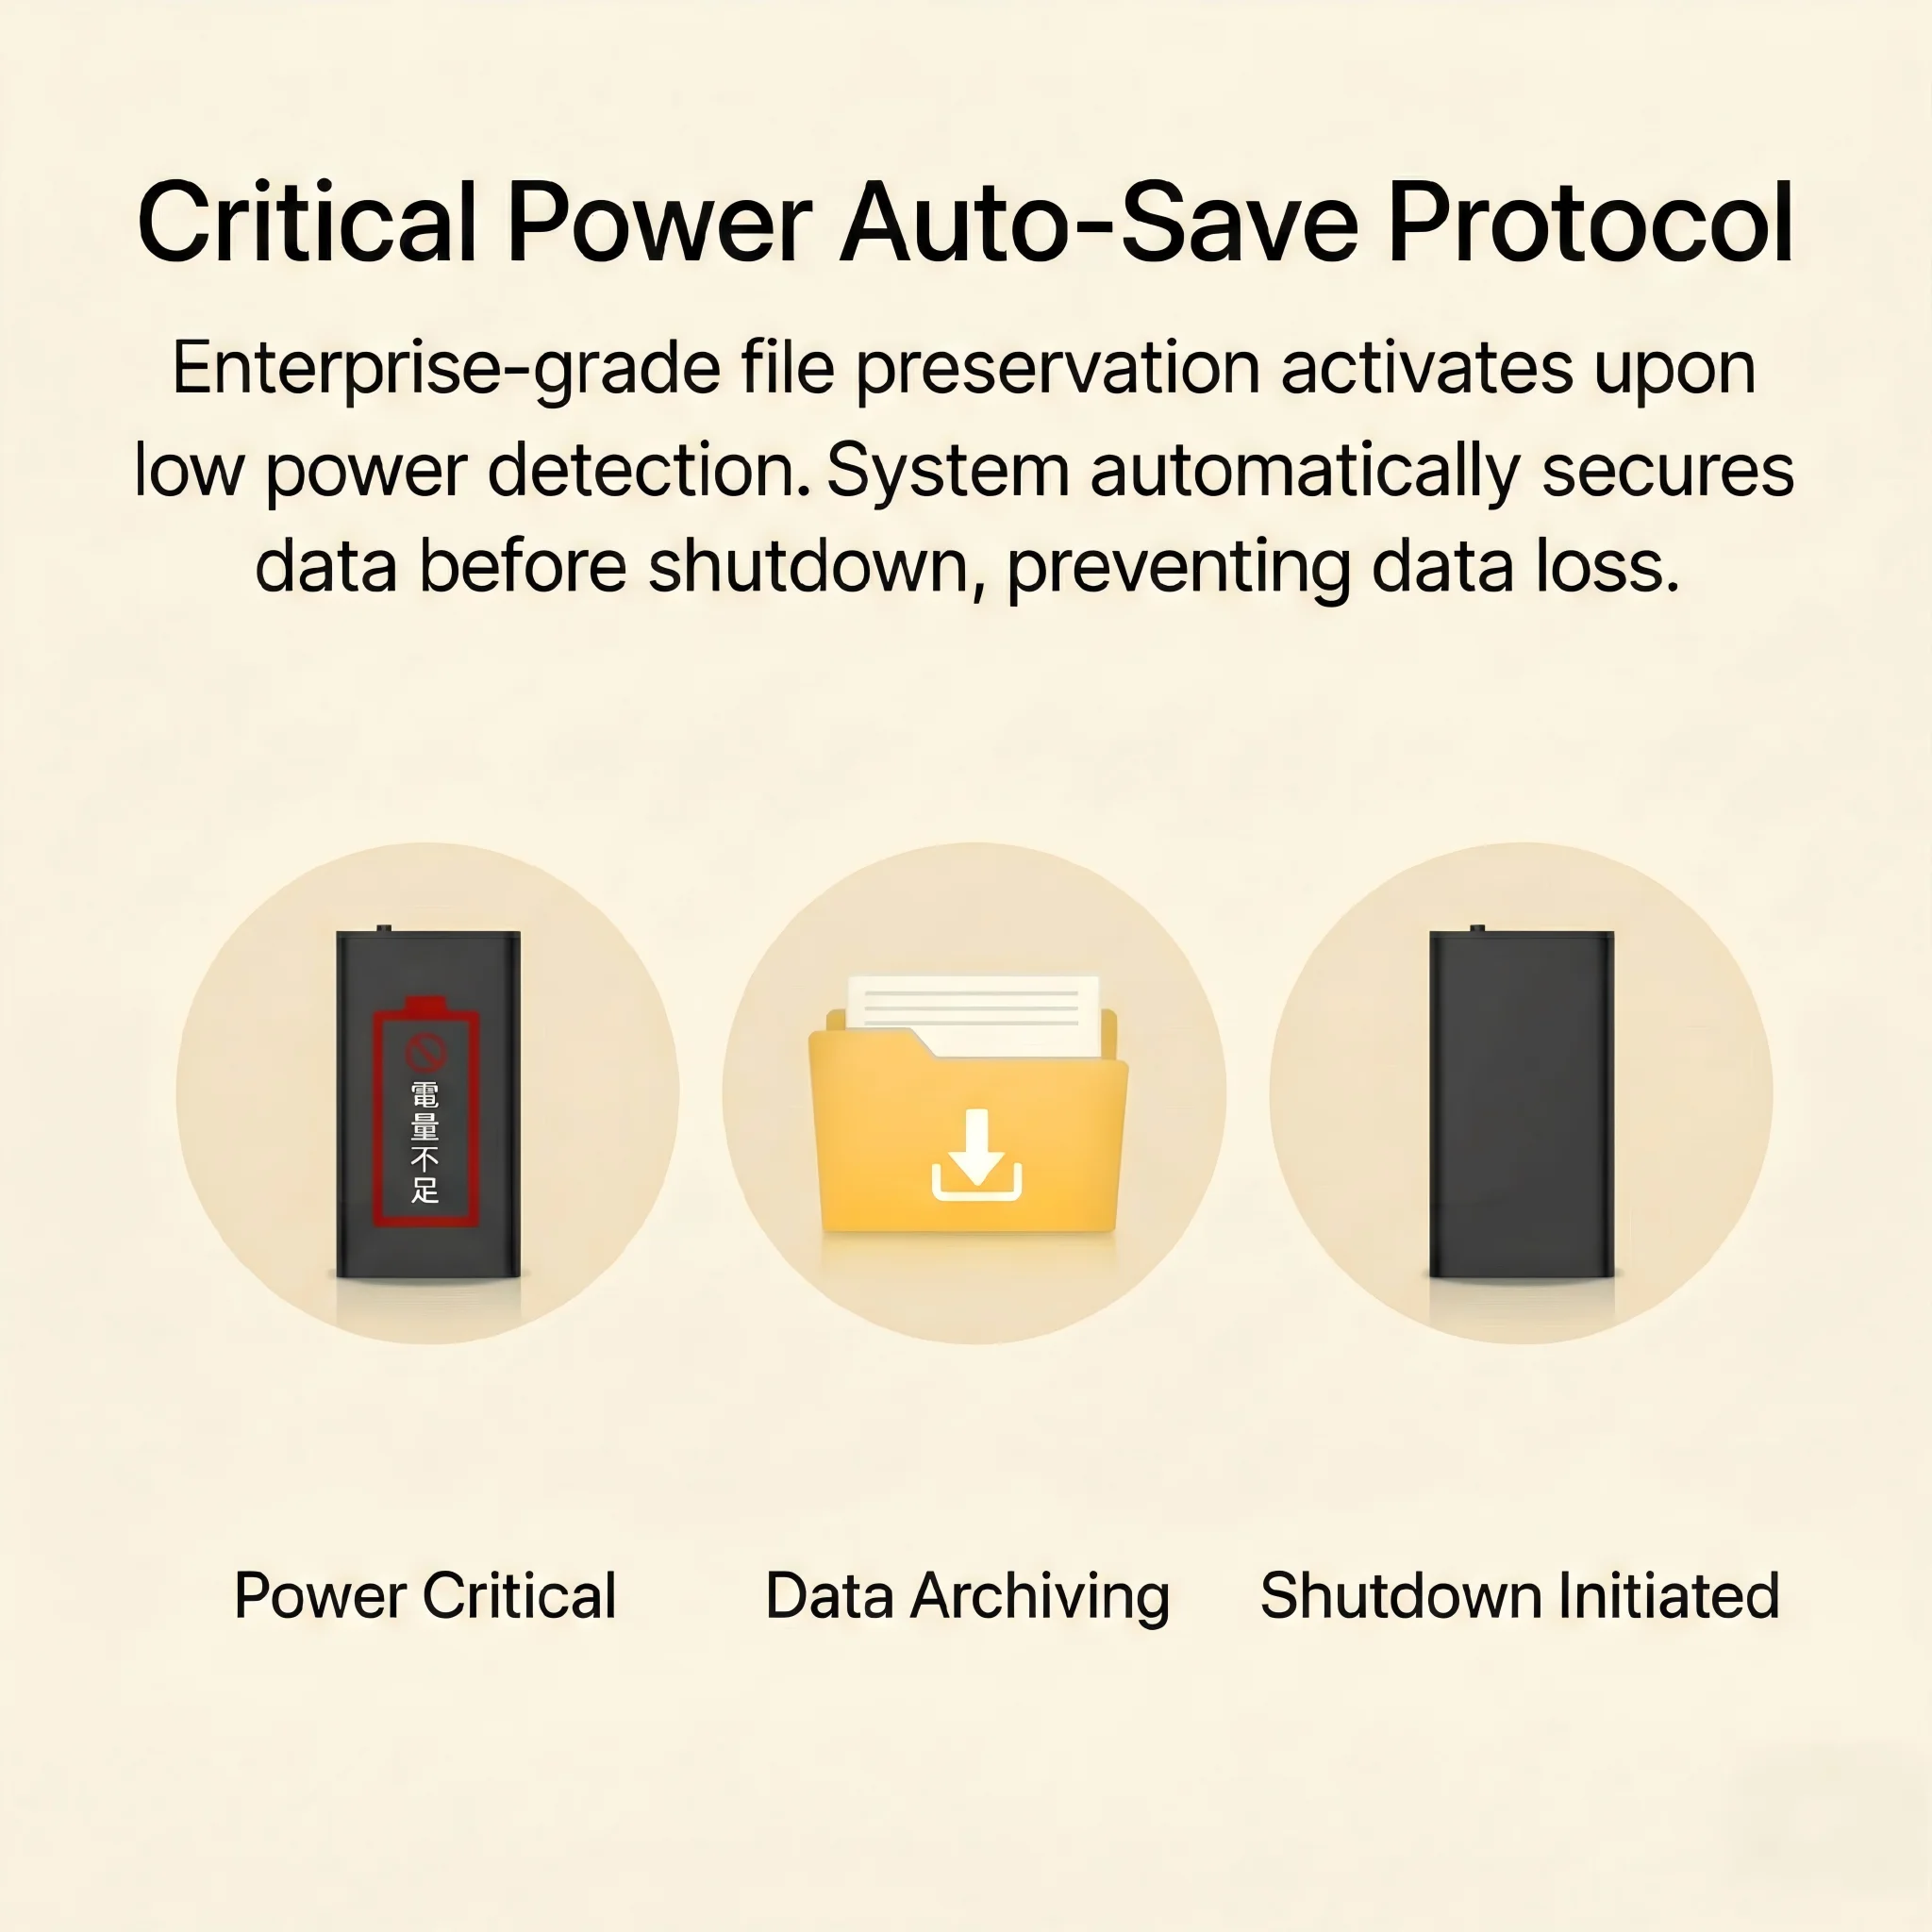
Une cause récurrente de corruption de fichier qui est entièrement évitable est l'enregistrement sans surveiller les niveaux de puissance. Lorsque la batterie d'un enregistreur descend en dessous de la tension minimale de fonctionnement pendant une session d'enregistrement active, le micrologiciel peut ne pas avoir suffisamment de puissance pour fermer proprement l'en-tête du fichier avant l'arrêt.
Nos enregistreurs incluent un Sauvegarde automatique de l'alimentation critique fonction : lorsque la batterie atteint environ 5 à 8 % de capacité restante, le firmware finalise automatiquement le fichier d'enregistrement en cours et écrit l'entrée du répertoire FAT32 avant que le système ne s'éteigne. Cela produit un fichier entièrement lisible même en cas d'arrêt dû à une batterie faible.
Cependant, cette protection ne fonctionne que si la batterie n'est pas déjà déchargée. Un appareil stocké non chargé pendant des mois peut avoir une tension insuffisante pour déclencher le circuit d'auto-sauvegarde, c'est pourquoi la procédure de charge d'entretien décrite dans notre guide d'entretien des batteries est essentielle avant d'utiliser un appareil stocké longtemps.
Pour les clients B2B déployant des enregistreurs dans des scénarios de collecte de preuves ou de conformité, demandez aux utilisateurs de recharger l'appareil dès que l'indicateur LED de batterie faible s'active — n'attendez pas que l'appareil s'éteigne au milieu de l'enregistrement.
Comment diagnostiquer une défaillance matérielle du flash par rapport à une corruption logicielle
Pour les distributeurs traitant les retours, distinguer avec précision la corruption logicielle (problèmes FAT32, problèmes de codec) des pannes matérielles (cellules flash mortes) évite les remplacements inutiles sous garantie et accélère les résolutions correctes.
Indicateurs de corruption logicielle/logique (réparable) :
– Fichiers visibles sur le disque mais illisibles
– Noms de fichiers brouillés ou en caractères chinois sur un système d’exploitation non chinois
– Le disque affiche une capacité totale/libre incorrecte
– Périphérique reconnu par le Gestionnaire de périphériques Windows mais le lecteur n'apparaît pas dans l'Explorateur de fichiers
– Message d'erreur : “Le fichier ou le répertoire est corrompu et illisible”
Indicateurs de défaillance matérielle/flash (nécessite le remplacement de l'unité) :
– Le Gestionnaire de périphériques Windows affiche le périphérique avec un triangle d'avertissement jaune.
– La tentative de formatage renvoie une erreur : “Windows n’a pas pu terminer le formatage”
– `chkdsk` (vérificateur de disque Windows) signale des secteurs défectueux sur le volume
– L'appareil est reconnu différemment à chaque connexion (lettre de lecteur incohérente, capacité fluctuante)
– L'appareil a été exposé à l'eau, à une chaleur extrême (>70°C) ou à un choc physique.
Exécuter `chkdsk E: /f` à partir d'une invite de commande élevée (remplacez E: par la lettre de lecteur réelle) réparera automatiquement les erreurs FAT32 mineures sans avoir à effectuer un formatage complet — utile lorsque l'utilisateur souhaite préserver les enregistrements récupérables.
Protocole de prévention B2B : éduquer les utilisateurs finaux avant que les problèmes ne surviennent
Pour les revendeurs et les distributeurs, réduire les tickets de support commence par définir des attentes d'utilisation correctes au point de vente. Les deux comportements qui causent 90 % de tous les incidents de corruption FAT32 sont :
Débranchement à chaud du câble USB. Lorsque les utilisateurs retirent l'enregistreur d'un ordinateur sans cliquer sur « Retirer le périphérique en toute sécurité » (Windows) ou « Éjecter » (macOS), le cache d'écriture différée du système d'exploitation peut encore contenir des données non vidées. La solution consiste à inclure une carte d'instructions imprimée : « Toujours éjecter avant de débrancher. » Windows 10 et 11 offrent une politique de « Retrait rapide » qui réduit (mais n'élimine pas) ce risque.
2. Connexion à un chargeur pendant l'enregistrement actif. Certains utilisateurs insèrent l'enregistreur dans une batterie externe ou un chargeur mural pour prolonger une session d'enregistrement. Selon le modèle de l'appareil et la version du firmware, cela peut interrompre le cycle d'écriture. La procédure correcte consiste d'abord à arrêter l'enregistrement, puis à brancher pour charger.
Checklist d'onboarding B2B recommandée pour les nouveaux déploiements :
– Démontrer la procédure de synchronisation horaire lors de la configuration initiale
– Afficher le workflow “Safely Remove Hardware” sur Windows et macOS
– Préinstaller VLC sur tous les ordinateurs destinés à lire les enregistrements
– Inclure l'utilitaire de synchronisation temporelle dans le répertoire racine de l'appareil avant l'expédition aux clients finaux.
Pour les déploiements à grande échelle en entreprise (50+ unités), envisagez de pré-formater tous les appareils en FAT32 avec l'utilitaire de synchronisation temporelle préchargé avant la distribution. Cela élimine les scénarios de support les plus courants du premier jour.
Questions fréquemment posées
Q : Mon dictaphone fonctionnait bien hier. Aujourd'hui, tous les fichiers apparaissent comme 0 octets. Que s'est-il passé ?
R : C'est un signe classique d'un cycle d'écriture interrompu — très probablement le câble USB a été déconnecté avant que le système d'exploitation ait vidé son cache. Exécutez `chkdsk /f` sur le disque pour voir si les en-têtes de fichiers peuvent être récupérés sans formatage. Si `chkdsk` échoue, procédez au formatage complet FAT32 et réinstallez l'outil de synchronisation horaire.
Q : Peut-on utiliser exFAT plutôt que FAT32 ? Mon ordinateur dit que FAT32 est obsolète.
R : Non. Notre firmware de dictaphone est conçu exclusivement pour FAT32. Les routines d'écriture de fichiers, l'indexation des répertoires et l'outil de synchronisation horaire du firmware sont tous codés selon la spécification FAT32. Utiliser exFAT entraînera que l'appareil ne reconnaît pas complètement le système de fichiers. Formatez toujours en FAT32.
Q : Le formatage a échoué avec “ Windows n'a pas pu terminer le formatage ”. Que faire maintenant ?
A : Cela indique probablement une défaillance matérielle de la mémoire flash, pas un problème logiciel. Essayez de formater en utilisant un outil tiers tel que SD Card Formatter (de l'SD Association) ou HP USB Disk Storage Format Tool, qui peut contourner le formateur de Windows et écrire directement sur le contrôleur. Si le formatage échoue encore, la mémoire flash interne est morte et l'unité doit être remplacée.
Q : VLC est installé mais le fichier ne joue toujours pas — je vois un écran noir et aucun audio.
R : Cela signifie généralement que le fichier lui-même est corrompu (en-tête de zéro octet ou tronqué), pas un problème de codec. Ouvrez le fichier dans Audacity (gratuit, multiplateforme). Audacity affichera la forme d'onde brute même pour les fichiers partiellement endommagés et peut souvent jouer la partie intacte. Si Audacity montre une ligne plate pendant toute la durée, le contenu du fichier est perdu et seule l'entrée du répertoire subsiste.
Q : Comment éviter cela complètement pour un lot de 200 unités que je distribue ?
A : Pré-formater toutes les 200 unités en FAT32 à partir d'un poste de travail central avant l'emballage. Placer l'utilitaire de synchronisation horaire dans le répertoire racine de chaque unité. Sceller les unités. Cela garantit un état du système de fichiers propre, indépendamment de la manière dont les unités ont été manipulées lors du transport ou du stockage en entrepôt.
Conclusion
La grande majorité des problèmes de “ fichiers non jouables ” proviennent de deux causes fondamentales totalement évitables : l'incompatibilité des codecs sur l'ordinateur de lecture et la corruption FAT32 due à une déconnexion USB incorrecte. Ni l'une ni l'autre implique un défaut matériel.
Pour les distributeurs, la bonne approche est d'équiper vos clients de trois choses : VLC installé avant le Jour 1, une habitude claire de “ Déconnecter correctement ”, et l'utilité de synchronisation horaire préchargée sur chaque appareil. Ces trois mesures élimineront plus de 90% des tickets de support entrants sur les produits dictaphones.
Pour les cas marginaux restants — les vraies défaillances matérielles de la mémoire flash — les critères de diagnostic de ce guide vous permettent de les identifier rapidement, demander un remplacement sous garantie lorsque justifié, et éviter un diagnostic erroné coûteux.
Si vous êtes un acheteur en gros ou un client OEM qui évalue notre gamme de dictaphones pour votre marché, contactez notre équipe B2B pour la documentation firmware spécifique aux appareils, les services de pré-formatage en gros et les matériels de formation après-vente.

 English
  Italiano
  Deutsch
  Français
  Español
  Polski