Cómo Construir Tu Propia Cámara Oculta con un Kit de Cámara DIY
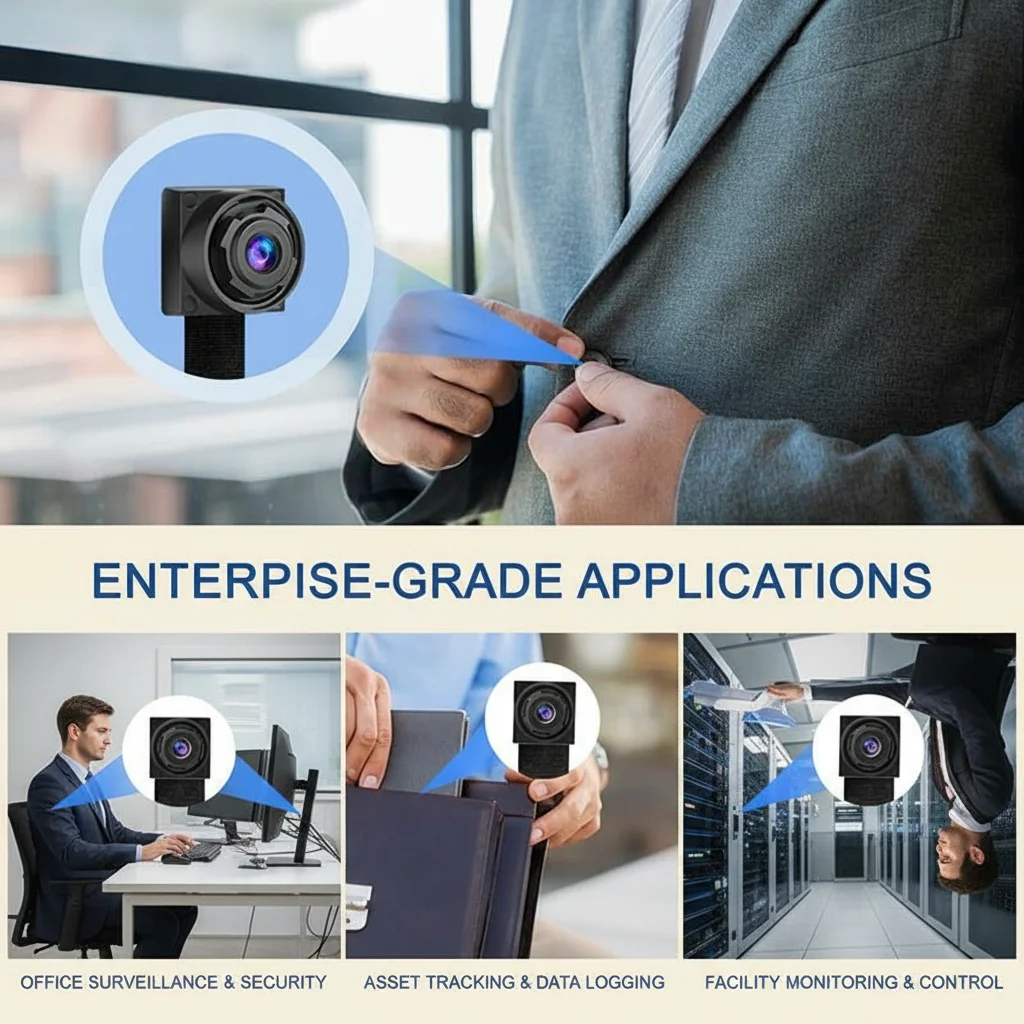
Un kit de cámara DIY te ofrece la máxima flexibilidad en vigilancia encubierta: la capacidad de incrustar un módulo de cámara de grado profesional en prácticamente cualquier objeto que elijas. Reloj, marco de fotos, oso de peluche, caja de pañuelos, enchufe de pared—si puede sostener el módulo y tiene una pequeña apertura para la lente, se convierte en una cámara oculta. Este enfoque permite instalaciones verdaderamente personalizadas que ninguna cámara espía producida comercialmente puede replicar.
This guide walks you through everything you need to know about DIY camera kits: what’s included, how to integrate them, which enclosures work best, and how to connect them to WiFi for remote monitoring.
¿Qué es un kit de cámara DIY?
Un kit de cámara DIY es un módulo de cámara completo—lente, sensor de imagen, procesador, radio WiFi y batería—empaquetado sin carcasa. En lugar de estar integrado en un alojamiento específico (como un reloj o una unidad USB), el módulo desnudo está diseñado para instalarse en cualquier objeto o alojamiento que selecciones.
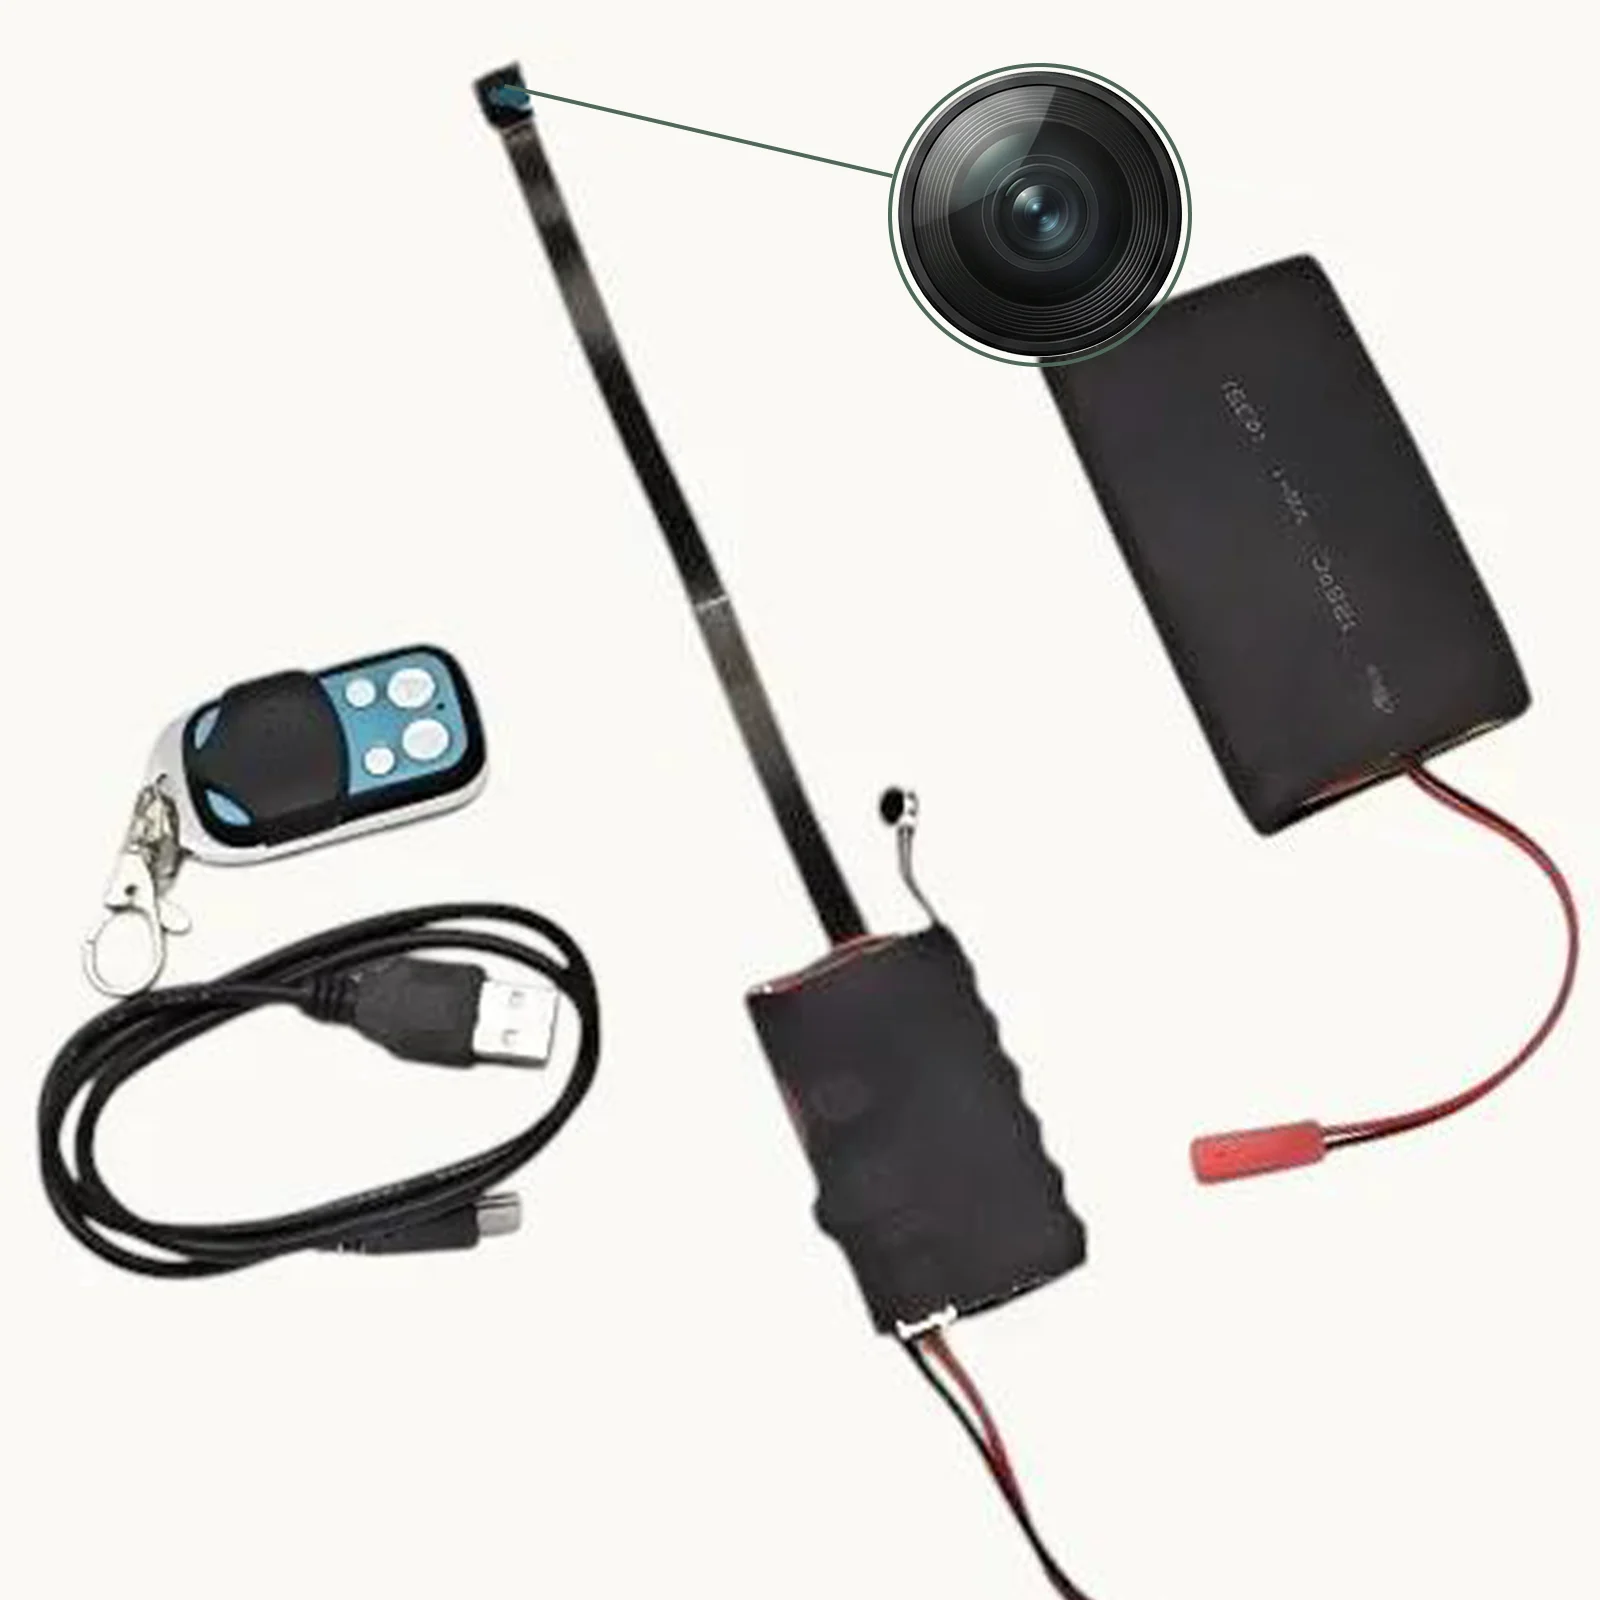
Un kit de bricolaje completo normalmente incluye:
– Camera module: La unidad central con lente, sensor y procesador integrados
– Antena WiFi: Para conectividad inalámbrica (a veces integrada en la PCB)
– Batería or Cable de alimentación USB: Fuente de alimentación para el módulo
– Ranura para tarjeta Micro SD: Para almacenamiento local
– Manual de instrucciones: Guía de configuración y configuración
– Información de la aplicación: Para visualización remota en smartphone
El módulo es notablemente compacto—a menudo más pequeño que una caja de cerillas—y está diseñado para esconderse dentro de cualquier objeto con suficiente espacio interior.
Especificaciones clave de módulos DIY de calidad
Opciones de resolución
Los módulos de cámara DIY vienen en varios niveles de resolución:
| Resolución | Lo mejor para | Tamaño del archivo (por hora) |
|---|---|---|
| 1080p Full HD | La mayoría de las aplicaciones | ~2GB |
| 2K (2560×1440) | Vigilancia crítica de detalles | ~3.5GB |
| 4K Ultra HD | Calidad máxima | ~6–8 GB |
Los módulos 4K proporcionan un detalle excepcional—puedes leer claramente texto en documentos, identificar rostros a distancia y capturar detalles finos que las cámaras de menor resolución pierden. La contrapartida son archivos de mayor tamaño y un mayor consumo de batería.
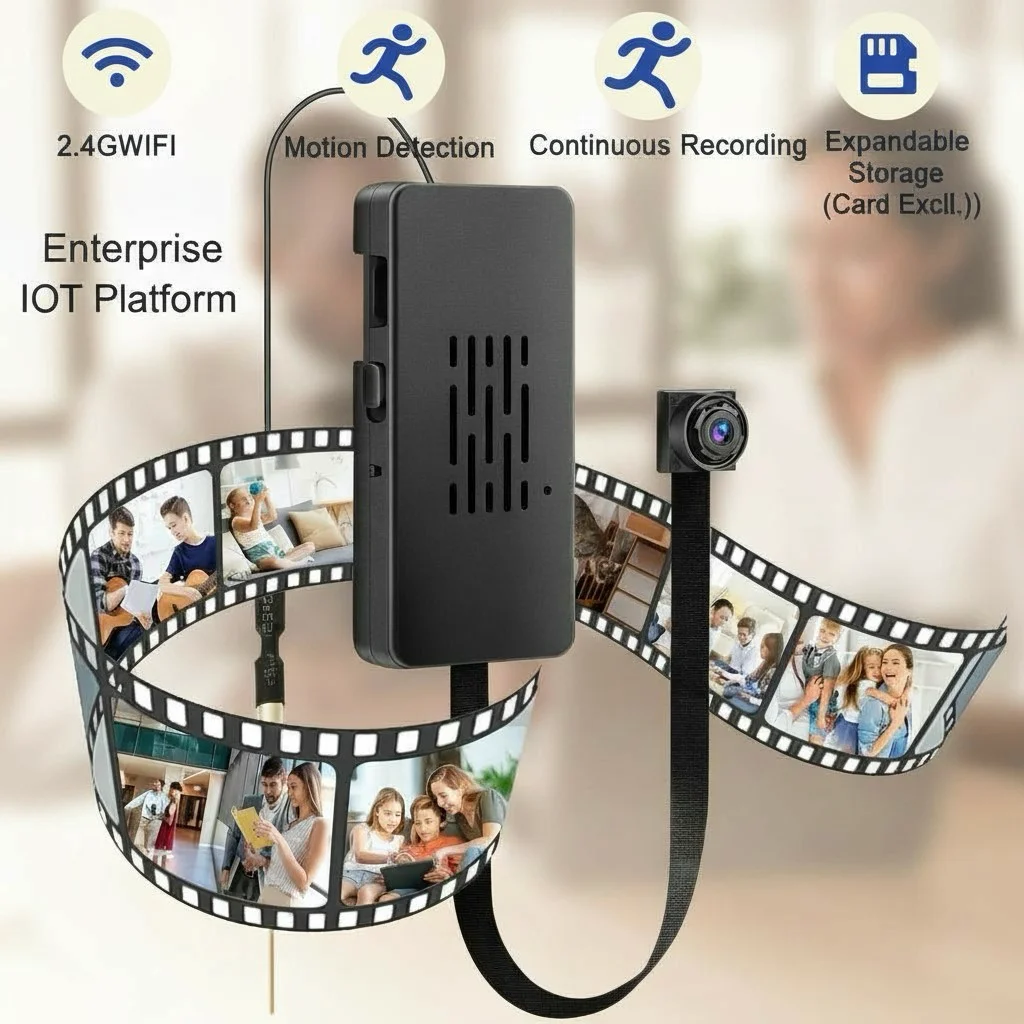
Conectividad WiFi
Los módulos DIY modernos se conectan a redes WiFi domésticas y transmiten video a smartphones a través de aplicaciones como Tuya Smart o HDLiveCam. Características clave de WiFi:
– Conectividad de 2.4GHz: Estándar; buen alcance, funciona con todos los routers
– Relé en la nube P2P: Permite visualización remota desde cualquier lugar
– Alertas de detección de movimiento: Notificaciones push al detectar movimiento
– Live streaming: Video en tiempo real desde cualquier lugar
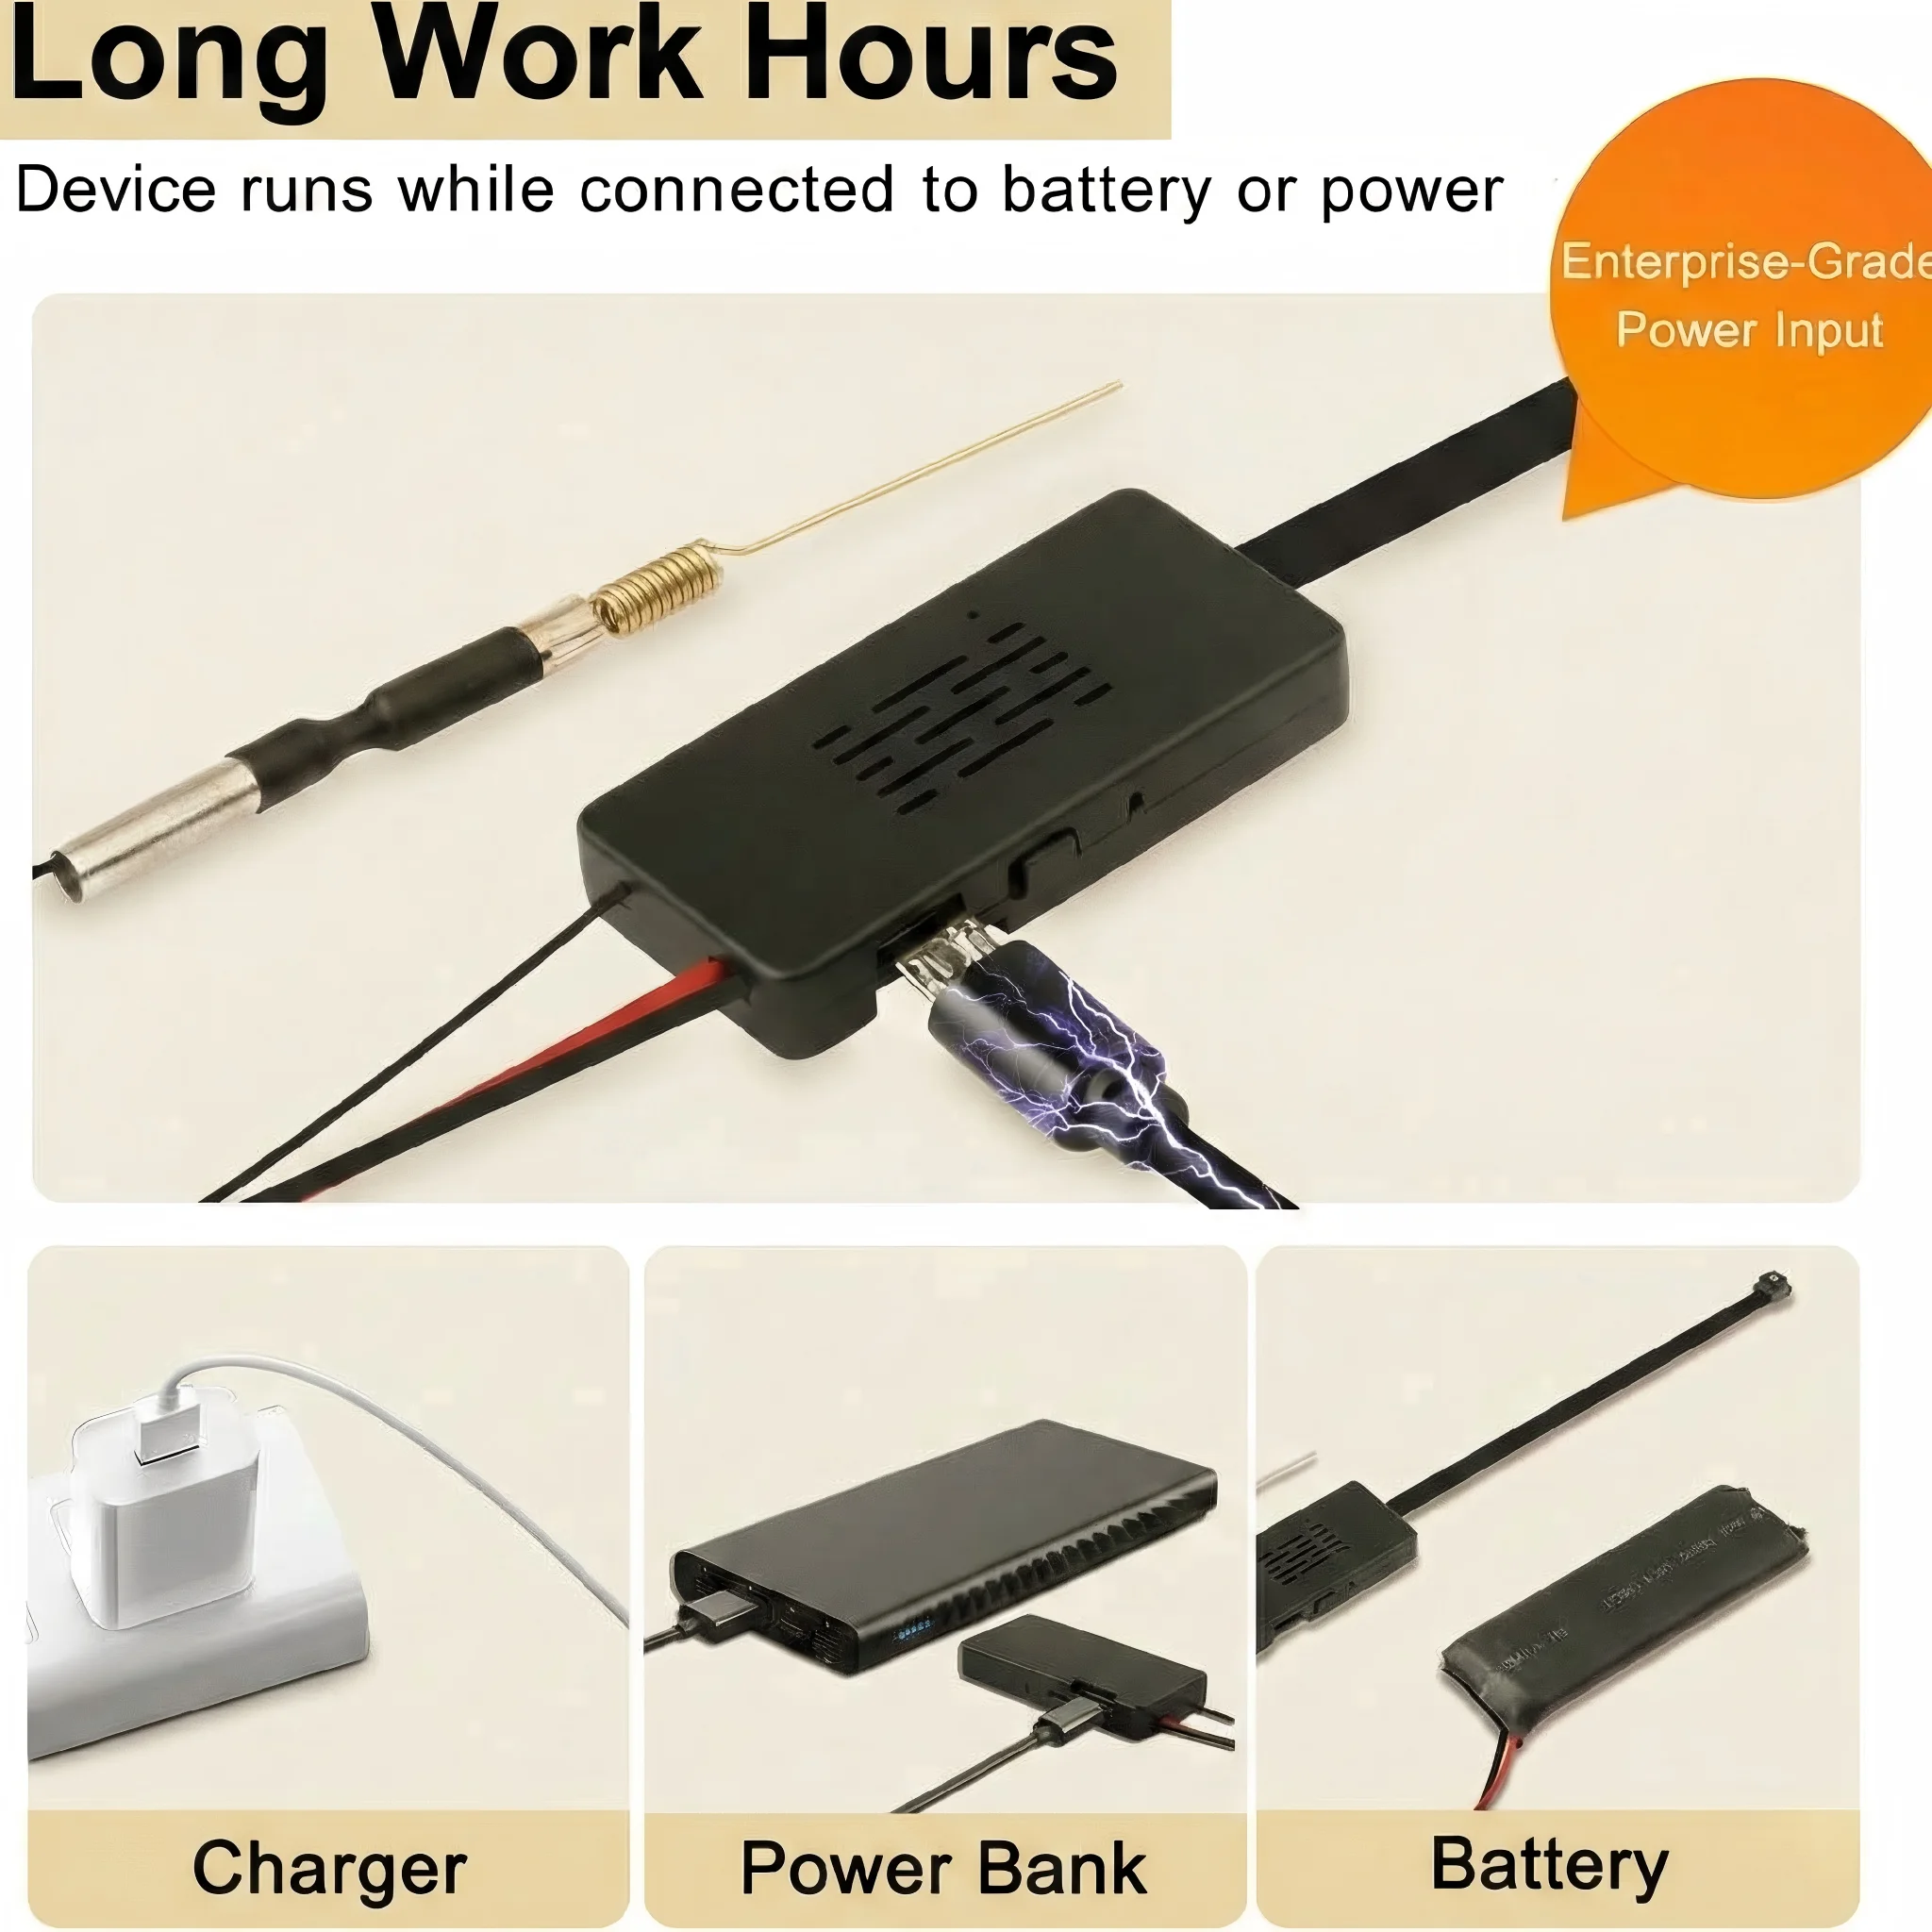
Batería vs. alimentación USB
Los módulos de bricolaje pueden alimentarse de dos formas:
Batería incorporada: Funcionamiento autónomo, sin cables de alimentación necesarios. La duración de la batería varía—12 horas para 1080p, 6–8 horas para 4K. Requiere recarga periódica.
Entrada de alimentación USB: Connect to any USB power source for unlimited recording duration. Requires routing a USB cable to a power adapter.
For permanent installations in objects near electrical outlets, USB power provides unlimited operation. For portable or remote installations, the built-in battery is essential.
Ideas de integración: ¿En qué puedes ocultarlo?

The power of a DIY kit is the freedom to integrate it into any everyday object:
Reloj analógico
A wall clock or desk clock is the most popular DIY integration target. The clock face provides cover, and the 12 o’clock position (where clock hands overlap) is an ideal lens placement—the tiny pinhole blends naturally into the clock face design.
Marco de fotos o portarretratos
Place the module behind the mounting board of a picture frame. Cut a 2–3mm hole in the board for the lens, aligned with the camera module. The frame sits naturally on a desk or wall while providing excellent coverage of the room.
Caja de pañuelos o caja de papel
Cut a small hole in one side of a tissue box (or a decorative paper box holder). Insert the module through the opening and secure it so the lens aligns with the hole. This is one of the quickest integrations and produces very natural results.
Sujetalibros u objeto decorativo
Any solid decorative object with sufficient interior space can host a module. Ceramic bookends, decorative vases, trophy bases, or even large hardcover books can be modified to conceal a camera module.
Purificador de aire o ventilador de escritorio
Electronics housings often have natural vent openings that can be repurposed as lens apertures. A small fan or air purifier makes a natural desk object with sufficient internal space.
Carcasas personalizadas impresas en 3D
For technically inclined users, 3D printing provides unlimited customization. Design any enclosure shape you need, print it, and install the module. This approach enables camera housings that no commercial product offers.
Cómo instalar el módulo en la carcasa elegida
The installation process follows the same basic steps regardless of the target enclosure:
Step 1: Plan the Lens Position
Decide where the camera should look from within the object. The module must be positioned so the lens faces this opening. Consider the required field of view—will the camera see the entire area you want to monitor from this position?
Step 2: Create the Lens Aperture
Use a 2–3mm drill bit (or a hot needle for soft materials like foam or plastic) to create the lens aperture. Drill carefully from the inside outward to prevent visible chipping on the exterior surface. The aperture should be just large enough for the lens—smaller is more covert.
Step 3: Secure the Module
Secure the module inside the enclosure with foam padding, adhesive putty, or small zip ties. The module must be firmly secured—any movement will cause it to point in an unintended direction.
Step 4: Route the Power Cable (if USB powered)
If using USB power, route the cable from the module’s USB input to an exit point in the enclosure. This cable will connect to a USB charger—try to route it along a natural edge or back of the object to minimize visibility.
Step 5: Test Before Final Assembly
Before permanently sealing the enclosure, power on the module and verify the image quality and field of view using the companion app. Check that the lens aperture isn’t visible in the camera’s own footage (the lens shouldn’t see its own housing).
Step 6: Finalize and Deploy
Close and seal the enclosure. Position the completed hidden camera in the desired location.
Configuración WiFi y Monitoreo Remoto

Setting up WiFi connectivity typically involves:
1. Download the app: Tuya Smart, Smart Life, or HDLiveCam depending on the module
2. Power on the module: The WiFi indicator will blink when in pairing mode
3. Add device in app: Follow the pairing wizard to connect to your home WiFi
4. Enter WiFi credentials: The module will join your network
5. Configure settings: Set motion detection sensitivity, recording mode, notification preferences
After setup, view live video from anywhere, receive motion alerts, and access stored clips through the app.
Consejos avanzados para construcciones DIY
Anti-reflection coating: After drilling the lens aperture, apply a tiny amount of black flat paint around the inside of the hole. This prevents visible glint from the lens that could reveal the camera’s presence.
Ventilation: Camera modules generate heat during operation. Ensure your chosen enclosure has some air circulation to prevent overheating during extended recording sessions.
Vibration isolation: In objects placed on surfaces with vibration (near appliances, HVAC vents), use foam padding to isolate the module from vibration. Vibration causes shaky footage and can eventually damage the module.
Prueba antes de la implementación: After completing the build, record a 30-minute test session and review footage quality, checking for focus, exposure, and audio quality. Correct any issues before deploying in a real surveillance situation.
Comparación de kits DIY con cámaras espía terminadas
| Factor | DIY Camera Kit | Finished Spy Camera |
|---|---|---|
| Flexibilidad | Maximum | Limited to specific form factor |
| Setup complexity | Más alto | Más bajo |
| Customization | Unlimited | Ninguno |
| Concealment potential | Highest (custom) | Good (fixed form) |
| Costo | Moderado | Moderate to high |
| Time to deploy | Hours | Minutes |
DIY kits are the right choice when no commercial spy camera form factor provides adequate concealment for your specific situation, or when you need a truly unique object that no one would suspect.
Consideraciones legales y éticas
The same legal framework that governs commercial spy cameras applies to DIY builds:
– Own property: Legal to monitor in most jurisdictions for legitimate security purposes
– Audio recording: Many jurisdictions require all-party consent; consider disabling the microphone
– Espacios privados: Absolutely prohibited in bathrooms, changing rooms, and similar areas
– Informed consent for caregivers/workers: Required or strongly recommended in many jurisdictions
The fact that a camera is custom-built doesn’t change its legal classification or the responsibilities of the person operating it.
Preguntas frecuentes
Q: What’s the smallest DIY camera module available?
A: The smallest modules are roughly 20mm × 20mm × 15mm (the size of a large postage stamp). At this size, they can be installed in almost any object with a few centimeters of interior depth.
Q: How do I make the lens aperture invisible?
A: Keep the aperture as small as possible (2mm is optimal for most lenses). Drill from the inside outward to prevent visible chipping. For dark-colored enclosures, drill with a sharp bit and the hole blends naturally with the material. For light-colored objects, cover the visible hole with a small dark sticker or paint it to match a natural feature of the object.
Q: Can I use any USB power bank to power the module?
A: Yes. Most DIY modules accept standard 5V USB power. A power bank connected via USB cable provides hours to days of power depending on the bank’s capacity.
Q: How do I update the module’s firmware?
A: Firmware updates are typically pushed automatically through the companion app when connected to WiFi. Some modules also support manual firmware updates via SD card.
Q: Is a DIY build illegal because it’s hidden?
A: The legality depends on where and how the camera is used, not how it’s built. A DIY hidden camera in your own home for legitimate security purposes is generally legal. The same camera used to record in a private space without consent is illegal regardless of how it was built.
Conclusión
A DIY camera kit provides unmatched flexibility for covert surveillance. By separating the camera module from its enclosure, you gain the ability to create truly custom hidden cameras tailored to your specific situation. Modern DIY modules offer 1080p to 4K resolution, WiFi remote monitoring, night vision, motion detection, and extended battery life—all the capabilities of finished spy cameras, in a form factor you design yourself.
The key to a successful DIY build is careful planning: choose an appropriate enclosure, plan the lens position precisely, ensure adequate power, and test thoroughly before deployment. With some basic craft skills and attention to detail, a DIY camera kit enables surveillance solutions that no commercial product can provide.