
¿Qué Problema Hay Con El Almacenamiento De Tu Cámara DVR Con Tarjeta SD?
Installing a secret camera correctly requires more than pushing a device into position. Lens alignment, power routing, network configuration, motion-zone calibration, and storage management all affect whether the camera captures usable footage or produces hours of unusable video at oblique angles with corrupt files. This guide covers the complete installation workflow for the five most common covert camera form factors — socket cameras, clock cameras, smoke detector cameras, tissue box cameras, and pen/body-worn units — alongside the electrical, networking, and legal prerequisites that professional installers and informed private buyers need before they start.
Pre-Installation Legal Checklist
Before mounting any covert camera, confirm the legal basis for recording in your jurisdiction. In the European Union, GDPR Article 6 requires a lawful basis for processing personal data captured on video. For private premises (home or business owned by the camera operator), legitimate interest under Article 6(1)(f) is the most applicable basis, but it requires a documented Legitimate Interests Assessment (LIA). Recording in areas where people have a reasonable expectation of privacy — bathrooms, changing rooms, sleeping areas — is prohibited across all EU member states regardless of ownership.
For UK buyers, the ICO’s guidance on covert monitoring is the primary reference. Audio recording simultaneously with video is subject to wiretapping statutes (Regulation of Investigatory Powers Act 2000 in the UK; Telecommunications Act in Germany) and is restricted or prohibited in many contexts. Confirm with a qualified legal adviser before enabling audio on any device.
Understanding Camera Form Factors Before Installation
Each covert camera housing imposes its own installation geometry. Choosing the wrong form factor for a given room layout results in misalignment that cannot be corrected without remounting.
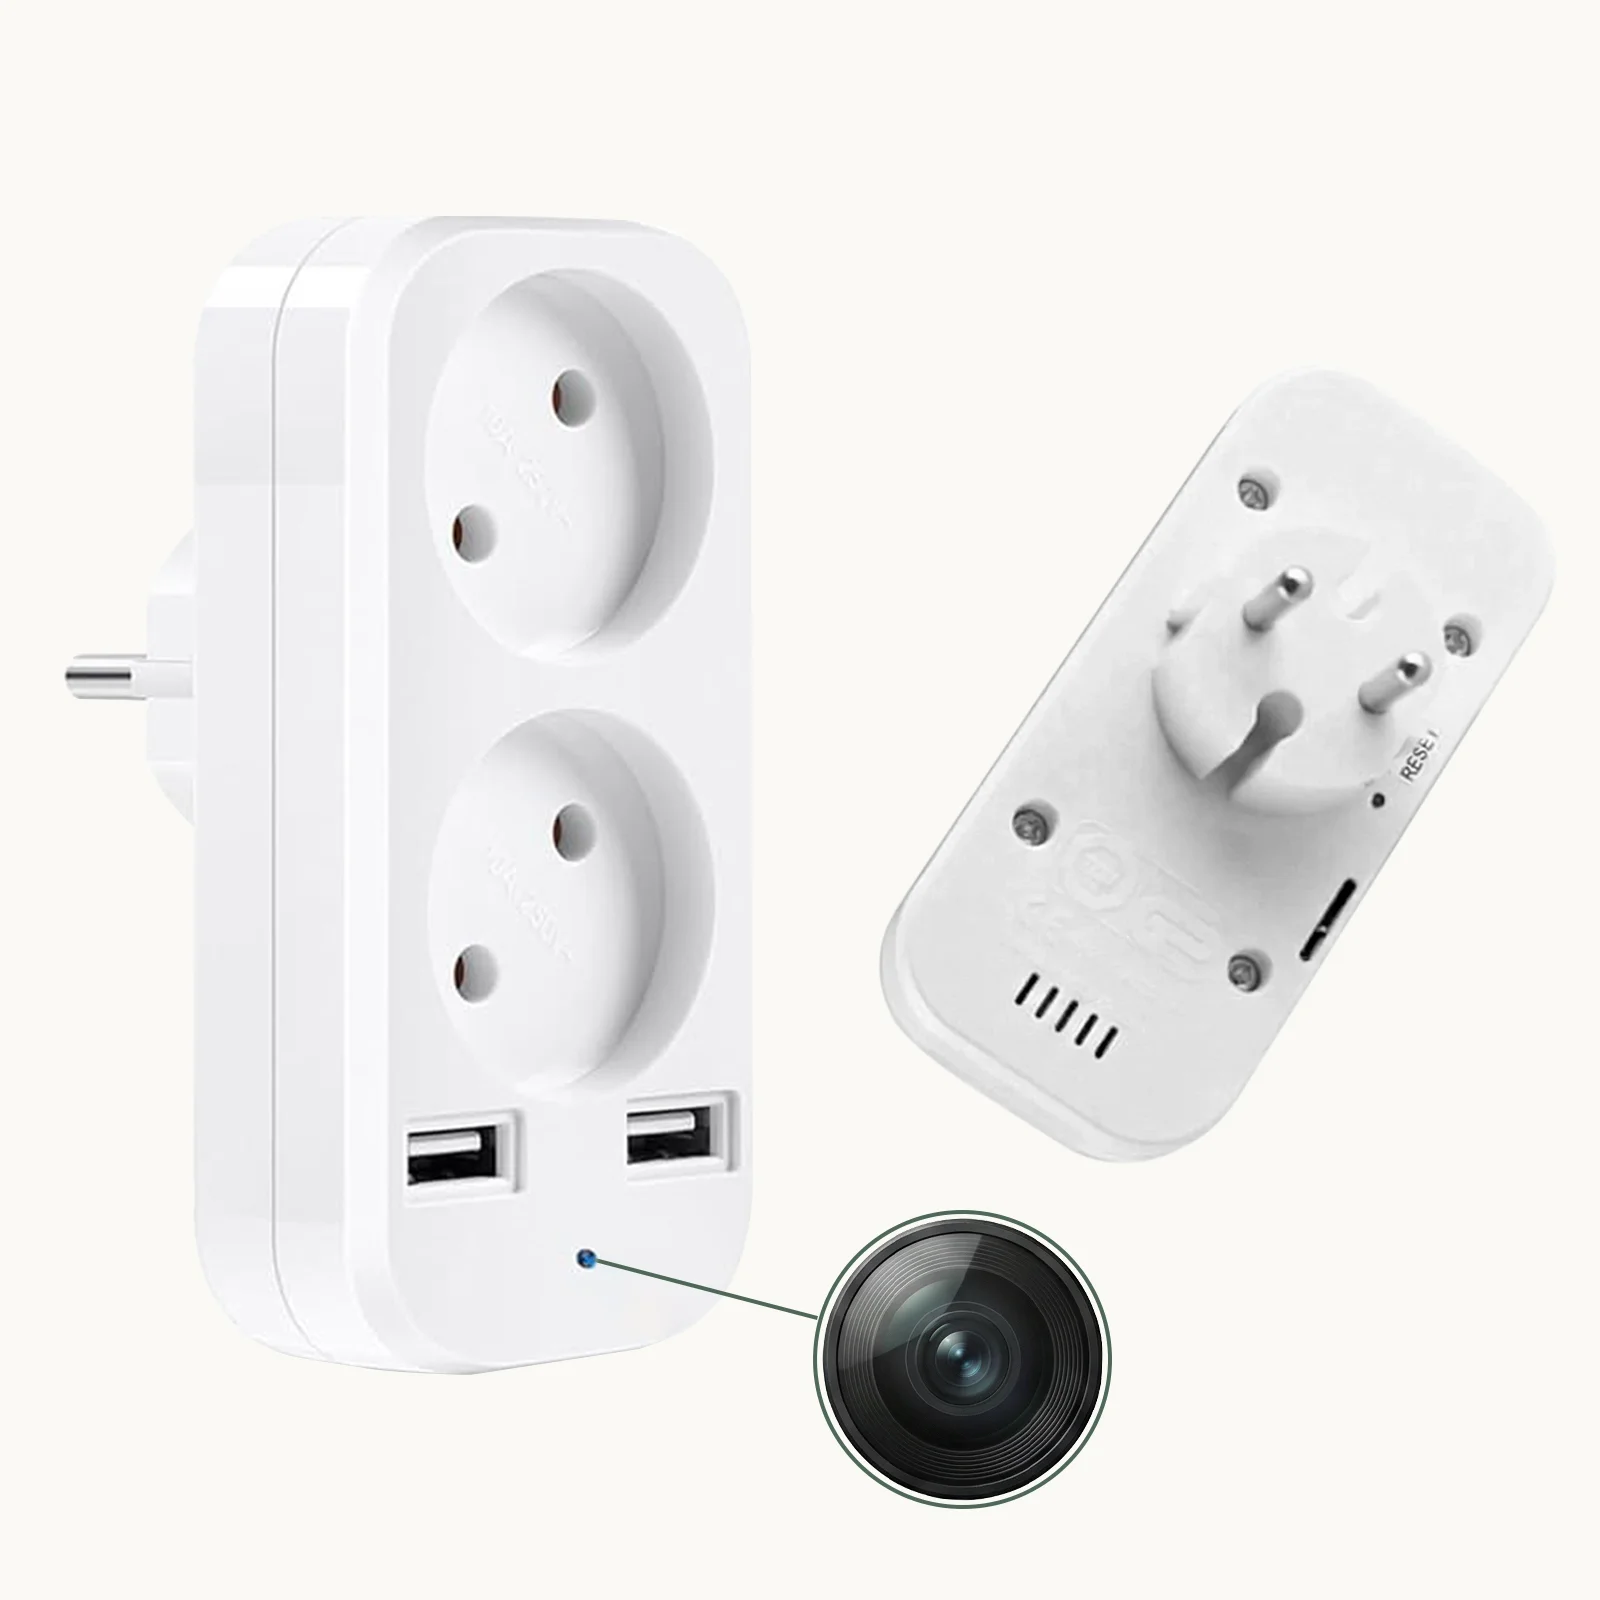
Cámaras de enchufe (EU/UK plug form factor) fix to a wall outlet with the lens facing outward perpendicular to the wall. They are ideal for open-plan spaces where a wall-parallel field of view covers the widest horizontal angle. The Cámara oculta en enchufe EU WiFi 1080P uses a 110° wide-angle lens that covers approximately 3.8 metres of width at 2 metres depth from the wall.
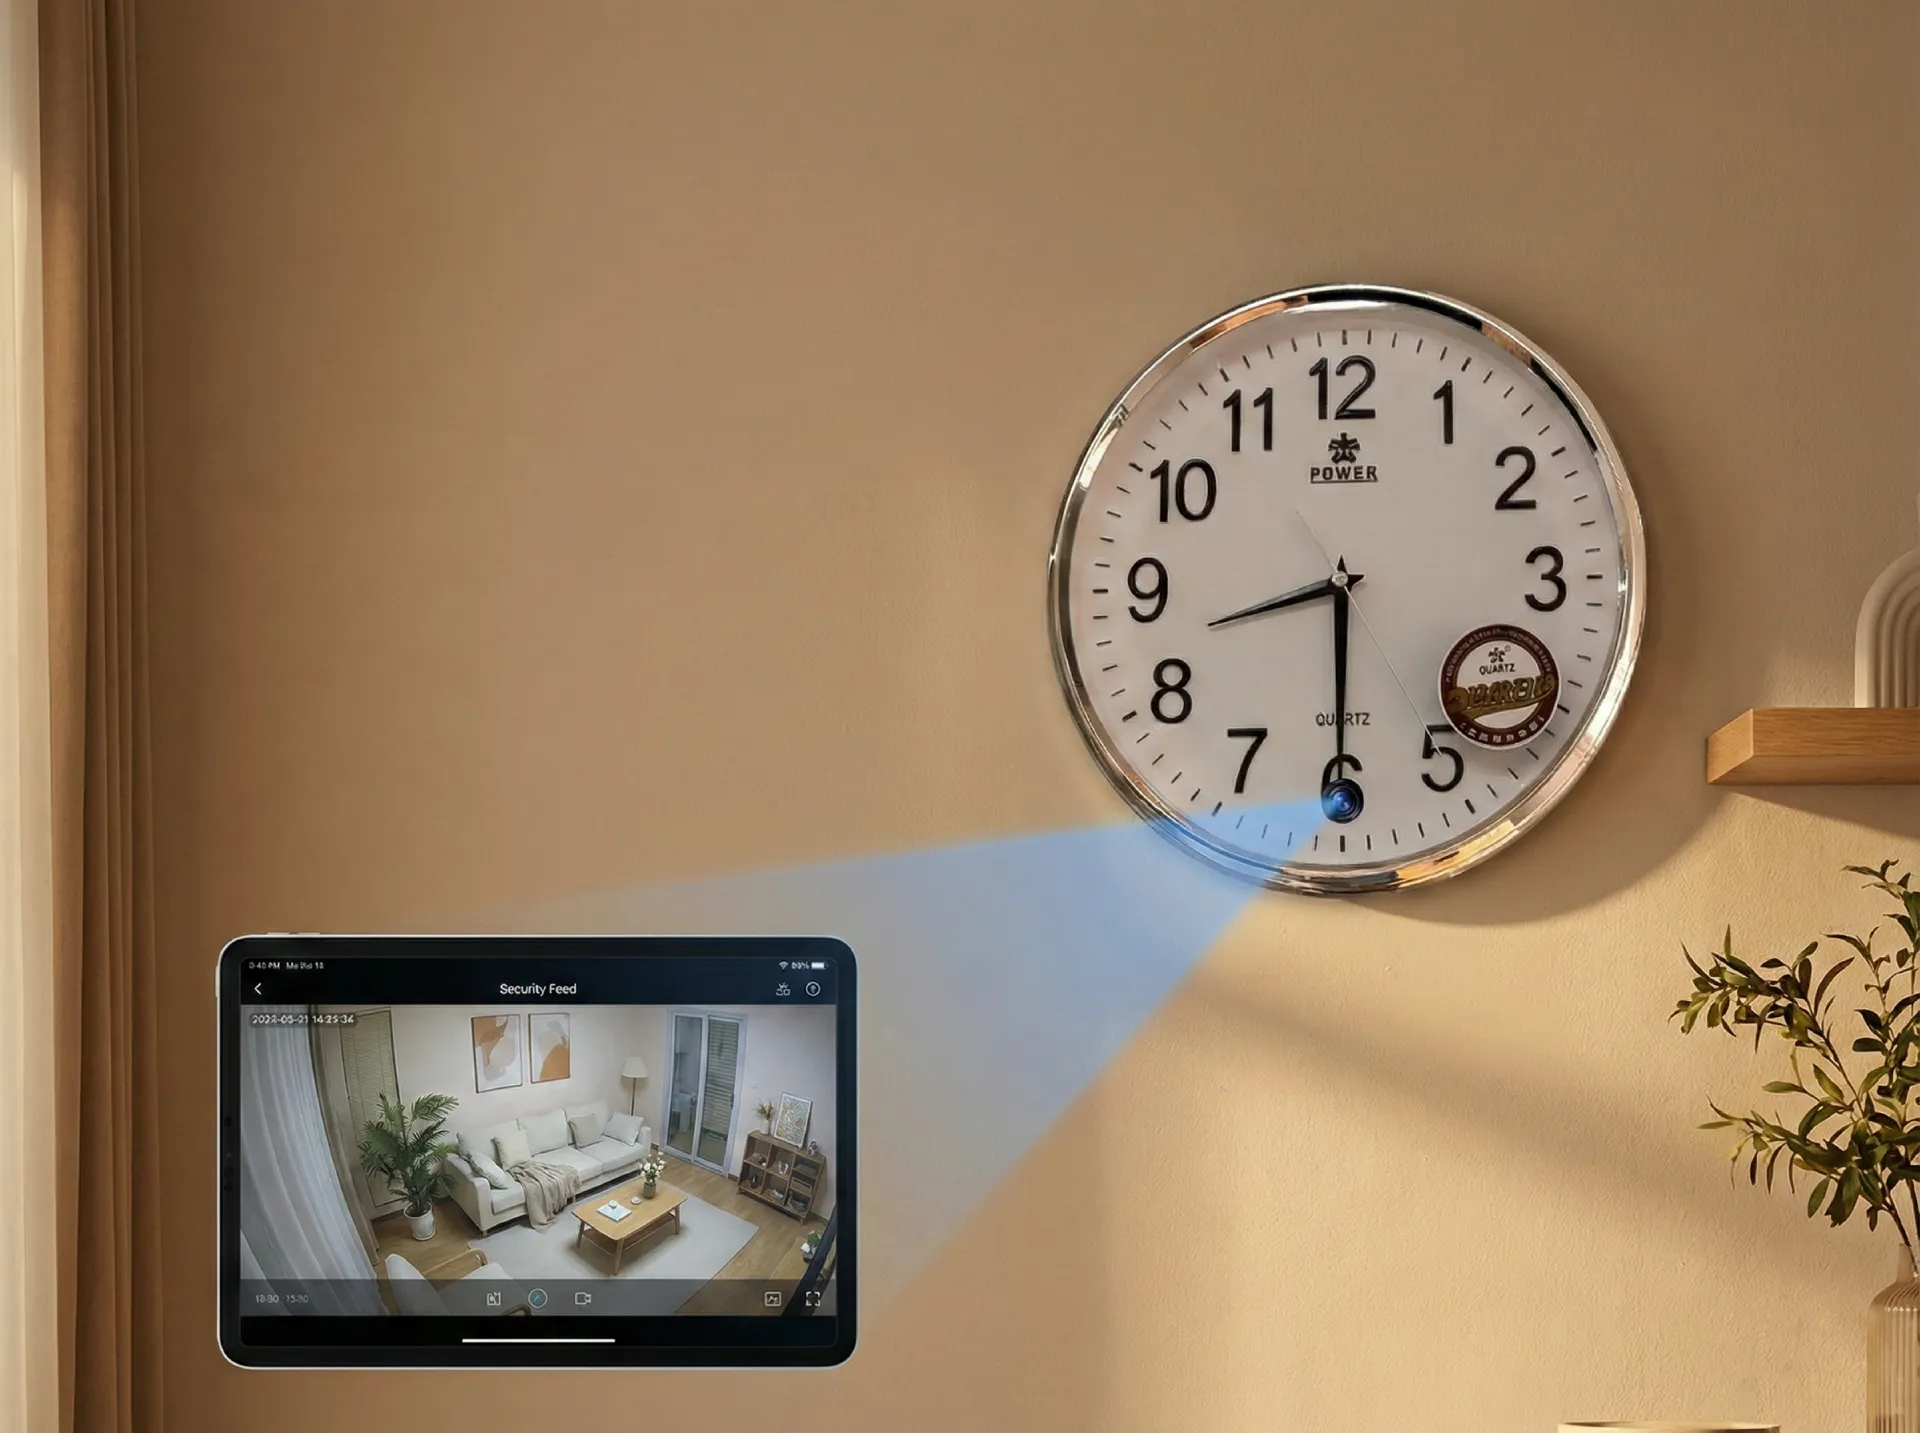
Cámaras Reloj mount to a wall or shelf and use the clock face as concealment. The lens is typically centred behind the clock face or positioned near the 12 o’clock mark. The Z10 WiFi Wall Clock Camera provides 1080p resolution with PIR motion detection effective to 5 metres.
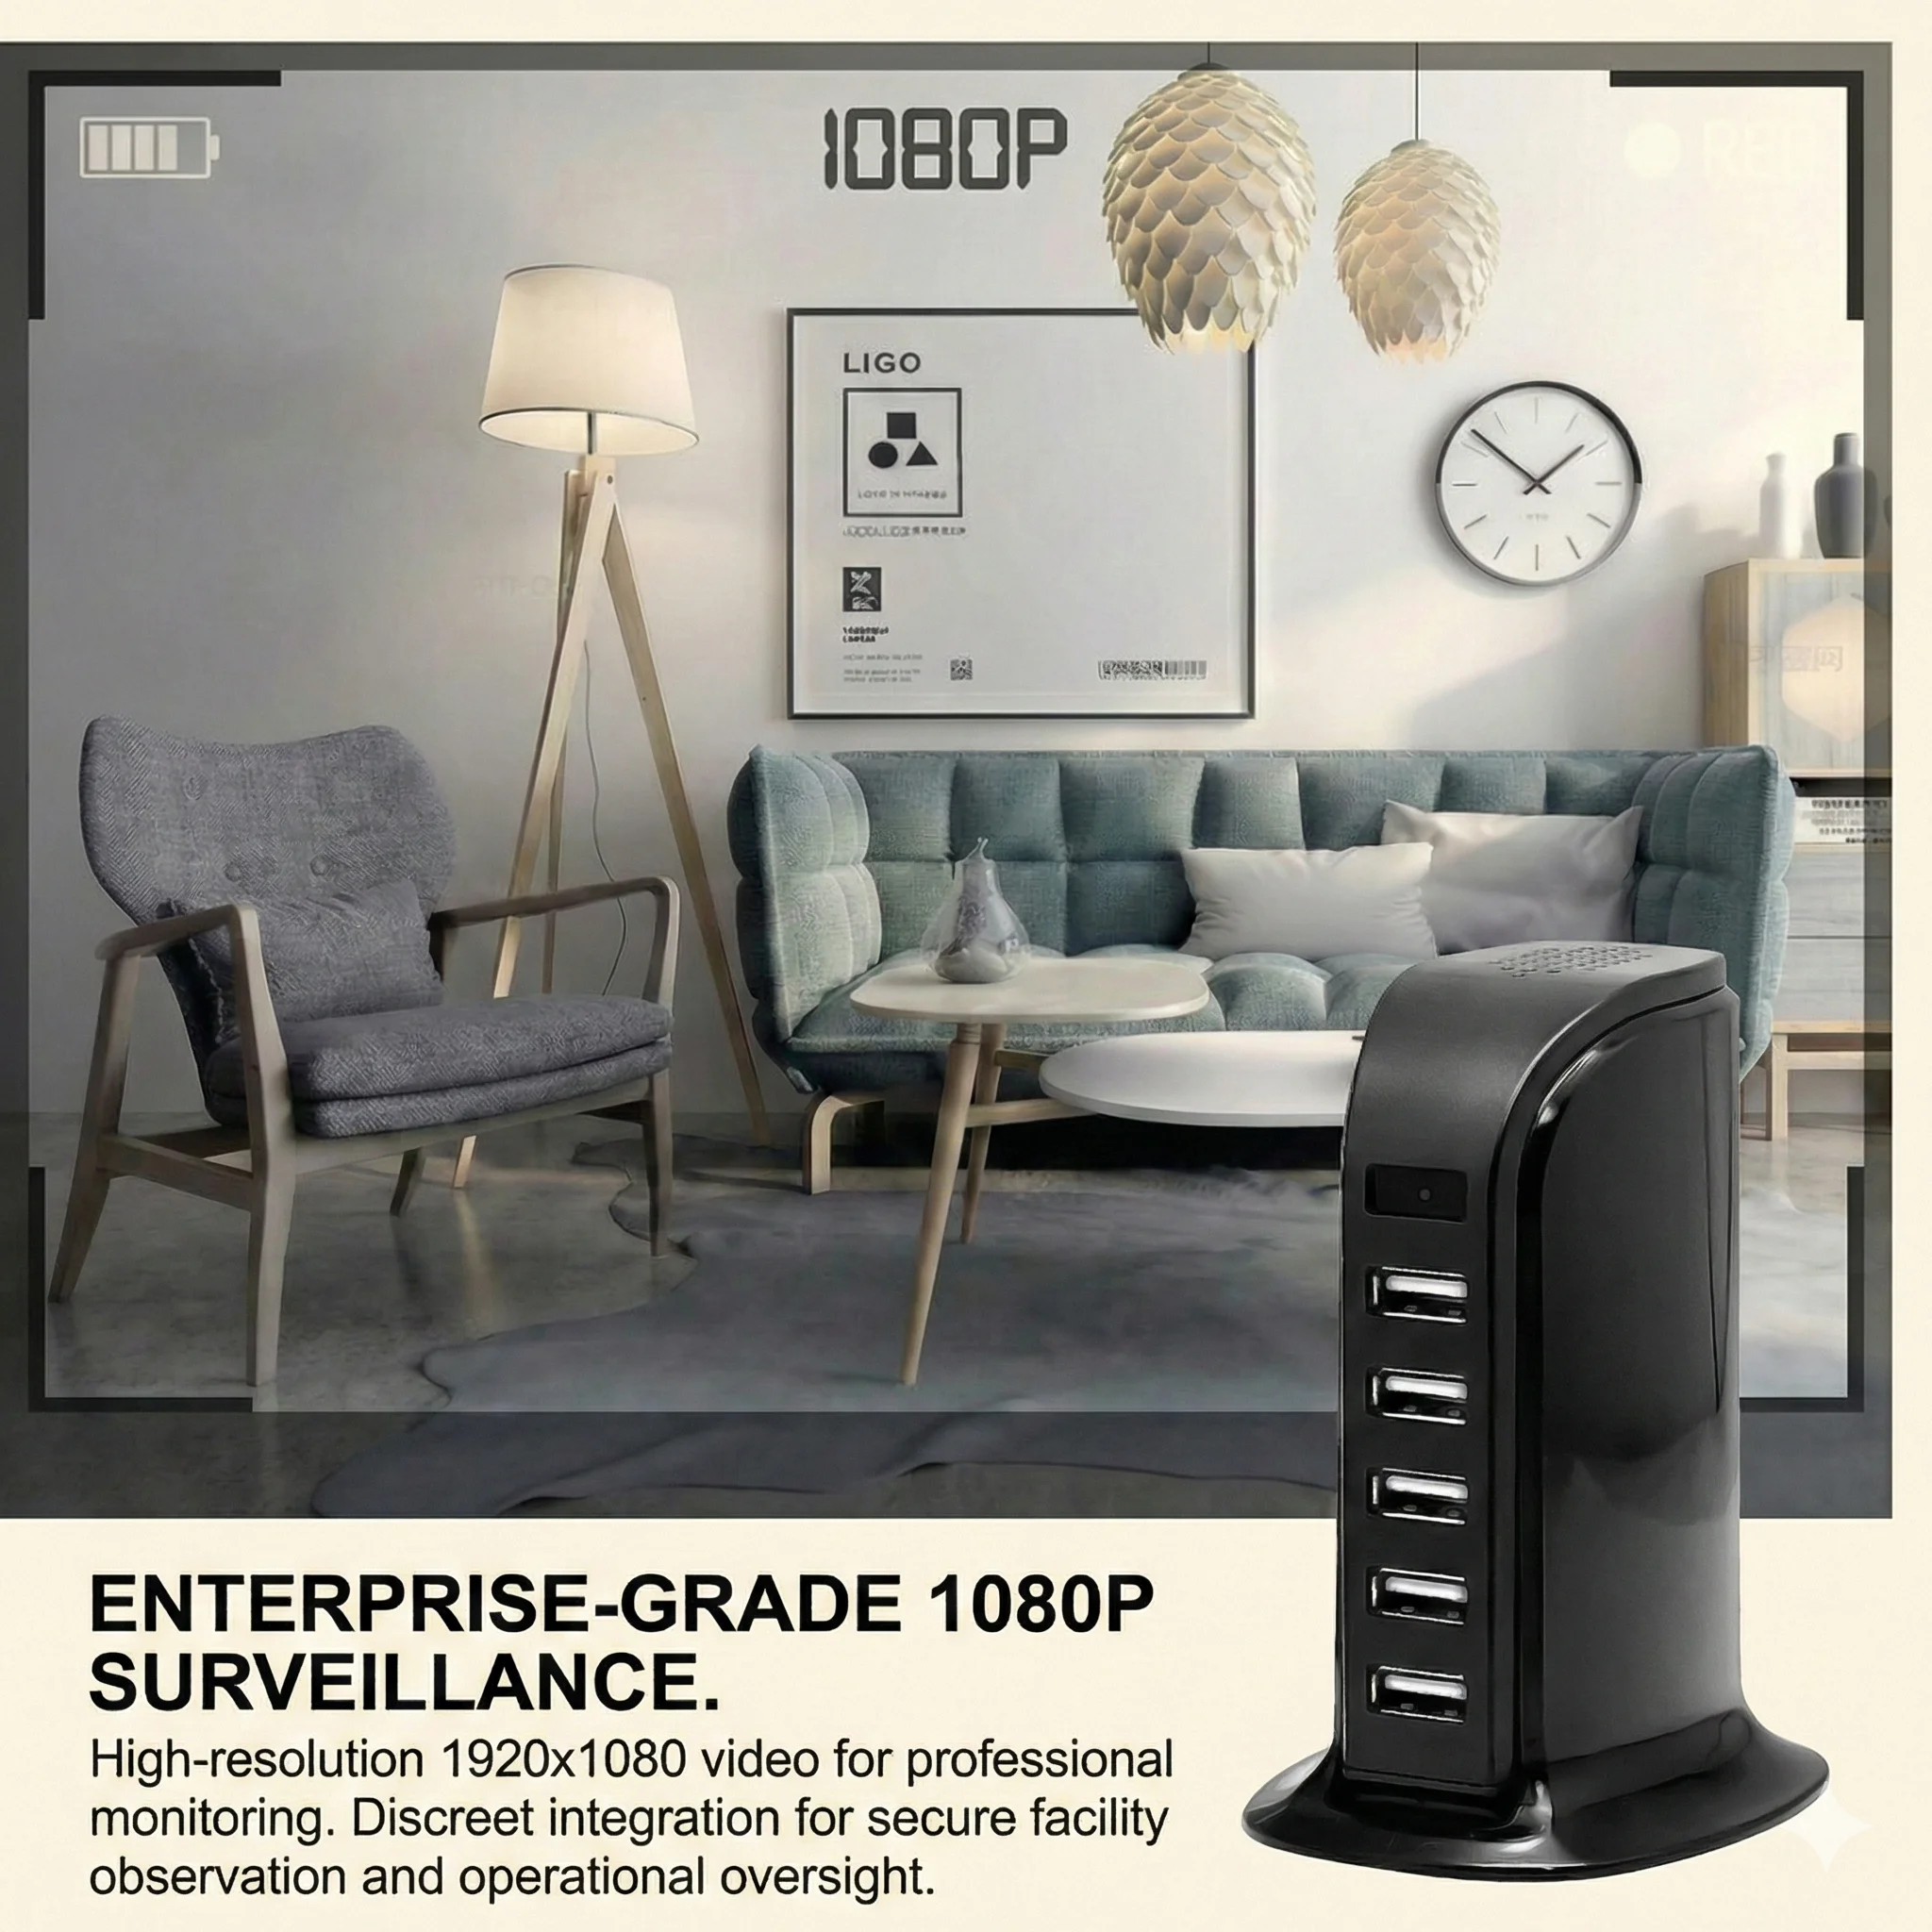
Cámaras detector de humo ceiling-mount and offer the highest vertical coverage angle of any covert form factor. The Smoke Detector Hidden WiFi Camera positions the lens within the detector housing for a downward-facing 90°+ field of view that can cover an entire room from a single mounting point.
Tissue box cameras sit on desks, tables, or shelves at mid-height and are best used for close-range facial capture (1–3 metres). The Cámara oculta WiFi en caja de pañuelos 4K achieves 4K resolution, which enables significant digital zoom in post without resolution loss.
Pen and body-worn cameras are not fixed-mount; their “installation” consists of pocket placement, clip angle adjustment, and pre-deployment charging. The Cámara Espía en Bolígrafo clips to a shirt pocket with the lens at approximately chest height — roughly 1.2–1.4 metres from the floor.
Step 1 — Site Survey and Lens Placement Planning
A site survey is the most important step and the one most frequently skipped by inexperienced installers. Walk the space and identify:
1. The primary zone of interest (POZ) — the area you need to monitor (e.g., the entrance door, a specific desk, the cash register).
2. Available mounting positions — locations where the camera form factor can be placed naturally without appearing out of place. A tissue box in a server room looks wrong; a socket camera next to a desk charging station looks normal.
3. Power access — socket cameras draw power from the mains outlet they occupy; clock cameras and tissue box cameras require USB power or a built-in battery; smoke detector cameras typically run on mains via a concealed wire.
Use the formula: Coverage Width = 2 × depth × tan(FOV/2) to calculate horizontal coverage at a given distance. For a 110° lens at 3 metres depth: 2 × 3 × tan(55°) = approximately 8.6 metres of coverage. For a 90° lens at 2.5 metres: 2 × 2.5 × tan(45°) = 5 metres. This arithmetic prevents mounting a narrow-angle camera in a wide corridor and expecting full coverage.
Document the planned position with a smartphone photo and mark the proposed lens height and angle. Review the image critically — would a visitor to the space notice the camera? If yes, reconsider the placement.
Step 2 — Power and Cabling Preparation
All cameras need power. The method varies by form factor:
Mains-powered (socket cameras, some clock cameras): These cameras draw power from the outlet they occupy. Confirm the circuit is live and the outlet is in good condition. Socket cameras typically draw 5–8 W, within the capacity of any standard EU circuit. No additional cabling is required.
USB-powered (clock cameras, tissue box cameras, vase cameras): Route a USB-A to USB-C or USB-A to micro-USB cable from a hidden charger. For wall-mounted clocks, a cable can run behind the wall cavity or along a cable trunking. Use a charger rated at minimum 2 A output to avoid under-voltage artefacts in the video (which manifest as frame-rate drops or colour banding).
Battery-powered units: Devices like the Power Bank Cámara oculta carry integrated batteries (typically 3,000–10,000 mAh). For continuous 24/7 recording, a 10,000 mAh battery lasts approximately 4–6 hours; supplement with USB mains charging to extend. For motion-triggered operation (VOR / PIR), standby can extend to 30+ days.
Ceiling-mount smoke detectors: These typically require a concealed mains feed through the ceiling void. Use 2-core 0.75 mm² flex, rated to the appropriate local wiring standard (IEC 60227 for EU). Always work with a qualified electrician for mains wiring inside ceiling voids.
Step 3 — Physical Mounting
Mounting precision matters more than most buyers realise. A camera tilted 5° downward from horizontal at 3 metres depth will place its lower field boundary on the floor rather than on the faces of standing subjects, losing 30–40 % of useful coverage.
Socket cameras: Plug into the outlet and confirm the camera housing sits flush against the wall. If the outlet is angled, use a rotating outlet adapter to correct the camera angle. Most socket cameras have a small ±5° tilt adjustment via a friction-fit ball joint behind the lens — use it to aim slightly downward from horizontal (10–15° depression) so that faces at 2–3 metres distance fall in the upper third of the frame.
Clock cameras (wall mount): Identify the lens position on the clock face before mounting. Use a spirit level to confirm the clock is horizontal — a tilted clock makes footage appear skewed and draws attention during any review. Mount the clock at 1.6–1.8 metres from the floor for optimal facial capture of standing adults. Use the supplied wall anchors and ensure the fixing is load-rated for the device weight plus the USB cable tension.
Smoke detector cameras (ceiling mount): Mark the ceiling position with a pencil using the detector’s mounting template. Drill pilot holes, insert plastic anchors, and feed the power cable through the central hole before attaching the mounting plate. Confirm the detector housing snaps securely — rattling or movement under a vibration test indicates inadequate fixing and will cause motion-triggered false alerts.
Tissue box / desktop cameras: Position on a stable, level surface. Orient the lens opening toward the primary zone of interest. Tissue boxes on a desk at 0.8 metres height with the lens facing a door at 2–3 metres distance typically capture both full-body movement and facial detail.
Step 4 — Network Configuration
For Wi-Fi models, network setup is the step most frequently responsible for poor ongoing performance. The key variables are: Wi-Fi frequency, signal strength at the camera location, and router configuration.
Most current covert Wi-Fi cameras operate on the 2.4 GHz band (not 5 GHz). 2.4 GHz provides better wall penetration than 5 GHz, making it more suitable for cameras mounted behind concealment or at distance from the router, but the band is congested in multi-device homes and offices. Use a Wi-Fi analyser app (e.g., WiFi Analyzer on Android) to confirm the camera’s installation point has a signal strength of at least −65 dBm (ideally −55 dBm or better) before finalising the mount position.
Tuya configuration (for Tuya-based models):
1. Download the Tuya Smart or Smart Life app (iOS or Android).
2. Power on the camera and hold the reset button for 5 seconds until the status LED blinks rapidly (pairing mode).
3. In the Tuya app, tap “Add Device” → “Security & Sensor” → “Camera (Wi-Fi)”.
4. Enter your 2.4 GHz Wi-Fi SSID and password. Do not use special characters (!, @, #) in the Wi-Fi password — some Tuya devices fail to parse them correctly.
5. Wait for the app to confirm the connection (30–90 seconds typical). If pairing fails, reset the device and confirm you are on 2.4 GHz (not 5 GHz) on your phone during setup.
6. Once connected, verify live view, set motion-detection sensitivity, configure push notifications, and insert the micro-SD card.
Step 5 — Micro-SD Card Installation and Loop Recording
Local storage is the primary recording medium for most secret cameras. The micro-SD card must be formatted correctly and loop recording must be explicitly enabled before the camera is considered fully operational.
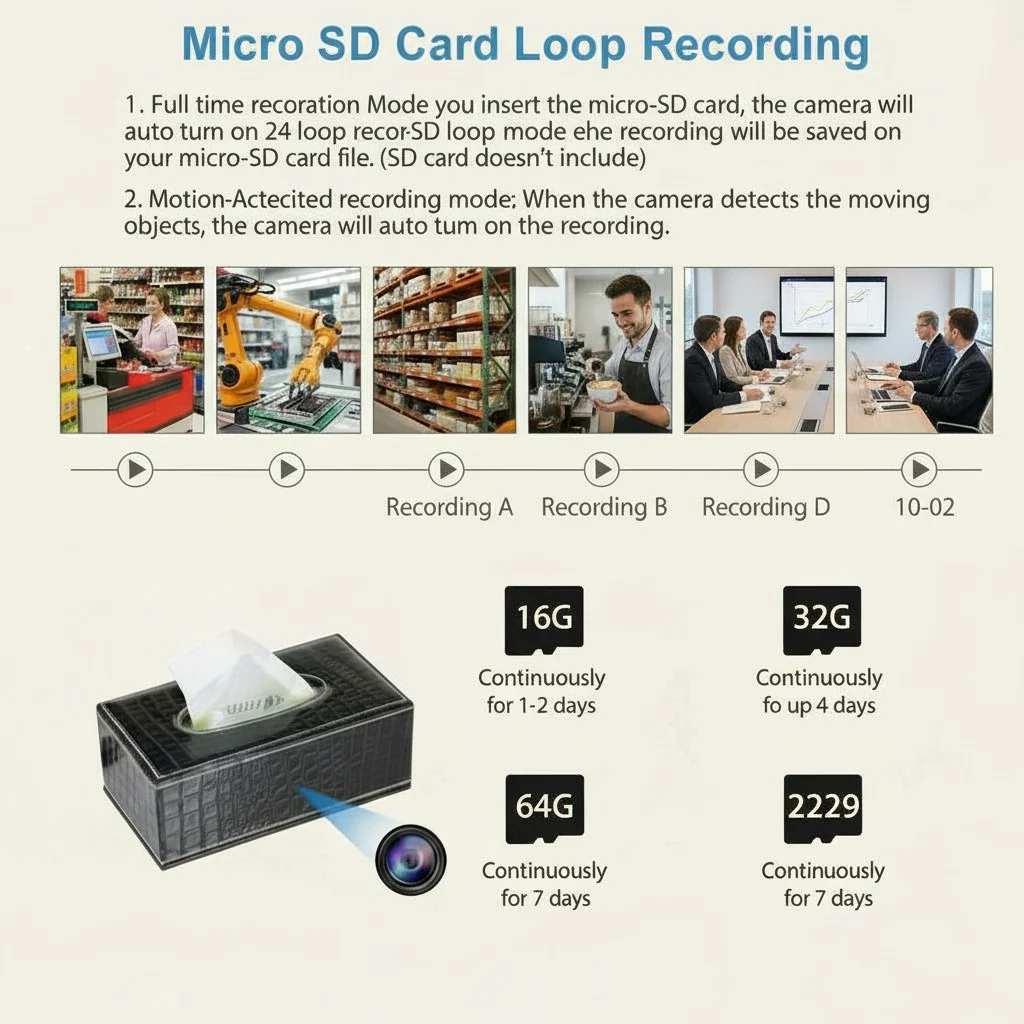
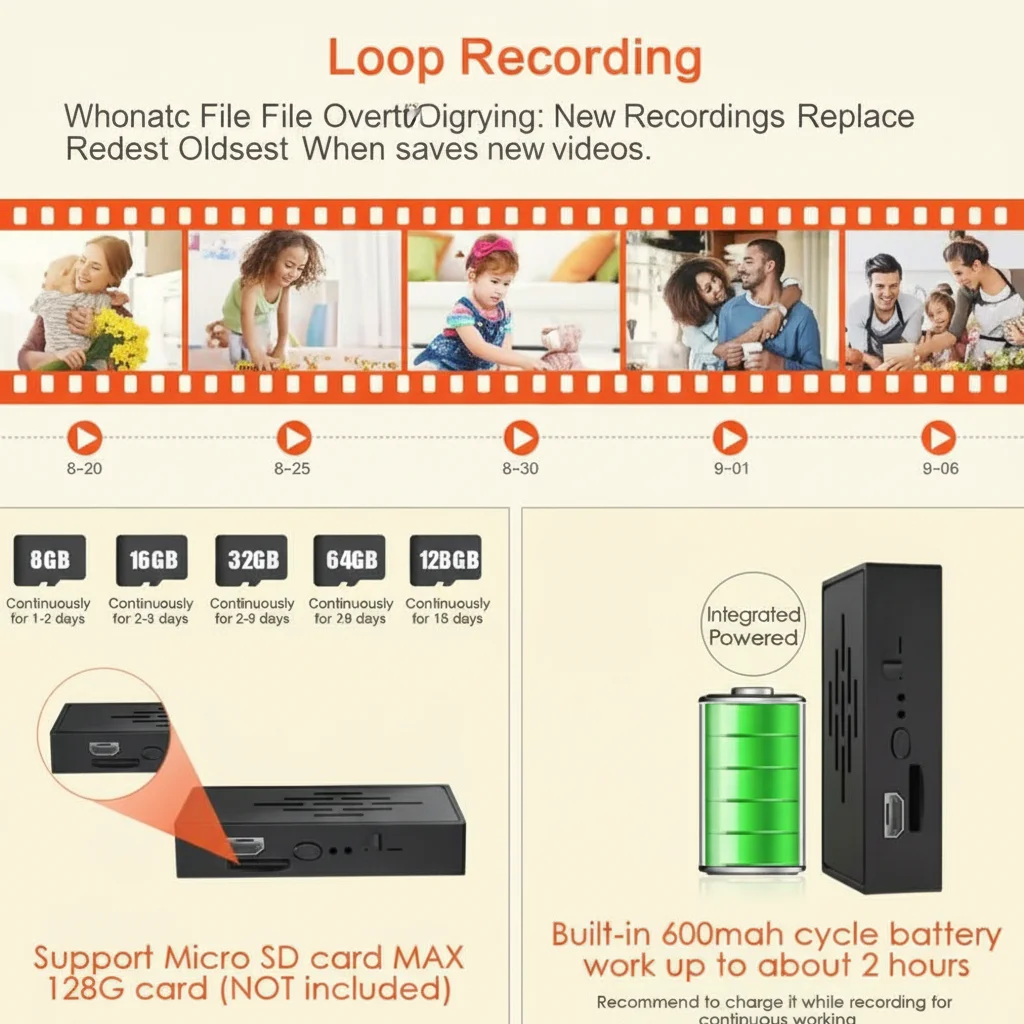
Card selection: Use a Class 10 / U1 or U3 micro-SD card from a reputable brand (Samsung EVO, SanDisk Ultra or Endurance series). 1080p continuous recording consumes approximately 1–2 GB per hour depending on bitrate and motion activity. A 128 GB card provides 64–128 hours of continuous recording before loop overwrite begins. For 4K cameras, use U3-rated cards; lower speed classes will cause dropped frames or recording failure.
Formato: Always format the card in the camera before first use, not in a PC. In-camera formatting creates the correct directory structure (typically DCIM or RECORD folder) that the camera firmware expects. PC-formatted cards occasionally use an incompatible cluster size that causes intermittent write errors.
Enabling loop recording: In the Tuya app (or physical button combination on non-Wi-Fi models), locate the storage settings. Enable “Loop Recording” — this overwrites the oldest files when the card is full, ensuring continuous recording without manual card management. Without this setting enabled, the camera stops recording when the card fills.
Step 6 — Motion Detection Zone Configuration
Motion detection is the primary trigger for alert-based recording. Poorly configured motion zones generate hundreds of false alerts per day (from shadows, air movement, or off-screen activity), causing notification fatigue and wasting storage.
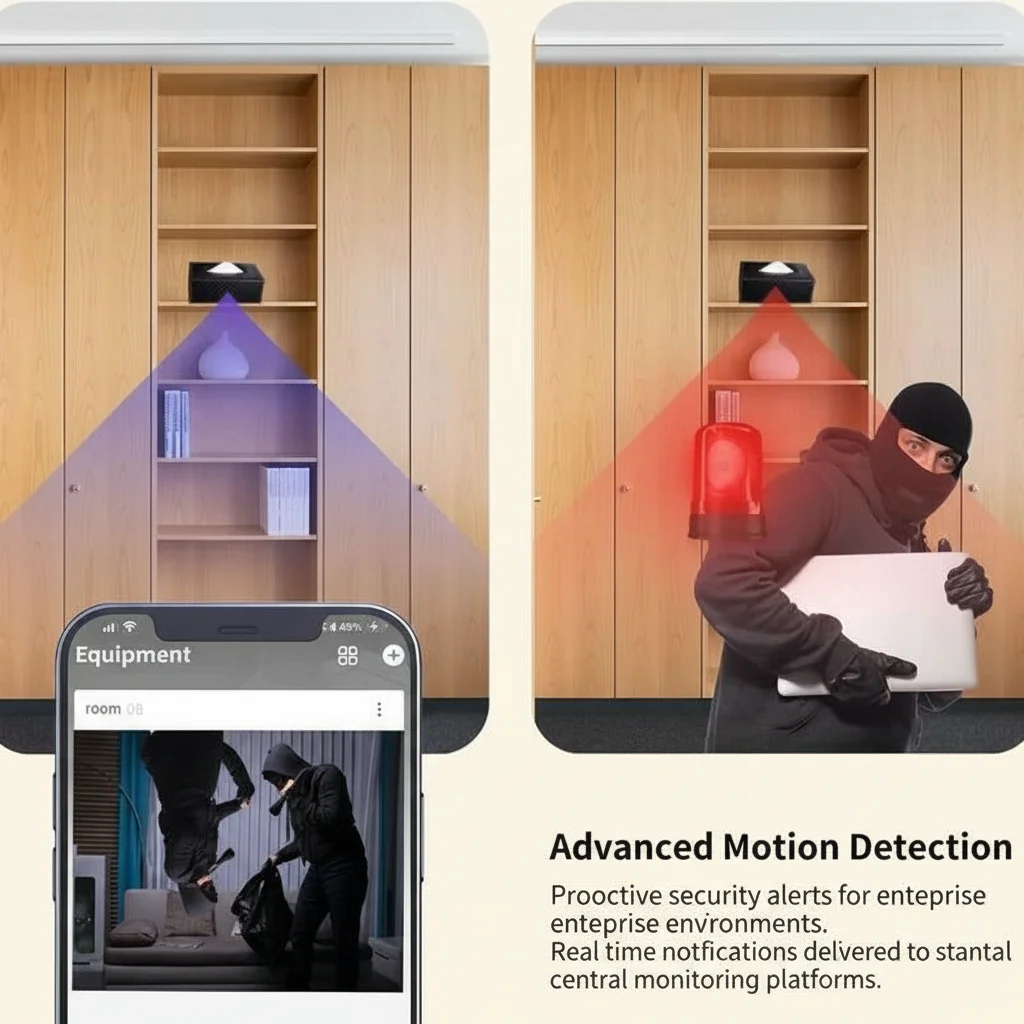
In the Tuya app, navigate to Motion Detection settings. Set sensitivity to Medio as a starting point. Most cameras support zone-based masking — draw exclusion zones over windows (which trigger false alerts from trees or passing vehicles), mirrors (which create double-detection), and areas outside your zone of interest.
For PIR (passive infrared) sensors, confirm that no heat sources — radiators, direct sunlight, or HVAC vents — fall within the PIR detection cone. PIR operates by detecting rapid temperature changes; a hot-air vent cycling on and off will generate continuous false triggers regardless of sensitivity setting.
Set alert scheduling to match operational hours. A camera monitoring a business entrance has no value generating alerts at 3 AM when the premises are legitimately unoccupied by known staff — but may be critical for intrusion detection. Configure the schedule accordingly.
Step 7 — Night Vision and Low-Light Calibration
Infrared LEDs are the standard night-vision mechanism in covert cameras. They emit light at 850 nm (slightly visible as a faint red glow) or 940 nm (effectively invisible to the human eye but with lower range).
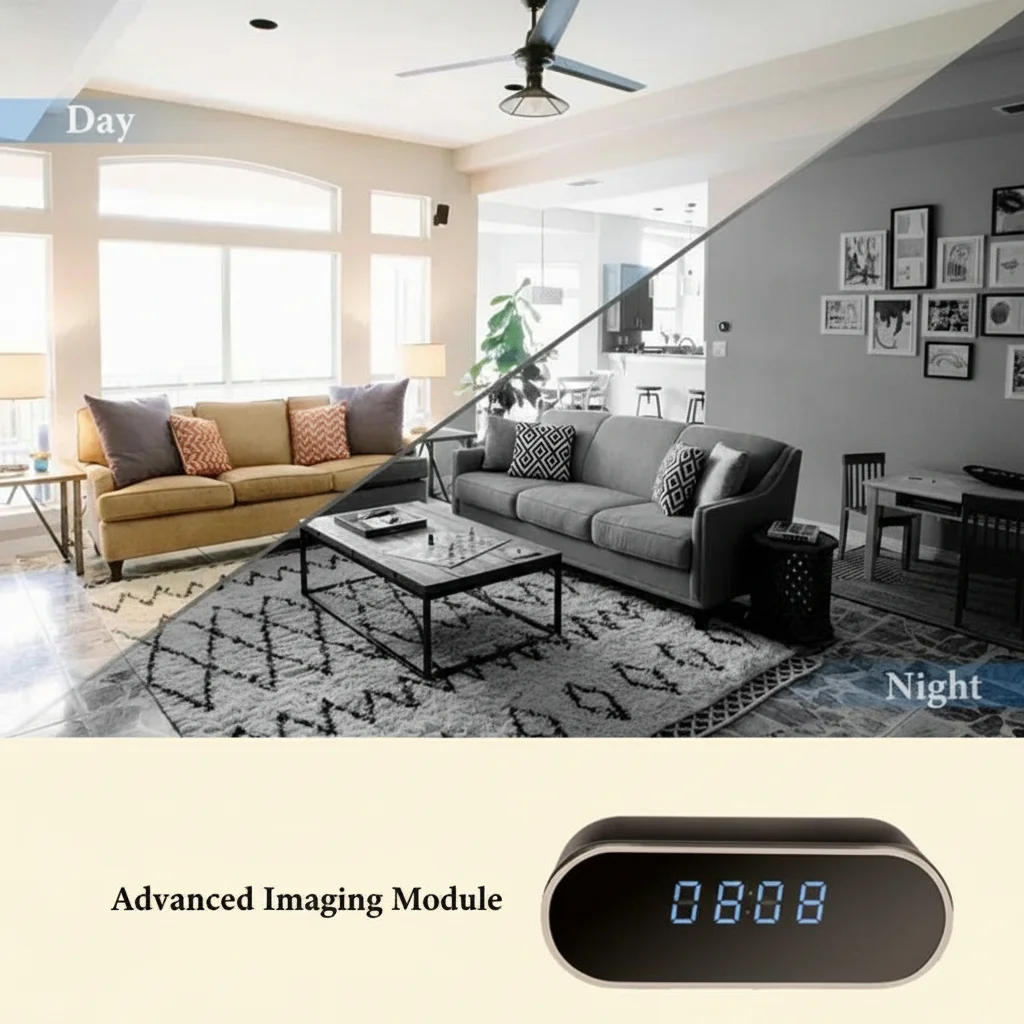
IR illumination range depends on the number and power of LEDs. A typical 4-LED array provides 3–5 metres of usable night-vision range; 8-LED arrays extend to 8–10 metres. Test night-vision performance by closing curtains and turning off room lighting, then reviewing the live feed or a recorded clip. The image should show a clear greyscale image of the monitored area; a washed-out or entirely dark image indicates either insufficient IR power or a lens cover blocking the LEDs.
Some covert cameras use a colour night-vision mode that activates a white-light LED array rather than IR. These provide colour footage in low light but are not truly covert in darkness — the white LED is visible to anyone in the room. Confirm which mode is active for your use case before finalising the installation.
Step 8 — Recording Verification and Final Test
Before closing up cable management and considering the installation complete, run a 30-minute recording test that confirms the full operational chain:
1. Motion trigger test — walk through the motion zone and confirm the camera logs the event and sends a push notification (if configured).
2. Night vision test — reduce lighting and confirm the IR mode activates automatically.
3. Playback test — review the last 5 minutes of recorded footage from the SD card via the app or by removing the card and reading in a PC card reader.
4. Wi-Fi stability test — leave the camera running for 30 minutes and confirm the connection remains stable and live view is accessible from a mobile network (not just the local Wi-Fi).
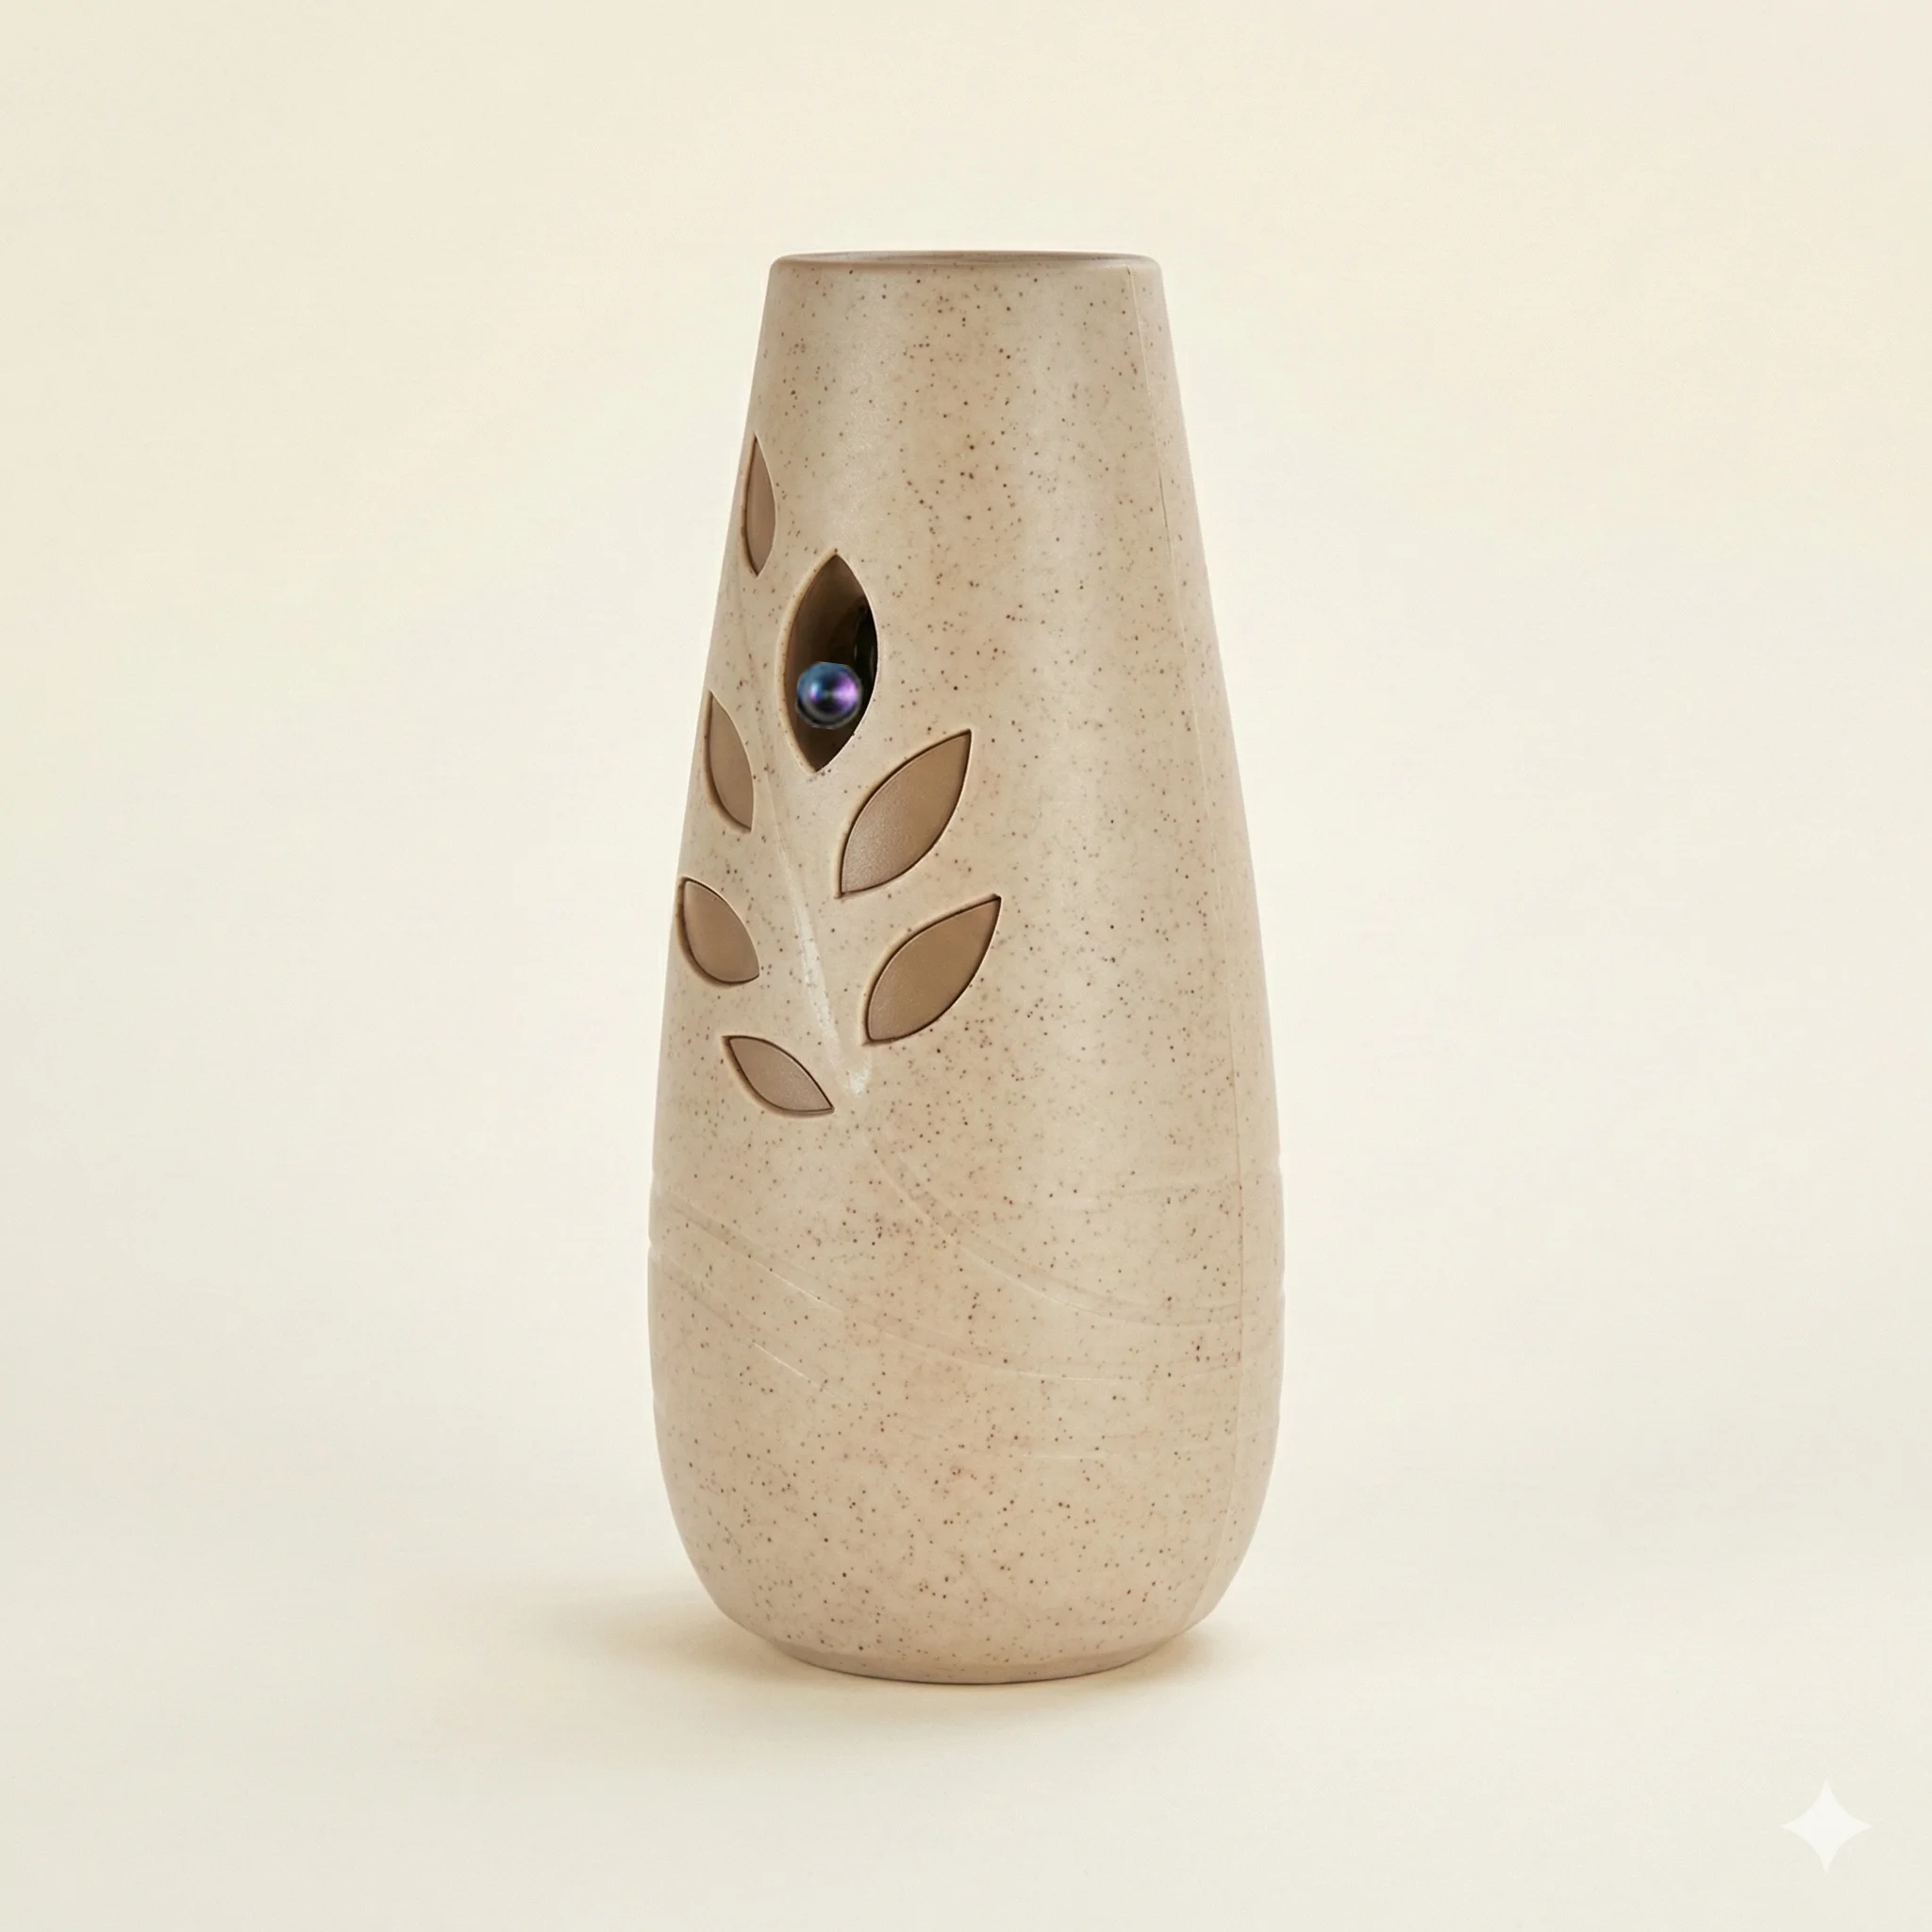
Document the installation date, camera model, serial number, firmware version, and mounting position in a simple log. For business deployments with multiple units, this log is essential for maintenance scheduling and is evidence of a systematic compliance programme under GDPR Article 5(1)(f) (integrity and confidentiality).
Common Installation Mistakes and How to Avoid Them
| Mistake | Consequence | Solución |
|---|---|---|
| Mounting too high (>2.5 m) | Solo tomas desde la parte superior de la cabeza, no útiles para identificación | Mantenga la altura de montaje entre 1,5 y 2,0 m para captura facial; use detector de humo de techo solo cuando el objetivo sea cobertura completa de la habitación |
| Wi-Fi de 5 GHz durante la configuración | Fallo de emparejamiento | Cambie el teléfono a 2,4 GHz antes de iniciar la aplicación |
| Tarjeta SD formateada para PC | Errores de escritura intermitentes | Formatee la tarjeta SD en la cámara antes del primer uso |
| Grabación en bucle no habilitada | La cámara deja de grabar cuando la tarjeta está llena | Habilite la grabación en bucle en la aplicación antes del despliegue |
| La zona de movimiento cubre ventanas | Cientos de alertas falsas por movimiento exterior | Enmascarar todas las áreas de ventanas en el editor de zonas de detección de movimiento |
| Sin gestión de cables | Cable visible desde fuera del alojamiento de ocultación | Pasar el cable USB por canaletas de pared o clips de cable antes del montaje final |
Preguntas frecuentes
¿Puedo instalar una cámara secreta sin perforar agujeros?
Las cámaras de enchufe y las cámaras de caja de pañuelos de escritorio o jarrón no requieren taladrar. Las cámaras de reloj generalmente requieren dos pequeños agujeros de fijación para el soporte de pared. Solo las cámaras de detector de humo montadas en el techo requieren un esfuerzo de instalación significativo.
¿Qué distancia puede transmitir una cámara Wi-Fi desde el router?
Las cámaras Tuya estándar de 2,4 GHz funcionan de manera confiable hasta 15-20 metros a través de paredes interiores estándar. Para rangos más largos, use un extensor Wi-Fi o un punto de acceso dedicado más cerca de la cámara.
¿Necesito estar presente para acceder a las grabaciones?
No — las cámaras Tuya conectadas a la nube ofrecen vista en vivo remota y reproducción de clips grabados desde cualquier lugar con conexión a internet a través de la aplicación Tuya Smart.
¿Cuánto tiempo toma la instalación?
Una cámara de enchufe o de escritorio puede estar operativa en menos de 15 minutos. Una cámara de reloj montada en pared con gestión de cables toma de 30 a 60 minutos. Una cámara de detector de humo de techo con cableado eléctrico oculto por un electricista calificado toma de 2 a 4 horas, incluyendo el tendido de cables.
¿Puedo instalar múltiples cámaras en una sola cuenta?
Sí — la plataforma Tuya Smart admite múltiples dispositivos en una sola cuenta con una vista consolidada de cuadrícula de cámaras. No hay un límite máximo publicado en el número de dispositivos.
Conclusión
Una cámara secreta correctamente instalada requiere atención cuidadosa en cada etapa: autorización legal previa, inspección del sitio, enrutamiento de energía, configuración de red, configuración de tarjeta SD, calibración de zona de movimiento y prueba de visión nocturna. Cada paso se basa en el anterior; saltarse la inspección del sitio hace que la configuración de red sea irrelevante si la cámara termina en una posición sin señal Wi-Fi. El tiempo total de instalación para un despliegue profesional de una sola cámara es de 30 minutos a 2 horas, dependiendo del factor de forma y los requisitos de cableado. Siga la secuencia anterior y el resultado es una cámara que graba de manera confiable, alerta oportunamente y almacena imágenes sin interrupción.
 English
  Italiano
  Deutsch
  Français
  Español
  Polski